Kogan KAGWAS10D6A User manual

10KG/6KG WASHER DRYER COMBO
KAGWAS10D6A


Warning
Read and understand thoroughly these safety instructions before use.
The items indicated here are very important safety precautions, which must be followed.
Kogan.com cannot be held liable for damage caused by non-compliance with the warning
and safety instructions or resulting from incorrect use or operation.
This appliance can be used by children aged from 8 years and above and persons with
reduced physical sensory or mental capabilities of lack of experience and knowledge if they
have been given supervision of instruction concerning used of the appliance in a safe way
and understand the hazards involved. Children shall not play with the appliance. Cleaning
and user maintenance shall not be made by children without supervision. Children aged
less than 3 years should be kept away unless continuously supervised.
Technical safety
•Before setting up the washer-dryer, check it for any externally visible damage. Do
not install or use a damaged washer-dryer.
•Before connecting the washer-dryer, ensure that the connection data on the plate
(voltage and current) match the electricity supply. If in any doubt, consult a
qualified electrician.
•The electrical safety of this washer-dryer can only be guaranteed when continuity
is complete between it and an effective earthing system which complies with
current local and national safety regulations. It is most important that this basic
safety requirement is present and regularly tested; where there is any doubt the
household wiring system should be inspected by a qualified electrician.
SAFETY & WARNINGS

•Do not connect the washer-dryer to the mains electricity supply by an extension
lead. Extension leads do not guarantee the required safety of the appliance.
•Unauthorised repairs could result in unforeseen dangers for the user. Repairs
should only be undertaken by Kogan.com. Ensure the current is not supplied to the
machine until after maintenance of repair work has been carried out.
•If the connection cable is damaged or broken, it must only be replaced by
Kogan.com to protect the user from danger.
•Faulty components must only be replaced by genuine Kogan.com original spare
parts. Only when these parts are fitted can the safety standards of the machine be
guaranteed.
Correct use
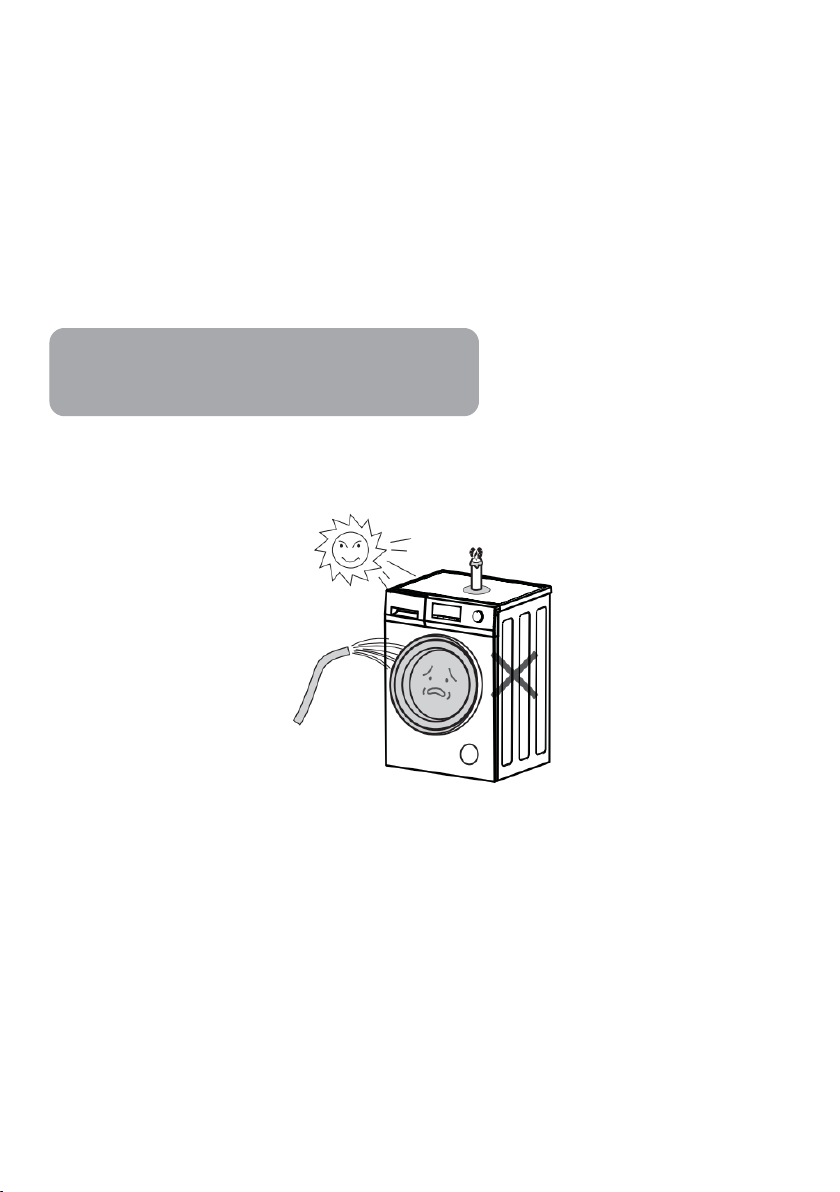
•To avoid the risk of personal injury or damage to the washer-dryer, do not install it
in place where it is damp or exposed to rainfall.
•Do not install the washer-dryer in direct sunlight, as this may damage the plastic
components over time and shorten the life of the washer-dryer.
•Do not install the washer-dryer in place where temperatures below freezing may
occur. Frozen hoses may burst or split. The reliability of the electronic control unit
may be impaired at temperatures below freezing point.
•Do not spray the washer-dryer with water when cleaning it.
•Keep the washer-dryer away from fire or heat sources.
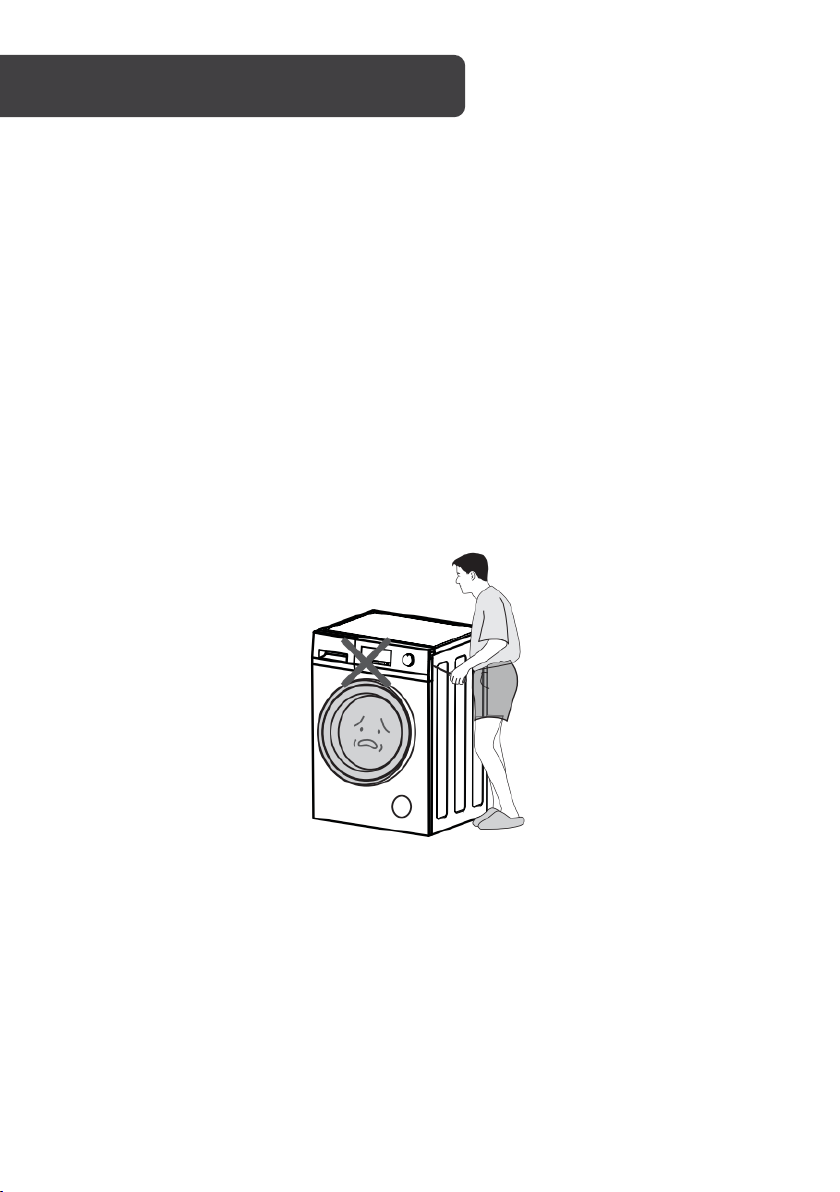
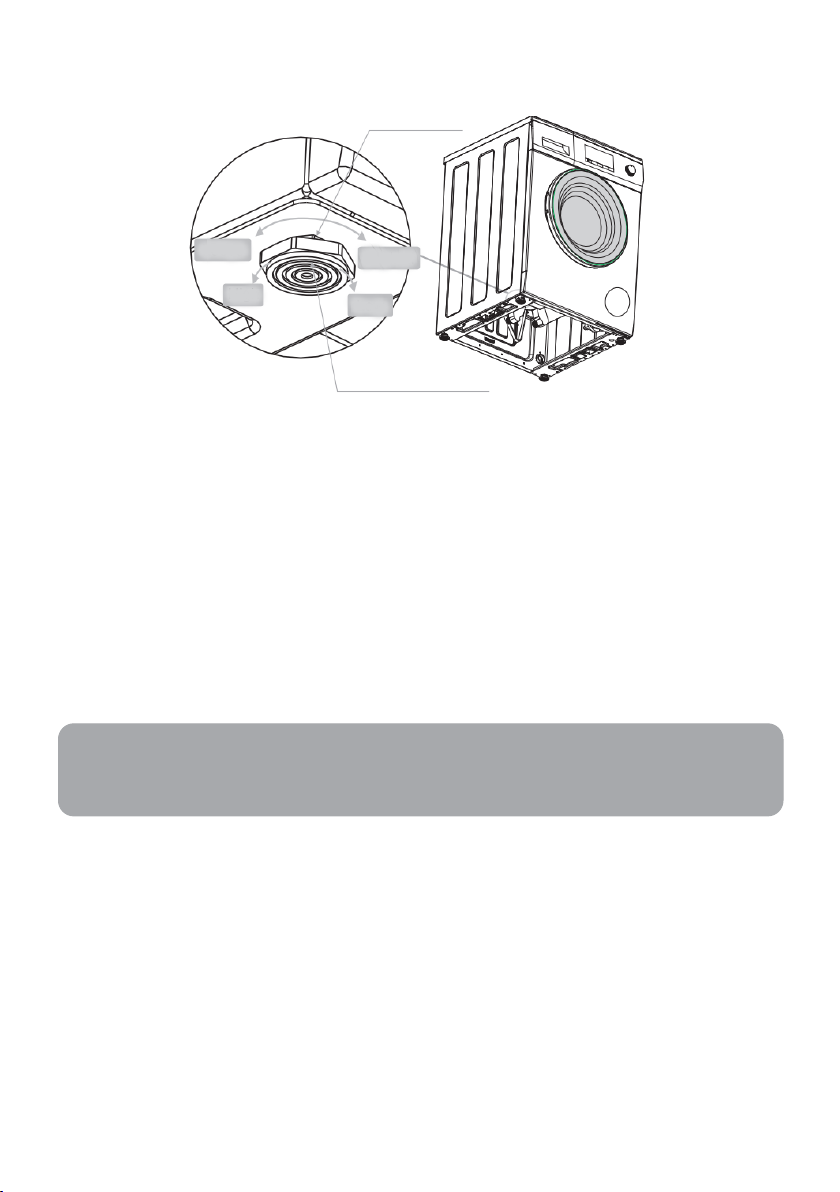
•Before using the washer-dryer for the first time, check that the transit bolts at the
rear of the machine have been removed. During spinning, transit bolts which are
Note:
This washer-dryer must always be earthed.

still in place may result in damage to both the machine and adjacent furniture or
appliances.
•Turn off the tap if the machine is to be unused or unattended for an extended
period (e.g. holiday), especially if there is no floor drain (gully) in the immediate
vicinity.
•Take care to ensure that foreign objects (e.g. nails, pins, coins, paper clips) do not
find their way into the machine with the laundry. These may damage components
of the machine, which in turn can result in damage to the laundry.
•Do not wash water-repellent things (e.g. raincoats) in the washer-dryer.
•Only remove laundry from the washer-dryer once the drum has stopped turning.
Reaching into a moving drum is extremely dangerous and could result in injury.
Safety with children
•Keep children away from the washer-dryer at all times. To avoid the risk of injury,
do not allow children to play on or near it, or to play with its controls. Supervise
children whilst you are using it.
•Older children may only use the washer-dryer if its operation has been clearly
explained to them and they are able to use it safety, recognising the dangers of
misuse.
•For machine with a "porthole" door, remember that the porthole glass will be hot
when washing at very high temperatures. Do not allow children to touch it.
Note:
Unscrew the drain pump filter to let water run out when the machine is not in use for
an extended period.

OVERVIEW
Drain pump filter
Adjustable feet
Drainage pump damper
Door
Door glass
Drawer (for detergent
or fabric softener)
Control panel
Drain hose
Door seal
Side
panel
Knob
Top cover
Power cable
Rear cover
Transit bolts
Cold water inlet valve

Unpacking the machine
•Remove all packaging (include the foam base) or vibration and noise may occur.
•Dispose all plastic wrapping safely and keep it out of the reach of children, as it
presents a suffocation hazard.
•It is normal that some water drops may appear on the packing plastic and the door
glass; this is a result of final quality control testing and is no cause for alarm.
Accessories
Make sure that you have received all the items shown below:
Accessories
Name
Qty.
Accessories
Name
Qty.
Inlet Hose 1
"U" Piece 1
Transit Bolts
Caps 4
Manual 1

Removing transit bolts
•Remove all the transit bolts at the back of the machine with the appropriate tools.
•Plug the holes with the transit bolts caps supplied.
•Keep the transit bolts for future transportation. whenever the machine is
transported, as the transit bolts must be refitted to avoid damage to the drum.
Transit bolts
Note:
The drawing of machine in the manual is only use for instruction. It may be varying
from the model you buy.

Locating the machine
•A concrete floor is the most suitable installation surface for a washer-dryer, being
far less prone to vibration during the spin cycle than wooden floorboards or
carpeted surface.
•The machine must be level and securely positioned. The distance between the
machine and wall must be at least 10 cm.
•To avoid vibrations during spinning. the machine should not be installed on soft
floor coverings.
INSTALLATION

Level adjustment
The machine must stand perfectly level on all four feet to ensure safe and proper operation.
Incorrect installation may increase electricity and water consumption and may cause the
machine to move about during operation.
If the machine is not level:
•Using a spanner, turn the locknut in a clockwise direction to loosen. Then turn
locknuts together with adjust feet to unscrew.
•To avoid vibrations during spinning, the machine should not be installed on soft
floor coverings.
Locknuts
Adjustable feet
Locked
Low
Loose
High
Note:
Vibration and noise may occur if the locknuts do not sit firmly up against the housing.

Drain hose connection
1. Directly into a sink
If the outlet spigot has not been used before, remove any blanking plug that may be in
place.
Push the drain hose onto the spigot and secure with a clip if required, ensure a loop is
formed in the drain hose to prevent waste from the sink entering the washer-dryer.
If required, the drain hose can be extended to a length of 4 m.
2. Connected securely to a standpipe
Firstly, form a hook in the end of the drain hose using the plastic “U” piece supplied.
Place the drain hose into your standpipe, which should have an internal diameter of
approximately 30mm, thus ensuring there is an air brake between the drain hose and
standpipe.
When discharging into a standpipe, ensure that the top of the standpipe is no more than
90cm and no less than 60cm above floor level.
Loop
“U” piece
supplied

Water inlet connection
Connect the inlet hose supplied with the machine to a tap with a 3/4" thread.
Do not use hoses that have been previously installed with other machines.
Installation should comply with local water authority and building regulations requirements.
Connect a water supply to the inlet valve at back of the machine. Follow the indication of
the picture below to complete the connection.
Inlet valve for cold water
Inlet hose for cold water (white nut)

1. Start/pause ( )
Press this button to start or pause a wash cycle. The door cannot be opened when the
machine pauses.
You can press this button for 3 seconds to pause wash cycle and add clothes, but if the
water level or the temperature of the drum is high, the door will not open.
2. Dry
Select the time for drying. If you want to dry laundry after washing, select this button.
Press the button repeatedly to select drying times: 0, 60, 90, 120, 150, 180, 210, 240, 270,
300, 330, 360, 390 minutes. The required lamp will light up for identification.
3. Temp
Press this button repeatedly to change the wash temperature.
4. Speed
Press this button repeatedly to change the spin speed.
OPERATION
Daily
Drum Clean
Heavy
Down
High Temp
4S Wash
Wash & Dry 60'
Rinse+ Spin
Synthetic
Quick
Quick Dry
Dry
OFF
Spin
Refresh
10.0kg / 6.0kg
INVERTER

5. Rinse+
Press this button repeatedly to change the rinse times.
6. Knob
Turn this knob clockwise or anticlockwise to select the required wash program. Once the
“Start/Pause” button is pressed and the machine is running, the program cannot be
changed.
Child lock (Rinse+ & Speed)
The function of the child lock is to lock the control panel to prevent the misuse by children.
1. Press the “Rinse+” and “Speed” buttons at the same time for 3 seconds.
When the icon “ ” is illuminated on the screen, the child lock is enabled. This
function can be selected during a washing cycle.
2. When this function is enabled, all keys and knob are unavailable, except for the
knob turn to the position
Mute (Temp)
This function silences all prompt tones and alert sounds whilst it is enabled.
To start this function, press the “Temp” button for 3 seconds.
To cancel this function once enabled, press the “Temp” button for 3 seconds again.
Note:
For your safety, please not turn the knob to the position “o” and get clothes while the
machine is running, as the water temperature may present the risk of burns or
scalding. The door lock will open automatically at the end of a wash cycle while the
temperature of the drum has cooled sufficiently.

Icon explanation
Digital display: This icon shows the time, speed, rinse times, Error code.
Remaining time: displays the remaining time for the current cycle.
Delay time: this icon will be shinning once the display show the delay time.
Child lock: this icon will appear once the child lock function is enabled.
Door lock: this icon will appear when door lock function is enabled.
Dry: the icon will be illuminated when the dry function is selected and will flicker
during the drying process.
Main wash: The icon will illuminate in standby mode when a program with the
main wash function is selected. The icon will flicker during operation, illuminate
when paused, and will turn off when the cycle has finished.
Rinse: The icon will illuminate in standby mode when a program with the main
rinse function is selected. The icon will flicker during operation, illuminate when
paused, and will turn off when the cycle has finished.
Final spin: The icon will illuminate in standby mode when a program is selected.
The icon will flicker during operation, illuminate when paused, and will turn off
when the cycle has finished.

Program options
Program
Weight
(kg)
Time
(min)
Temp
(˚C)
Rinse
Times
Spin Speed
(rmp)
Dry Time
(min)
Daily 10 76
0/20
/40/60
2/3/4/5
0/400/600/800/1000
/1200/1400
0/60/90/120/150/180/210
/240/270/300/330
10 197
0/20
/40/60
2/3/4/5
0/400/600/800/100
0/1200/1400
0/60/90/120/150/180/210
/240/270/300/330
4S Wash 7 49 20 2/3/4/5
0/400/600/800/1000
/1200
--
High
Temp
6 131 95 2/3/4/5
0/400/600/800/1000
--
Down 4 66
0/20
/40
3/4/5
0/400/600/800
--
Heavy 10 99
0/20
/40/60
3/4/5
0/400/600/800/1000
/1200
--
Drum
Clean
0 109 60/95 2 600 35
Spin 10 11 -- --
0/400/600/800/1000
/1200/1400
0/60/90/120/150/180/210
/240/270/300/330
Rinse/
Spin
10 16 -- 1/2/3/4
0/400/600/800/100
0/1200/1400
0/60/90/120/150/180/210
/240/270/300/330
Synthetic 5 51
0/20
/40/60
2/3/4
0/400/600/800
0/60/90/120/150/180/210
/240/270
Quick 3.5 18 2/3/4
0/400/600/800/1000
/1200
--
Quick Dry
1
42
--
--
--
42
Dry 6 60 -- -- 0/1400
0/60/90/120/150/180/210
/240/270/300/330
Refresh
4
35
--
--
--
35
Wash &
Dry 60’
1 60 0 2/3/4
0/400/600/800/1000
/1200
42

Before using the washer
Before washing clothes for the first time, you must run a complete cycle without clothes.
Connect the power and turn on the tap, turn the knob to position “Daily” and press
“start/pause”.
This will remove any excess water within the unit from final quality control testing and
ensure the product is clean and ready for use.
1. Connect the inlet hoses well and turn on the tap.
2. After making sure the power socket is grounded reliably, insert the power plug into
the power socket.
3. Place the drain hose correctly as per the instructions above.
Preparation of clothes
Diagram 1
Diagram 2
Diagram 3
1. Sort the laundry by colour and by care label. Most garments have a textile care
label in the collar or side seam.
2. Make sure all the pockets are empty, Foreign objects (e.g. nails, coins, paper clips
etc.) can cause damage to garments and components in the machine.
3. Close any zips, fasten hooks and eyes etc., before washing.
4. Dark textiles often contain excess dye and should be washed separately several
times before being included in a mixed load. Always wash whites and colours
separately.
5. Badly soiled areas, stains etc. should be pre-treated with liquid detergent or stain
removers before washing.
6. Turn clothes which pill easily or with woolen surfaces inside-out before putting
them into the machine.

Adding clothes to the washer
Unfold the laundry and load loosely in the drum. Mixing both large and small items gives
better wash results and helps distribute the load evenly during spinning. The most efficient
use of energy and water is achieved when a full load is washed. However, do not overload
the machine, as this causes creases and reduces cleaning efficiency.
Adding detergent to the drawer
1. Open the drawer and add adequate detergent into main wash compartment
marked “ ” or “ ”.
2. Add the fabric softener into compartment marked “ ” or “ ”. Do not exceed
the maximum level mark.
Note:
Make sure that no garments are caught between the door and the seal.
Main wash compartment
Fabric softener compartment
Pre-wash compartment

3. Add the detergent into the pre-wash compartment marked “ ” or “ ”
according to the program you select.
4. Close the drawer.
The right amount of detergent to add will depend on:
•The quantity of laundry
•The soiling level of the laundry
oLightly soiled: no visible dirt or stains. Possible slight body odour.
oNormally soiled: visibly dirty and/or just a few slight stains.
oHeavily soiled: visible dirt and stains and/or dried on soiling.
•The water hardness level.
Washing steps
1. Turn on the water tap and connect the power.
2. Open the door and put the clothes into the drum one by one.
3. Close the door and put suitable amount of detergent and fabric softener into the
dispenser, then close the drawer.
4. Choose the desired program by turning the knob.
5. Press the “Temp.” button and select a wash temperature.
6. Press “Start/Pause” button to start the washer-dryer.
7. When the cycle is finished, an alert tone sounds
Note:
It is recommended to use low foaming powder for all temperature washing
programs.

Washing program chart
Programme
Washing Symbol
Fabric
Daily
Cottons, linens or cotton mix fabrics, e.g.
towels, underwear, T-shirts etc.
Cottons, linens or cotton mix fabrics, e.g.
towels, underwear, T-shirts etc.
4S Wash
Cottons, linens or cotton mix fabrics.
High Temp
Washing clothes at 95°C, which would
assist with sterilisation and disinfection.
Down
Down jackets coats.
Heavy
Clothes with large volume
Drum Clean
For cleaning the drum. Do not add clothes
to the drum while running this program.
Spin
Separate spin for cotton and linen items
Rinse/Spin
For rinsing items which can then be washed
in a Cotton program. Do not add detergent.
Synthetic
Synthetic or mixed fabrics, underwear,
coloured garments, non-shrink shirts.
Quick
New clothes or a small amount of clothes
which are not very dirty.
Quick Dry
Can be used to dry a small amount of
clothes.
Dry
Can be used to dry clothes.
Refresh
Used to remove stale smells and creases.
Wash & dry 60’
Can be used to wash and dry a small
amount of clothes.
Note:
•When washing cycle is finished, the machine will change into standby mode and
the power will turn off after 10 minutes without any inputs to the control panel.
•The machine is fitted with a balance control device, which ensures the machine is
stable during the spin. To protect the machine, it will engage if the laundry is not
evenly distributed in the drum. The laundry is redistributed by reverse rotation of
the drum. This may happen several times before the unbalance disappears and
normal spinning can resume. If, after 15 minutes, the laundry is still not evenly
distributed in the drum, the machine will not spin. In this case, redistribute the load
manually and reselect the spin program.
Table of contents
Other Kogan Washer Dryer manuals
Popular Washer Dryer manuals by other brands

Zanussi
Zanussi ZKN 7147 J user manual

Beko
Beko B3D512844UW user manual

Ariston
Ariston AWD 1200 Instructions for and use Instructions for installation and use

Beko
Beko WDR8543121W user manual

Whirlpool
Whirlpool YLTE5243DQA User instruction

Panasonic
Panasonic NA-S075H1 Operating & installation instructions

GE
GE Spacemaker GTUP240EMWW installation instructions

Electrolux
Electrolux EW7W4958OB user manual

Bosch
Bosch WVG28420AU Instruction manual and installation instructions

Cooke & Lewis
Cooke & Lewis BWD60CL manual

Whirlpool
Whirlpool THIN TWIN LTE5243D Product dimensions

Hotpoint Ariston
Hotpoint Ariston WDD 9640 Instructions for use