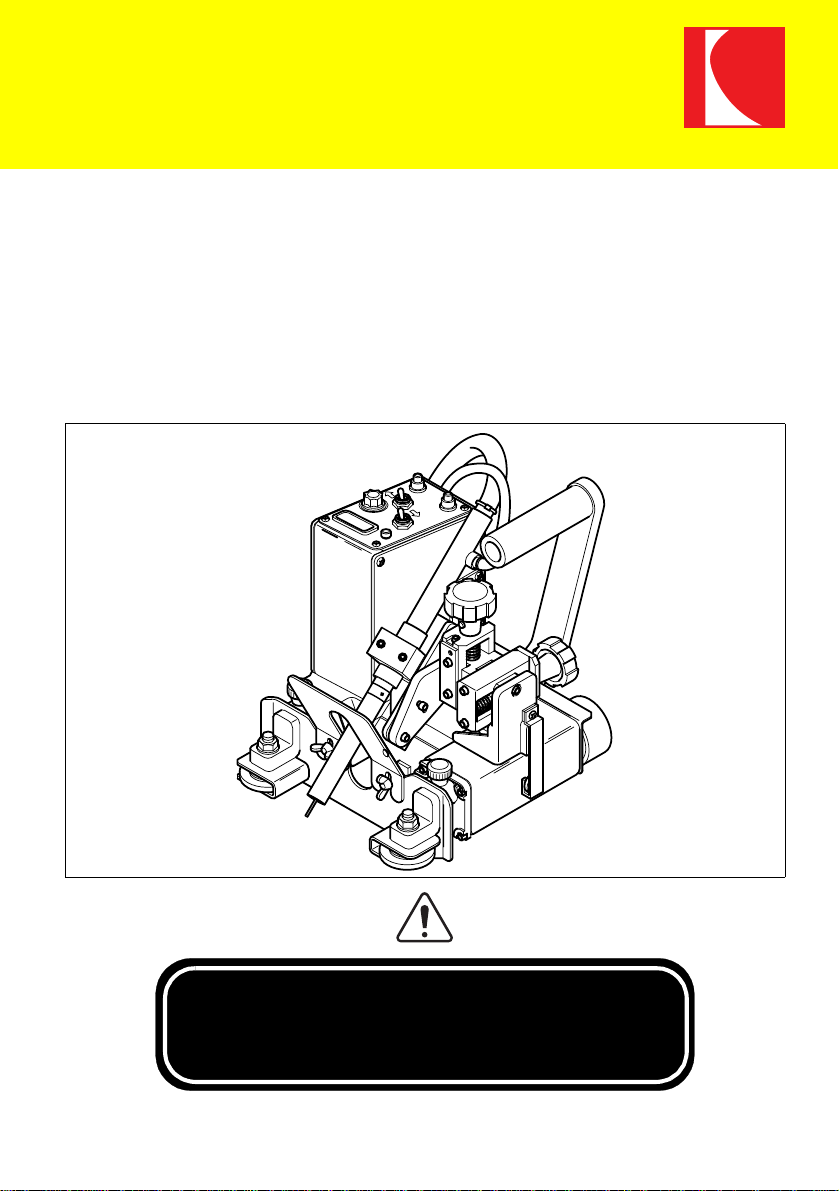
WEL-HANDY MULTI
7
3 Noise can cause hearing difficulties.
4 Wear light-shielding goggles or hand shield, which blocks light
sufficiently, for welding operation or monitoring welding.
5 Wear protective goggles to protect your eyes from spatters and
slugs.
6 Install a protective curtain around the welding site so that arc light
will not reach the eyes of people around the site.
7 Wear protective gear such as leather gauntlets. clothes with long-
sleeves, leg cover, leather apron, helmet, and safety shoes.
8 When the noise level is high, wear a noise-proofing protector.
9 Welding generates fumes and gas. Inhalation of such fumes and gas
can damage your health.
10 Welding operation in a small space causes deficiency of oxygen,
which is very likely to cause suffocation.
11 When the welding space is small, ventilate the space sufficiently or
wear an inhaler. Have a trained watchman monitor welding.
12 Welding zinc plated steel sheets or other coated steel sheets will
generate harmful fumes. Remove the coating before welding, or
wear an inhaler before operation.
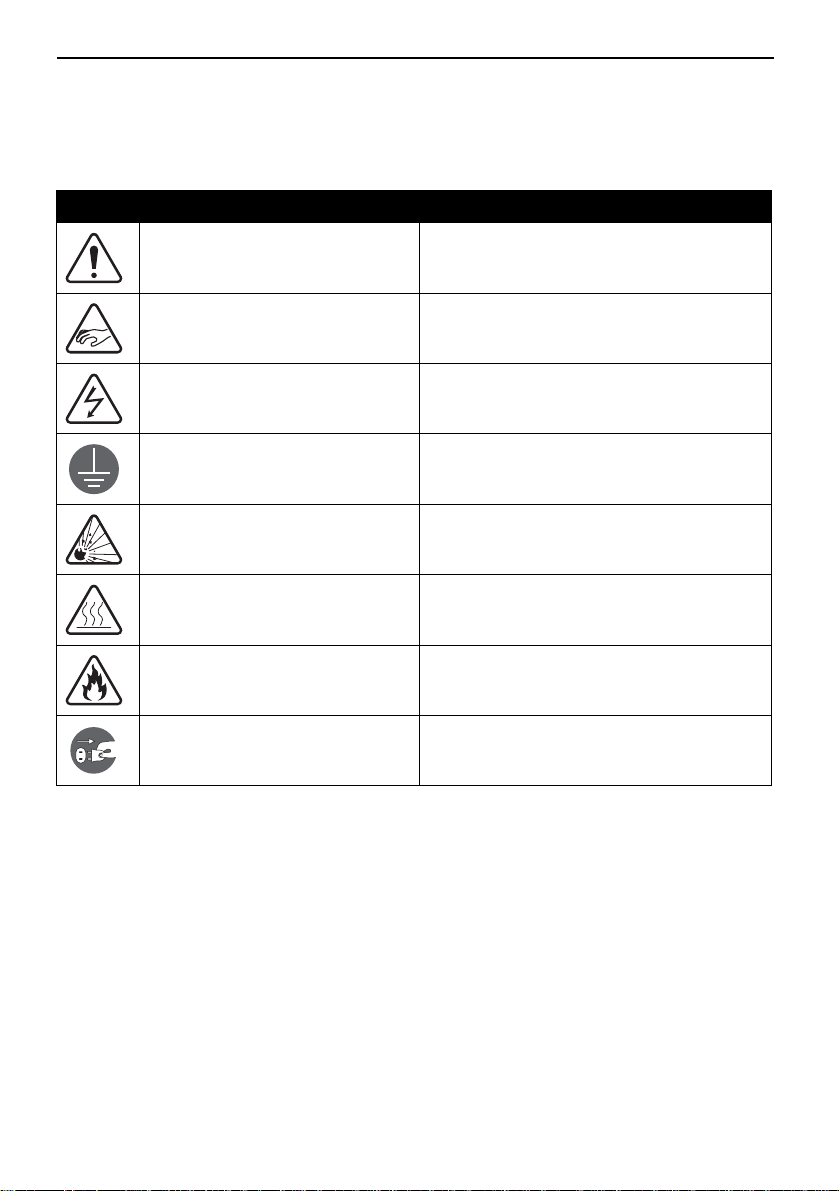
1.2.3 Electrical system precautions
Strictly observe the following to prevent electric shock.
1 Do not touch the charged section; otherwise fatal electric shock or
burns can result. When the power on the input side is turned on, the
Input circuit and the inside of the welding machine are charged.
Even if the input power is turned off, the capacitor may have been
charged. When the welding power is output, the electrode and base
metal, as well as the metal portion in contact with these, are
charged.
2 Never touch charged sections.
3 The welding power supply case and base metal, as well as jigs
electrically connected to them, shall be grounded in conformity with
the law (Technical Standard for Electric Equipment) by a qualified
electric engineer.
4 Turn off all power supplies on the input side by means of switches in
the switch boxes before installation, maintenance, and inspection.
The capacitor will not discharge completely right after the input
power is turned off. Check that no voltage is remaining before
maintenance or inspection.
5 Periodically conduct maintenance and inspection. Repair damaged
parts before resuming operation.
Wel Handy.book Page 7 Wednesday, April 10, 2002 4:00 PM