2
© 2019 Kolpin Outdoors Inc. REV 00
OPERATING INSTRUCTIONS
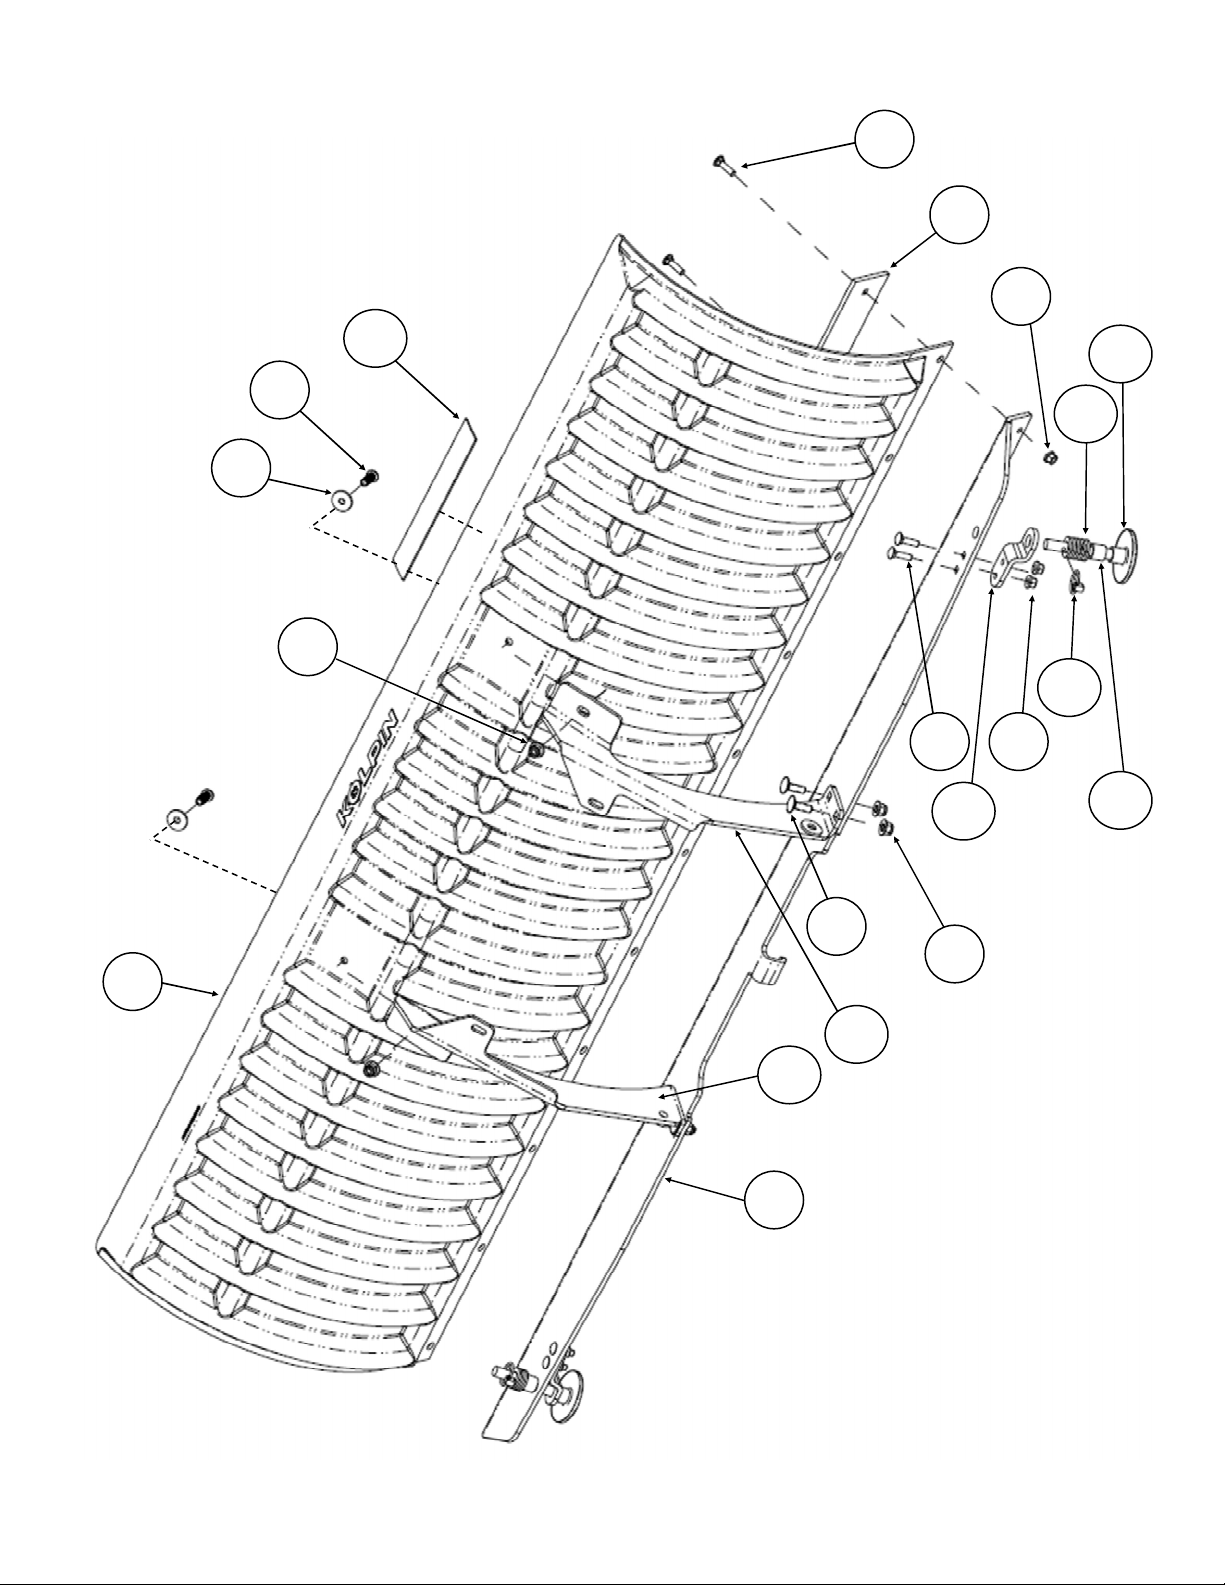
Congratulations! You’ve just purchased one of the industry’s top plow system component. The Poly Blade works great for all types of
plowing. With proper care and maintenance, your plow blade will last for many years! The 60” (152 cm) / 72” (183 cm) Blade Assembly
allows for quality snow moving capacity and snow roll-over characteristics. Additionally, this blade will handle light to medium-duty
summer landscape work.
NOTICE
Plow ope ation equi es
additional components fo ope ation: Kolpin Plow
Push Frame, High Rise Plow Push Frame, Winch
Kit, Mid-Body ATV UTV Plow Mount *
*These components may be specific to your vehicle.
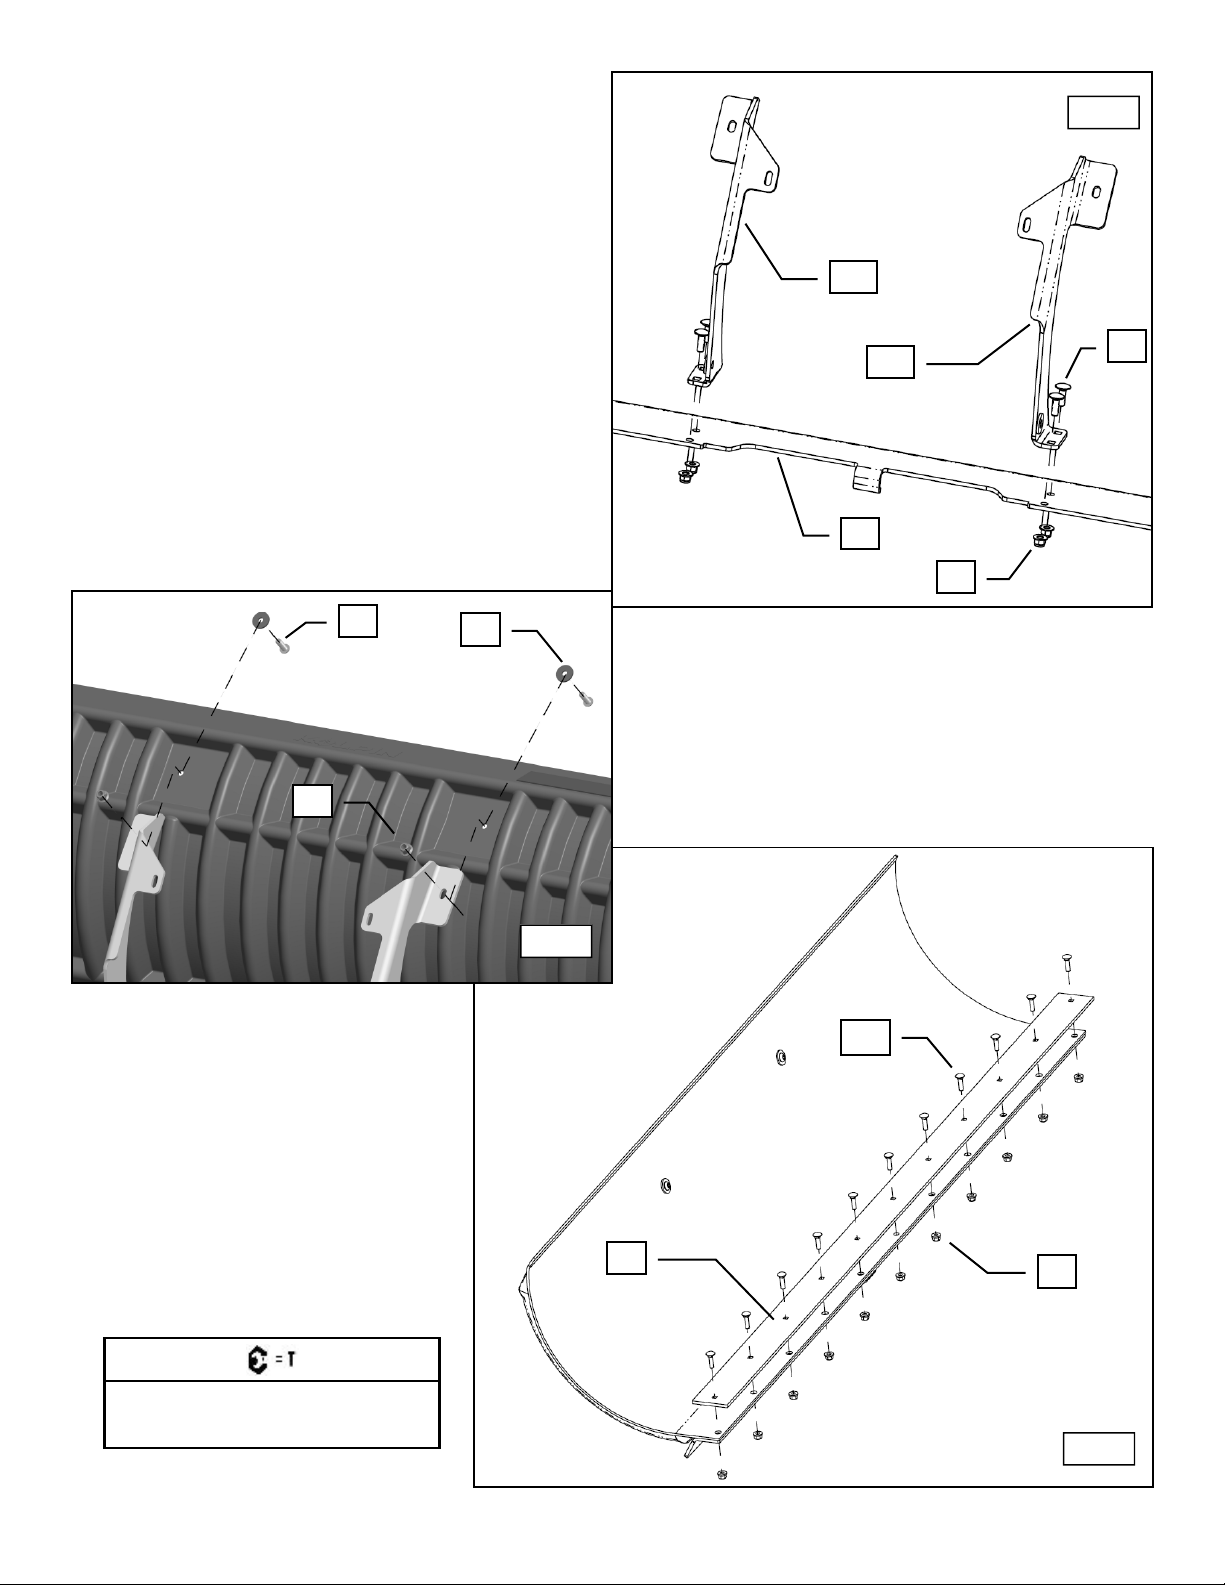
Please read and understand all assembly instructions, notices and warnings before assembling and operating your plow system.
Follow these guidelines to ensu e satisfacto y ope ation:
• Read this manual and your ATV/ UTV operators manual before use.
• Periodically check for wear and tightness of all fasteners. Replace or re-torque fasteners as necessary.
• Before first use, set plow in the furthest right or left angled position to check for clearance between the plow and front tires.
• Operate with extreme caution on slopes and rough terrain. Be familiar with the area before you plow.
• Be aware of immovable objects that could be hidden in the area you are plowing.
• To avoid damage when pushing snow into a pile, reverse direction before raising the plow blade.
• Do not ram the plow blade into piles of snow.
• or best results, set the suspension preload of your ATV/ UTV to the stiffest setting.
• To reduce steering effort and increase mobility, set the air pressure of your tires to the maximum pressure specification.
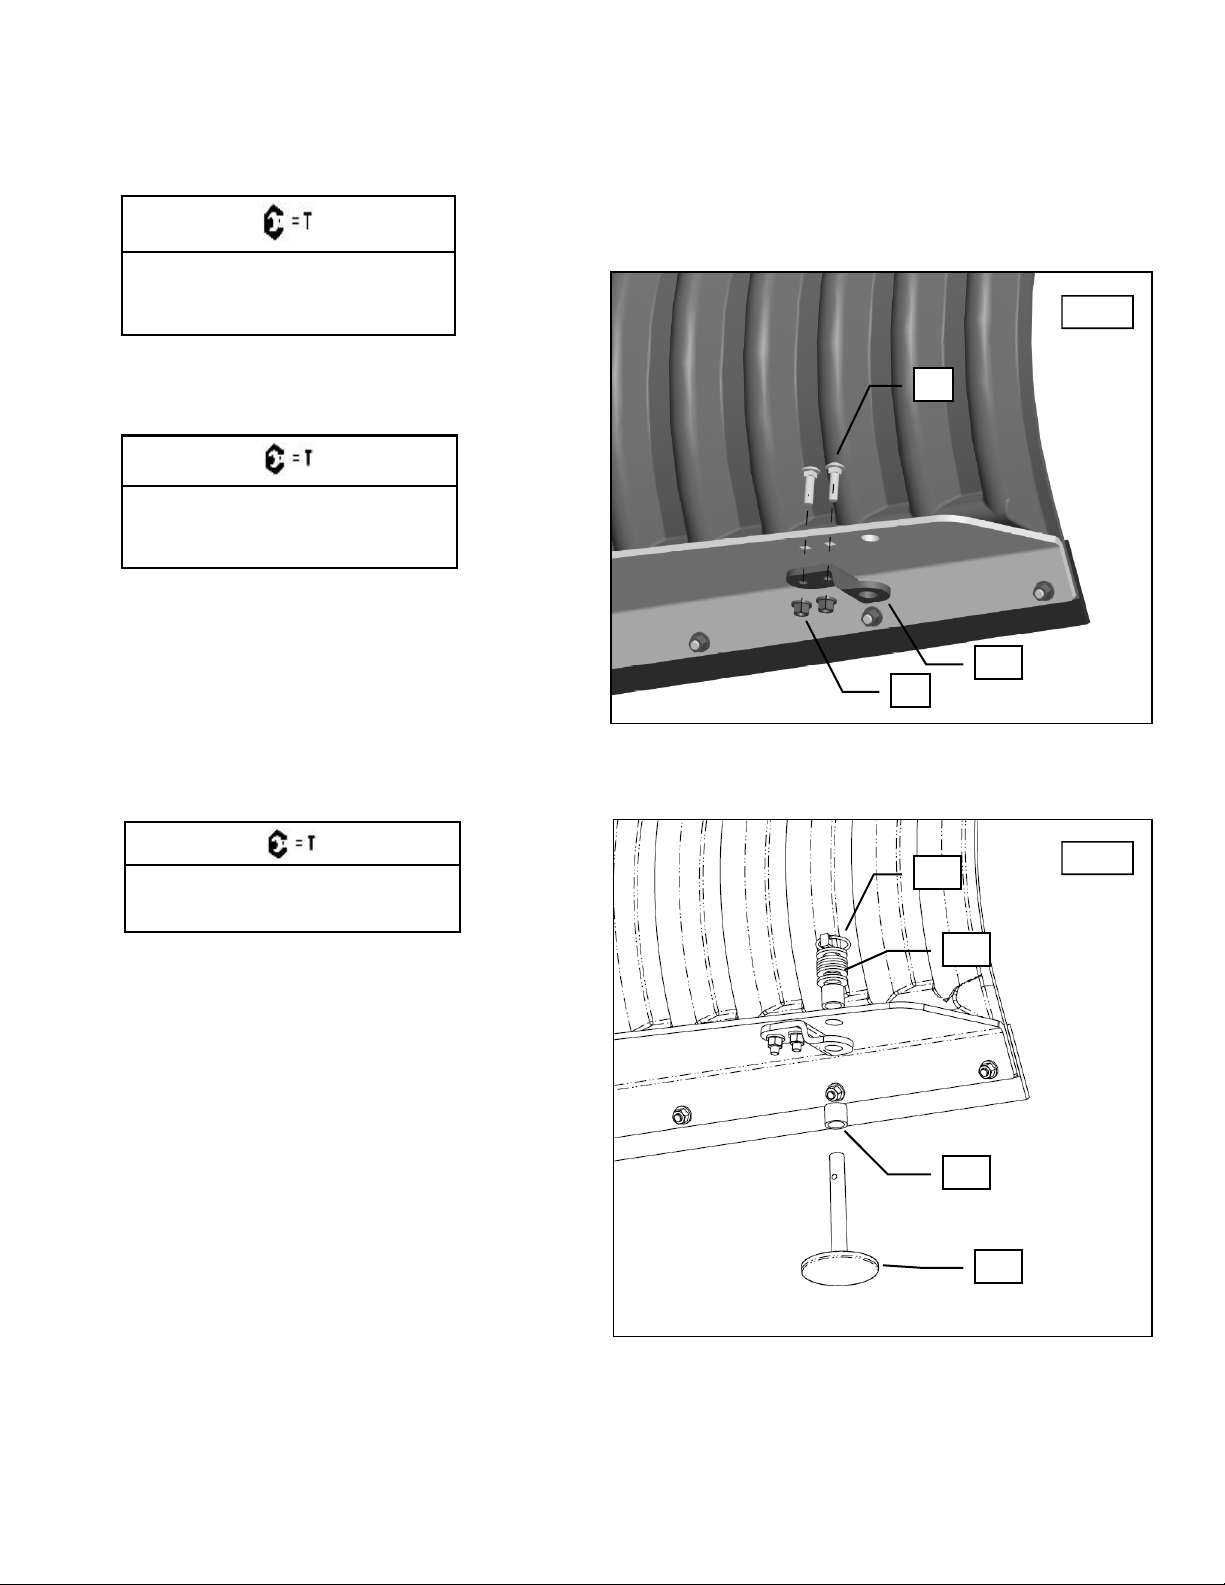
• The plow skids are adjustable. General skid setting is even with the plow wear bar bottom edge, higher settings reduce the
chance of rocks and gravel from being collected.
• To increase traction during plow operation, operators can try: Securing weight to the ATV/ UTV for additional tire downforce,
reducing tire air pressure, or installing tire chains.
SAFETY INFORMATION
Our plow systems were designed with your safety in mind. Please read and understand all Cautions, Notices and Warnings in this
manual before you begin. In order to protect you and your ATV, certain parts of the plow system and/or hardware are designed to fail
when the equipment is over-stressed.
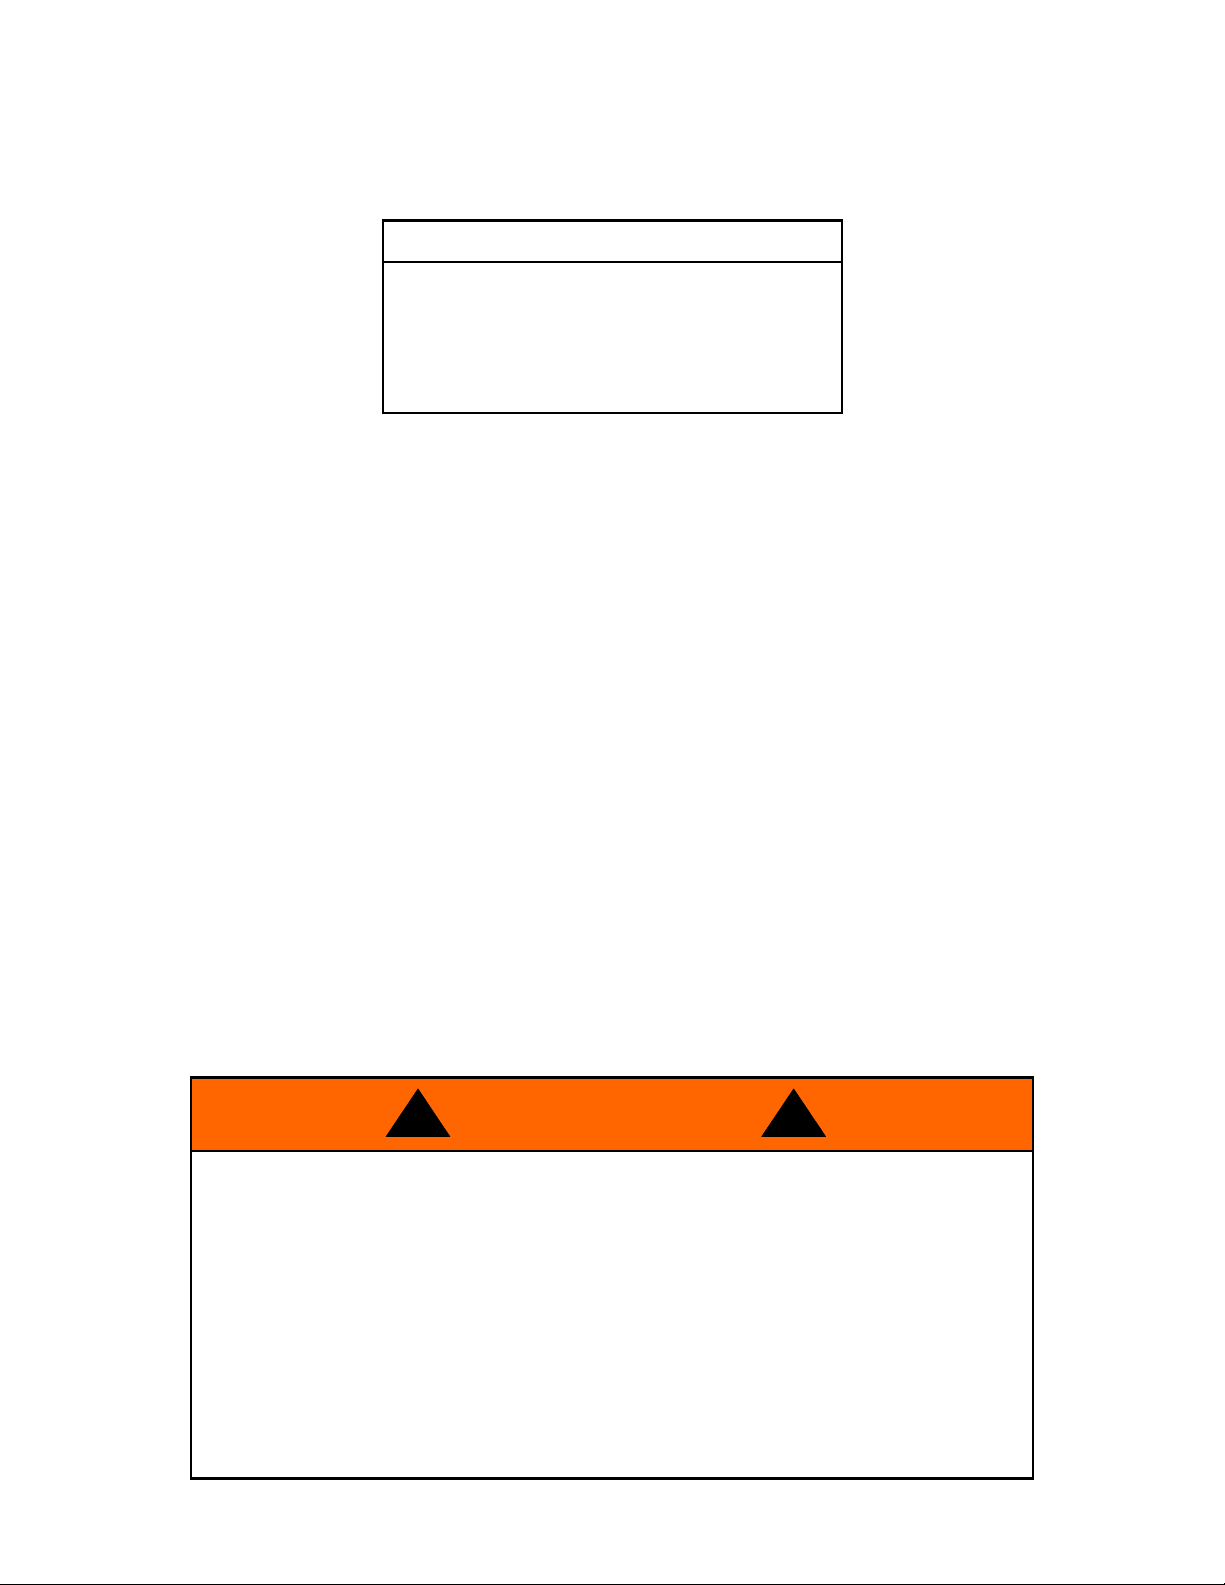
WARNING
TO AVOID SERIOUS INJURY OR DEATH:
1. DO NOT EXCEED 5 MPH (8 KMH) WITH BLADE INSTALLED
2. OPERATE WITH EXTREME CAUTION ON SLOPES, STEEP GRADES, AND ROUGH TERRAIN
3. ALLOW NO RIDERS ON BLADE OR ATV WHILE MOVING OR STATIONARY
4. KEEP BYSTANDERS AWAY FROM THE BLADE OR ATV WHILE MOVING OR STATIONARY
5. WHEN PUSHING HEAVY MATERIAL, DIRECTION CONTROL MAY BECOME DIFFICULT
6. BEFORE ADJUSTING BLADE: STOP ATV ENGINE; SET AND LOCK BRAKES; RAISE AND LOCK BLADE
7. LOWER BLADE TO DOWN POSITION WHEN BLADE AND ATV ARE NOT IN USE
8. READ BLADE INSTRUCTION SHEETS AND ATV OWNER’S MANUAL
! !