Komaes KC3 User manual

KC3 PV Charge Controller Instruction Manual
1
KC3
PV CHARGE CONTROLLER
Instruction Manual
Ningbo Komaes Solar Technology Co., Ltd.
1.Characteristics
1.1 PWM to prevent power loss
1.2 Reasonable management for Batteries Charge & Discharge.
1.3 Four Working modes are optional.
1.4 LCD Display clearly indicates Working Status.
1.5 Parameters and working modes can be set up as users’ requirements under different working
conditions.
1.6 Protection for Batteries Overcharge & Overdischarge(Low volt)
Protection for Overload & Short Circuit
Protection for Reverse Polarity of solar modules
Protection for Reverse Polarity & reverse charging (during night time) of Batteries
The function of Voltage Recovery from Charging Voltage Monitor to keep Switch from vibration
1.7 6 LEDs: Charging - green, Full - green, Low volt (Overdischarge) - red,
Operate (Working) - green, Over volt - red, Over load - red
1.8 RS485 communication interface is preformed for PC connection.
1.9 Powerful TVS used for thunder-arresting

KC3 PV Charge Controller Instruction Manual
2
2.Layout
Diagram 1
Diagram 2
3.Installation
See Diagram 2
Terminals from left to right to connect: anode of modules; cathode of modules; anode of batteries;
cathode of batteries; anode of loads; cathode of loads.
Cables’ Selections according to Current of Loads;
Selected cables to connect batteries are better shorter& thicker to prevent power loss.
Note: KC3 is designed for lead-acid battery, it may affect if use other types.
Working
Charging Full
Over
load
Over
volt
+
-
+
-
+
-
LCD 4 Buttons
6 LEDs
6 Connections
Terminals
+
-
+
-
+
-
Module”+”
Module”-”
Battery”+”
Batter
y
”-”
Loads“+”
Loads “-”
SET
SET
Low volt

KC3 PV Charge Controller Instruction Manual
3
Installation & Notices:
①Enough room is needed for heat elimination.
Installation & operation Temperature: -20℃~+50℃
②Terminal is set in the back (Metal backing) of KC3 for thunder-arresting by TVS when well
grounded.
③Shall connect orderly as: a. Batteries b. Modules c. Loads.
Note: Singlechip of KC3 is powered by Batteries, so need connect to the Battery first.
Attention to Anode & Cathode when connection.
Metal backing Must be well grounded.
④Temperature Sensor is fixed in KC3 with down-lead.
Temperature Sensor can be moved and fixed on batteries by down-lead if too much temperature
difference between KC3 and Batteries.
⑤Rated Voltage of Batteries needs to match Working Voltage of modules.
4.Functions
Electro-management
4 Control modes are optional
Time shall be reset when controller re-connected with power
●Light Switch Mode (Default Mode)
Under this mode, it will activate voltage when Light gets lower to the set data, KC3 will
automatically switch on the loads after a set delay time.
KC3 will stop powering to the loads after a set delay time when sunlight gets stronger to the
set data.
●Light-on / Time-off Switch Mode
Under this mode, it will activate voltage when Light gets lower to the set data, KC3 will
automatically switch on the loads after a set delay time.
KC3 will automatically turn off the loads keeps powering to the loads until a set time.
NOTE: The time mode of KC3 is “24 hours”, any time setting needs to be according to the
time shown on the LCD. After turning off, KC3 will switch on the loads until one
daytime later when the Light switch conditions.
If the turning-off time is set before current time, KC3 can turn off the loads until next

KC3 PV Charge Controller Instruction Manual
4
set time.
●Time Switch Mode
Under this mode, loads can be only powered during the set time.
NOTE: Time is 24 hours Time Mode which just the one shown on the LCD
A new set time will be only adopted on the morrow if user changes the time that is
already set.
If the turning-on time is set before current time, KC3 can only power the loads at the
same set turning-on time but on the morrow.
If the turn-off time is set before current time or before turning-on time, KC3 only
stops powering the loads at next set time.
●Manual Switch Mode
Under this mode, only users can control the turning -on and turning –off, see details in 5
■Battery Charging Management
Management proceeds Precharge, Voltage Limit, Float Charge according to different Initial
Status of Batteries.
Precharge works after deep Discharge, in case of a shock to the batteries from Initial Impact
Current.
Efficient PWM begins to charge after a certain charge from the battery, and turns to Voltage Limit
Charge when goes into the limited line.
Float Charge begins and keeps its status at the end of the process. “Full” LED turns on.
Float Charge will keep working to recover the loss from self-discharge of the batteries.
Recovery of batteries’ temperature is functional at this same time.
Voltage Valve’s Value of each reference point to be recovered by this function.
Batteries’ Valves’ Values falls down when temperature gets up.
Too high Charging Voltage will lead harmful gas and water missing of the batteries when
temperature gets too high.
And it will be undercharge to the batteries when too low temperature.
Temperature Compensation will automatically adjust the Charging Voltage at that moment.
The range of Temperature Compensation is -20℃--50℃, it is not available when out of this
range. It keeps Final Charging Voltage never exceeds to the one required.
Efficient PWM mode keeps batteries working at the best status, which much extends their lives.

KC3 PV Charge Controller Instruction Manual
5
■Indication
All data displayed such as: Working Mode, Switch Status, Input DC Voltage of Solar Modules,
Input DC Current of Solar Modules, Input Power of Solar Modules, Battery Voltage, Loads
Current, Current Time, Battery Temperature, which will be very easy to check the status of the
controllers.
See details in 5.1.
■Setting
4 buttons for operations and settings according to different conditions.
See details in 5.2
■Indication of working status
6 LEDs for Indication: 2 for working status indication, 2 for charging status indication, 2 for loads
status indication. See details in “Indicated LEDs”.
■Protection and Alarm
●Overcharge Protection
KC3 controls pv modules when the Charging Voltage of the batteries gets to the biggest but
allowable one, it keeps batteries safe from too high charging voltage.
●Overdischarge(Low volt) Protection
“Low volt” flashes when the batteries’ voltage is too low, it will stop flashing to turn to red if
voltage keeps down to the Protection Line, and loads will be disconnected at this same time to
keep batteries safe from Overdischarge. Protection stops when batteries enough charged, and
“Low volt” LED turns off.
●Overvoltage Protection
“Over volt” flashes when Terminal Voltage exceeds the one required, it will stop flashing to turn to
red if voltage keeps up to the Protection Line. And loads will be automatically disconnected at this
same time to keep loads safe from Overvoltage.
Protection stops when batteries get back to normal voltage, and “Over volt” LED turns off.
●Batteries Reverse Polarity Protection
Fuse blows to protect batteries when Reverse Polarity of batteries.
It can be back to work after user corrects the connections and renews the fuse.
●Modules Reverse Polarity Protection
Modules can be back to work after connections corrected.
●Overload Protection

KC3 PV Charge Controller Instruction Manual
6
“Over load” LED flashes when total current exceeds the rated one.
Load Protection activated 60 seconds after the current is 1.2 times more than rate one.
Load Protection activated at once when the current 1.5 times more than rate one.
When protection activated, all the loads will be disconnected, then “Over load” LED stops
flashing but keeps on.
After the malfunction removed, press any button to return to work.
5.Operation Instructions
LCD, 4 buttons, 6 LEDs are fixed on KC3.
1). Working Status, all the working data shown on the LCD
2). Setting Status, adjust the data shown on the LCD.
Working Status is the default mode when electrified
■Data on LCD under Working Status
All the data: Working Mode, Switch Status, Input DC Voltage of Solar Modules, Input DC Current
of Solar Modules, Input Power of Solar Modules, Battery Voltage, Loads Current, Current Time,
Battery Temperature, are all shown on LCD, moving in cycles.
Table 1. Data on LCD under Working Status
No Display Meaning Unit Format Remark
1 “MODE+STATUS” Working Mode and
Switch Status of load 4 modes & 2 status
2 Vpv Input Voltage of Solar Modules V XX.X
3 Ipv Input Current of Solar Modules A XX.X
4 Ppv Input Power of Solar Modules W XXX
5 Vbat Battery Voltage V XX.X
6 Iw Loads Current A XX.X Current of total loads
7 Pw Loads Power W XX Power of total loads
8 Tbat Battery Temperature ℃XX
9 TIME Current Time HH:MM:SS
Diagram3 Firstroll(page)shownonLCD
1. LD....PV....OFF
2. Vpv.........XX.X
3. Ipv......... XX.X
4. Ppv.........XXX

KC3 PV Charge Controller Instruction Manual
7
Diagram 4 Second roll (page) shown on LCD
Diagram 5 Third roll (page) shown on LCD
■Setting
Under setting status, output control won’t re-detect if working mode not changed.
Output will re-detect if working mode is changed.
4 data for setting: Time, Lighting Control, mode and data of loads.
Table 2. Data setting
No. Display Meaning Unit Format
Factory
setting
Remark
1 TIME Current Time HH:MM:SS
00:00:0
0
hour:minute:second
For time checking
2 Ibat(max)
Maximum Battery
charging current
A XX.X 40.0 Set within 5.0A-40.0A
3 Vbat(max)
Allowed Maximum
Battery Charging
Current under 25℃
V XX.X
14.4 /
28.8
Set within 14.4V-15.0V
4 Vbat(min)
Battery over
Discharging Voltage
under 25℃
V XX.X
10.8 /
21.6
Set within 10.5V-11.0V
(automatically doubled in
24V system)
5 LD_M
Working Mode of
Loads.
PV 4 Modes
6 LD_T
On & off Time of
loads
HH:MM
HH:MM
07:50
17:10
On Time setting
available under timing
mode
off Time setting available
5.Vbat........XX.X
6.Iw..........XX.X
7.Pw.........XXX
8.Tbat........XXX
9.TIME XX:XX:XX

KC3 PV Charge Controller Instruction Manual
8
when Lighting Mode is
on but Timing Mode is
off, or under Timing
Mode
7 PV_ON_V
Lighting control
on(off) Voltage
V X.X 4.0 / 8.0
Set within 4.0V-8.0V
(automatically doubled in
24V system)
8 PV_DLY_T
Switch Delay
time(mins) when Full
lighting control
voltage
M XX 03
1mins-59mins, available
when lighting control on
or off.
Instruction: See above table
1) No.1 “Current time” is for setting the right time. When under this status, the time shown is
the current system time. It is a “24 hours” mode. It will be back to factory setting if you set
unreal time or when power turn-off, you need to reset the time when you the power turn-on.
2) No. 2 is set for batteries in different capacity, the setting affects the charging time as well.
3) No. 3 is set to pause charging when battery voltage exceeds to this set voltage.
Re-charging starts at a low current when the battery voltage is back to charging voltage,
4) No. 4 is set to disconnect the load when the battery voltage is lower than this set voltage.
The users shall set the “discharging cutout voltage” according to the actual discharging
current.
It means:
1). Set a lower “discharging cutout voltage” when discharging current is big.
2). Set a higher “discharging cutout voltage” when discharging current is small.
The settings for No. 2, No. 3, No. 4, please reference the specifications of batteries.
5) No. 5 is “Working Mode”, it has: 4 modes which mentioned above.
PV: Lighting Mode (Default Mode)
PV+TIME: Lighting Control on + Time Mode
TIME: Timing Mode
MANUAL: Manual Switch Mode
6) No. 6 is to set the time for on & off. Time for “on” is available under Timing Mode, not
available for other modes. Time for “off” is available under when Lighting Mode is on
but Timing Mode is off, or just under Timing Mode

KC3 PV Charge Controller Instruction Manual
9
7) No.7 is to set the voltage when lighting control is on or off.
This setting is for KC3 to check grade of the sunlight under Lighting Mode.
8) No.8 is to set the delay time when solar modules reach the opening voltage under Lighting
Mode.
Note: The data won’t be saved if the set one exceeds to require one, KC3 will still run according
to the previous setting
Diagram 6 First roll (page) shown on LCD
Diagram 7 Second roll (page) shown on LCD
■Buttons Operations
LCD Light turns on when Buttons Operations, turns off 10 seconds after Buttons Operations.
LCD Light keeps on under setting status, turns off 5 seconds after back to normal status.
4 buttons on KC3: “setting button” “next” “up/increase” “down/reduce”
●“setting button”
Under normal status (when LCD shows the working status), press and hold 5 seconds setting
button to enter the setting status.
Under setting status, cursor flashes on where data needs adjusted, the position of cursor is
moveable. Press “next” to change the cursor position. Press “up/increase” or “down/reduce” to
adjust the data where cursor located.
Press setting button under setting status to save the changed data, the LCD turns over to next
page. Under setting status, press and hold 5 or 10 seconds of setting button, setting status
done and turn back to normal status.
Under normal status, press setting button, LCD turns over to next page to show more working
1.TIME HH:MM:SS
2.Ibat(max)... XX.X
3.Vbat(max) ...XX.X
4.Vbat(min).... XX.X
5.LD_M........PV
6.LD_T.XX:XX.XX:XX
7.PV_ON_V....X.X
8.PV_DLY_T....XX
SET
SET

KC3 PV Charge Controller Instruction Manual
10
data.
●“next”
Under setting status, “next” is pressed to change the position of cursor.
When users select Working Mode, cursor flashes on “M” of “LD_M”.
Press “next” under normal status, LCD turns over to next page.
●“up/increase”
Under setting status, press one time “up/increase” to increase 1 of the data.
When KC3 under setting status and the cursor is located on working mode selection,
press “up/increase”, 4 modes will be shown orderly as PV, PV+TIME, TIME, MANUAL.
Under normal status, press “up/increase”, LCD turns over to next page.
When KC3 under normal status and Manual Mode, press and hold 5 seconds “up/increase” to
open the loads.
●“down/reduce”
Under setting status, press one time “down/reduce” to reduce 1 of the data.
When KC3 under setting status and the cursor is located on working mode selection,
press “up/increase”, 4 modes will be shown orderly as PV, PV+TIME, TIME, MANUAL.
Under normal status, press “down/reduce”, LCD turns over to next page.
When KC3 under normal status and Manual Mode, press and hold 5 seconds
“down/reduce”” to close the loads.
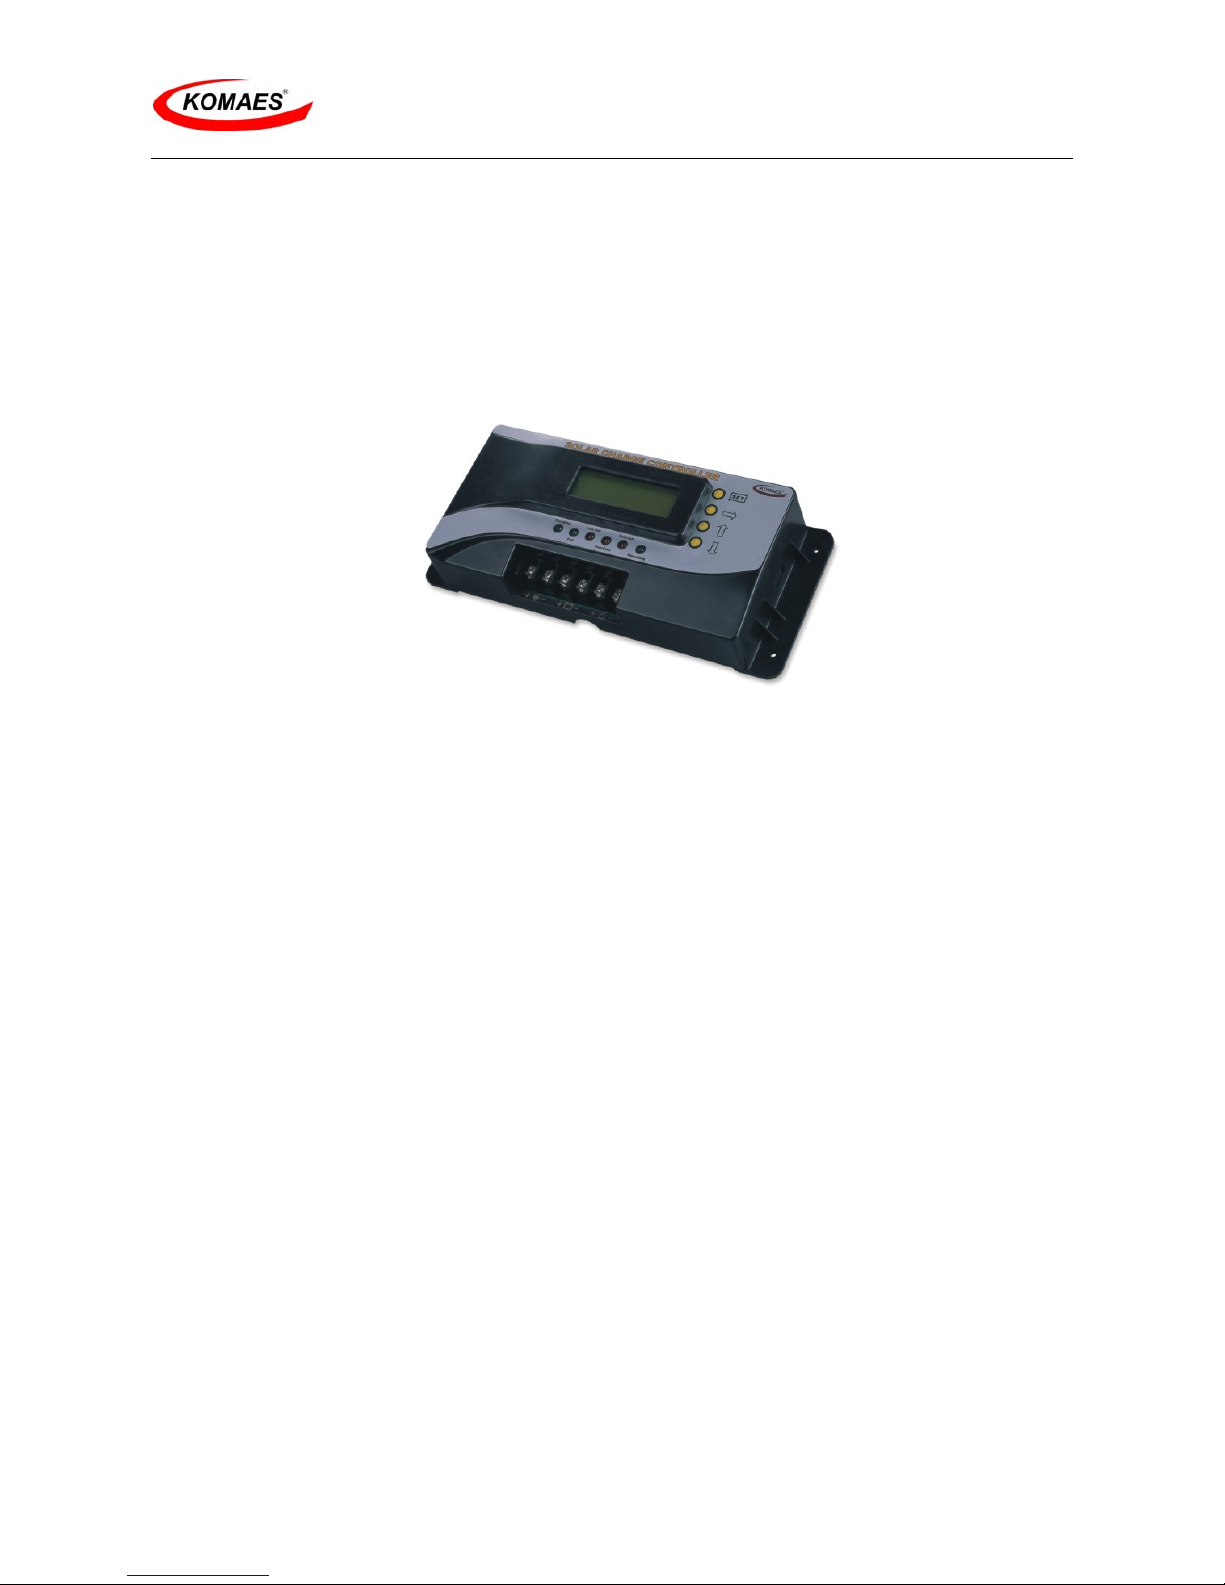
■Indicated LEDs
LEDs fixed on KC3
① “Charging”, green LED: Batteries are being charged, charging current works.
② “Full”, green LED: Batteries are Fully charged
③ “Low volt”, red LED: It flashes when Low battery (discharge) as alarm, it keeps red
when under Low battery protection (Over discharge <Low volt> protection).
④ “Over load”, red LED: It flashes when Over load as alarm. Over load status happens
when load current exceeds to required one. It keeps red when under Over load protection.
⑤ “Over volt”, red LED: It flashes when Over volt as alarm. It keeps red when under Over
volt protection.
⑥ “Working”, green LED: Signal processing unit works, the Load Terminals get power
source which fits the modes.
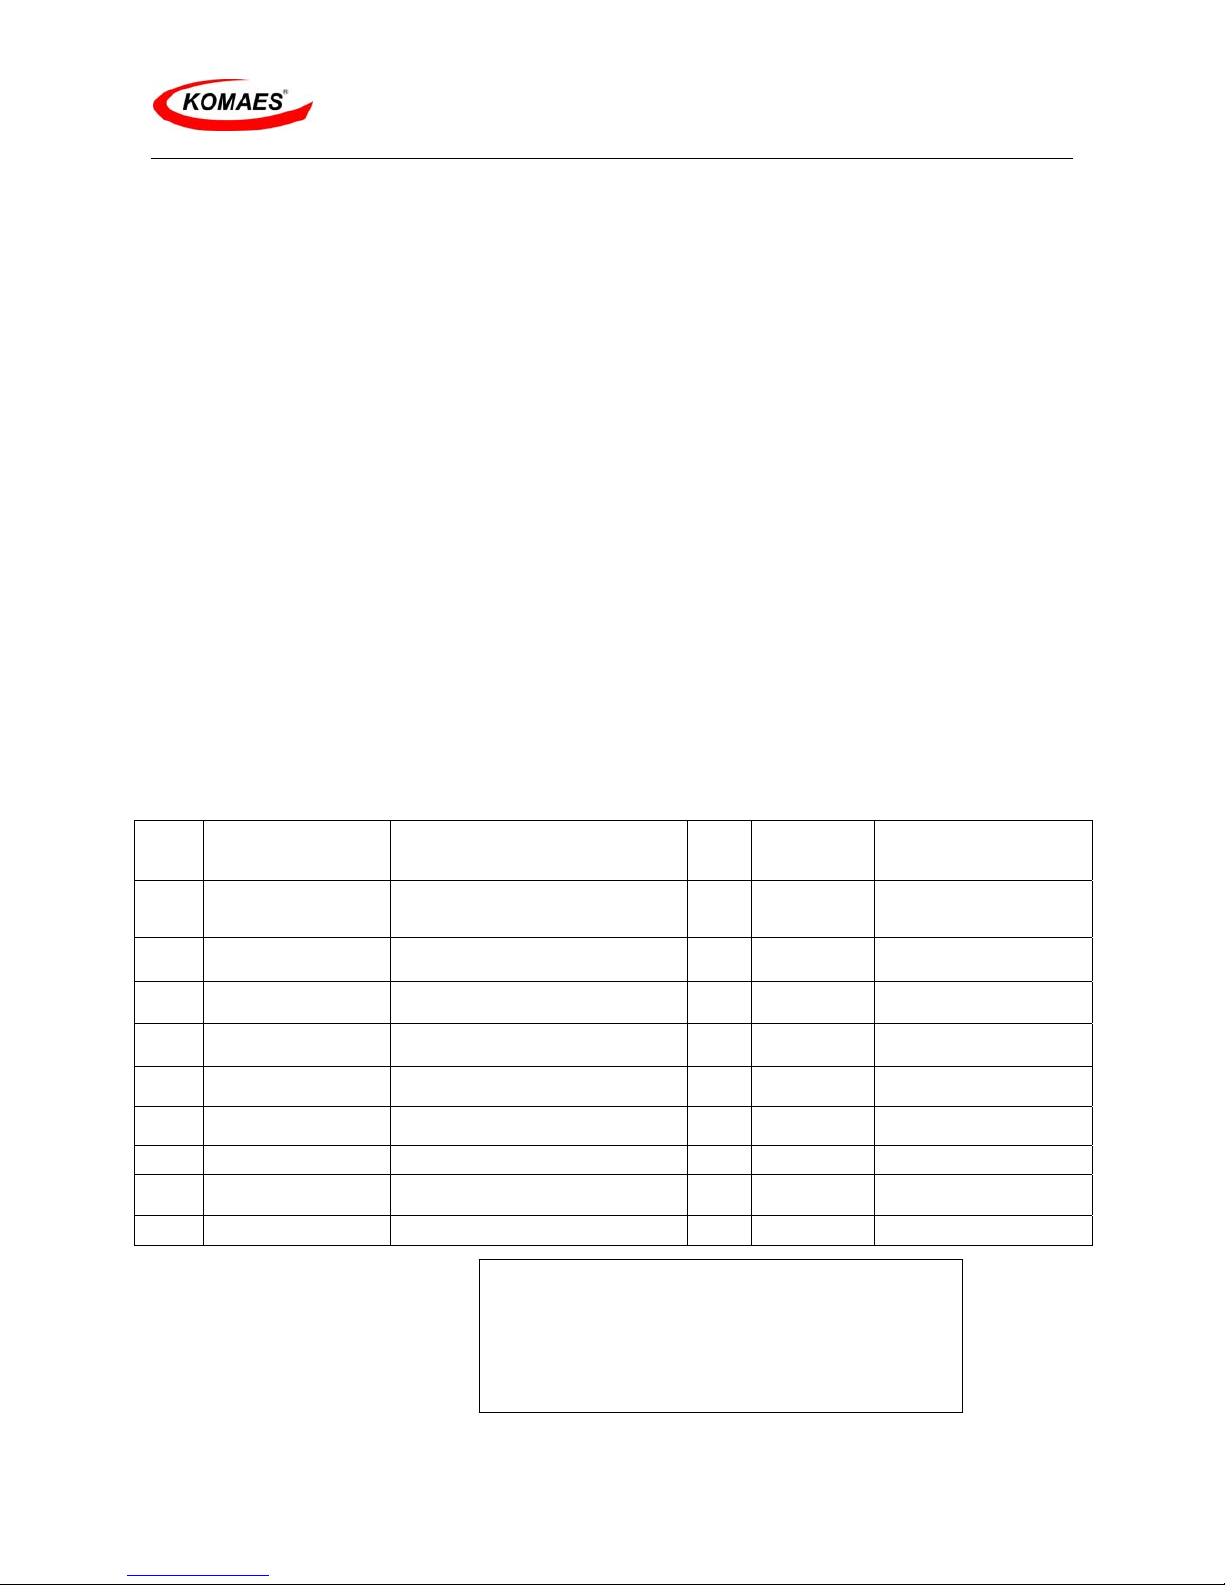
6.Warranty & After Service

KC3 PV Charge Controller Instruction Manual
11
One year warranty.
Guarantee is not working if the Damage caused by shipping, improper operation or any other
man-made behavior.
Professional lightning protection is additionally needed if KC5 used under where lightning often
happens, and no guarantee is available in this case.
Note: TVS lightning protection is the last necessary protection only.
7.Malfunction & Troubleshooting:
Malfunction Troubleshooting:
Can not save the set data Set data can not exceed to required one
Sunlight works, but voltage
of solar module indicates
“0”
Check the connection of the modules, and make sure right connection
for “+” and “-”
“Over volt” turns on, no
output
Check the connection of batteries.
“Low volt” turns on, no
output
Batteries have been discharged, will automatically return to work after a
certain charge
“Over load” turns on, no
output
Over load protection or short-circuit protection activated.
Remove additional loads, and press any button, system will re-work.
8.Parameters Sheet
Technical Parameters KC3
Rated working voltage DC12V / 24V
Rated Charge Current 40A
Non-load Current <100mA
Final voltage for Quick
Charge
≤14.4V / 28.8V
Float voltage 14.1V / 28.2V
Rated output current 40A

KC3 PV Charge Controller Instruction Manual
12
Overload, short circuit
protection
Load Protection activated 60 seconds after the current is 1.2
times more than rate one.
Load Protection activated at once when the current 1.5 times
more than rate one.
Low voltage alarm ≤11.4V / 22.8V
Overdischarge(Low volt)
protection voltage
≤10.8V / 21.6V
Overdischarge(Low volt)
recovery voltage
≥ 13.4V / 26.8V
Over voltage alarm ≥ 15.0V / 30.0V
Overvoltage protection ≥ 15.50V / 31.0V
Overvoltage recovery ≤14.4V / 28.8V
Working temperature -20℃~+50℃
Temperature
compensation
-3.9 mV/℃
Over temperature
protection ≥ 75℃
Over temperature
Recovery ≤65℃
Table of contents
Other Komaes Controllers manuals
Popular Controllers manuals by other brands

Sistemes Electronics Progres
Sistemes Electronics Progres Agronic 2500 Installation

Danfoss
Danfoss AME 438 SU installation guide

HERON
HERON HT240 pro User guide and installation manual

Elsner
Elsner KNX S1R-UP Installation and adjustment

rotork
rotork gp series Maintenance manual

WeatherTRAK
WeatherTRAK ET Pro 2 Series Manual/quick reference guide