Page
Scope of delivery of KOMDRUCK IDP (Ink-Document-Printer) ................................2
Printer.......................................................................................................................2
Accessories ..............................................................................................................2
Terms and conventions.............................................................................................3
Terms........................................................................................................................3
Conventions..............................................................................................................3
Symbols....................................................................................................................3
Connectivity..............................................................................................................4
Parallel port...............................................................................................................4
USB-port...................................................................................................................4
Network port (optional)..............................................................................................4
250-sheet paper tray (optional).................................................................................5
Installation.................................................................................................................5
Printer driver installation on a Windows XP computer ..............................................7
Printer driver installation on a Windows7 computer................................................18
Installation of the Toolbox.......................................................................................24
Work with the toolbox..............................................................................................28
Exit the Toolbox......................................................................................................33
Overview.................................................................................................................34
Printing a document................................................................................................36
Troubleshooting......................................................................................................37
Printer is not printing...............................................................................................37
Check printer-LEDs.................................................................................................37
Despite pressing the power button the printer remains switched off.......................39
Check printer cable connections.............................................................................39
Printer is still not printing.........................................................................................40
Paper problems ......................................................................................................40
Poor print quality.....................................................................................................41
Document is misprinted ..........................................................................................42
Photos are not printed correctly..............................................................................43
Printer is slow .........................................................................................................44
If you continue having problems.............................................................................44
Disposal..................................................................................................................44
Technical specification............................................................................................45
2
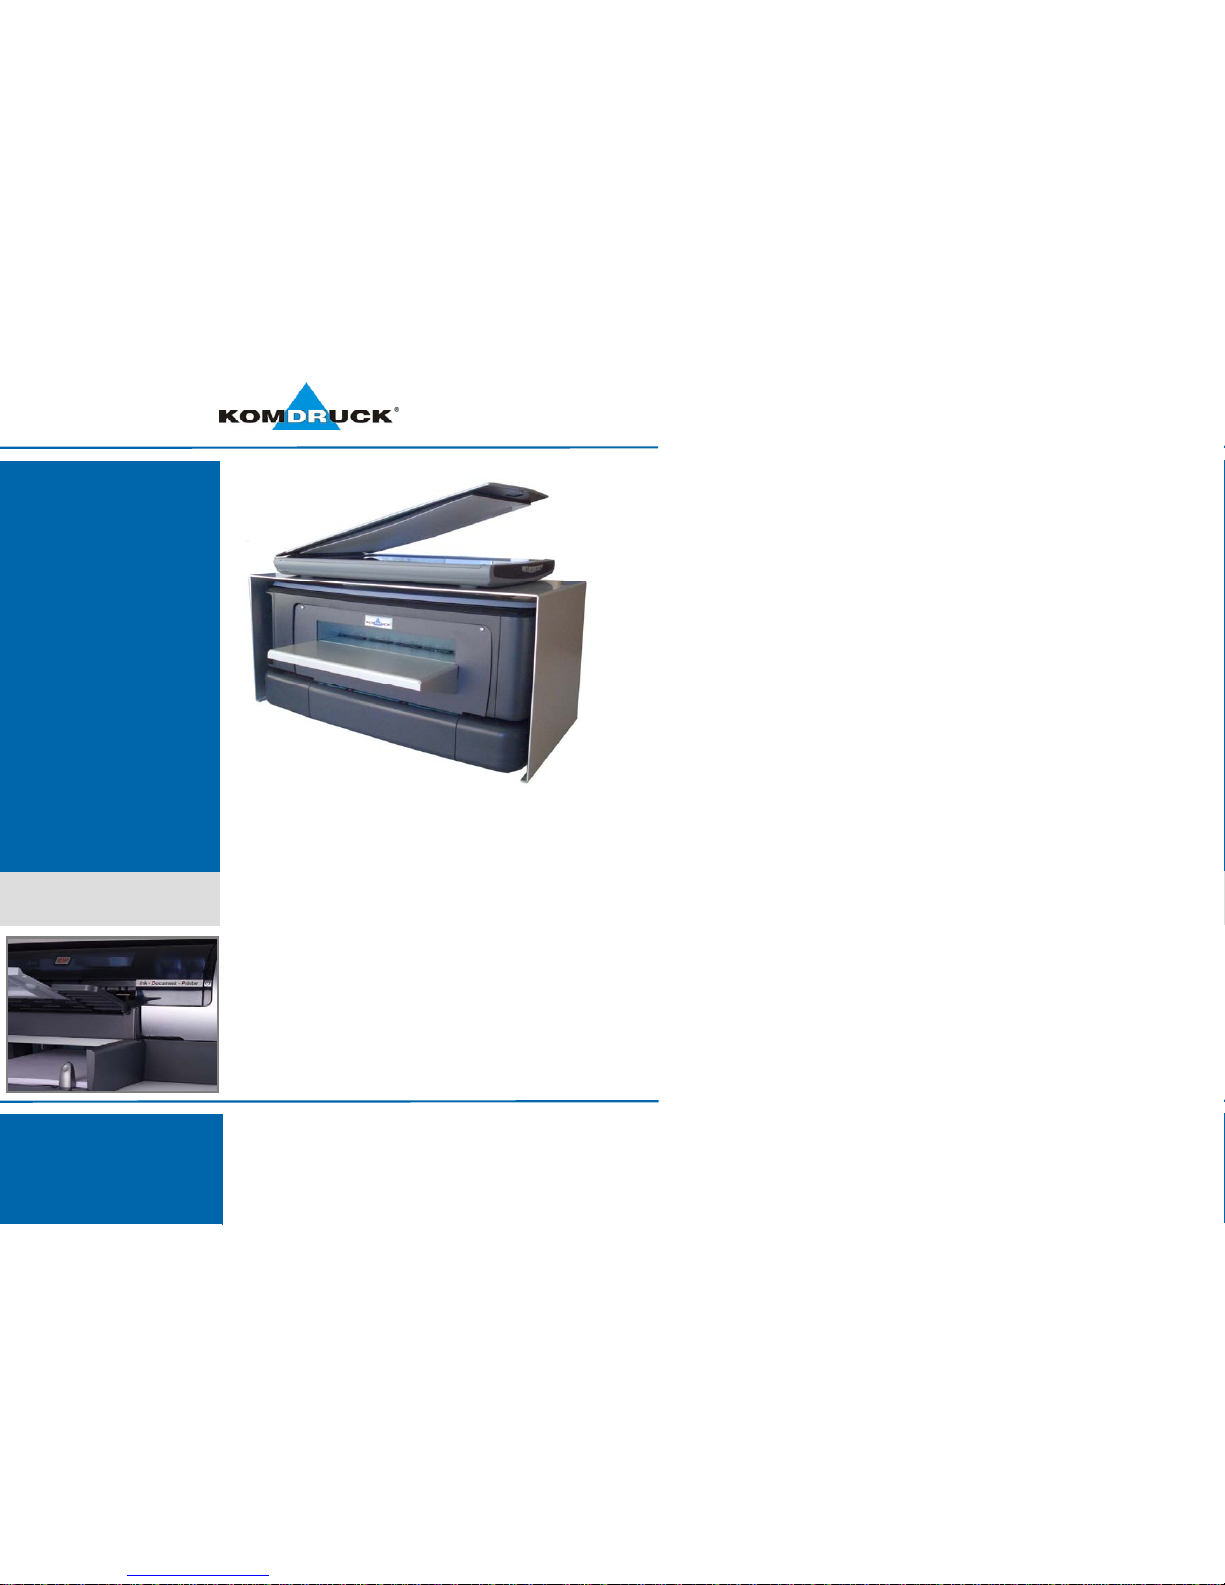
Scope of delivery of KOMDRUCK IDP (Ink-Document-Printer)
Your printer will be delivered with the following content:
Printer
(packed in plastic bag and foam sleeve)
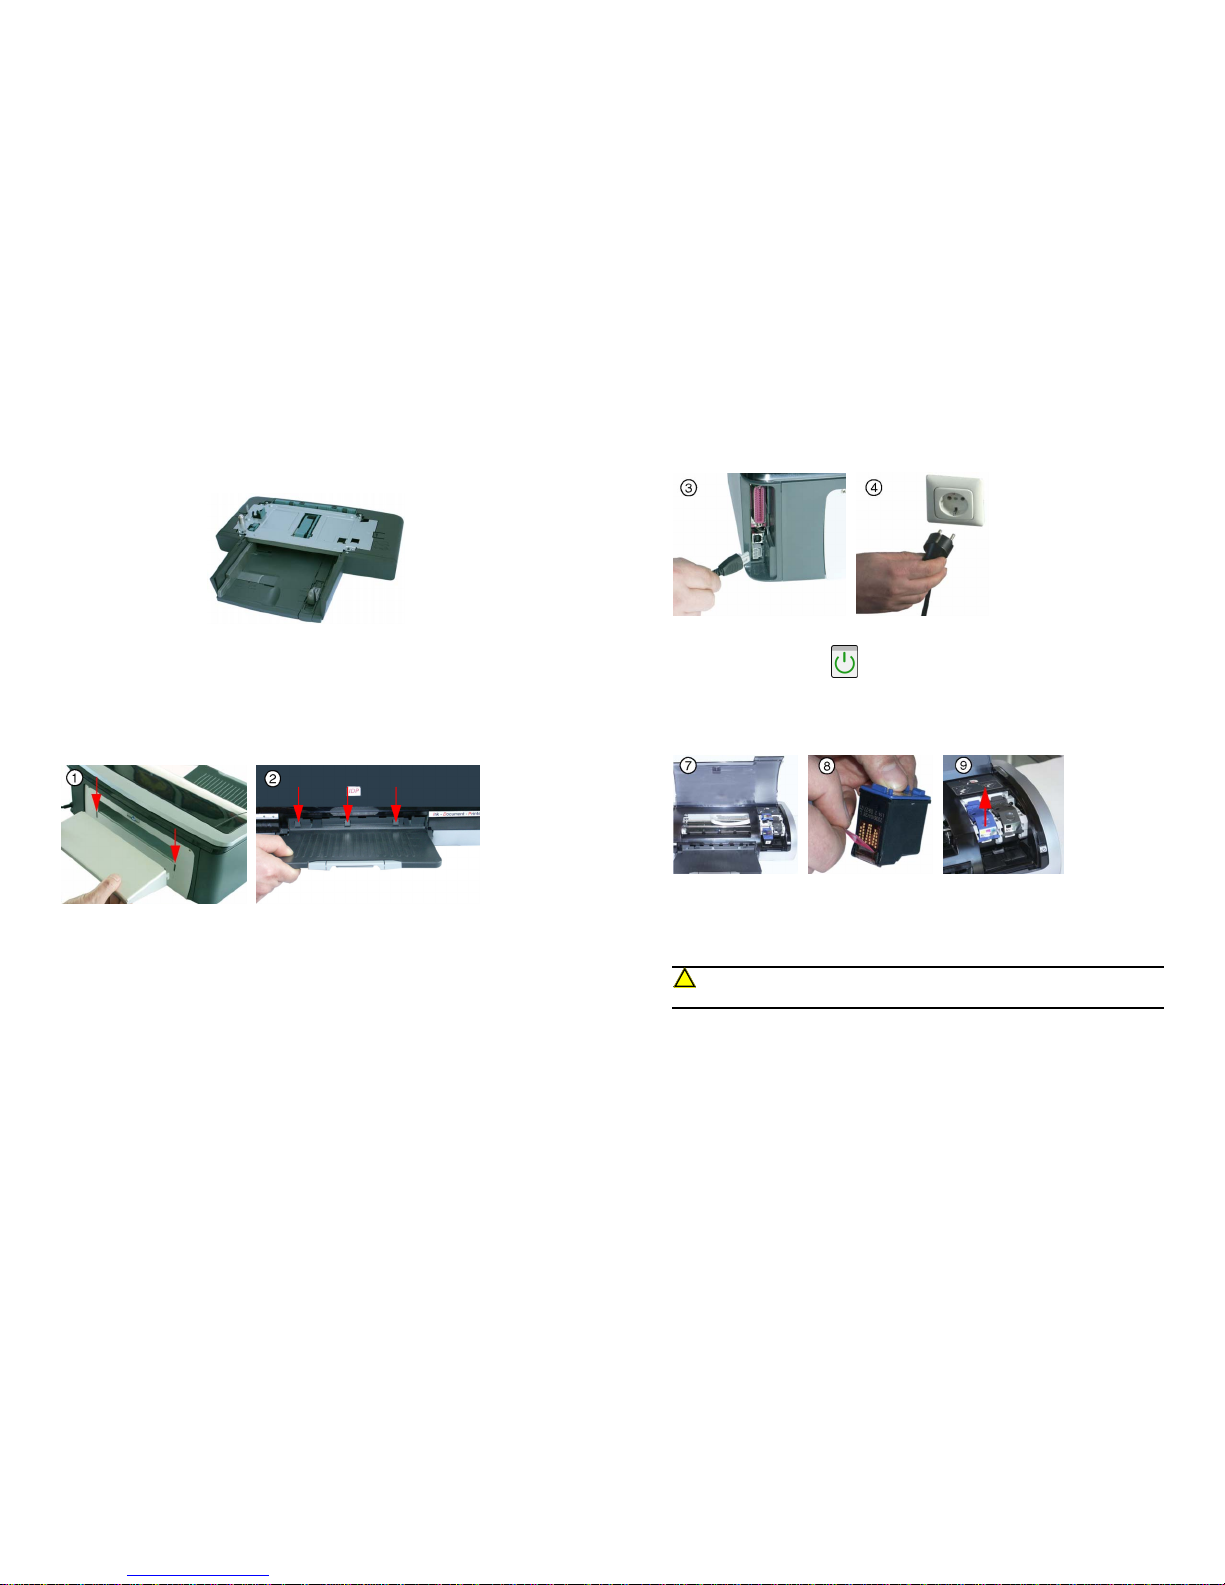
Accessories
1. Power supply
(the appearance may differ from
the picture shown, possibly a seperate
power cable is included )
2. CD with printer driver
3. Document input tray
4. Document output tray
5. Tri-Color print cartridge *
6. Black print cartridge*
* not included in the scope of
delivery for each country!
If the content is not complete, please contact your local dealer or KOMDRUCK
Systeme GmbH.
2