- 5 -
Filling the water tank
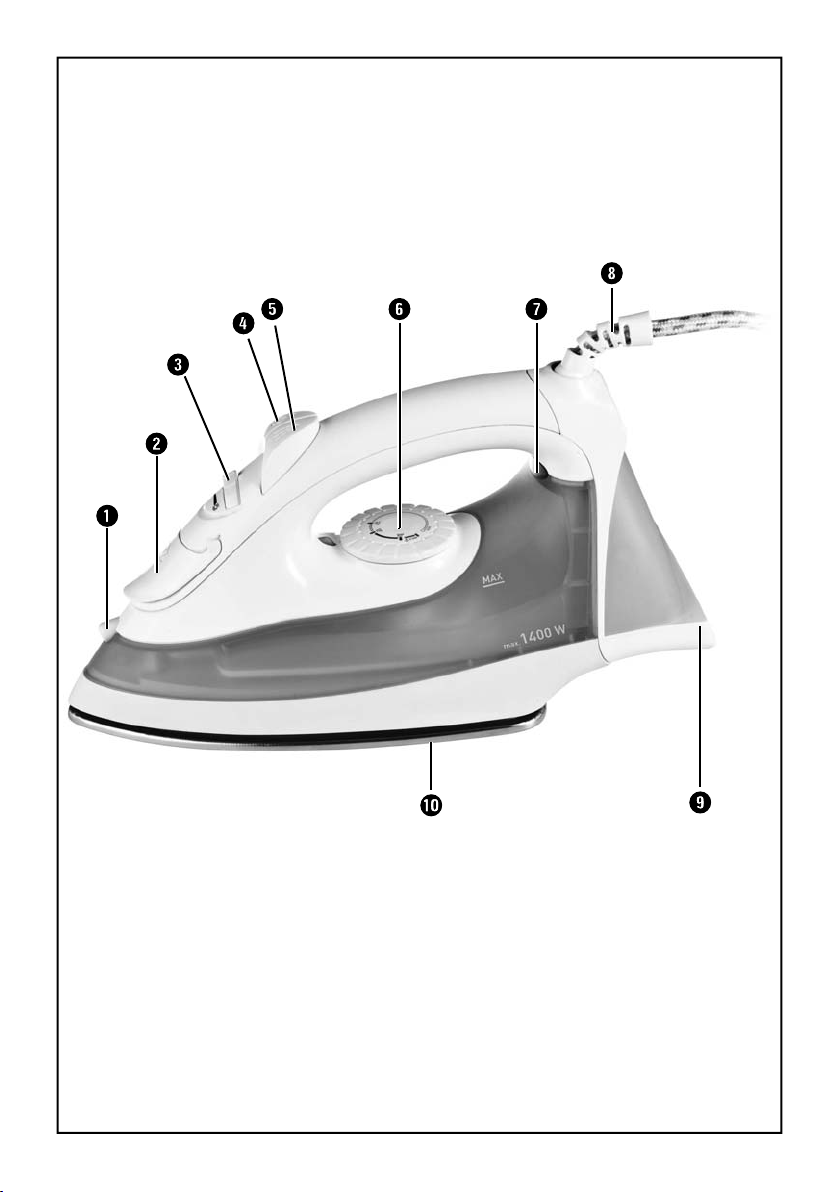
• Put the iron down on its soleplate 0.
• Open the cover of the filler opening for the
water tank 2.
• Using the measuring beaker, fill the water tank to
the "MAX" marking.
• Slide the cover of the filler opening for the water
tank 2back to close it.
Note:
Should the tap water in your area be rated as hard,
it is recommended that you mix tap water with some
distilled water. Otherwise, the jets for the steam
blast function could calcify (become blocked) pre-
maturely.
To extend the optimal steam blast function, mix tap
water with distilled water as follows.
The water hardness level can be queried at your
local water works.
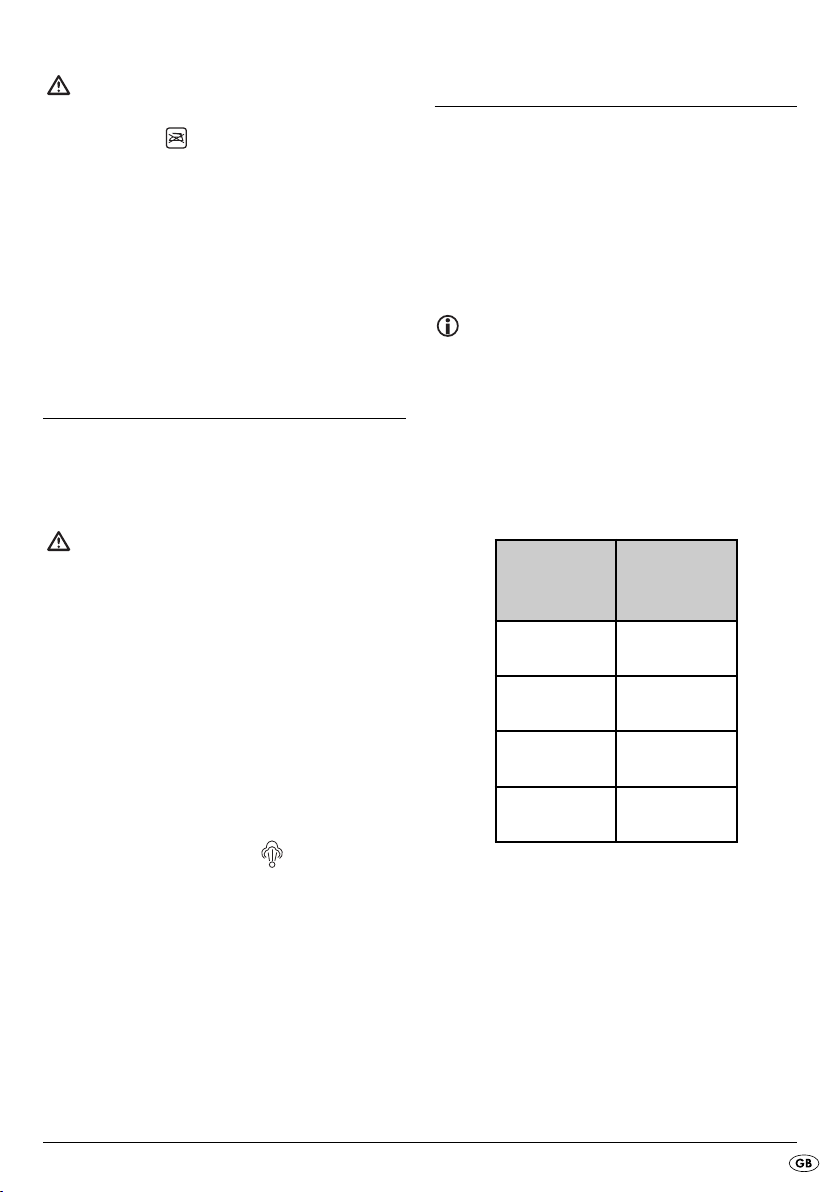
Water hardness
Ratios - distilled
water to
tap water
very soft / soft 0
medium 1 : 1
hard 2 : 1
very hard 3 : 1
Attention!
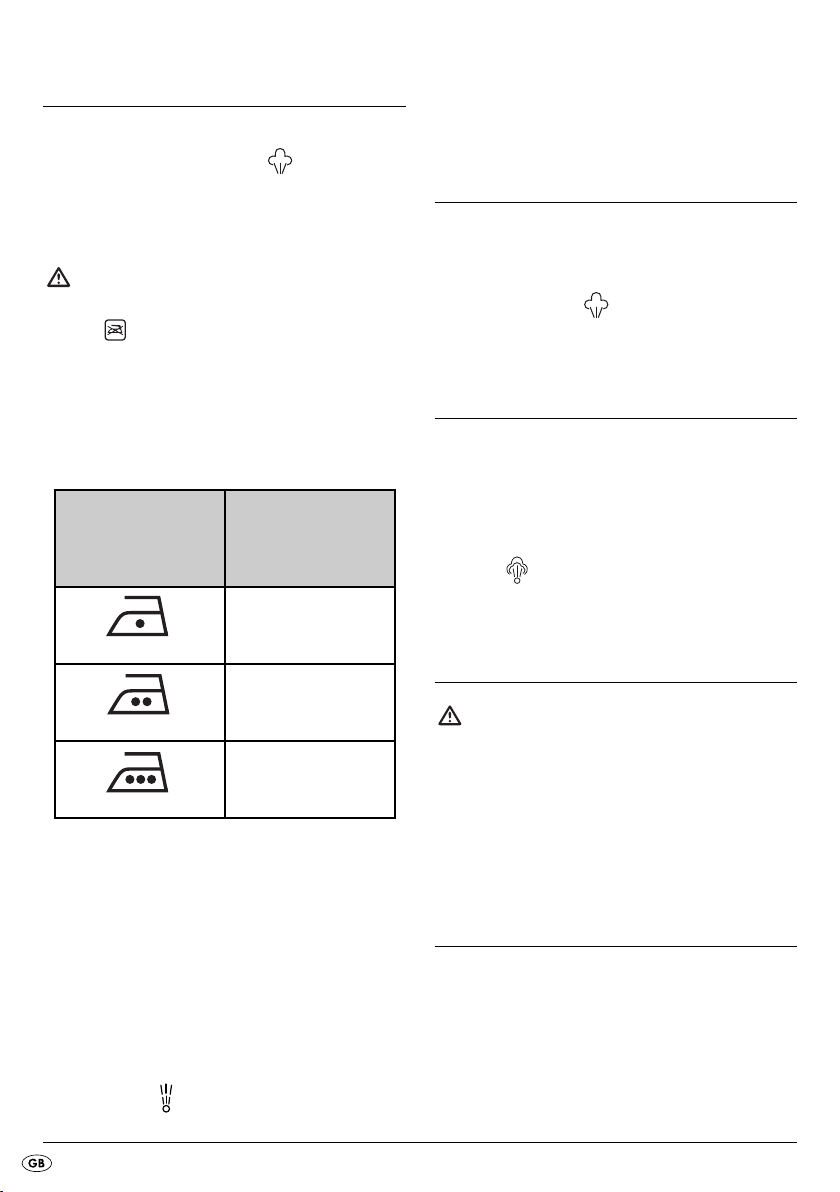
• Should the clothing care instructions forbid iro-
ning, (symbol ), the clothing item may not be
ironed. If you do so, the clothing item could be
permanently damaged.
• The water tank is to be filled exclusively with tap
water or distilled water. Otherwise, you will da-
mage the steam iron.
• Do not clean the steam iron with solvents, alcohol
or abrasive cleaning agents, since these could
cause damage.
Before initial use
• Remove the steam iron from the packaging.
• Remove all stickers and protective film from the
steam iron and the ironing sole 0.
Risk of asphyxiation!
Plastic bags can be dangerous. To avoid the risk of
asphyxiation, keep plastic bags out of the reach of
toddlers and small children.
• Pour water into the water tank (see chapter
"Filling the water tank").
• Insert the plug into a wall power socket supply-
ing an electrical current as detailed on the rating
plate.
• Move the thermostat 6to the "MAX" position.
• Heat the steam iron up for several minutes at the
highest setting.
• Press the steam blast button 4a few times
until steam exits from the ironing sole 0.
• Then iron a scrap piece of material to remove
possible contamination from the ironing sole 0.
IB_96338_DB1400A1_FI_SE_DK_BE.qxp 22.01.2014 11:29 Uhr Seite 5