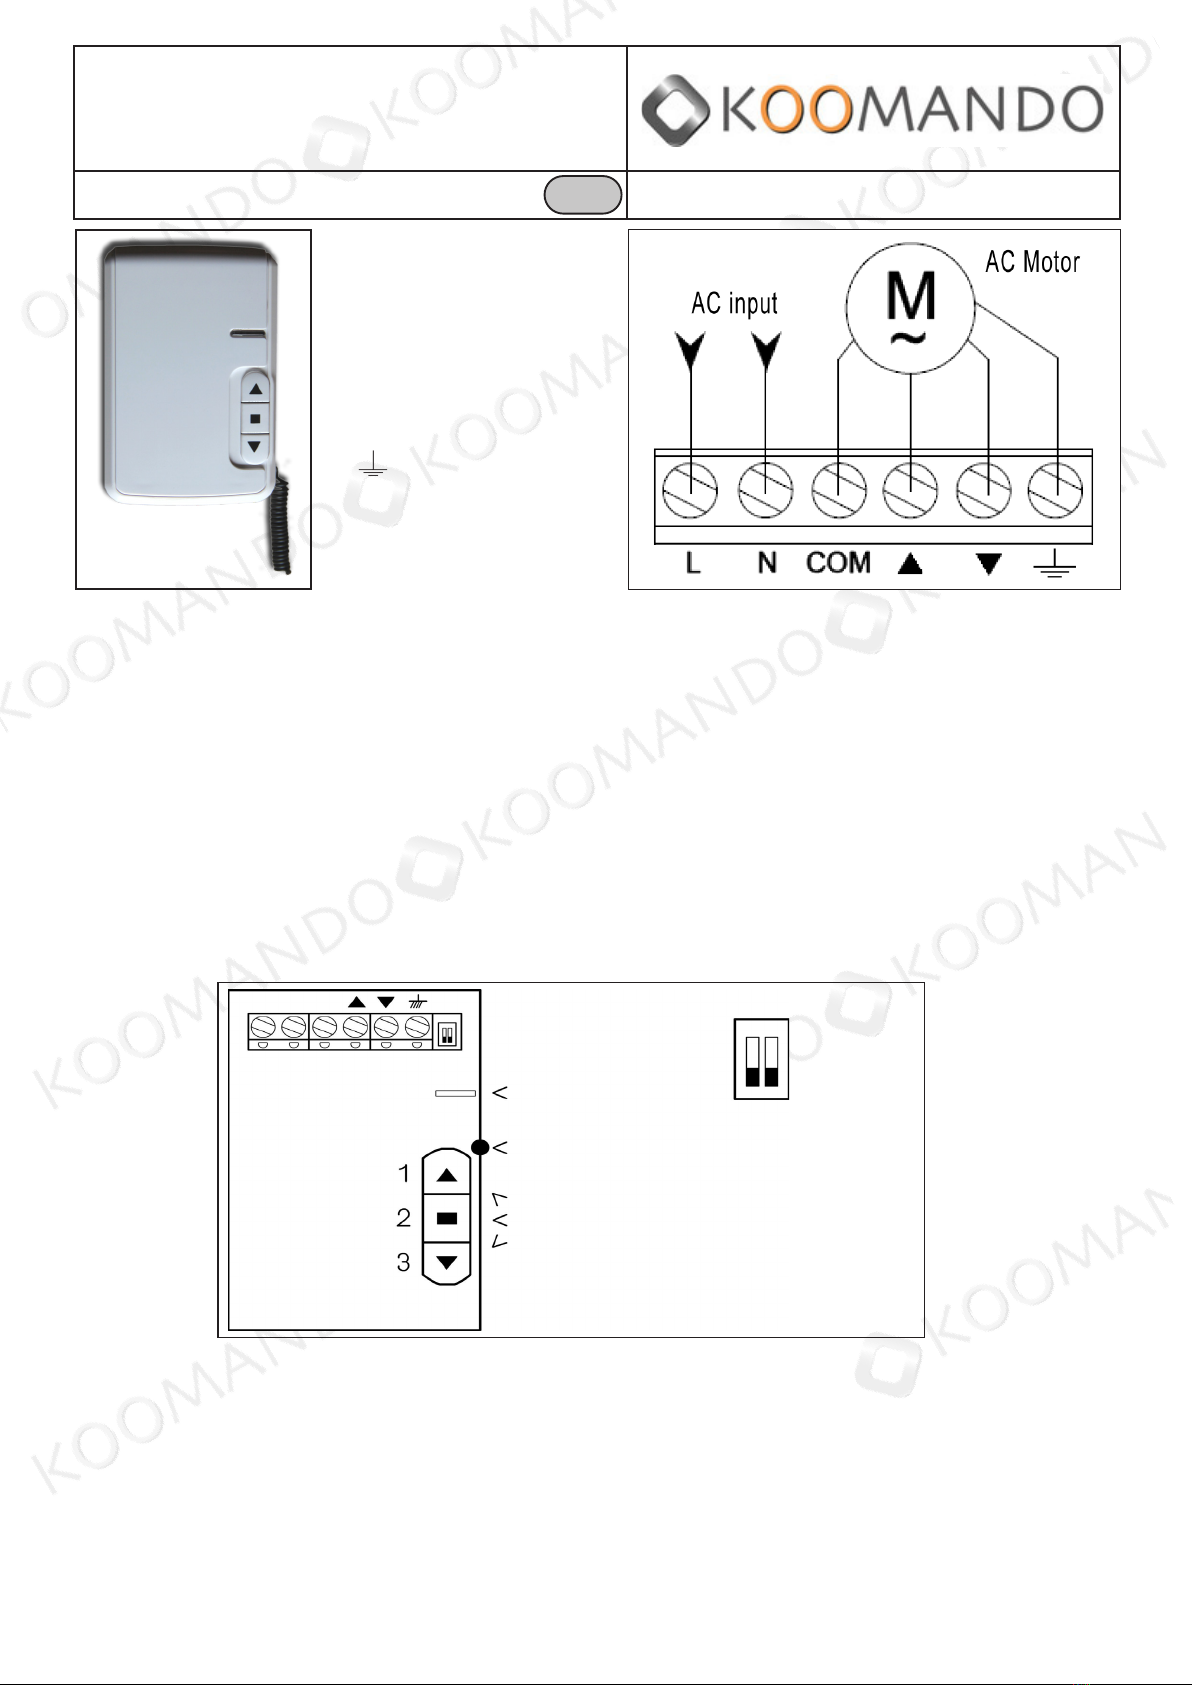
C. Einrichtung der Fernsteuerung
1. Mit einer Spitze die Taste S1 drücken und loslassen: Die rote LED leuchtet auf.
2. Drücken Sie eine Taste auf der Fernsteuerung zweimal: Die LED am Steuergerät blinkt mehrmals. Das Speichern ist erfolgreich
verlaufen. Wenn innerhalb von 8 Sekunden kein Signal gesendet wird, verlässt das Steuergerät die Einrichtungsphase.
3. Wenn die LED einmal blinkt und rot leuchtet, ist der Speichervorgang fehlgeschlagen, erneut versuchen.
4. Um spätere Fernsteuerungen zu speichern (bis maximal 30) den Vorgang ab Punkt 1 wiederholen.
Wiederholen Sie die gleichen Vorgänge für alle zu programmierenden Fernbedienungen.
D. Verwendung der Mehrfach-Fernsteuerung T7610 und T7710
Bei der 6-Wege-Fernsteuerung T7610 verwenden Sie die Seitentasten, um auszuwählen, welches Steuergerät gesteuert werden soll: die
Nummern 1 bis 6 leuchten auf. Verwenden Sie die oberen und unteren Tasten, um nach oben und unten zu steuern, die mittlere Taste für
den Stopp.
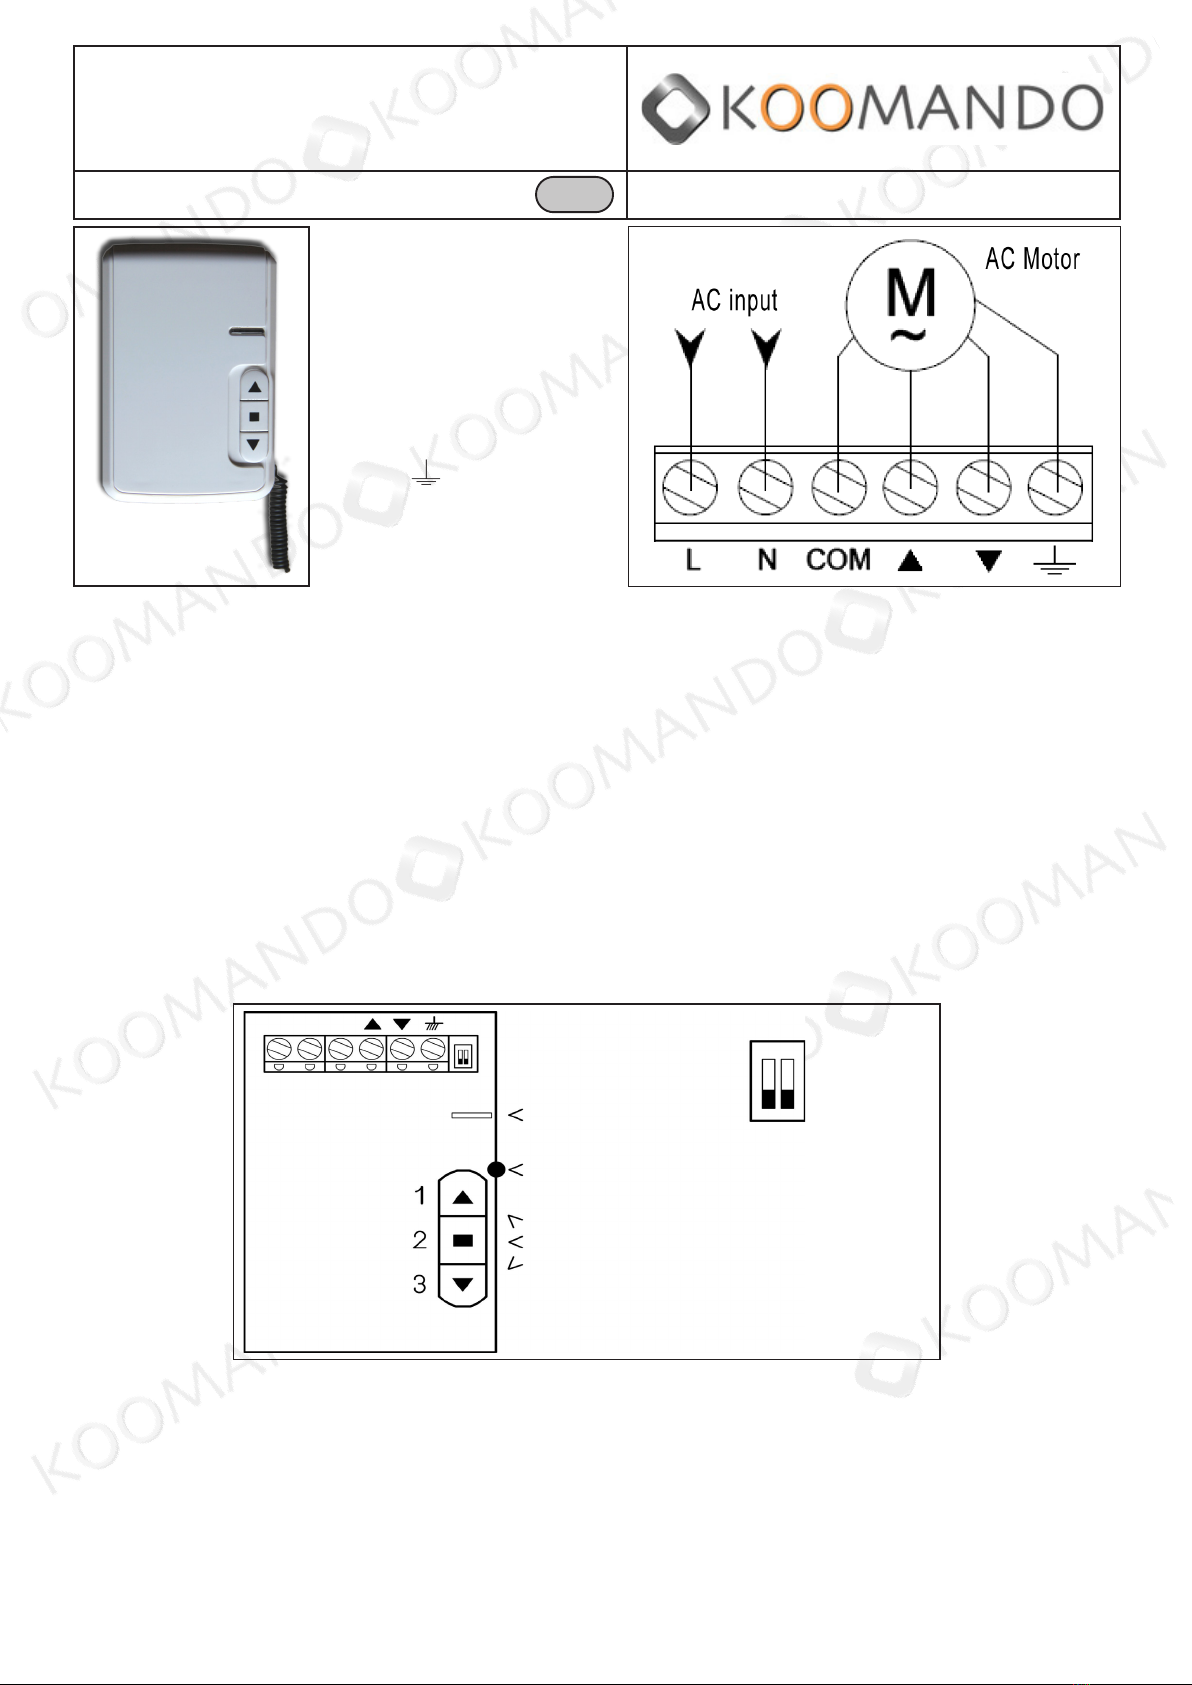
Die Fernsteuerung T7710 kann bis zu 24 Steuergeräte steuern, die in Gruppen von 6 unterteilt sind. Verwenden Sie die unteren roten und
blauen Tasten, um die Gruppe (A, B, C, D) zu ändern. Verwenden Sie die Seitentasten, um das Steuergerät von 1 bis 6 zu wählen.
In beiden Fernsteuerungen, wenn Sie den Auf- und Abstieg von mehreren Motoren gleichzeitig steuern möchten, gehen Sie wie folgt
vor: Die Fernsteuerung muss zweimal auf den zu kombinierenden Steuergeräten TM5030 gespeichert werden (siehe Einrichtung, ein
erstes Mal, indem Sie auf der Fernsteuerung die Nummer auswählen, die diesem Steuergerät zugewiesen werden soll, ein zw¬eites
Mal, nachdem Sie den allgemeinen Befehl (alle Nummern von 1 bis 6) durch die seitlichen Pfeile ausgewählt haben. Nachdem die zwei
Einrichtungsvorgänge durchgeführt wurden, reagieren alle zugehörigen Steuergeräte sowohl auf den einzelnen Befehl als auch auf den
allgemeinen Befehl.
E. Remote-Speicher für neue Fernsteuerungen
Speicherung neuer Fernbedienungen ohne Eingriff in die elektronische Steuereinheit.
Um neue Fernbedienungen hinzuzufügen, empfehlen wir, immer das in Punkt C angegebene Verfahren zu befolgen.
Wenn der TM5030 nicht leicht zugänglich ist, kann eine neue Fernbedienung mit einer anderen bereits gespeicherten Fernbedienung gespei-
chert werden:
1) Positionieren Sie sich in der Nähe der Steuereinheit.
2) Drücken Sie gleichzeitig die Tasten 1 und 2 der Fernbedienung, geben Sie die Tasten frei und drücken Sie sofort die Taste 2.
3) Drücken Sie auf der neuen Fernbedienung die ausgewählte Taste, lassen Sie sie wieder los und drücken Sie sie erneut für mindestens 1
Sekunde.
IV. BEFESTIGUNG
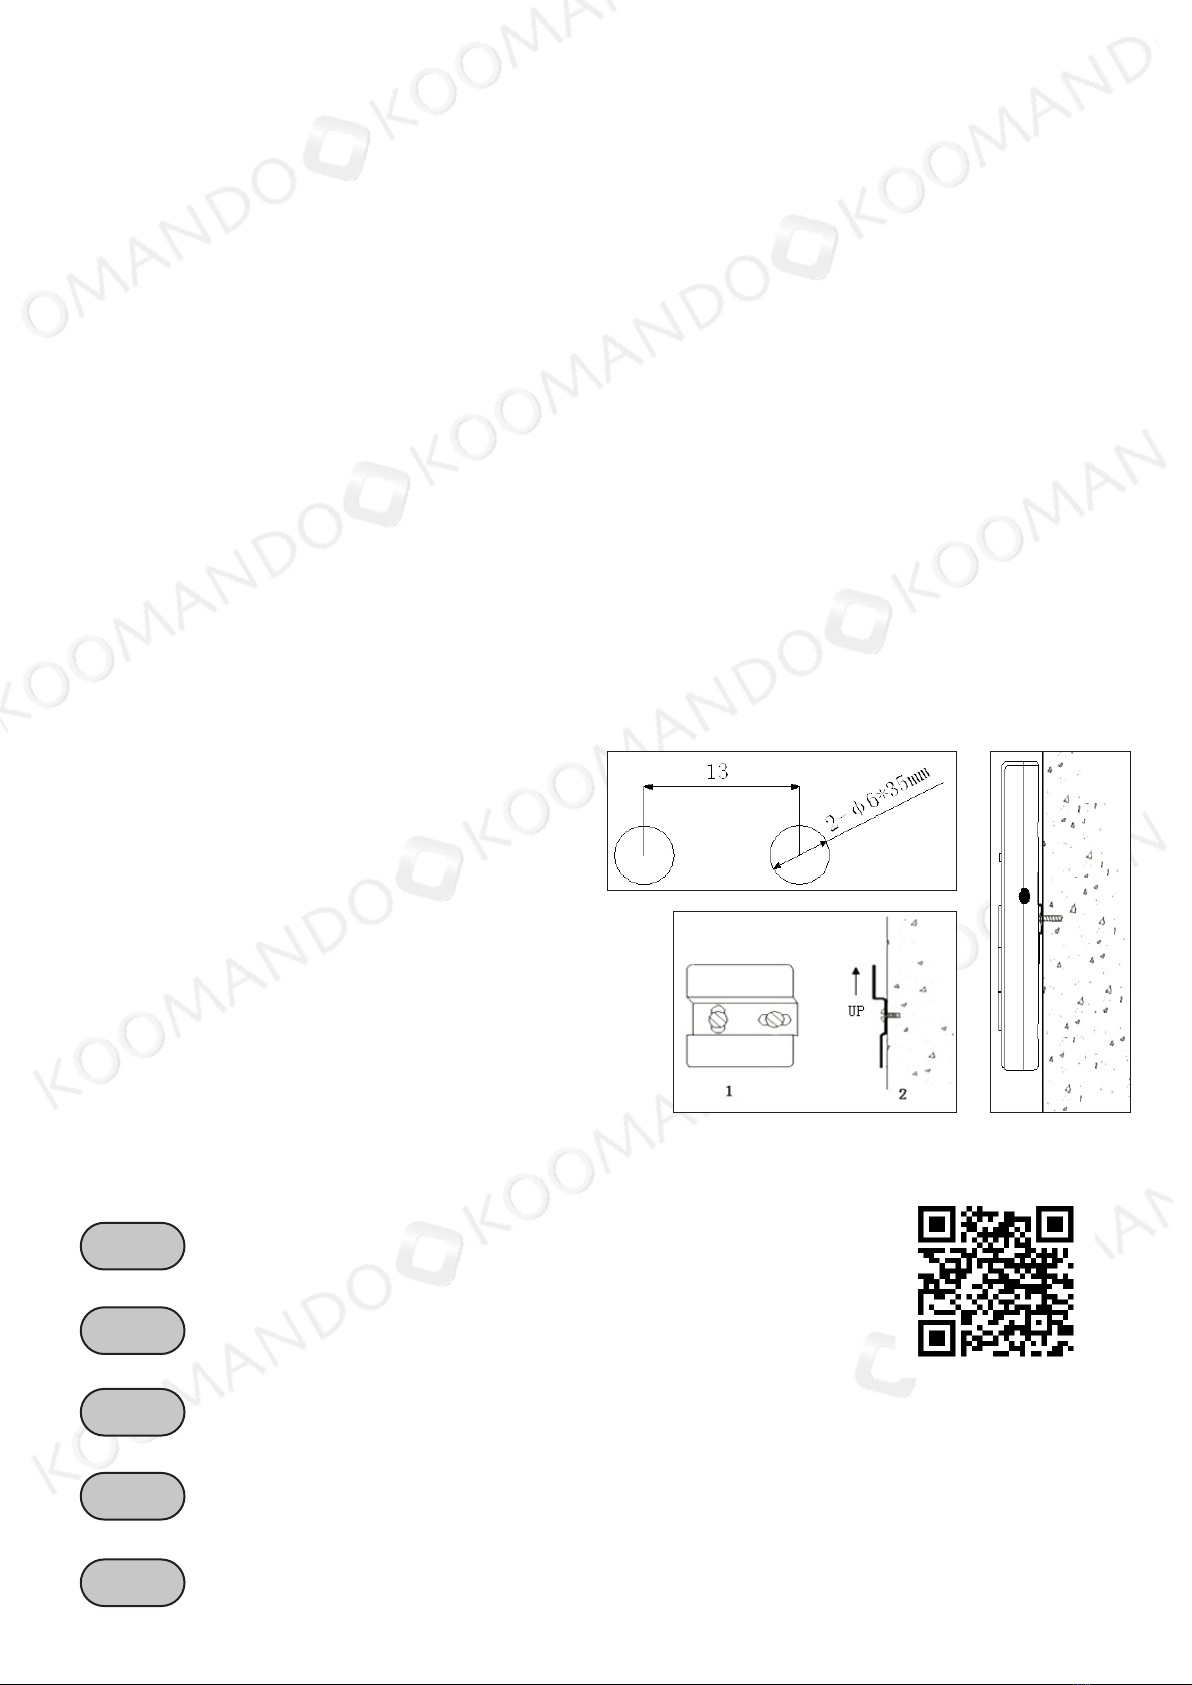
Bohrung
Für die Montage bohren Sie zwei 35 mm tiefe Löcher
Ø6, mit 13 mm Abstand voneinander.
Installation der Halterung
Befestigen Sie die Halterung mit den Dübeln an der
Wand.
Achten Sie auf die Ausrichtung der Halterung:
Der am meisten hervorstehende Teil muss nach oben
positioniert werden (wie in der Abbildung gezeigt).
Installation des Steuergeräts
Haken Sie das Steuergerät an der Halterung ein, um
sie an der Wand zu befestigen.
Ausgegeben durch
KOOMANDO Srl - via Giovanni Paolo II, 45/C -
Azzano Mella (BS) - 030 974 54 00 -
[email protected]ZUSÄTZLICHE FERNBEDIENUNGEN UND ZUBEHÖR
Sie können andere Fernbedienungen oder Zubehör auf der Website kaufen www.koomando.com/accessori.html
Puoi visualizzare o scaricare le istruzioni in Italiano di questo prodotto all’indirizzo:
https://www.itelecomandi.com/istruzioni-centraline/
o con la scansione di questo QRcode:
IT
You can view or download english instructions for this product at:
https://www.itelecomandi.com/istruzioni-centraline/
or by scanning this QRcode:
EN
Vous pouvez afcher ou télécharger les instructions en français concernant ce produit à l’adresse suivante :
https://www.itelecomandi.com/istruzioni-centraline/
ou en scannant ce QRcode:
FR
Puedes visualizar o descargar las instrucciones en español de este producto en la dirección:
https://www.itelecomandi.com/istruzioni-centraline/
o con el barrido de este QRcode:
ES
Eine Anleitung in deutscher Sprache zu diesem Produkt können Sie unter der folgenden Adresse:
https://www.itelecomandi.com/istruzioni-centraline/
oder durch Scannen dieses QR-Codes einsehen oder herunterladen:
DE