8.4.6 Clearing all Outputs 32
8.5 Storing and Recalling Setups 33
8.5.1 Storing Setups 33
8.5.2 Recalling Setups 34
8.6 Using the DEFAULT SETUP Button (Unity Setting) 34
8.7 Choosing the FOLLOW or the BREAKAWAY Modes 35
8.8 Using the LOCK Button 37
8.9 Setting the Input/Output Volume 37
9The MENU Commands 39
9.1 Selecting the Audio Switching Method 41
9.2 Selecting the SYNC Configuration 41
9.3 Selecting the INTERFACE Configuration 41
9.4 Selecting the Interface REPLY Configuration 42
9.5 Selecting the PROTOCOL Configuration 42
9.6 Selecting the Store DEFAULT Setup Configuration 42
9.7 Selecting the Initialization Sequence Delay Time for a Slave Unit 43
9.8 The Main Firmware Version 43
9.9 Selecting the TOTAL RESET Option 44
10 Flash Memory Upgrade 45
10.1 Switcher Flash Memory Upgrade 45
10.1.1 Downloading from the Internet 45
10.1.2 Connecting the PC to the RS-232 Port 45
10.1.3 Upgrading Firmware 46
10.2 Ethernet Flash Memory Upgrade 50
10.2.1 Downloading from the Internet 50
10.2.2 Connecting the PC to the RS-232 Port 50
10.2.3 Upgrading Firmware 51
11 Technical Specifications 52
11.1 Audio Performance Graphs 53
12 Communication Protocols 54
12.1 The Kramer 2000 Communication Protocol 54
12.2 Audio Gain/Attenuation Commands 59
12.3 ASCII (Sierra) Protocol for 3232A Series Switcher 60
12.3.1 ASCII Protocol Available Commands 60
Figures
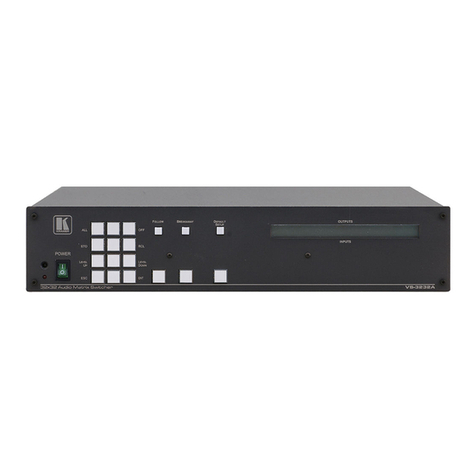
Figure 1: Front Panel VS-3232A 32x32 Audio Matrix Switcher 4
Figure 2: VS-3232A Keypad Selector Buttons 6
Figure 3: Rear Panel VS-3232A 32x32 Audio Matrix Switcher 7
Figure 4: Connecting the VS-3232A Audio Matrix Switcher 10
Figure 5: Connecting a Balanced VS-3232A Stereo Audio Input and Output 11
Figure 6: Connecting an Unbalanced VS-3232A Stereo Audio Input 11
Figure 7: Connecting an Unbalanced VS-3232A Stereo Audio Output 11
