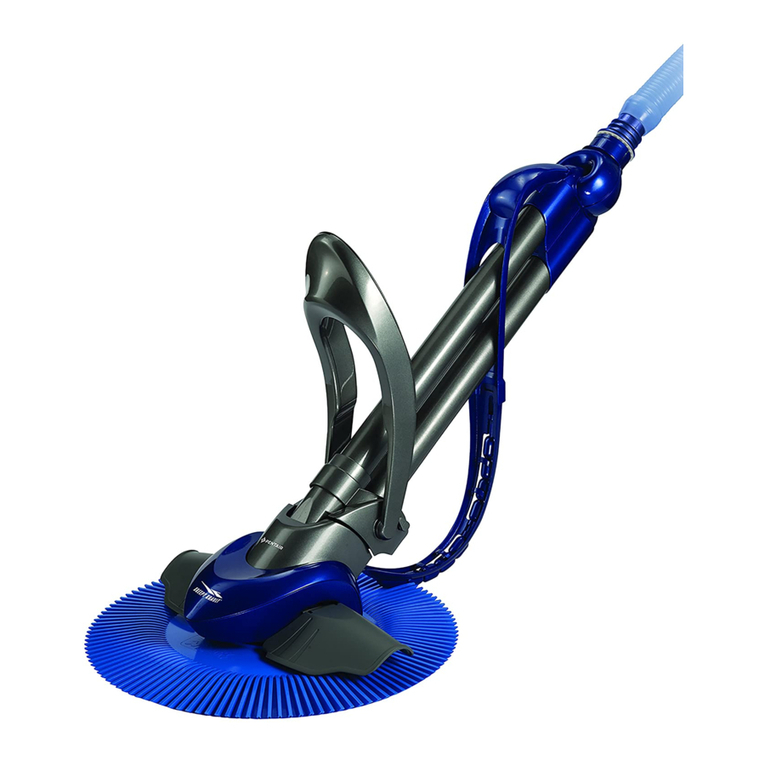
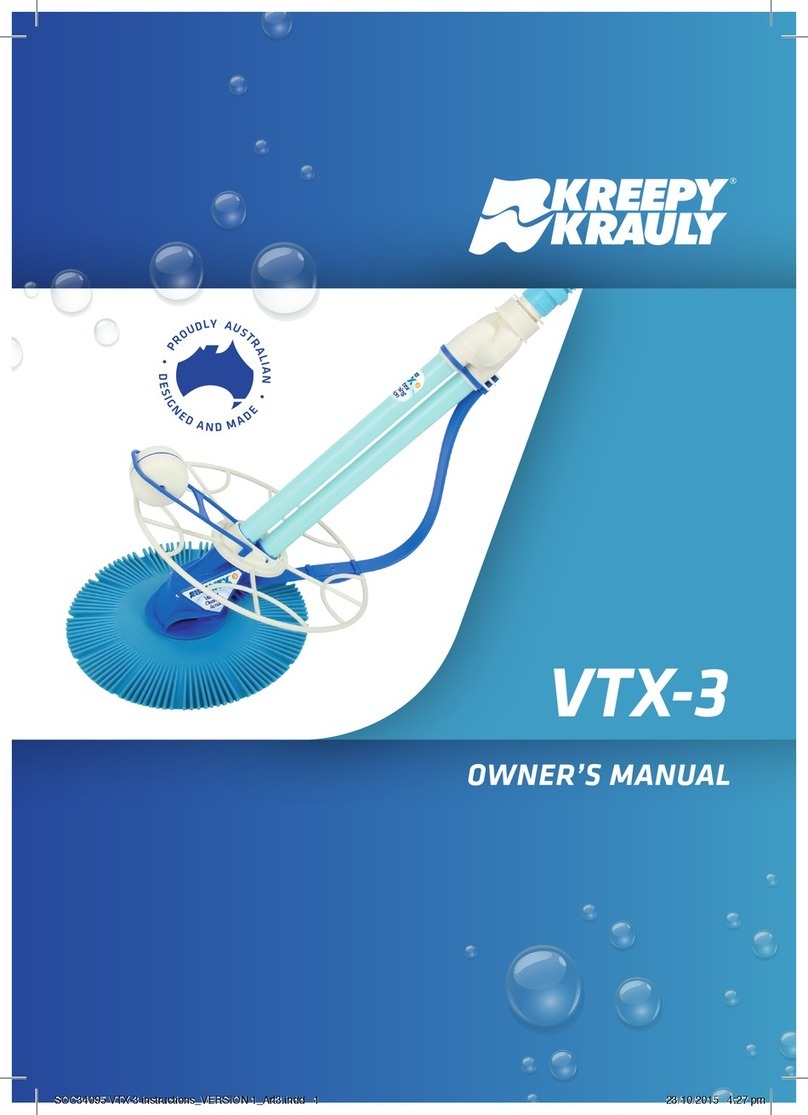
Kreepy krauly Marathon User manual

Installation and Operation Manual
We reserve the right to revise, change, or modify Kreepy Krauly without incurring any
obligations to make like changes on Kreepy Krauly’s previously sold. This publication
remains the sole copyright of Sherwood Overseas Co. Pty. Ltd. Written consent must be
obtained before any of its contents are reproduced.
Low vacuum, slow, faltering
hammering sound.
Kreepy Krauly does not sit at an
angle of 45° and has difficulties in
attaching itself to the pool floor.
Kreepy Krauly stays at one end of
pool.
Kreepy Krauly travels slowly or does
not pulsate; bubbles noticed at
return to pool outlets.
Kreepy Krauly wedges itself on, or
around step area.
Kreepy Krauly repeatedly comes
level with the surface of the pool,
possibly drawing in air.
Kreepy Krauly sticks to main drain.
Kreepy Krauly will only climb part
way up the pool wall and tends to
remain in that position.
Main drain valve open.
Inlet from main drain leaking.
Combined vacuum plate and auto
skim valve leaking.
More than one skimmer box fitted
to pool.
Blockage within Kreepy Krauly
machine or hose.
Pool pump unit does not develop
enough vacuum to power the
Kreepy Krauly machine.
Hose weight(s) is incorrectly
positioned on hose, or is not fitted.
Bumper strap not fitted.
Swivel float foam missing.
Kreepy Krauly hose too short.
Kreepy Krauly hose is kinked or
coiled.
Return to pool outlets force Kreepy
Krauly hose away from that area.
Incorrect hose fitted to Kreepy
Krauly machine.
Air leak in the plumbing system,
check following item:
Hair and lint, pot lid or “O” ring
incorrectly fitted.
Inground pipes broken, or leakage
at joints in system.
Hole in Kreepy Krauly hose.
Pump has lost its prime.
Pump cavitates.
Pool water level too low.
Auto skim valve fitted too close or
above the water level.
Auto skim valve not installed.
Hose weight(s) fitted incorrectly.
Large leaves blocking Auto skim
valve (generating excessive vacuum).
Floatation unit does not move
freely.
Poor finish of pool floor around the
main drain.
Sole worn.
Shut off main drain valve, or fit
expanding plug. (Available from
your Kreepy Krauly representative.)
Install expanding plug.
Check correct size plate was
supplied and re-install ensuring
correct seating in skimmer box.
Block off water flow from skimmer
boxes other than the one to which
Kreepy is fitted.
Clean out obstruction in machine,
or flush out hose.
Check for faulty pump, or possibly
fit a more powerful unit.
Fit hose weight(s) and adjust by
moving furthest weight closer to or
further away from the machine until
suction seal is flat on the pool floor.
Fit bumper strap.
Insert float foam in swivel head.
Fit correct length of Kreepy Krauly
hose or use hose joiner to extend
existing hose.
Lay hose out straight in the hot sun
until kinks disappear, and allow to
cool in that position. Alternatively a
similar treatment using warm water
can be used, please consult your
Kreepy Krauly representative.
Adjust outlets so they do not
influence the Kreepy Krauly.
A genuine Kreepy Krauly hose MUST
always be fitted to the machine.
The addition of an extra hose
weight along the hose can assist
directional stability.
Check “O” Ring for damage, replace
if necessary and refit correctly.
Consult your pool service man.
Locate by lifting hose near surface of
water and listen for hissing sound, use
hose joiner to rectify the problem.
Reprime pump.
Auto skim valve jammed. Clean
and replace.
Fill pool to correct level.
Fit anti-vortex washer on valve.
A special step deflector bumper is
available from your Kreepy Krauly
representative. Alternatively restrict
movement of Kreepy Krauly away
from the problem area by shortening
the hose if this is practical. Any small
area missed by Kreepy Krauly can
easily be swept down afterwards.
Fit Auto skim valve inside skimmer
box as per instructions.
Readjust hose weight(s).
Clean Auto skim valve.
Clean flotation unit whilst in pool, to
rinse away any foreign matter which
could be restricting its movement.
Fit a Kreepy Krauly main drain
cover over drain.
Fit a Kreepy Krauly main drain
cover over drain.
Fit new sole.
FOR SALES AND SERVICE, PLEASE CALL 1800 777 255
OR CONTACT YOUR LOCAL STATE DISTRIBUTOR
For further information and service, visit our website
www.kreepykrauly.com.au
SHERWOOD OVERSEAS CO. PTY. LTD.
A.B.N. 13 008 756 750
KREEPY KRAULY DIVISION
321 Selby Street, Osborne Park, Perth, W.A. 6017 Australia.
Telephone: (08) 9446 9811 Facsimile: (08) 9445 3457
E-mail: service@kreepykrauly.com
Remove baffle plate
by pressing plastic
clips inwards, clear flow
valve and replace
baffle plate and sole.
HOW TO CLEAN THE FLOW VALVE
1584_Sher_Kreepy_A2_Install_Doc(col).indd 1 23/08/10 3:38 PM

AUTHORISED KREEPY KRAULY ACCESSORIES
HIGH PERFORMANCE SEALS
Premium Performance Silicon Seal
Premium Performance flexible, long life silicone seal
offers optimum cleaning performance and maximum
chemical resistance in all pool types with a 3 year
warranty. Must be used with slip rings provided.
Cross Bar
When prevention of
Kreepy Krauly climbing
pool walls is required.
Main Drain Cover
Used to replace the
main drain grille to
ensure smooth travel
of Marathon over
main drain. Simple
installation. NO screws
required.
Expanding Plug
Used for blocking
some types of skimmer
box pool drain inlets.
Roller Bumper Strap
Used in pools with
rough surfaces where
standard bumper strap
may wear excessively.
Vacuum Plate
Clamp
Used to hold down the
vacuum plate when the
pool pump is off.
Step Deflector
To prevent Kreepy
Krauly from becoming
caught in tight corners
or between steps and
the pool wall Roller.
BALANCE SYSTEM Kreepy Krauly works most effectively when inclined at 45°
with the seal flat on the pool surface. To test the balance adjustment switch off the
pool pump, tow Kreepy Krauly into approx. 1.2m of water and allow it to settle to
bottom. The seal must be sitting
flat on the pool floor and the drive
tubes should be at 45° to the floor.
If Kreepy Krauly is lifting (i.e. at an
angle of more than 45°), move the
second hose weight towards the
swivel. Adjust until the seal sits flat
on the pool surface. Allow Kreepy
Krauly to settle back to the bottom
after each adjustment to get a fair
evaluation .Turn your pump on and
Kreepy Krauly will move around
your pool cleaning it automatically .
Note: If you have difficulty
balancing Kreepy Krauly, remove
the first hose weight or consult your
local Kreepy Krauly service centre
by phone for advice.
Adjusting the angle and balance
of Kreepy Krauly
If Kreepy Krauly is inclined at an angle greater
than 45°, move the second hose weight towards
the swivel head assembly.
FLOAT BAR A float bar allows you to adjust the turning action of Kreepy Krauly.
Two versions are available. Both clip and lock into the underside of the two bridges
between the dive floats. The one shown in
fits as shown or inverted in either bridge.
Four positions are possible. Adjusting the
angle and balance of Kreepy Krauly. The
Float Bar If Kreepy Krauly is inclined at an
angle greater than 45°, move the second
hose weight towards the swivel head
assembly. If Kreepy Krauly is inclined at
an angle less than 45° , move the second
hose weight towards the swivel head
assembly.
The Float Bar
EXTENDED FLOAT BAR The extended float bar shown in fits into either bridge. It
can also be rotated 180° when fitted to the lower bridge. Three positions are possible.
The effect of both float bars is to hold the
floats a set distance away from the top drive
tube. The Float bar will not be required on
many free form concrete pools. When you
require Kreepy Krauly to turn early down
the wall or away from the wall to avoid
obstacles, the simple rule is that the greater
the restricted distance between the floats and
the top drive tube the earlier Kreepy Krauly
will turn.
PILOT CONTROL In box section pools
and above ground pools this attachment
can be used to great advantage, usually in
conjunction with the extended float bar. For
excellent random floor sweeping with rapid
turning action away from the pool wall, the
pilot control should be fitted as shown and
the extended float bar fitted in the lower
bridge between floats. Please consult your
Kreepy Krauly Distributor/Installer before
using this combination.
PLEASE NOTE: The extended float bar and pilot control are optional items
for particular pools. They are not included as standard equipment.
The extended float bar
The Pilot Control
Kreepy Krauly pulsates rapidly but
remains stationary, or travels very
slowly.
Kreepy Krauly travels around water
line in one direction only.
Kreepy Krauly travels around
waterline in either direction.
Kreepy Krauly sticks on underwater
light.
Kreepy Krauly travels too slow, or
does not pulsate.
Sole not fitted
Sole tread worn away.
Combined vacuum control plate
and auto skim valve not fitted.
Seal fitted upside down.
Auto skim valve jammed.
Main body and swivel head are out
of line.
Tiles near waterline on pool not
flush with plastered walls
Seal becomes trapped between the
back of the underwater light and
the pool wall.
Filtration unit blocked.
Pump impeller blocked.
Pump or skimmer box strainer
basket full, or blocked.
Fit new sole
Replace with new sole.
Fit combined vacuum control
and auto skim to skimmer as per
instructions.
Refer to markings on seal to
determine correct fitting.
Remove valve from plate.
Hold under water and operate by
hand to free sand or grit.
Dry off water and spray with good
quality Silicone Lubricant.
Replace in vacuum plate.
Adjust Kreepy Krauly machine so
main body and swivel head are
perfectly aligned.
Fit float bar, or consult Kreepy
Krauly representative.
Fit float bar at lower level.
Clean filter thoroughly.
Clean pump impeller vanes.
Clean strainer basket.
TROUBLESHOOTING GUIDE
ATTENTION POOL BLANKET OWNERS
When a Pool Blanket is in use, carefully monitor your chlorine or salt
water chlorinator settings to avoid over chlorinating your pool which
may damage your Kreepy Krauly and void your Warranty.
The Pool Blanket prevents chlorine evaporating reducing the need
to add more chlorine. If you have a salt water chlorinator remember
to lower the amount of chlorine produced when the pool blanket is
in use. If you have any questions please call our Customer Service
department on 1800 777 255 or your local pool shop professional.
IN-LINE VALVEINLINE VALVE BASKET
WARNING Never use in-line valve outside skimming
box without strainer baskets
When servicing your Kreepy Krauly, look for
this seal to ensure that the part you are buying
is a certified genuine Kreepy Krauly part.
HOW TO FINE TUNE YOUR KREEPY KRAULY
1584_Sher_Kreepy_A2_Install_Doc(col).indd 1 23/08/10 3:38 PM

Dive Float
Assembly
Pilot Weight
Assembly
Main Body
Assembly
Swivel Head
Assembly
Hose Weight
Bumper
Strap
Pleated
Seal
Scoop
Hose
Protector
Sleeve
Retaining
Collar
Anti Vortex
Washer
Auto Skim
Valve
Vacuum
Plate
Vent
Valve
FOREWORD This manual is a guide to introduce you to the Kreepy Krauly
Marathon System. It cannot cover the requirements of every installation, so
please contact your local distribution centre for further advice should you need it.
INTRODUCTION
Congratulations on the purchase of your Kreepy Krauly Marathon automatic
pool cleaning system. It is designed to prevent your pool from ever getting
dirty and will provide you with many extra hours of leisure in and around your
swimming pool.
The Kreepy Krauly System requires no power source, operates hydraulically and
has a 2 year warranty from the date of purchase, excluding fair wear and tear.
The only working part in the Kreepy Krauly System is the Flow Valve which is
guaranteed for 10 years. The system has 3 major components, the Cleaner
Unit, Special Hose and the Vacuum Plate with anti-surge and AutoSkim valves.
HOW IT WORKS
Water flow from the main body assembly is alternately diverted into either the
top or bottom drive tubes of Kreepy Krauly. The inertia of water trapped in
each of the drive tubes provides a lifting and propelling action.
In operation, Kreepy Krauly travels around the pool, trailing the vacuum hose
and the hose weights neutralize floatation of the vacuum hose near to Kreepy
Krauly.
The combined vacuum plate control and AutoSkim valve supplied with Kreepy
Krauly regulates the amount of vacuum supplied by the filtration system, also
allowing pool surface skimming (providing the pool filtration system has an
adequate flow).
For effective operation of Kreepy Krauly, all water flow through the main
drain must be effectively blocked off. Kreepy Krauly will vacuum clean any
well equipped pool, but it will not overcome problems associated with
inadequate or improperly maintained filtration systems. The vacuum cleaning
performance depends upon having an adequate filter system properly cleaned
and maintained. This means that your pump and filter system should be
operating efficiently. There must be good water flow into the suction side of the
pump (skimmer) and good discharge from the pool inlet. All plumbing lines
should be clear, strainer basket should be emptied and sand filters should be
backwashed. Diatomaceous earth filters should be cleaned and recharged in
accordance with their manufacturer’s instructions. Cartridge filters should be
thoroughly and carefully cleaned.
ASSEMBLING YOUR KREEPY KRAULY
Please read this manual carefully before assembly and installation of your Kreepy
Krauly. Like all pool equipment, periodic maintenance is required so please refer
to the maintenance section of this manual for normal maintenance requirements.
Kreepy Krauly is shipped to you partly assembled. Remove all the parts from the
box. Assemble your Kreepy Krauly on a clean working surface. The hose and
vacuum plate assembly are packed in separate cartons from the machine.
STEP 4 The Sole
STEP 1 The Scoop STEP 2 Pleated Seal
Attach scoop as shown.
Install both slip rings underneath
the seal as shown.
The Pleated Seal or optional
premium performance silicone
seal are fitted as shown. Once
fitted it should rotate freely.
Observe the warning “this side up”.
The sole is fitted to the foot of the
main body as shown.
STEP 3 Slip-Rings
STEP 5 Bumper Strap
The bumper strap fits tightly into the main body as shown.
The other end is fitted into the swivel head. Ensure full insertion.
STEP 6 Relaxing your Kreepy Krauly Hose
when first taken from the box.
To relieve any coiling in the hose after delivery or long storage lay the hose in a
straight line beside your pool for one hot and sunny day before installation (28°C or
above). Alternatively the hose may be filled with warm but not boiling water whilst
lying in a straight line. This procedure can be used when the weather is cooler.
1. Detach the hose from the Kreepy Krauly and lay it beside the pool on a flat
surface and in a straight line.
2. One end of the hose should also be close to the pool inlet.
3. Prop up both ends of the hose about 0.2 metre’s above the ground.
4. Fill a bucket with warm water (around 50-60°C) and pour this water into the
hose until it spills out of the other end.
5. Carefully roll the hose backwards and forwards to ensure even warm up.
6. After 30 to 40 seconds fill the hose with cold water. This can be done by either
using the bucket or by placing the hose end on the pool outlet whilst the pump
is working. The hose will now be relaxed and ready to be installed with your
Kreepy Krauly.
VACUUM PLATE
AUTO SKIM
VALVE
ANTI VORTEX
WASHER
1584_Sher_Kreepy_A2_Install_Doc(col).indd 2 23/08/10 3:38 PM

Two options of connecting the hose to the Vacuum Plate Assembly.
STEP 7 Hose Weights
Hose weights are fitted on the hose at
the end which will be attached to Kreepy
Krauly. The number of hose weights can
vary to suit a particular installation. A
standard three are supplied. Slide the
first hose weight approximately 2200mm
along hose. Slide the second hose weight
approximately 1200mm along hose.
Fit the third hose weight no more than
100mm from Kreepy Krauly.
(See the “Balance System Information”
overleaf).
Fitting Hose Weight on Hose
STEP 8 Connecting Hose
Fit the weighted end of the hose onto the
swivel head assembly on the other end
of the hose protector sleeve as shown.
Connecting Hose to Kreepy Krauly
• Under no circumstances should the
hose be stretched or picked up whilst
full of water.
• Never hang the hose from hooks.
• Always store the hose loosely coiled
on a flat surface.
• Do not use any other automatic pool
cleaner hose as the performance of
your Kreepy Krauly will be impaired.
IMPORTANT INFORMATION
CARING FOR YOUR KREEPY KRAULY
Any mechanical device is subject to breakage or damage due to neglect, but
with a little care Kreepy Krauly will give you many years of excellent service. It is
recommended that Kreepy Krauly is cleaned with detergent and water periodically.
DO NOT USE petrol or solvent as these will damage Kreepy Krauly.
IMPORTANT Kreepy Krauly must be removed from your pool during shock treatment
with chlorine or any other chemicals for at least 24 hours. If the chemicals in your pool
are too strong for people to swim in, then Kreepy Krauly should not be in the pool
either.
CAUTION: If the hose must be coiled for storage, store it on a flat surface and as
loosely as possible (minimum 1 metre diameter). This will assist Kreepy Krauly by
minimising any coil setting of the hose when it is put back into the pool.
IMPORTANT Do not use any other pool hose or automatic pool cleaner hose as the
performance of your Kreepy Krauly will be impaired. Should the hose ever require
replacement, contact your Kreepy Krauly representative and insist upon a genuine
Kreepy Krauly Hose.
KREEPY KRAULY HOSE - USE, STORAGE AND
REPLACEMENT
Your Kreepy Krauly hose is specially made because normal pool vacuum hoses do
not allow free and proper movement of Kreepy Krauly. The unique Kreepy Krauly
hose is made to be almost straight when relaxed in your pool.
Should the hose ever require replacement, contact your Kreepy Krauly
authorised consultant or service centre and insist upon a genuine
replacement Kreepy Krauly Hose.
NORMAL MAINTENANCE AND REPLACEMENT
OF WEARING PARTS
There are parts on the Kreepy Krauly which are subject to wear and tear. The suction
seal, scrubbing sole and the bumper are in direct contact with the pool floor and wall
surface. The pool owner should check the sole and bumper regularly for wear as they
protect Kreepy Krauly from damage.
Wearing parts can be easily replaced. Should Kreepy Krauly fail to function, carefully
check the entire pool system and Kreepy Krauly. If Kreepy Krauly moves slowly with
a slower than normal pulse rate and little or no water passing through the auto skim
valve, then the filter system should be backwashed or cleaned.
Check that operation of the vacuum plate valve is free by removing and depressing by
hand. Wash out any sand or grit. Check pump and filter for proper operation .If the
filter system is operating properly, and no part has been damaged, blockage of the
machine by extremely large leaves, nuts or other large objects are the most common
cause of the system failing to operate. Look through the clear trap door on the main
body. Remove any debris and ensure free movement of the flow valve.
INSTALLING KREEPY KRAULY IN YOUR POOL
STEP 1 Circulation System
Thoroughly clean and backwash your filter and clean the pump, strainer and
skimmer box basket.
STEP 2 Install Kreepy Krauly
Gently sink Kreepy Krauly into pool with the hose attached below the surface,
pleated seal first. With the pump operating place the free end of hose over a
return to pool outlet. Water will be driven through the hose and Kreepy Krauly,
expelling all air. Turn off the pump and ensure the end of the hose stays below
the water level, whilst you perform steps 3 and 4 as follows.
STEP 3 Fitting the Vacuum Control Valve
There are two basic types:
(1) Combined Vacuum Plate and Auto Skim Valve. This plate is
supplied as a replacement for your existing vacuum plate. Place the auto
skim valve into the opening provided in the vacuum plate ensuring it is seated
firmly. Place the combined unit into your skimmer box making sure it is seated
properly. Place the anti-vortex washer, correct side up, over the valve inlet.
Note: for some installations a retaining device such as a vacuum plate clamp
may be necessary.
(2) In-Line Valve This valve is designed for installations where the combined
vacuum plate and auto skim valve is not suitable. It is fitted to your existing
vacuum plate or alternatively into the bottom suction opening of the skimmer
box. When fitted this valve must remain below the water level to operate.
STEP 4 Connecting Hose
Connect hose to auto skim valve. Start pump. Kreepy Krauly will start operating
and a soft ticking sound will be heard.
“TUNED” TO YOUR POOL
Every swimming pool has individual characteristics and your Kreepy Krauly
may need to be ”tuned“ after installation. You will find many helpful hints for
minor problems in the Trouble Shooting Guide. Please try these quick and
easy remedies before calling your Kreepy Krauly service centre.
Where Kreepy Krauly has been installed by your local Authorised Kreepy
Krauly Dealer, it has been set up for maximum performance in your
pool. Please do not alter the set up characteristics without consulting the
representative who installed it.
When servicing your Kreepy Krauly, look for
this seal to ensure that the part you are buying
is a certified genuine Kreepy Krauly part.
1584_Sher_Kreepy_A2_Install_Doc(col).indd 2 23/08/10 3:38 PM
Table of contents
Other Kreepy krauly Swimming Pool Vacuum manuals

Kreepy krauly
Kreepy krauly Kreepy Krauly SandShark User manual

Kreepy krauly
Kreepy krauly VTX3 User manual

Kreepy krauly
Kreepy krauly Pool-cleaning system User manual

Kreepy krauly
Kreepy krauly Super Sweepy User manual

Kreepy krauly
Kreepy krauly Kreepy Krauly SandShark User manual

Kreepy krauly
Kreepy krauly VTX-7 User manual

Kreepy krauly
Kreepy krauly Pool-cleaning system User manual

Kreepy krauly
Kreepy krauly VTX3 User manual