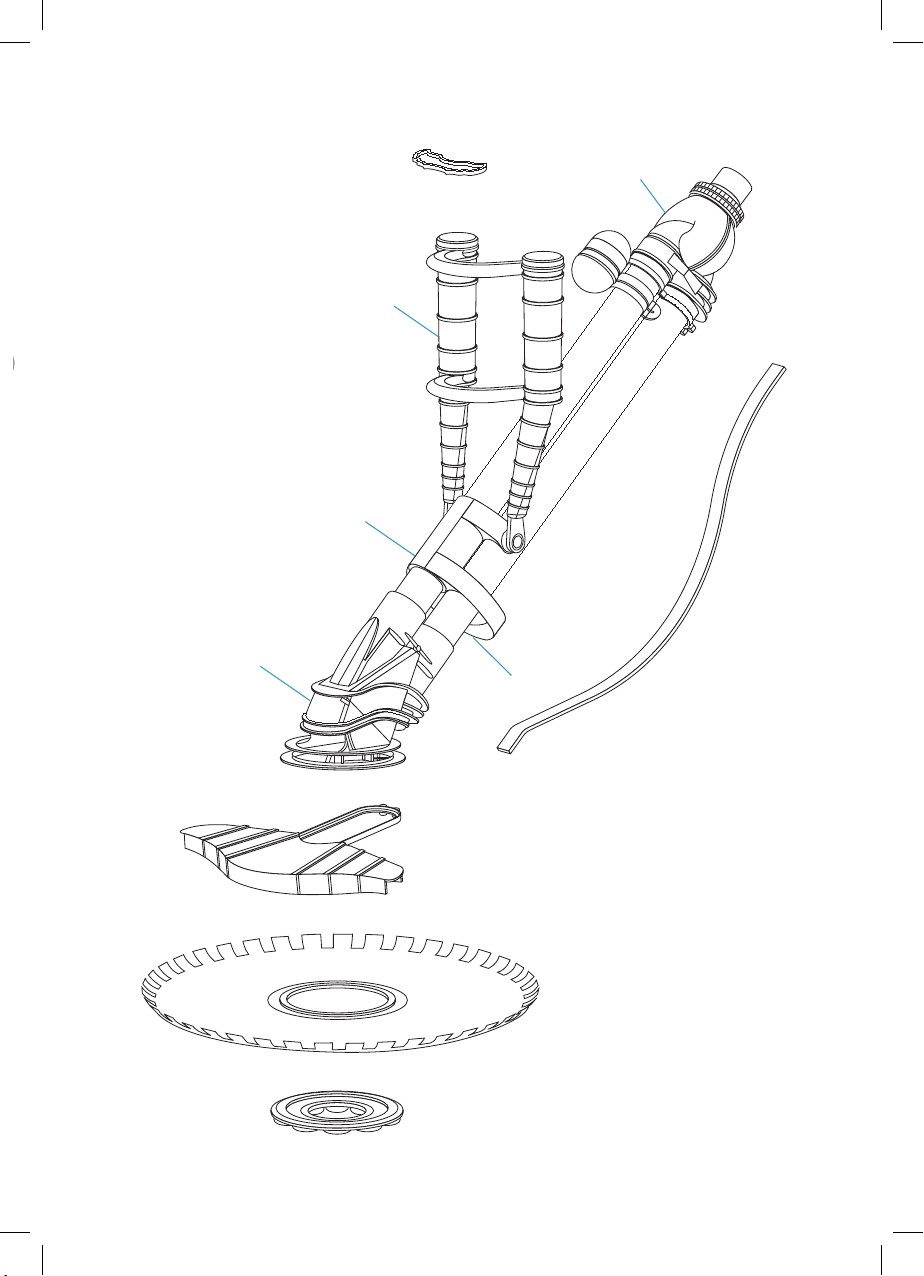
Fit the Vacuum Control Valve (2 options)
a. Smart-Skim (comes standard)
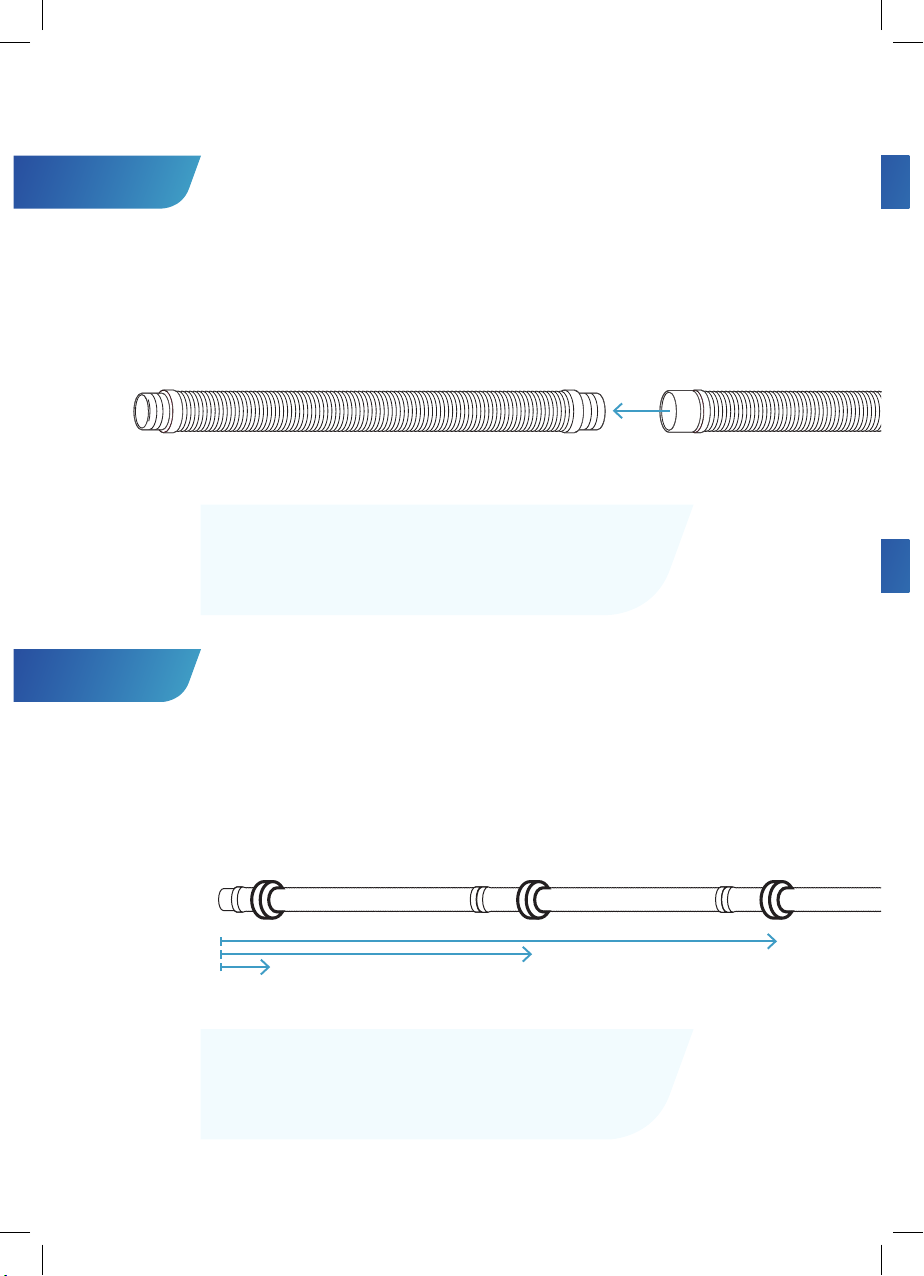
Insert the Smart-Skim into an adaptor fitting,
then attach to your vacuum plate. Depending on
the vacuum plate your pool uses, you may have
to use a different skim adaptor – we’ve
included3options
(see page 2)
. You’ll know it’s
theright one when there’s a tight fit.
OR
b.
Combined Vacuum Plate and Auto Skim valve (optional upgrade)
Your pool shop would have already assisted you
in selecting the correct replacement for your
pool’s existing vacuum plate.
To
assemble, place the Auto Skim Valve into
the opening in the new
Vacuum Plate. Attach
the Anti-Vortex Washer over the valve inlet.
Placethe entire unit in the skimmer box.
TIP: Depending on the Vacuum Plate your pool
uses, you may have to use a different
skim adaptor
– we’ve included three for you to choose from.
You know you’re using the right
one when there is a
tight fit. See our website if you need help.
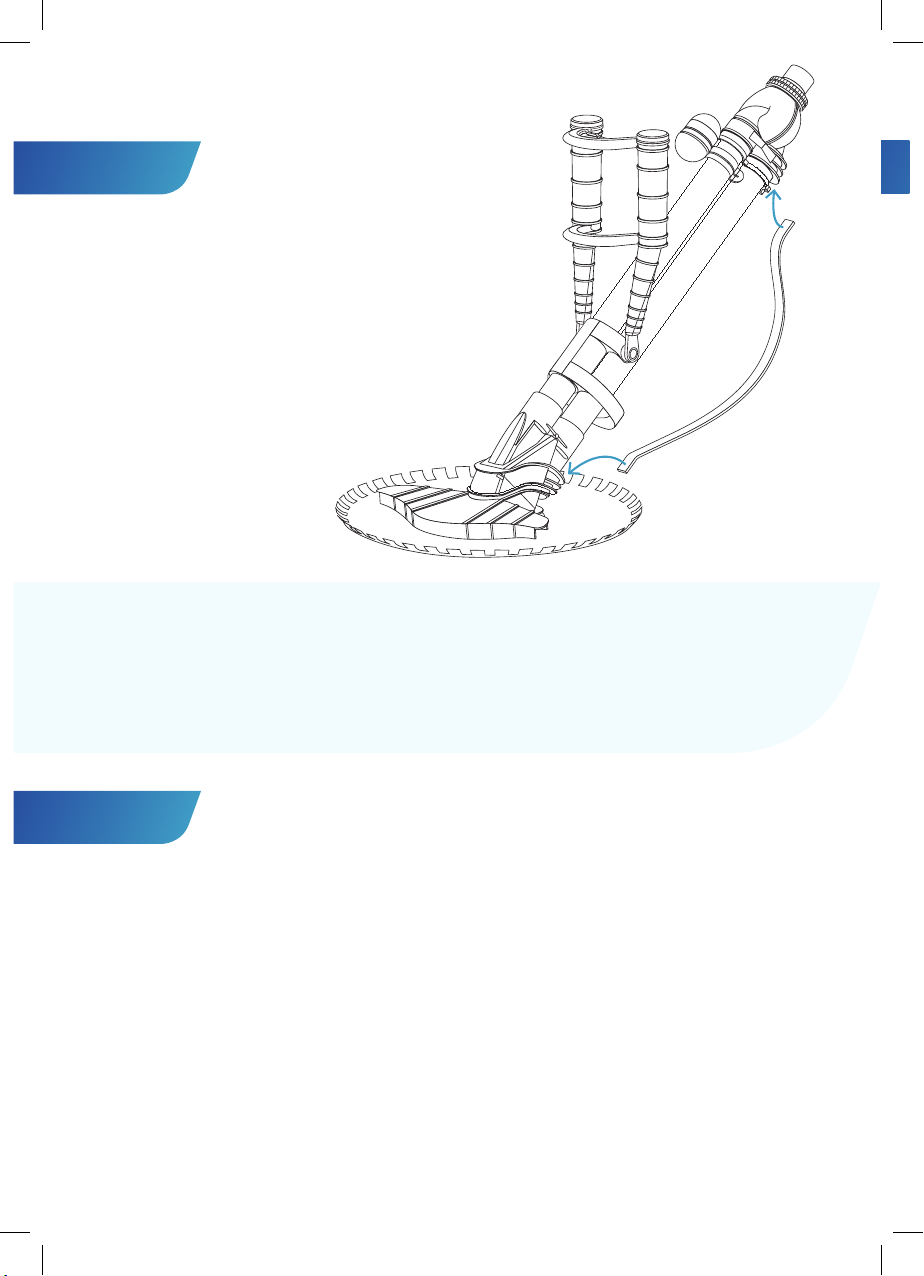
NOTE:
To remove, ensure the pump is off and grasp from the bottom
of the Smart-Skim, pulling up. (Note: Not from the hose or spring).
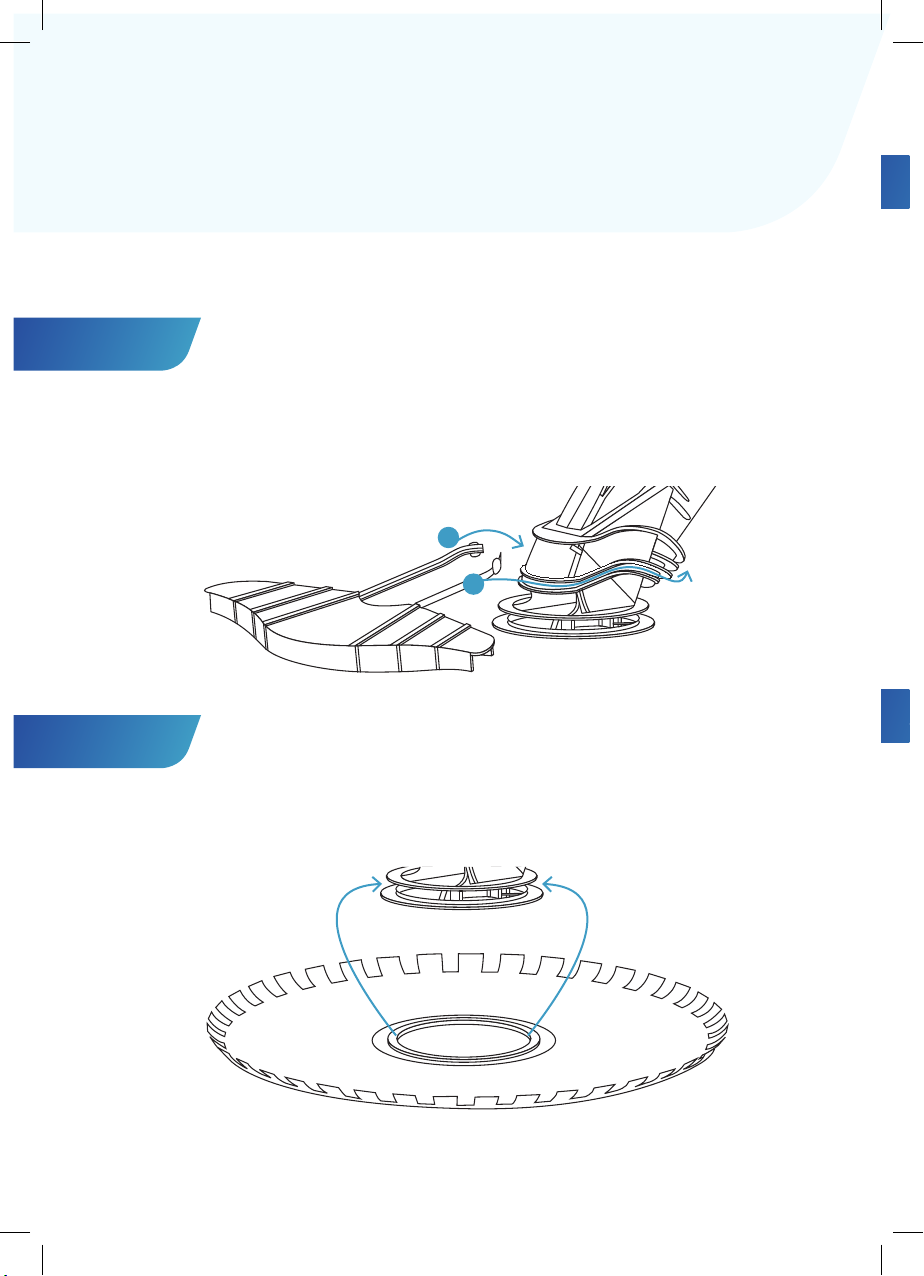
STEP 2
7
NOTE: A Vacuum Plate Clamp can
stop your vacuum plate moving.
TIP: The Anti-Vortex Washer stops the slurping sound.
used with most
vacuum plates
used with Polyplastics
190 & 210 standard
used with Polyplastics
SK10 (rectangular)
SOC33548 VTX-7 instructions_Art4.indd 7 29/09/2015 2:56 pm