KRUG+PRIESTER IDEAL 8590 User manual

Broschürenfertiger
Booklet Maker
Agrafeuse-plieuse
Plegadora grapadora
Bookletmaker
Urządzenie do broszurowania
IDEAL 8590
www.krug-priester.com
DE Betriebsanleitung
EN Operating Instructions
FR Mode d´emploi
ES Instrucciones de uso
NL Gebruiksaanwijzing
PL Instrukcja obsługi

23
EN
Operating Instructions
(23 – 43)
Denition of normal use 24
Safety instructions 24
Product features 26
Included in the box 27
Overview and description of parts 28
Control panel 29
Startup 31
Making booklets 32
Adjusting the paper stop 34
Relling staples 35
Adjusting the stapling heads 36
Care and maintenance 37
Troubleshooting 38
Technical data 39
Terms of warranty 40

24
Introduction
Thank you for choosing a device from IDEAL.
Denition of normal use
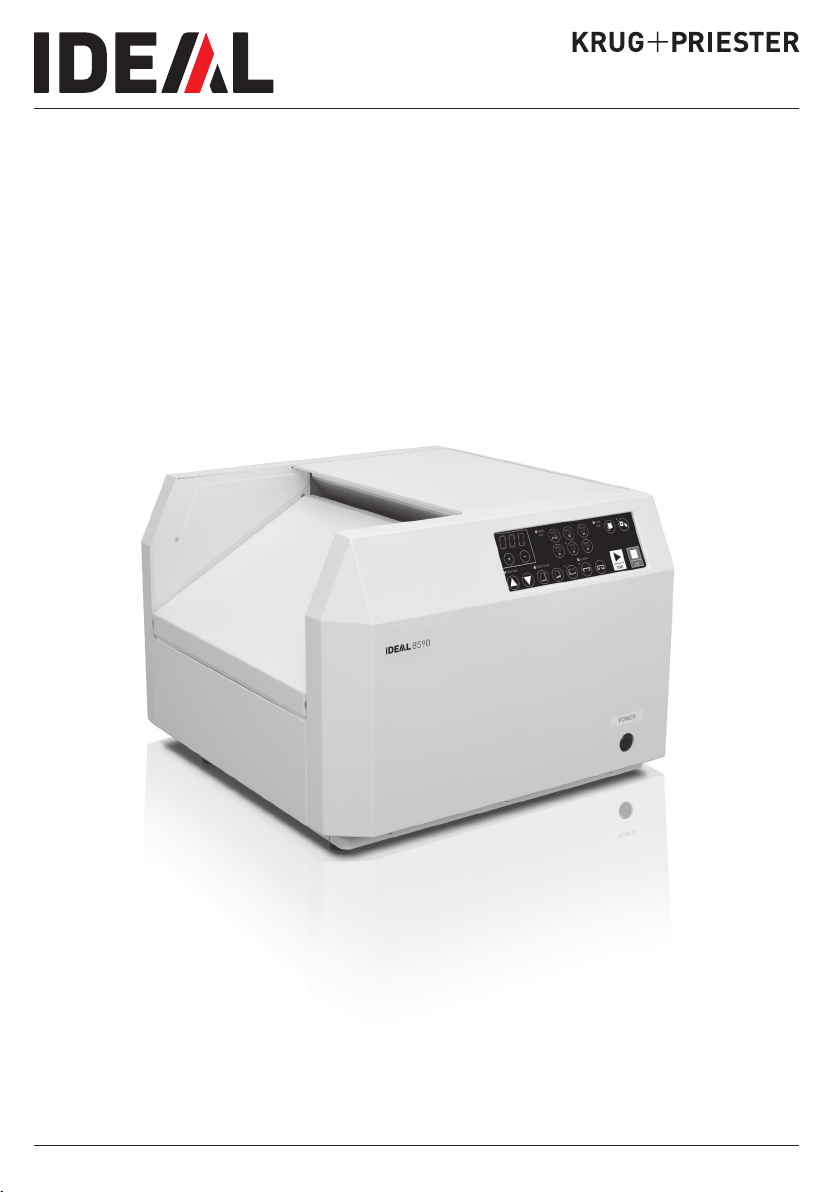
• The IDEAL 8590 is a tabletop bookletmaker.
• Please read these operating instructions before starting to use
the device and please follow the safety instructions.
The operating instructions must be kept available with the device
at all times.
Safety instructions
• Keep packing material, such as plastic wrapping, away from children!
(Risk of suffocation)
• Please follow the safety instructions to avoid re or electric shock.
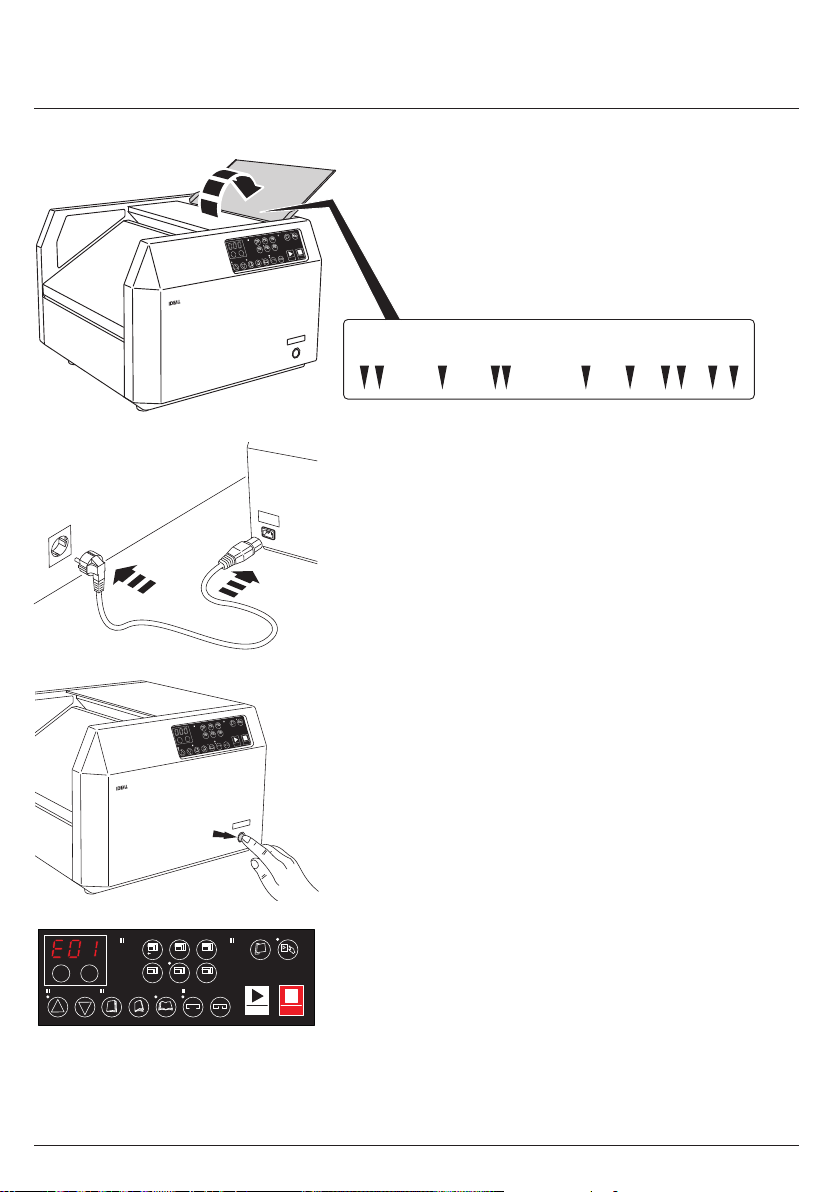
Only use the device indoors.
• Only use a wall socket that supplies the correct voltage (see rating plate)
• Do not modify or repair the device.
• Do not use the device if the power cable or mains plug is damaged or
if the connection at the wall socket is not stable.
• Make sure that the power cable is not crushed while you are using the
device and that it cannot be damaged in any other way. Place the cable
so that no one will trip over it. Do not place the power cable under strain,
i.e. do not pull it tight.
• Disconnect the plug from the wall socket for cleaning and whenever
the device is not in use for a signicant period of time.
• Do not touch the plug or the device if you have wet hands.
•Do not use volatile liquids, petroleum, paint thinner or polishing paste
to clean the device. Such liquids may damage the surfaces of the device.
• Do not install or store the product in an unstable area or an area
exposed to vibrations from other equipment.
• Use both hands to lift or move the product and hold the product from
the back.
• Do not attach anything to the device and do not place heavy objects
on top.
• When loading sheets of paper, do not exceed the specied maximum
number of sheets.
• Do not use thick, torn or old paper.
• Do not use force to push in the paper.

25
Safety instructions
• Children may not recognise hazards associated with electrical equipment.
You should therefore always supervise children near and around the
bookletmaker.
• Anyone who is not familiar with the operating instructions, any children
and anyone under the inuence of medication, alcohol or drugs must not
use the device or may only use it under supervision.
Danger
Risk of injury from electric shock.
Always disconnect the plug before
• Maintainance and cleaning
• Moving the machine
Danger
• Do not use any spray cans with ammable content near to the
booklet maker!
Danger
• Do not use any ammable cleaning agents.

26
Product features
• Easy and intuitive to operate with membrane keyboard, self-explanatory symbols
and integrated LED counter.
• The IDEAL 8590 bookletmaker folds and staples automatically in a single process.
• Patent pending for staple mechanism with conventional stapling and space-saving
at stapling.
• Can produce booklets of up to 64 pages (paper: 80 g/m²)
• The stapling heads can be repositioned tool-free.
• Staples can be relled quickly and easily.

27
Included in the box
IDEAL 8590 1 box of staples
(5000 staples) Foldaway
collection box
Power cable Printed operating
instructions
Broschürenfertiger
BookletMaker
Agrafeuse-plieuse
Plegadoragrapadora
Bookletmaker
Urządzenie do broszurowania
IDEAL 8590
www.krug-priester.com
DE Betriebsanleitung
EN OperatingInstructions
FR Moded´emploi
ES Instrucciones de uso
NL Gebruiksaanwijzing
PL Instrukcja obsługi
B5 B4
FREE
PAPER
SIZE
A5 A4 A5
COUNTMODE STAPLE&FOLD CLINCHER
START STOP
PAPER
FEED
+ –
POWER
8590
FORSTANDARD STAPLES
FULL STRIP STAPLES
5,000

28
Overview and description of parts
Bottom cover
Top cover
Control panel
Power switch
Power connection
Back
Foldaway
collection box
B5 B4
FREE
PAPER
SIZE
A5 A4 A5
COUNTMODE STAPLE& FOLD CLINCHER
START STOP
PAPER
FEED
+ –
POWER
8590
Front

29
Control panel
B5 B4
FREE
PAPER
SIZE
A5 A4 A5
COUNT MODE STAPLE & FOLD CLINCHER
START STOP
PAPER
FEED
+ –
1 2 3
4 5 6 7 8
A CB
D E F G H
A Counter
• In "Total counter" mode , the counter displays the number of booklets the device has
counted. In "Preset counter" mode , the counter subtracts the number of booklets that have
been counted from a preset value and displays the remaining number.
• When you change the paper size
PAPERPAPER
SIZESIZE
(by pressing the paper size on the control panel,
e.g. A4
A4
, twice), the counter displays the change for 4 seconds, which can be nely
adjusted within a range of +/- 5 mm. If the paper size is set to "FREE"
FREE
(size can be freely
selected), the counter displays the full length for 4 seconds.
• In side binding mode (press twice), the counter displays the setting for 4 seconds, which
can be adjusted within a range of 8-15 mm.
• In "Automatic mode" (press twice), the counter displays the detection time for 4 seconds,
which can be adjusted within a range of 1-5 seconds.
• The above values can be increased or decreased by pressing the plus +and
minus
–buttons.
B Paper size
• Select the original paper size from the following options: B5, B4, A5, A4, A3 and FREE.
• If you select FREE, you must set an original paper size within a range of 110-484 mm.
• Press one of the buttons twice. While the indicator is ashing, you can adjust the paper size
with the plus +and minus – buttons (ne adjustment to +/- 5 mm for all preset paper sizes).
C Paper feed
• Automatic mode: Press the "Auto" button. The device starts up automatically when the
optical sensor detects that paper is being fed. Press the "Auto" button twice to change the
detection time (1-5 seconds). Use the plus +and minus –buttons to change the time.
• Manual mode : The device only starts when the "Start"
START
button is pressed.

30
Control panel
B5 B4
FREE
PAPER
SIZE
A5 A4 A5
COUNT MODE STAPLE & FOLD CLINCHER
START STOP
PAPER
FEED
+ –
1 2 3
4 5 6 7 8
A CB
D E F G H
D Counter mode
• Press the button for Total counter mode or the button for Preset counter mode.
In Preset counter mode, you must dene a preset value. Use the plus +and
minus –buttons to adjust the preset value.
• Values that are longer than three digits cannot be displayed or set.
E Staple & fold
• If side stapling is selected, the device staples at the side of the paper.
Press the button for side stapling twice to adjust the stapling position within a range
of 8-15 mm. Use the plus +and minus –buttons to adjust the position value.
• If centre stapling is selected, the device staples in the centre of the paper.
• If folding is selected, the device folds without stapling (fold only).
F Clincher
• Press the button to press the ends of the staples at
(at stapling).
• Press the button to bend over the ends of the staples at
(conventional stapling).
G Start H Stop
• Press the start
START
button to start the binding process. Press the stop
STOP
button to stop the
binding process.

31
2.
1.
B5 B4
FREE
PAPER
SIZE
A5 A4 A5
COUNTMODE STAPLE& FOLD CLINCHER
START STOP
PAPER
FEED
+ –
POWER
8590
B5 B4
FREE
PAPER
SIZE
A5 A4 A5
COUNT MODE STAPLE & FOLD CLINCHER
START STOP
PAPER
FEED
+ –
B5 B4
FREE
PAPER
SIZE
A5 A4 A5
COUNTMODE STAPLE & FOLD CLINCHER
START STOP
PAPER
FEED
+ –
POWER
8590
5.5“
A5
JIS B5
JIS B4
A4
8.5“
A3
A3
12“
13“
320mm
11“
Startup
Open the top cover.
This cover has a scale for setting
the paper format.
Connect the power cable to the device rst,
then to the socket.
Switch on the device using the power switch.
The counter starts to ash, then is lit
continuously after a few seconds. The device is
ready for use.
The counter may also display one
of 3 messages:
E1: Cover open Close
E2: Staples empty Rell
E3: Paper in paper tray Remove

32
B5 B4
FREE
PAPER
SIZE
A5 A4 A5
COUNT MODE STAPLE & FOLD CLINCHER
STOP
PAPER
FEED
+ –
START
B5 B4
FREE
PAPER
SIZE
A5 A4 A5
COUNT MODE STAPLE & FOLD CLINCHER
STOP
PAPER
FEED
+ –
START
B5 B4
FREE
PAPER
SIZE
A5 A4 A5
COUNT MODE STAPLE & FOLD CLINCHER
STOP
PAPER
FEED
+ –
START
B5 B4
FREE
PAPER
SIZE
A5 A4 A5
COUNT MODE STAPLE & FOLD CLINCHER
STOP
PAPER
FEED
+ –
START
Making booklets
1. Choose between automatic and
manual paper feed mode.
2. Select stapling method:
3. Select staple,
fold or
staple and fold.
4. Select paper size:
FREE, B5, B4, A5, A4 or A3.
5. Select Total or Preset counter.

33
B5 B4
FREE
PAPER
SIZE
A5 A4 A5
COUNTMODE STAPLE& FOLD CLINCHER
START STOP
PAPER
FEED
+ –
POWER
8590
5.5“
A5
JIS B5
JIS B4
A4
8.5“
A3
A3
12“
13“
320mm
11“
Making booklets
6. Set the paper format (paper guide) to your
sheet size.
Paper guide
7. Place the sheets in the paper tray.
The sheets should held in place, but not
too tight in the paper guides. If you have
selected automatic mode , the device
starts automatically.
In manual mode , press the start
button
START
.

34
Adjusting the paper stop
1. Switch off the device at the power switch.
Disconnect the mains plug. Open the
bottom cover.
2. Place a sheet of paper in the paper tray.
Set the paper format (paper guide) to your
sheet size. Check the end of the sheet
against the stop.
Paper stop
3. Loosen the 3 screws in the middle of the
paper stop and position the stop to the
end of the paper. Tighten the screws again.
Remove the paper and close the bottom
cover.
B5
B4
FREE
PAPER
SIZE
A5
A4
COUNTMODE STAPLE&FOLD
CLINCHER
+ –
B5 B4
FREE
PAPER
SIZE
PAPER
FEED

35
Relling staples
1. Switch off the device at the power switch.
Disconnect the mains plug. Open the
bottom cover. Pull the staple holder down
and hook it into the applicable recess.
2. Open the magazine.
3. Insert the new staples.
Only use a new set of staples that is at least
5 cm long to rell the magazine.The system
may jam if a set of staples shorter than 5 cm
is used or if you attempt to use several sets
of staples.
4. Bring the staple holder slowly back to its
initial position.
Close the bottom cover.
Connect the power cable and switch the
device back on at the power switch.

36
135 mm90 mm 180 mm
Adjusting the stapling heads
The device has two stapling heads that can be attached at spacings of 90, 135 and 180 mm.
Switch off the device at the power switch. Disconnect the mains plug.
Open the bottom cover. Attach the stapling heads (secured with a wing bolt) at the positions you
require:
For corner stapling, you have to remove the head that will not be used:
To do this, start by disconnecting the sensor
plug from the stapling head.
Insert the sensor plug into the dummy socket
for storage.
Unscrew the wing bolt and remove the stapling
head.

37
Care and maintenance
• Clean the optical sensor every day to ensure
that the device functions reliably.
• Switch off the device at the power switch.
Disconnect the mains plug. Open the bottom
cover. Clean the optical sensor in the centre
of the paper stop with an ordinary paint-
brush.
Cleaning the optical sensor
1.External cleaning
• Clean the housing and the control panel with a lint-free cloth moistened with soapy water.
• Do not use volatile liquids, petroleum, paint thinner or polishing paste to clean the device.
Such liquids may damage the surfaces of the device.
2.Internal cleaning
• Please contact us if you would like to clean the inside of the device. Never disassemble the
device yourself, as you may cause the device to stop functioning or you may get an electric
shock.
3.Wipe the rubber on the folding rollers. (Universal-cleaning agent order no. 9000 632 or
universal-cleaning tissue order no. 9000 633)
4.Maintenance
• Please contact your dealer to arrange regular maintenance of your device.

38
Troubleshooting
Problem Cause Action
The device cannot
be switched on. Is the power cable connected
correctly? Switch off the power switch and
insert the mains plug securely
into the socket.
Check that the power
connection on the back of device
is not loose.
Are you using the right power
cable? Use the power cable supplied
with the device.
The product is not working
correctly. Is the optical sensor dirty? Clean the optical sensor
(page 37).
Is the paper being fed correctly? Adjust the paper guides correctly
so that they match the width of
the paper. Make sure that the
number of sheets of paper you
have added does not exceed the
maximum number of sheets.
Are the staples being stapled
correctly? Use the staples that we
recommend.
Have too many sheets been
added? Do not exceed the maximum
number of sheets when you add
paper.
Is the folding position correct? Switch the power switch off and
on again to move the paper stop
to the start position.
E01 is displayed on the control
panel. Is the bottom cover open? Close the bottom cover.
E02 is displayed on the control
panel. Are there enough staples in the
magazine? Follow the steps to rell staples
(page 35).
E03 is displayed on the control
panel. There is probably paper left in
the paper tray. Remove the paper.
Did none of the specied solutions help you
with your problem?
Contact: Service
• www.krug-priester.com
Service

39
IDEAL 8590 technical data
Subject to technical changes.
Power supply 220-240V 50Hz / 100-120V 60Hz
Dimensions (W x H x D) 490 × 355 × 474 mm
Weight 20 kg
Specications for producing booklets
Paper size 330.2 × 468.0 mm 110.0 × 210.0 mm
Max. number of sheets 16 sheets (80 g/m²)
Number of stapling heads 2
Paper quality 64 to 300 g/m²
Counter for addition (Total counter) or subtraction (Preset counter)
Width between adjustable
staples 90mm, 135 mm or 180 mm
Type of staple Staples with order No. 9000 857
Functions Staple and fold, fold only or staple only
Stapling methods Conventional stapling and space-saving at stapling
Speed up to 800 booklets/hour
Messages on the control panel Staple magazine empty, paper jam, cover open
Operating modes Manual and automatic
Operating environment
For use in Indoor environment
Max. recommended altitude Max. 2000 m above sea level
Operating temperature 0 to 50 ˚C
Operating humidity 20% to 90% RH

40
Terms of warranty
IDEAL provides a warranty for this device from the date of purchase.
The terms of warranty are dened by our local representative.
• If a material or design defect occurs during the warranty period, IDEAL shall repair or replace
the device, or repay the purchase price, at its discretion.
• The warranty will only be honoured if sufcient evidence is submitted, e.g. sales receipt, and
the claim under warranty is made within the warranty period.
• The warranty does not cover wearing parts or parts that need to be replaced regularly.
• The warranty shall be void if the device is not set up, adjusted and cleaned/maintained
correctly (in accordance with the operating instructions).
• The warranty shall be void if the device is connected to a power supply that does not comply
with the rating plate data.
Storage
We recommend storing the bookletmaker in its original packing in a cool, dry place.
Disposal
Pass the outdated Booklet maker onto your specialized retailer for professional disposal.
You can nd out about further disposal possibilities from your municipality.
Spare parts and accessories
You can purchase spare parts from specialized retailers. Only original parts from the
manufacturer can be used.
Repairs
All further repairs may only be carried out from professionals or the service department.
This also applies to a faulty power cord. Through improper repairs, considerable danger for the
operator can result and warranty claims lapse.
Recycling
Please remember to respect the local
regulations: hand in the non-working
electrical equipments to an appropriate
waste disposal centre. The packaging
material is recyclable. Dispose of the
packaging in an environmentally friendly
manner and make it available for the
recyclable material collection-service.
Thank you!

41
The company Krug + Priester has the
following certications:
• Quality management system according to
DIN EN ISO 9001:2015
• Environmental management system
according to DIN EN ISO 14001:2015
• Energy management system according to
DIN EN ISO 50001:2011
Other manuals for IDEAL 8590
1
Table of contents