KRUUSE PS250 User manual
PS250 User Instructions
PS250 Platform Scale
User Instructions
ENGLISH

PS250 User Instructions
JORGEN KRUUSE A/S 2014. All rights reserved
The information contained herein is the property of Jorgen Kruuse A/S and is
supplied without liability for errors or omissions. No part may be reproduced or
used except as authorised by contract or other written permission. The
copyright and the foregoing restriction on reproduction and use extend to all
media in which the information may be embodied.

PS250 User Instructions
Contents
page no.
Safety............................................................................................6
Warmings..................................Error! Bookmark not defined.
Safe installation........................................................................6
Safe use...................................................................................6
Cleaning the machine ..............................................................7
EMC compliance......................................................................7
1 About your machine....................................................................8
1.1 Description.........................................................................8
1.2 Display...............................................................................8
1.4 Power Error codes .............................................................9
1.5 Specification.......................................................................9
1.6 Power supply ...................................................................10
2 Weighing.................................................................................. 11
2.1 Power on & Self Test........................................................ 11
2.2 Return to Zero.................................................................. 11
2.3 [TARE/ZERO]...................................................................12
2.4 [UNIT] ..............................................................................13
2.5 Voltage testing..................................................................14
3 User mode................................................................................14

PS250 User Instructions
3.1 Automatic power-off .........................................................14
3.2 Backlight..........................................................................15
3.3 Weighing Unit Shield........................................................16
This function is used to choose the status of weighing
unit.When you choose this function,the display would show "ON
Unit".You could press.............................................................16
3.4 Mailing Address................................................................17
3.5 BaudRate Function ..........................................................18
3.6 Even-Odd check...............................................................18
3.7 Transportation..................................................................19
3.8 Hold .................................................................................20
3.9 Hit ....................................................................................20
4. Appendix:..............................................................................22
appendix 1 .............................................................................22
Appendix 2.............................................................................23
Appendix 3.............................................................................23

PS250 User Instructions
corresponds to the requirements of the following EC
directives:
A copy of the original signed declaration for this instrument is
available from:
JØRGEN KRUUSE A/S Havretoften 4 DK-5550 Langeskov
Declaration of Conformity
Manufacturer
Kruuse Shanghai Trading Co. Ltd.
Type
PS250
EMC Directive
2004/108/EC
Low Voltage Directive
2006/95/EC
Rosh Directive
2011/65/EU
The applicable harmonised
standards are:
EN60950, EN50081–1,
EN50082–1

PS250 User Instructions
Safety
Warnings
Safe installation
Take care when lifting and transporting heavy objects.
Do not overload the machine. Take care not to exceed the
weighing capacity of the machine.
Pluggable equipment must be installed near an easily
accessible socket outlet. Permanently connected equipment
must have a readily accessible disconnect device
incorporated in the fixed wiring.
For your protection all mains(110v or 230v),equipment used
out of doors or in wet or damp conditions should be supplied
from a correctly fused source and protected by an approved
RCD.
The mains lead must be connected to a supply outlet with a
protective earth contact. The electrical supply at the
socket outlet must provide overcurrent protection of an
appropriate rating.
IF IN DOUBT SEEK ADVICE FROM A QUALIFIED
ELECTRICIAN.
Safe use
To avoid the possibility of electric shock or damage to the
machine, always switch off the machine and isolate from the
power supply before carrying out any routine maintenance.

PS250 User Instructions
Cleaning the machine
CAUTION: Harsh abrasives, solvents, scouring cleaners
and alkaline cleaning solutions, such as washing soda,
should not be used especially on the display windows.
Under no circumstances should you attempt to wipe the
inside of the machine.
The outside of standard products may be wiped down with a
clean cloth moistened with water containing a small amount
of washing up liquid or disinfectant.
EMC compliance
The following warning may be applicable to your
machine.
WARNING: This is a class A product. In a domestic
environment this product may cause radio interference in
which case the user may be required to take adequate
measures.
PS250 User Instructions
1 About your machine
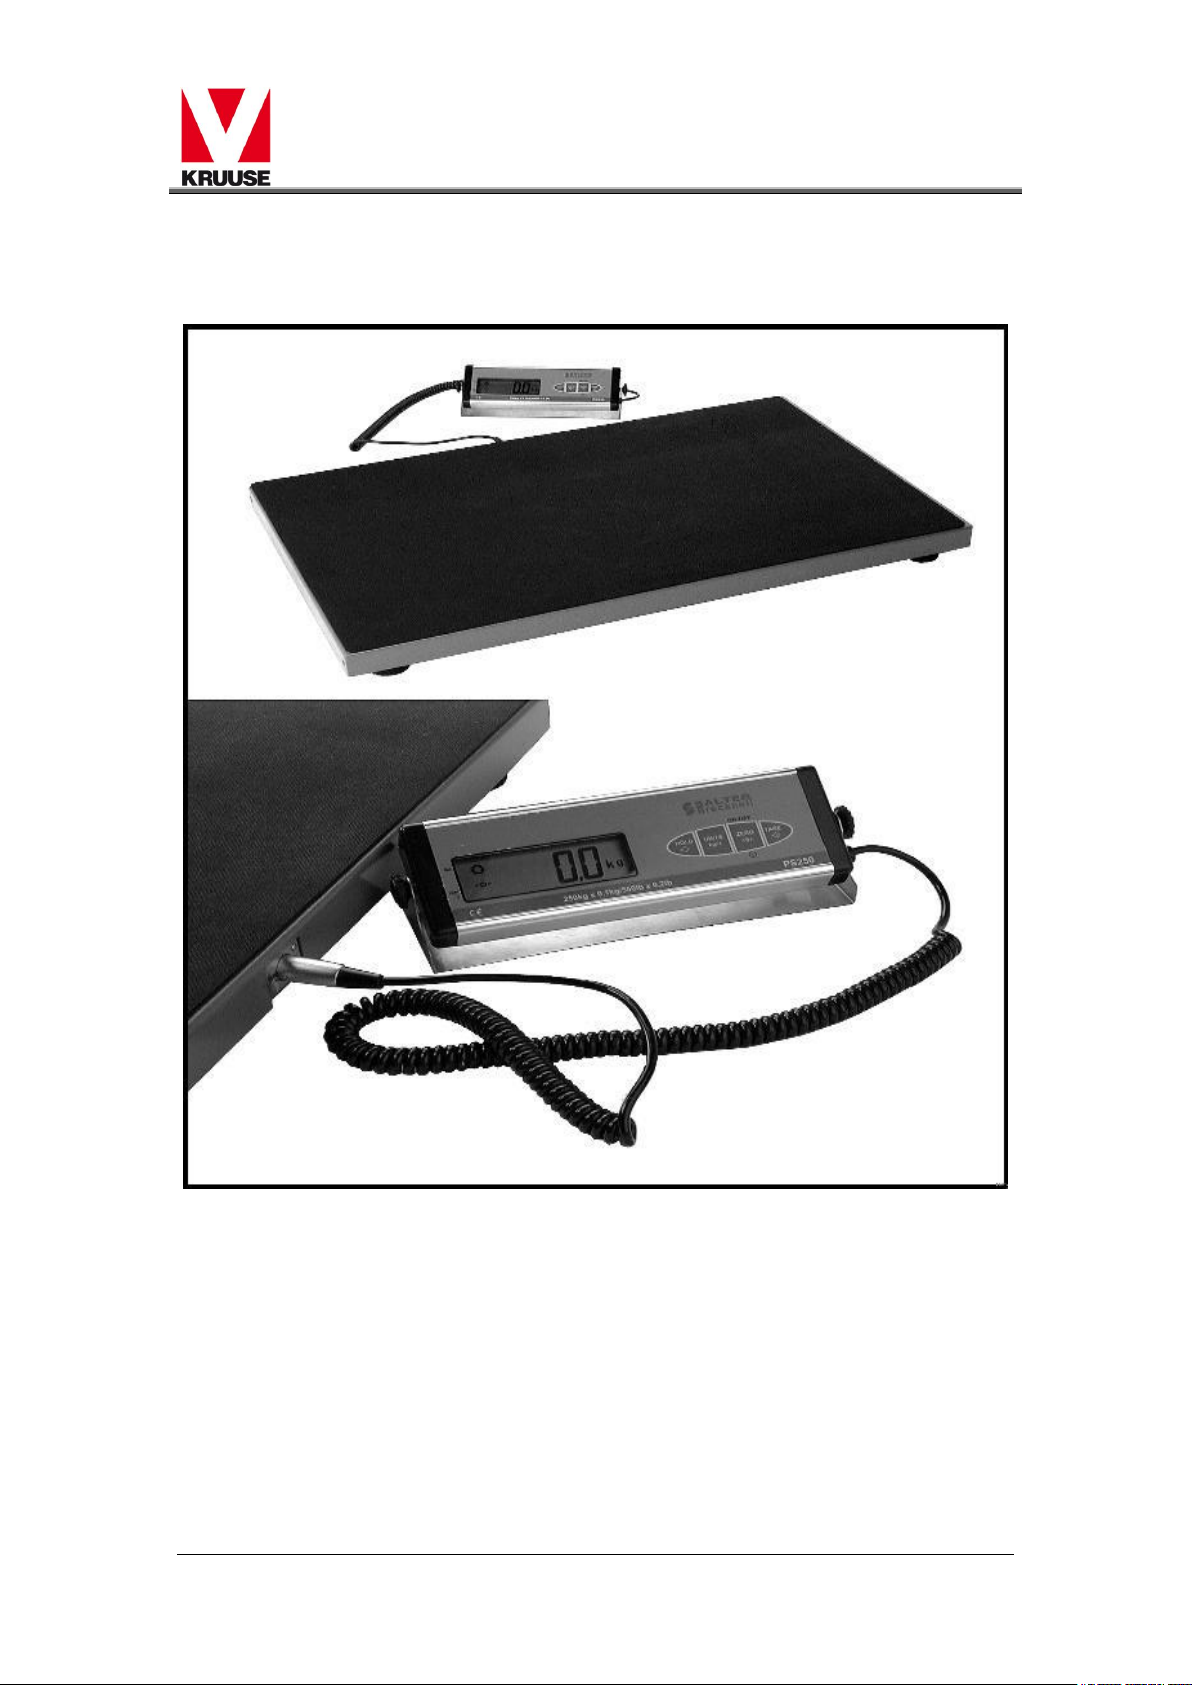
1.1 Description
The PS250 is a self contained portable platform scale with a remote
display. The platform is constructed of mild steel; it has four adjustable feet
for levelling and a non-slip mat for the platform. A bracket and fixings are
supplied for desk or wall mounting the indicator head. For best results,
always install the platform on a hard, flat, level surface.Astainless steel
platform version is available.
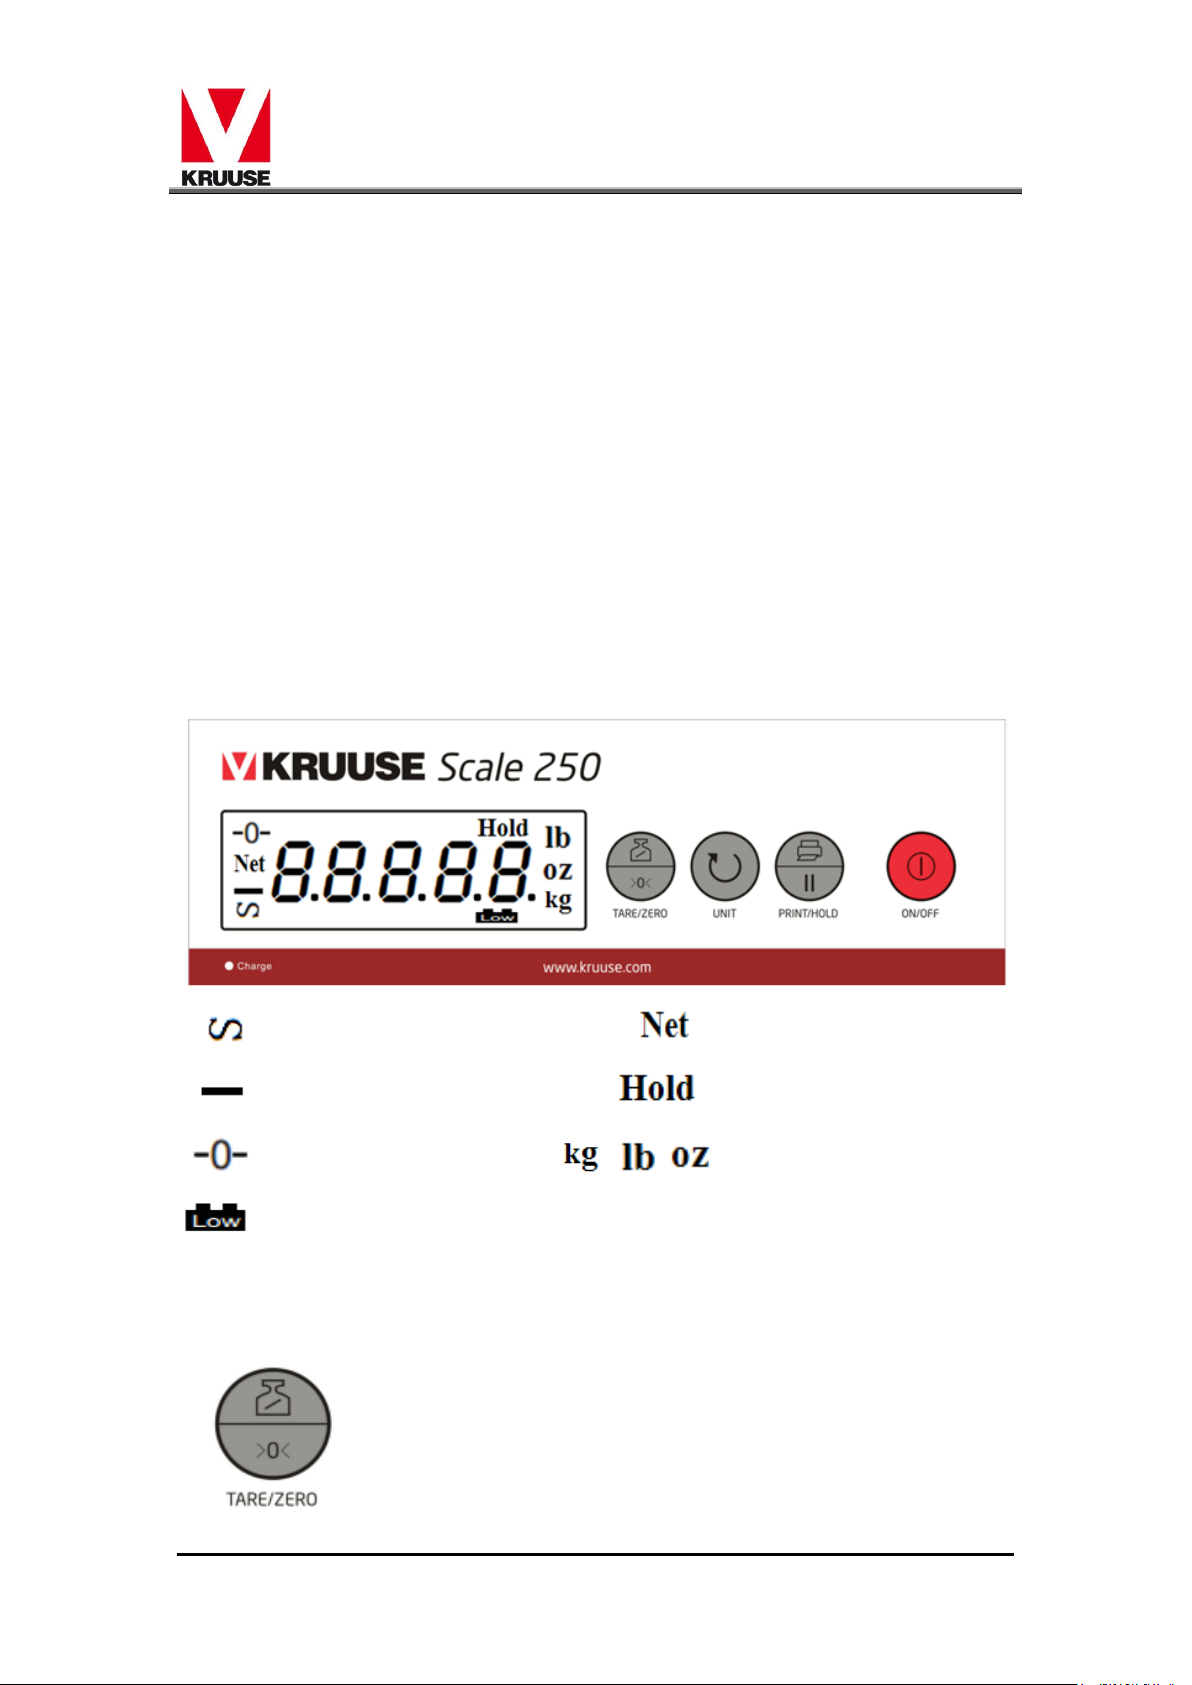
1.2 Display
Stable Net weight
Minus Hold weight
Centre of zero weighing mode
Low battery
1.3 Key functions
TARE/ZERO Switches the scale on or off.

PS250 User Instructions
UNIT Selects weighing units.
PRINT/HOLD Retains average weight display.
ON/OFF Switches the scale on or off.
1.4 Power Error codes
nnnnn Overload
Low battery warning
1.5 Specification
Capacity/resolution:
250kg x 0.1kg/ 550lb x 0.2lb
Display
5 segment LCD
Operating temperature
0~40℃
Weight
Dimension of Platform
975*600*75mm
Dimension of Display head
293*9135*76.5mm
PS250 User Instructions
(including holder)
Power supply
6 x 1.2V metal hydride
rechargeable batteries
Recharge adaptor
Input:AC 100~240V
Output:DC 12V--500mA
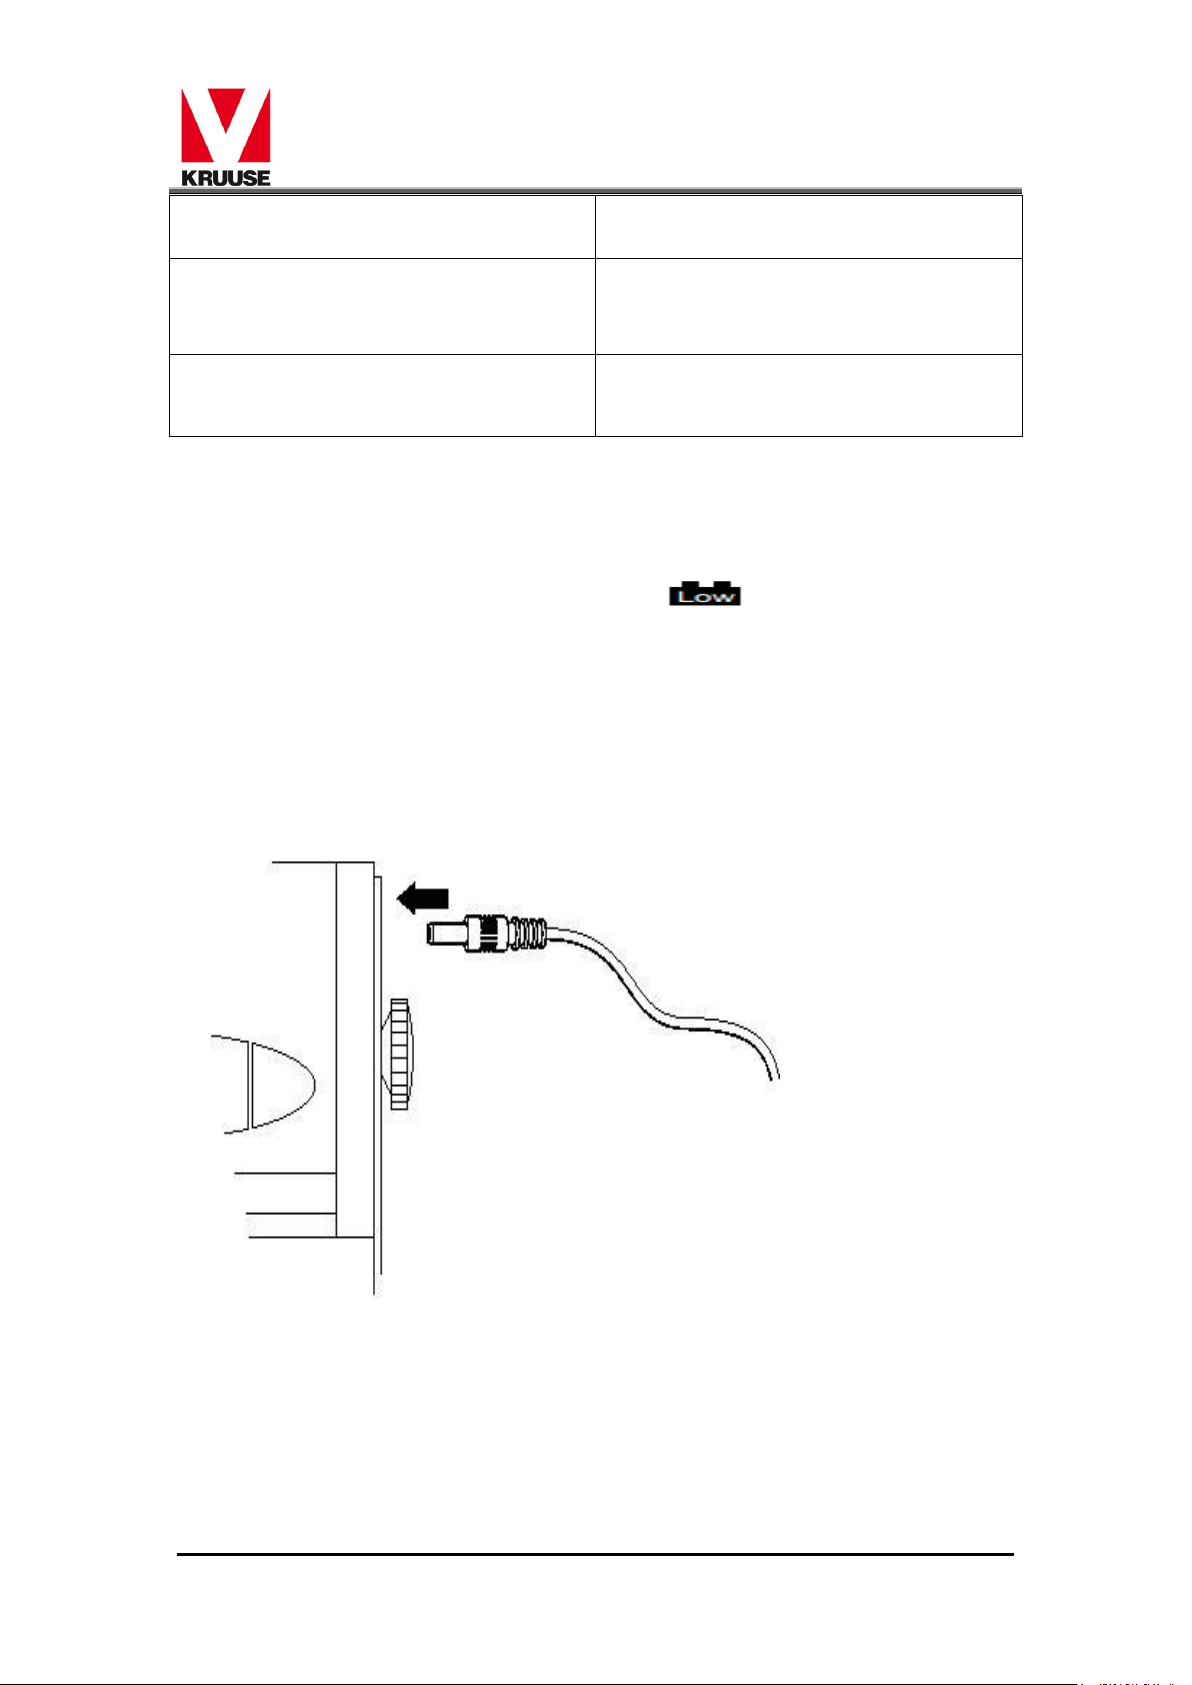
1.6 Power supply
The indicator head contains six metal hydride rechargeable
batteries. The low battery indicator is displayed when
the battery power is insufficient to power the scale
Recharging the batteries
Insert the AC re-charger adapter into the socket on the
indicator head to recharge the batteries.
Recharging time is approximately 4hours.
Fully charged batteries should give approximately 18 hours
of continuous use
Table of contents


