Kuntze LF6 User manual

CLEAR. CONTROL. CONNECT. KUNTZE.COM
Manual
Portable Instruments LF6
valid from 01. January 2020

Kuntze Instruments GmbH
Robert-Bosch-Str. 7a
40688 Meerbusch
Germany
202106
Copyright 2020 Kuntze Instruments GmbH
Technical and product modifications are reserved. The general terms and conditions of Kuntze
Instruments GmbH apply exclusively.

Portable Instruments LF6 Content
3
Content
1. General Note 5
1.1 General and safety instructions 5
2.2Safety guidelines 6
2.3Reshipment and Disposal 7
2. Specification 8
3. Product Specification 10
3.1 Scope of delivery 10
3.2 Operation and maintenance advice 10
4. Handling 11
4.1 Display elements 11
4.2 Pushbuttons 12
4.3 Connections 13
4.4 Pop-up clip 13
5. Start Operation 15
6. Configuration 16
7. Universal output 21
7.1 Serial Interface 21
8. Adjustment of temperature input 22
9. Automatic adjustment / calibration of cell correction 23
10. GLP 25
10.1 Calibration interval (C.Int) 25
10.2 Calibration storage (rEAd CAL) 25
11. Real Time Clock (“CLOC”) 27
12. Accuracy Check / Adjustment Service 28

Portable Instruments LF6 1. General Note
5
1. General Note
1.1 General and safety instructions
This operation manual applies to the following instruments
Instrument type:
LF6
Version
2
The manual contains technical information on installation,
operation, and maintenance.
Keep this manual in a place where you can always look up the
safety instructions and the information on handling and usage.
According to DIN 61010 the manual is part of the product and has
to be preserved as long as the instrument is used, and given to the
new owner if the instrument is sold.
The instrument was designed, built, and tested according to the
directives for electronic devices and has left our company in
perfect working condition. To preserve this condition and to ensure
safe operation, follow all instructions carefully and pay special
attention to all warnings issued in this manual. If the instrument is
visibly damaged or has been stored inappropriately or if there are
any doubts concerning safe operation, shut it down and make sure
it cannot be restarted.
You will notice that certain safety instructions are highlighted:
Warning
Highlights instructions for the protection of people.
Disregarding warnings may cause accidents and injuries!
Attention
Highlights instructions for the protection of the instrument
and equipment. Disregarding these instructions may lead to
damage or destruction of the instrument or equipment!
Note
Is used to highlight interesting details.

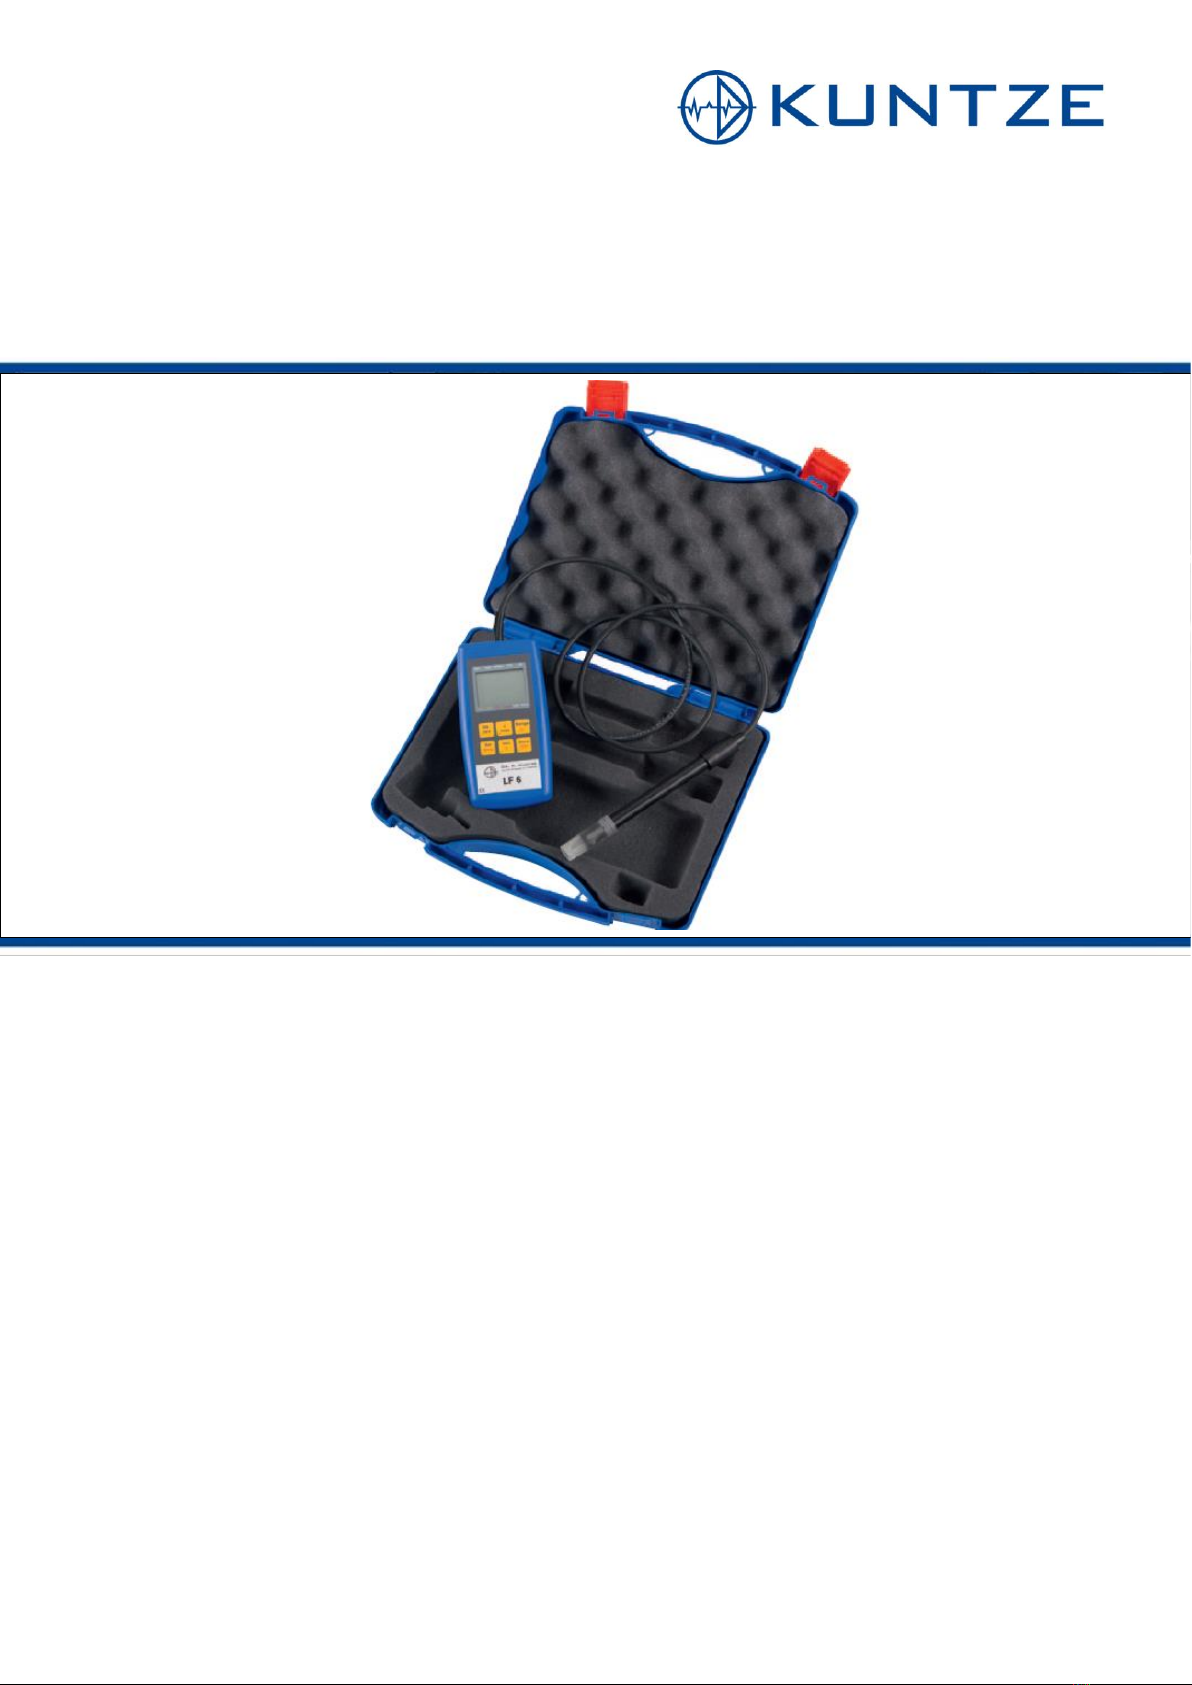
1. General Note Portable Instruments LF6
6
The manufacturer will assume no liability or warranty in case of
usage for other purpose than the intended one, ignoring this
manual, operating by unqualified staff as well as unauthorized
modifications to the device.
The manufacturer is not liable for any costs or damages incurred at
the user or third parties because of the usage or application of this
device, in particular in case of improper use of the device, misuse
or malfunction of the connection or of the device.
The manufacturer is not liable for misprints.
1.2 Safety guidelines
This device has been designed and tested in accordance with the
safety regulations for electronic devices. However, its trouble-free
operation and reliability cannot be guaranteed unless the standard
safety measures and special safety advises given in this manual
will be adhered to when using the device.
Trouble-free operation and reliability of the device can only be
guaranteed if the device is not subjected to any other climatic
conditions than those stated under „Specification“.
If the device is transported from a cold to a warm environment
condensation may cause in a failure of the function. In such a case
make sure the device temperature has adjusted to the ambient
temperature before trying a new start-up.
Warnung
If there is a risk whatsoever involved in running it, the device has to
be switched off immediately and to be marked accordingly to avoid
re-starting.
˃ there is visible damage to the device.
˃ the device is not working as specified.
˃the device has been stored under unsuitable conditions for a
longer time.
In case of doubt, please return device to manufacturer for repair or
maintenance.
When connecting the device to other devices the connection has to
be designed most thoroughly as internal connections in third-party
devices (e.g. connection GND with protective earth) may lead to
undesired voltage potentials that can lead to malfunctions or
destroying of the GMH 5155 and the connected devices.

Portable Instruments LF6 1. General Note
7
Warning
This device must not be run with a defective or damaged power
supply unit. Danger to life due to electrical shock!
Warning
Do not use these products as safety or emergency stop devices or
in any other application where failure of the product could result in
personal injury or material damage. Failure to comply with these
instructions could result in death or serious injury and material
damage.
Warning
This device must not be used at potentially explosive areas! The
usage of this device at potentially explosive areas increases
danger of deflagration, explosion or fire due to sparking.
1.3 Reshipment and Disposal
1.3.1 Reshipment
Warning
All devices returned to the manufacturer have to be free of any
residual of measuring media and other hazardous substances.
Measuring residuals at housing or sensor may be a risk for
persons or environment.
Note
Use an adequate transport package for reshipment, especially for
fully functional devices. Please make sure that the device is
protected in the package by enough packing materials.
1.3.2 Disposal instructions
Batteries must not be disposed in the regular domestic waste but
at the designated collecting points. The device must not be
disposed in the unsorted municipal waste! Send the device directly
to us (sufficiently stamped), if it should be disposed. We will
dispose the device appropriate and environmentally sound.

2. Specification Portable Instruments LF6
8
2. Specification
Measuring ranges
Amount
5
Conductivity 1 *)
0,0 ... 200,0 μS/cm
Conductivity 2 *)
0 ... 2000 μS/cm
Conductivity 3 *)
0,00 ... 20,00 mS/cm
Conductivity 4 *)
0,0 ... 200,0 mS/cm
Resistivity
0,005 ... 100,0 kOhm*cm
TDS
0,0 ... 1999 mg/l
Salinity
0,0 ... 70,0 g/kg (PSU)
Temperature
- 5,0 … + 100,0 °C
23,0 … 212,0 °F
Accuracy
Conductivity
± 0,5 % v.MW ± 0,3 % FS bzw.
± 2 μs/cm
Temperature
± 0,2 K
Connection
Conductivity, Temperature
Permanently connected mesuring
cell
Output
Serial interface (3.5mm jack) can
be connected to USB or RS232
interface of a PC via electrically
isolated interface adapter
USB3100, USB 3100 N,
GRS3100 or GRS3105 (see
accessories).
Measuring cell
Two-electrode-conductivity-
measuring cell with integrated
temperature sensor
Electrode material
Special graphite
Shaft
Polysulfon
Dimension
Dia. 12 mm, length 120 mm
Ambient conditions
-5 … +80 °C (continous) bis
+100 °C (short-duration)

Portable Instruments LF6 2. Specification
9
Display
4 digit 7-segment (main and
secondary display) with additional
symbols
Additional functions
Min / Max / Hold
Adjustment / Calibration
Cell correction manually or
automatically via selectable
reference solution
Working conditions
Break-proof ABS housing
Protection class
Front side IP65
Dimensions L * W * H [mm]
142 x 71 x 26 mm (L x W x H)
Working conditions
-25 to 50 °C; 0 to 95 % RH
(non condensing)
Storage temperature
-25 to 70 °C
Power supply
9V-battery, typ IEC 6F22
(included in scope of supply) or
external
Current consumption
2 mA (Out = Off)
Battery indicator
Automatically if battery exhausted
and ’ bAt ’
Auto-Off- Funktion
Device will be automatically
switched off if no key is
pressed/no interface
communication takes place for
the time of the power-off delay.
The power-off delay can be set to
values between 1 and 120 min.; it
can be completely deactivated.
EMV
The device corresponds to the
essential protection ratings
established in the Regulations of
the Council for the Approximation
of Legislation for the member
countries regarding
electromagnetic compatibility
(2004/108/EG). Additional fault: <
1 %

3. Product Specification Portable Instruments LF6
10
3. Product Specification
3.1 Scope of delivery
The scope of supply includes:
˃LF6, incl. 9V-battery
˃Operating manual
3.2 Operation and maintenance advice
3.2.1 Battery operation
If and ‘bAt’ is shown in the lower display the battery has been
used up and needs to be replaced. However, the device will
operate correctly for a certain time. If ‘bAt’ is shown in the upper
display the voltage is too low to operate the device; the battery has
been completely used up.
Note
The battery has to be taken out, when storing device above 50°C.
We recommend taking out battery if device is not used for a longer
period of time. After recommissioning the real-time clock has to be
set again.
3.2.2 Mains operation with power supply
Attention
When using a power supply please note that operating voltage has
to be 10.5 to 12 V DC. Do not apply overvoltage! Cheap 12V-
power supplies often have excessive no-load voltage. We,
therefore, recommend using regulated voltage power supplies.
Trouble-free operation is guaranteed by our power supply
GNG10/3000. Prior to connecting the power supply to the mains
make sure that the operating voltage stated at the power supply is
identical to the mains voltage.
3.2.3 Operation and maintenance
Treat device and sensor carefully. Use only in accordance with
above specification. (do not throw, hit against etc.). Protect plug
and socket from soiling.

Portable Instruments LF6 4. Handling
11
4. Handling
4.1 Display elements
1
Main display
Conductivity (mS / cm, μS / cm)
resistivity (kΩcm) TDS / total
dissolved solids (mg / l) salinity
(SAL)
2
Secondary display
Measuring value temperature
3
Arrows to selected measuring unit
4
Warning signal
Indicates low battery or missing
calibration
5
Display elements to show minimum / maximum / memorized
measuring value
6
nLF, Lin
Display element for selected
temperature compensation
7
% / K, 1 / cm
Additional configuration units

4. Handling Portable Instruments LF6
12
4.2 Pushbuttons
On / Off key
Press shortly:
Switch on/off instrument
Set / Menu:
Press shortly:
Press for 2 sec. (menu):
Change-over between
measuring units (only if
„InP: SEt“ is selected)
Invoke configuration
menu
+
Min / max when taking
measurements:
Configuration:
Press shortly:
To enter values or
change settings
Min. or max. value is
displayed
Cal
Only at mode ‘cond’=conductivity
Press for 2 sec. start cell correction adjustment
Store / Quit
Measurement:
Hold and save current
measuring value (‘HLD’
is displayed)
Set / Menu:
Confirm settings, return
to measuring

Portable Instruments LF6 4. Handling
13
4.3 Connections
4.4 Pop-up clip
Handling:
˃Pull at label “open” in order to swing open the pop-up clip.
˃Pull at label “open” again to swing open the pop-up clip further.
Pop-up clip closed
Pop-up clip at position 90 °
Pop-up clip an position 180 °
Function:
˃The device with a closed pop-up clip can be plainly laid onto
a table or attached to a belt, etc.
˃The device with pop-up clip at position 90° can be set up on
a table, etc.
˃The device with pop-up clip at position 180° can be suspended
from a screw or the magnetic holder GMH 1300.

4. Handling Portable Instruments LF6
14
Device attached to a belt
Device set up on a table
Device suspended from magnetic
holder GMH 1300

Portable Instruments LF6 5. Start Operation
15
5. Start Operation
Turn device on via key.
After segment test the device displays some
information on its configuration:
if cell correction scale was changed (cell correction
scale unequal 1.000) (see chapter 10 Automatic
adjustment/calibration of cell correction)
if zero point or slope correction is active (see
chapter 9 Adjustment of temperature input)
After that the device is ready for measuring.

6. Configuration Portable Instruments LF6
16
6. Configuration
To change device’s settings, press „Menu“for 2 seconds.
This will activate the configuration menu (main display: “SEt”).
Pressing „Menu“changes between the menus points,
pressing jumps to the referring parameters, which can be
selected with key ). The parameter value can be changed
with or . Pressing „Menu“ again jumps back
to the main configuration menu and saves the settings. Pressing
„Quit“ finishes the configuration.
Note
Pressing “menu” and “store” at the same time for more than 2
seconds will reset the device to factory defaults.
If no key is pressed for more than 2 minutes the configuration will
be aborted. All changes will be discarded!

Portable Instruments LF6 6. Configuration
17

6. Configuration Portable Instruments LF6
18

Portable Instruments LF6 6. Configuration
19

6. Configuration Portable Instruments LF6
20
Table of contents
Other Kuntze Measuring Instrument manuals
Popular Measuring Instrument manuals by other brands

Truma
Truma DuoC Series Operating instructions & installation instructions

Hioki
Hioki LR5041 instruction manual

Hanna Instruments
Hanna Instruments HI 99141 instruction manual

Dresser
Dresser iRMR Series Installation and operation manual

Ocean Optics
Ocean Optics USB2000 Installation and operation manual

Ametek
Ametek Drexelbrook 505-1320 Series Installation and operating instructions