Kutai electronics EA05A-B User manual

EA05A-B
Generator Automatic Voltage Regulator
Operation Manual
Self Excited Automatic Voltage Regulator
5 Amp AC110V AVR For General Generators
Headquarters : No.3, Lane 201, Chien Fu ST., Chyan Jenn Dist., Kaohsiung, TAIWAN
Tel : + 886-7-8121771
Fax : + 886-7-8121775
URL : http://www.kutai.com.tw

______________________________________________________________________________________
2EA05A-B
1. SPECIFICATION
Sensing Input
Voltage 95~130 VAC, 1 phase2 wire
Frequency 50 / 60 Hz, DIP switch selectable
Power Input
Voltage 50 ~ 150 VAC, 1 phase 2 wire
Output
Voltage Max. 45 VDC @ 120 VAC input
Current Continuous 5A
Intermittent 7A for 10 sec
Resistance Min. 15 ohm Max. 100 ohm
Voltage Regulation
< ± 0.5% ( with 4% engine governing )
Voltage Build-up
Residual voltage at AVR terminal > 5 VAC
Thermal Drift
0.03% per
°
C change in AVR ambient
External Volts Adjustment
7% with 1K ohm 1 watt trimmer
EMI Suppression
Internal electromagnetic interference filtering
Unit Power Dissipation
Max. 8 watt
Under Frequency Protection (Factory Setting)
60 Hz system presets knee point at 55 Hz
50 Hz system presets knee point at 45 Hz
Soft Start Ramp Time
3 sec.
Dimensions
101mm L * 69mm W * 47.5mm H
Weight
183g ± 2%
2. WIRING
When generator supply is over load, N phase will be
different with the sharing load by 3 phases (load
imbalance). Hence, the voltage from N phase to 3
phases (R.S.T.) will be altered. When the rated
voltage of the traditional single input’s AVR is above
110V, it will increase the voltage drift rate by using N
phase as the detective input. It will also cause the
voltage imbalance.
EA05A-B can improve the above situation, and
increase the generator’s rated voltage usage space,
such as 110V. We can all detect by the “phase
voltage”.
1. When the rated phase voltage of the generator is
110VAC, the input terminals B, C and sensing
terminals A, C can join together (as show as
figure3. It’s the original setting).or connect
independent.(as show as Figure3).
2. When the rated phase voltage of the generator is
110V, the input terminals B, C and sensing
terminals A, C must separate connect the wiring
(as show as Figure 3). The voltage between B
and C must not be over 300 VAC.
3. F+ F- terminals connect to the generator field. ( J
and K )
FEXT.VR is the potentiometer (1KΩ1W). These two
terminals must be by-pass when external
potentiometer is needless.
P.S. : A, B, C, F+ F- the usage of wire gauge are
AWG16 or 1.25mm
2
85
°
C above 600V.
The EXT.VR connection wires must be made of
isolated wiring.
3. ADJUSTMENTS
The voltage setting for 110V and the frequency
setting for 50/60HZ is show in Figure3. Please
check the voltage/frequency selector setting is
correct before start the generator.
CAUTION :
The generator or AVR may be damaged if the
voltage / frequency selector setting is incorrect.
UFRO DIP:
Close - please refer to solid curve in Figure5.
Open - please refer to dotted curve in Figure5.
1. Before you turn on the generator, please turn the

______________________________________________________________________________________
EA05A-B 3
voltage adjustment and stability adjustment full
anti-clockwise. After the generator is on and run
stably, turn the voltage adjustment clockwise to
reach the required out voltage. (If there is an
external potentiometer, turn the external
potentiometer to the middle position before adjust
internal voltage potentiometer.)
2. Adjust “Stability Adjustment” clockwise slowly to
change the feedback time between AVR and the
generator. If the adjustment is too big, it might
cause the voltage instable. If too small, the load
voltage will change too much at heavy load. Our
suggestion is to trace by the multi-meter DCV. To
adjust “stability adjustment”, you just need to
make the multi-meter waving smaller. It can also
improve the full load’s voltage drift rate.
4. FIELD FLASHING
When the regulator is operated with the generator for
the first time, the polarity of residual magnetism may
be reversed or too small to achieve the necessary
build-up voltage for the regulator. If reversing the field
connections does not induce build-up, andtheresidual
voltage is less than the specified value of 5 VAC, shut
down the Prime-mover and proceed with the following
steps :
1. With the Prime-mover at rest and the regulator’s
field output wires disconnected, apply a DC
source ( NOT grounded ) of not more than 3~12
VDC with Positive to F+ and Negative to F-, in
series with a current-limiting resistor of 3~5 ohms
20 watt. (The set battery is a suitable source.)
2. Allow approximately 3 seconds before removing
the DC source.
3. With the voltage regulator disconnected ( wires 3
and 4 ), start the prime mover and measure the
“ residual ” voltage available at the auxiliary
winding. If this voltage is greater than 5 VAC,
reconnect voltage regulator, and voltage build-up
should be successful. If less than 5 VAC is
measured, repeat field flashing procedure.
4. If repeating steps a. and b. does not result in
generator voltage build-up, and residual is
greater than 5 VAC, replace voltage regulator.
WARNING
This Automatic Voltage Regulator is not
equipped with loss-Sensing Protection
function / Over Excitation Protection. An
additional Over-Voltage Protection device for
load may be required to avoid possible
damage to the equipment or severe personal
injury or death.
5. TROUBLE SHOOTING
SYMPTOM
CAUSE CORRECTION
Engine speed is too low.
Please refer to the Generator Manual.
Residual voltage is too low.
Please refer to the section introduction of
excite.
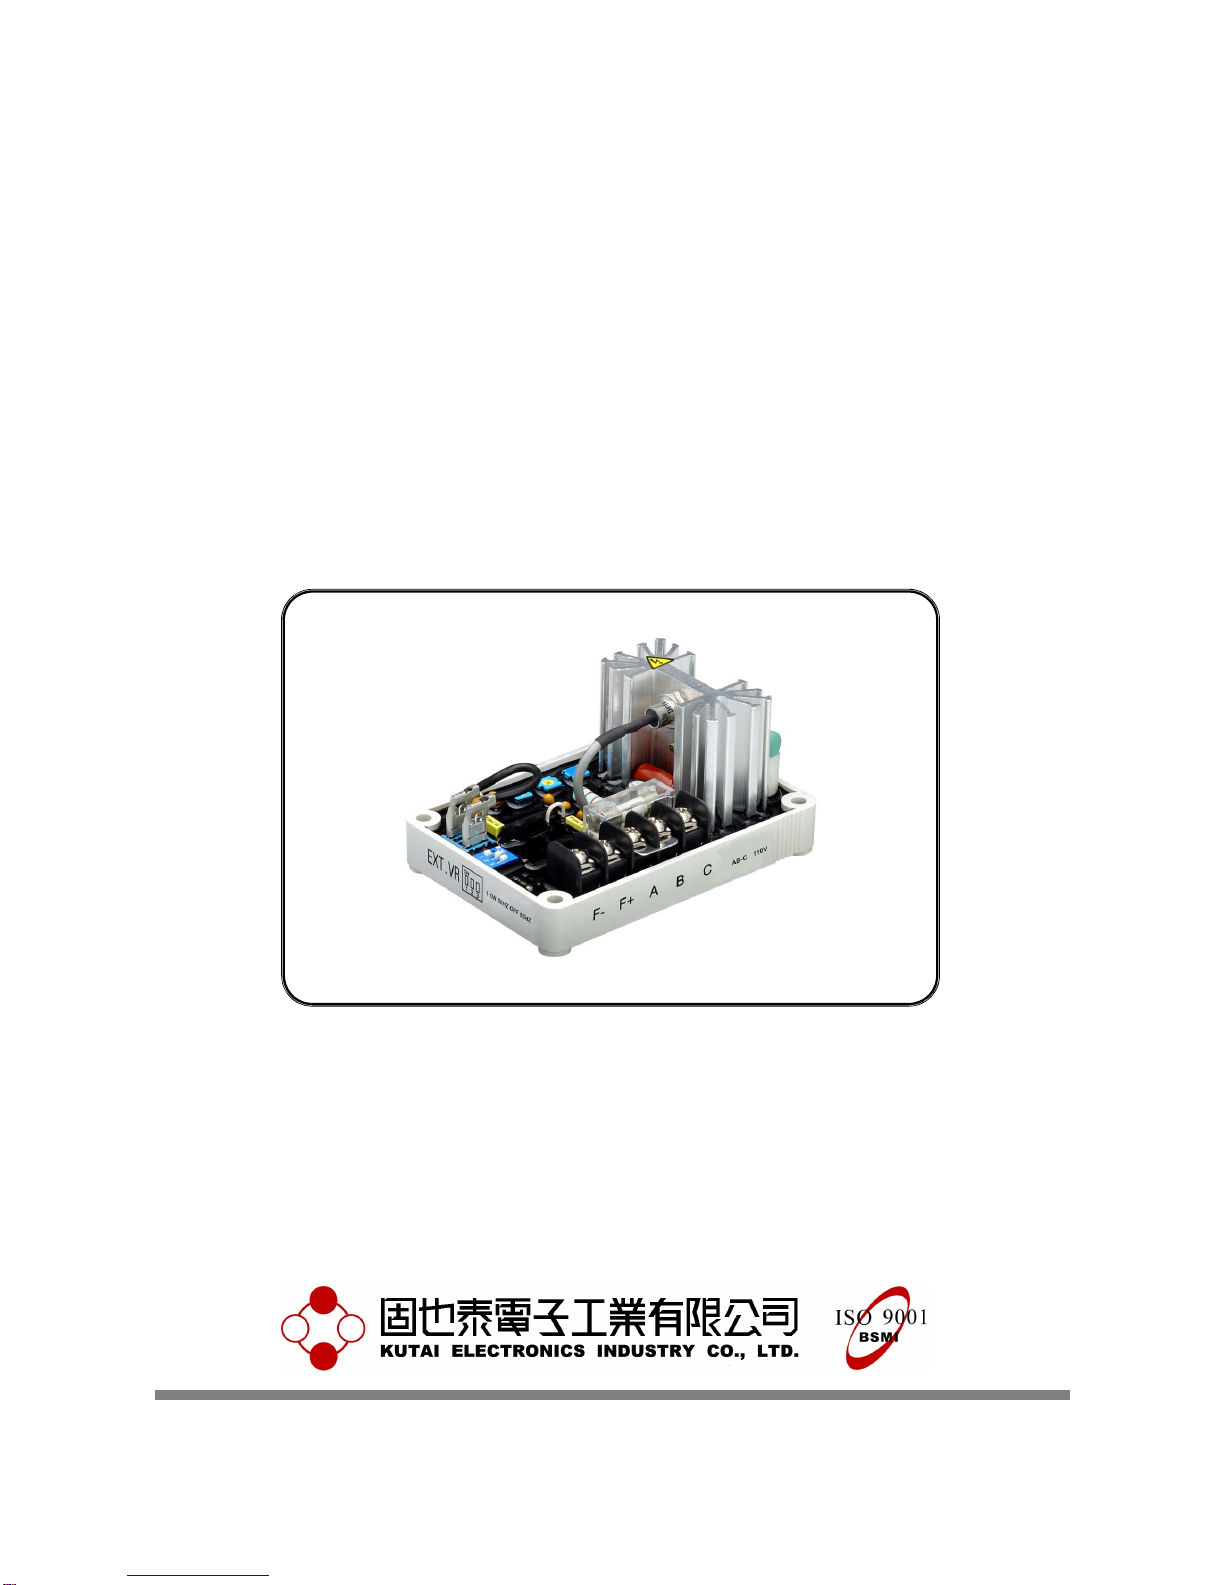
B,C,F+,F- wires are not connected well. Please refer to Figure 3.
Voltage does not
build up
Defective Generator. Please refer to the Generator Manual.
The input wiring of A,B,C are not correct.
Please refer to Figure 3.
Check the external potentiometer. Check wiring and potentiometer.
Under frequency. Please refer to the Generator Manual.
The exciter does not match the AVR. Please refer to the Generator Manual.
Out voltage low
The voltage / frequency selector setting
is not correct. Please refer to Figure 3.
Fuse blown The exciter flash is too large or wiring
doesn’t connect well. Please refer to the Generator Manual.
Please refer to Figure 3.
A,C terminals are not connect or wiring
incorrect. Please refer to Figure 3.
Out voltage high
The voltage / frequency selector setting
is not correct. Please refer to Figure 3.
Out voltage instable
Stability Adjustment doesn’t adjust well.
Please refer to the section introduction of
Adjustment.
※Use only original supplied spare protection fuse for fuse replacement.

______________________________________________________________________________________
4EA05A-B
6. FIGURE AND SIZE
※Please accept our sincere apology if any modification in performance, specification or appearance is
made without prior notice.
Flash with Battery
Figure 3
20
40
60
80
100
120
(% OF NOMINAL)
GENERATOR OUTPUT VOLTAGE
(% OF NOMINAL)
GENERATOR OUTPUT VOLTAGE
FREQUENCY (HZ)
0
40
20
60
10 20 30 40 6050
80
100
120
50HZ 60HZ
SOFT START (V/S)
0
12
STABILITY
VOLTS
U/F
UFOR
DIP
ON
1 2 3
3
ON
1 2
220V/60HZ
220V/50HZ
N
R
S
T
G
~
Field
CB A F+ F-
1 32
ON
U/F STAB VOLT UFRO
DIP
1000 OHM
EXT. VR
Frequency
Selector
Volt /
Figure 1 Figure 2
ON
Field
STAB
U/F VOLT
CA F+ F-
B
1000 OHM
321
DIODE
3~5 OHM SWITCH
BATT.
UFRO
DIP
EXT. VR
Frequency
Selector
Volt /
110V / 50HZ
110V /
6
0HZ
2 31
ON
220V/60HZ
21 3
220V/50HZ
ON
110V / 50HZ 110V / 60HZ
Volt/Frequency Selector
Figure 4
Frequency Compensation Curves
Figure 5 Soft Start Curve
Figure 6
Table of contents
Popular Inverter manuals by other brands

Sungrow
Sungrow SG125HV user manual

Firman
Firman L03391 owner's manual

Olimpia splendid
Olimpia splendid DC DUAL 21 HP HE Instructions for installation, use and maintenance

SunSynk
SunSynk SUN-8K-SG04LP3 user manual

Clenergy
Clenergy PV-ezRack SolarTerrace II Code-Compliant Planning and Installation Guide

RND
RND 320-00138 user manual