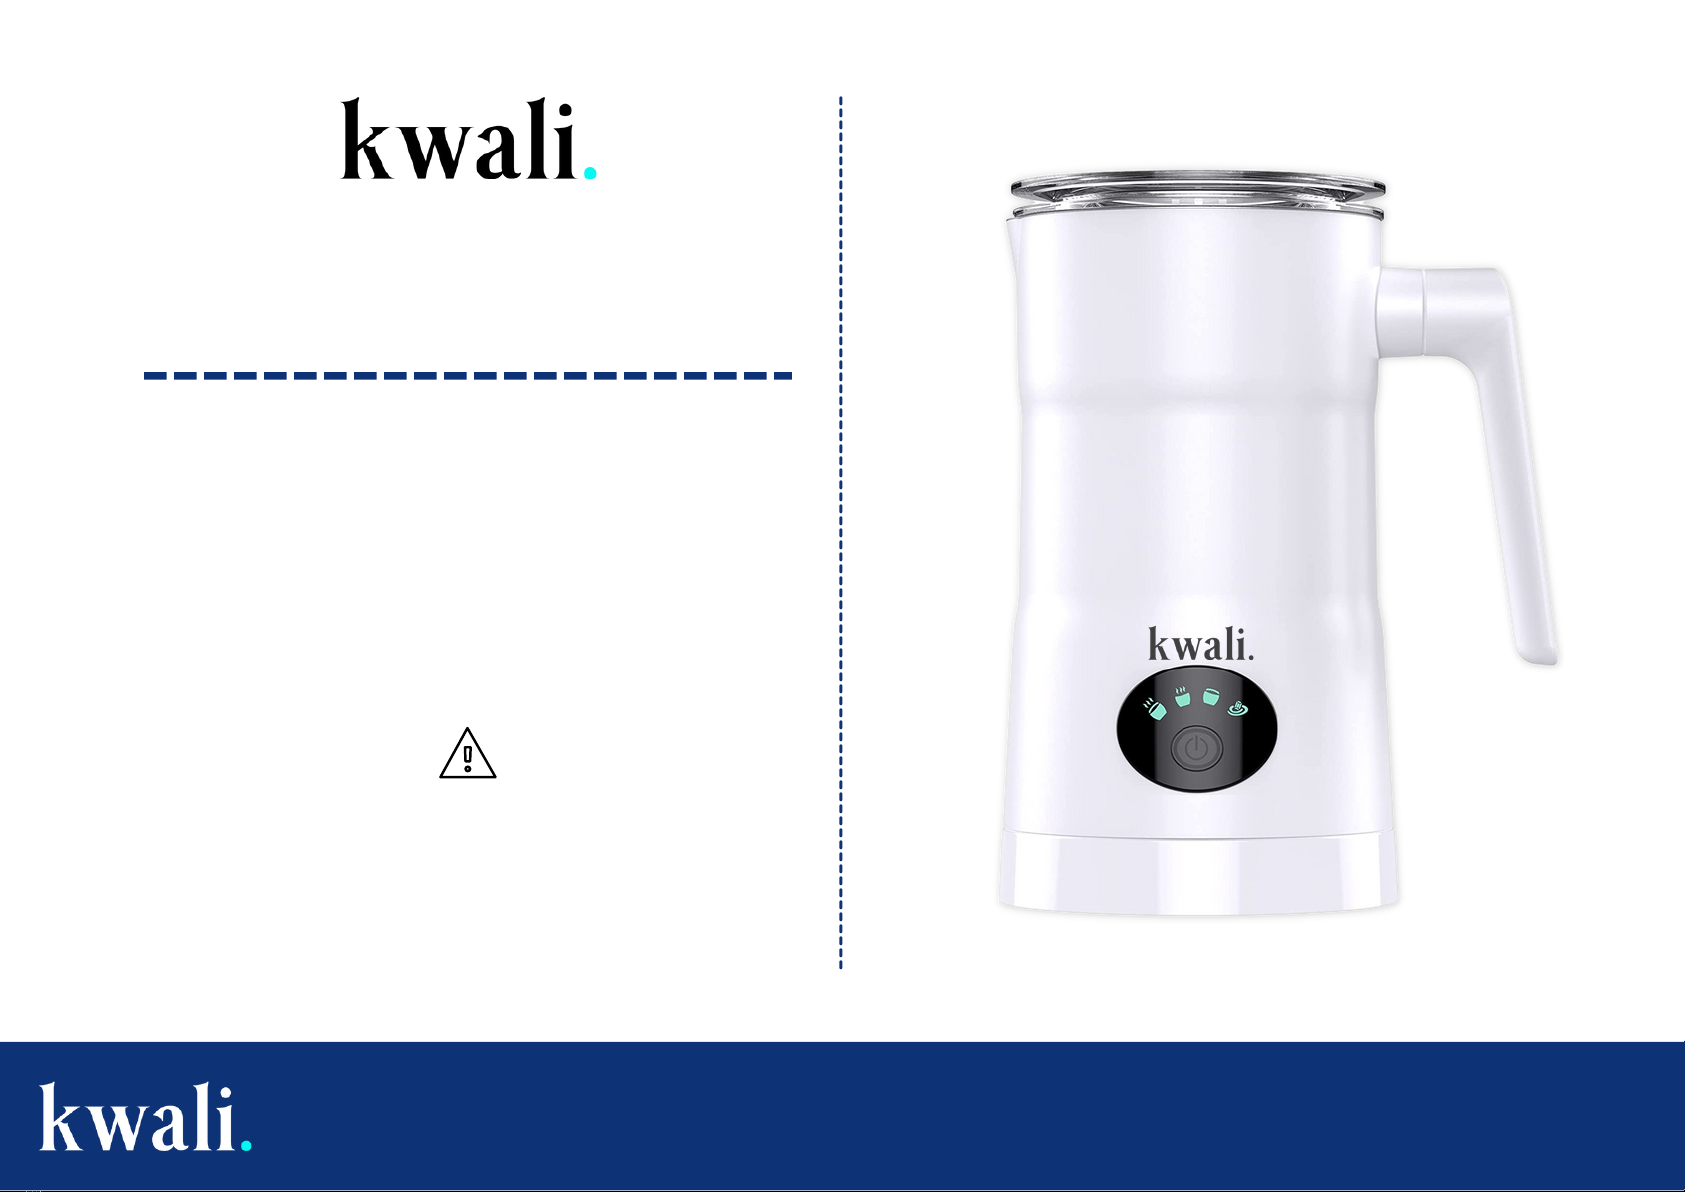
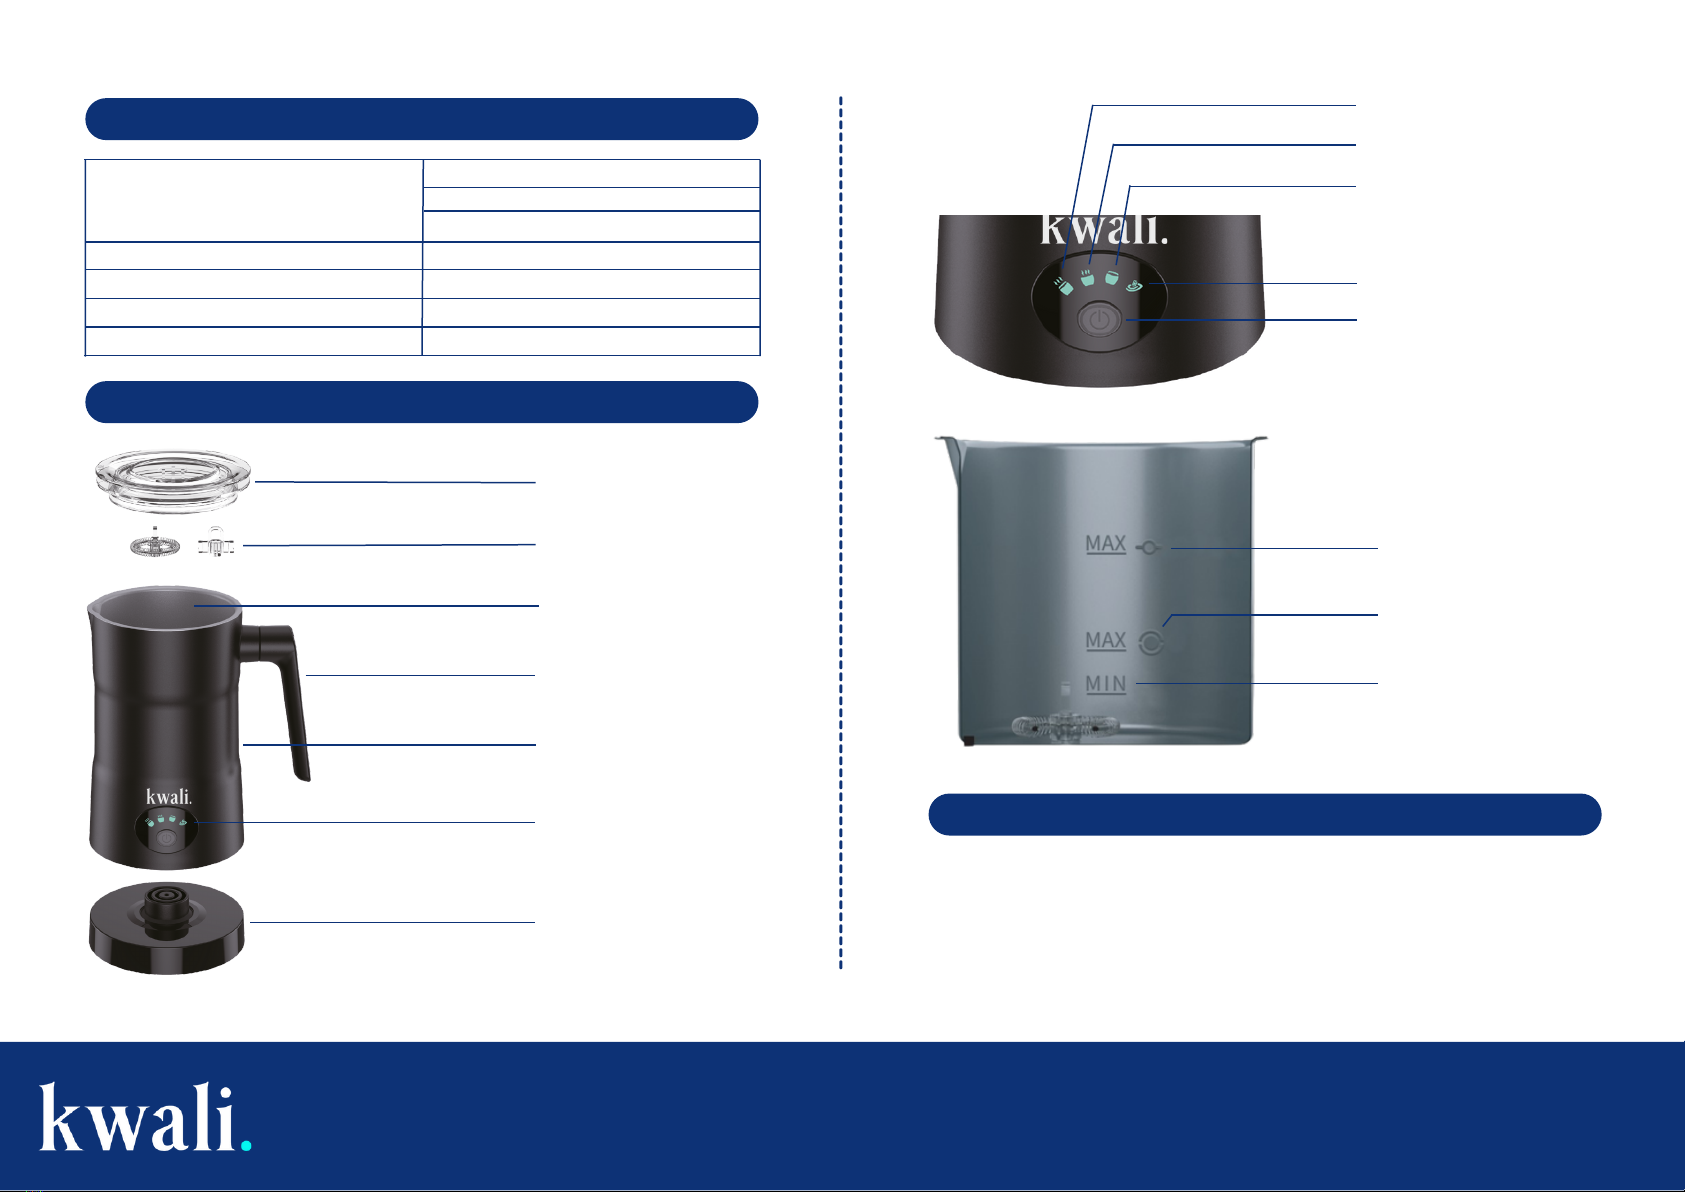
Giet melk in de melkopschuimer, zorg ervoor dat het melkvolume de Max-
markering niet overschrijdt (zie bovenstaande afbeelding).
Sluit de powerbase aan op de voeding en plaats de melkopschuimer op de
powerbase, je hoort een "piep" geluid. En alle 4 de indicatielampjes gaan 1
seconde aan en dan uit, wat aangeeft dat de opschuimer stand-by is en is
ingeschakeld.
Druk in de standby-status op de knop " " om de modus te selecteren, de 4
modi (van links naar rechts) zijn heet opschuimen, melk opwarmen, koud
opschuimen en chocolademelk verwarmen. Er klinkt een "piep"-geluid wanneer
de knop wordt ingedrukt. De indicator van de geselecteerde modus knippert 2
keer en blijft dan branden, andere indicatoren zijn uit, wat aangeeft dat de
schuimer in de geselecteerde modus gaat en begint te werken.
1.
2.
3.
Droge verbranding/oververhitting: Als u eerst de melkopschuimer inschakelt
zonder melk toe te voegen, kan dit leiden tot oververhitting of droge
verbranding van de tepelvoering. Het wordt beoordeeld als droog brandend
wanneer de temperatuur hoger is dan 115 °C, en de droogbrandbeveiliging
wordt geactiveerd met een continu "piep"-geluid en de opschuimer wordt
uitgeschakeld. Als u het opnieuw moet opstarten, wacht dan tot het is
afgekoeld voordat u het opnieuw gebruikt.
Als alle indicatielampjes na het inschakelen niet gedurende 1s gaan branden en
er geen reactie is, is het mogelijk dat het basisstation en de melkopschuimer
slecht contact maken. U kunt de opschuimer goed draaien om te controleren of
deze goed is aangesloten op het basisstation.
1.
2.
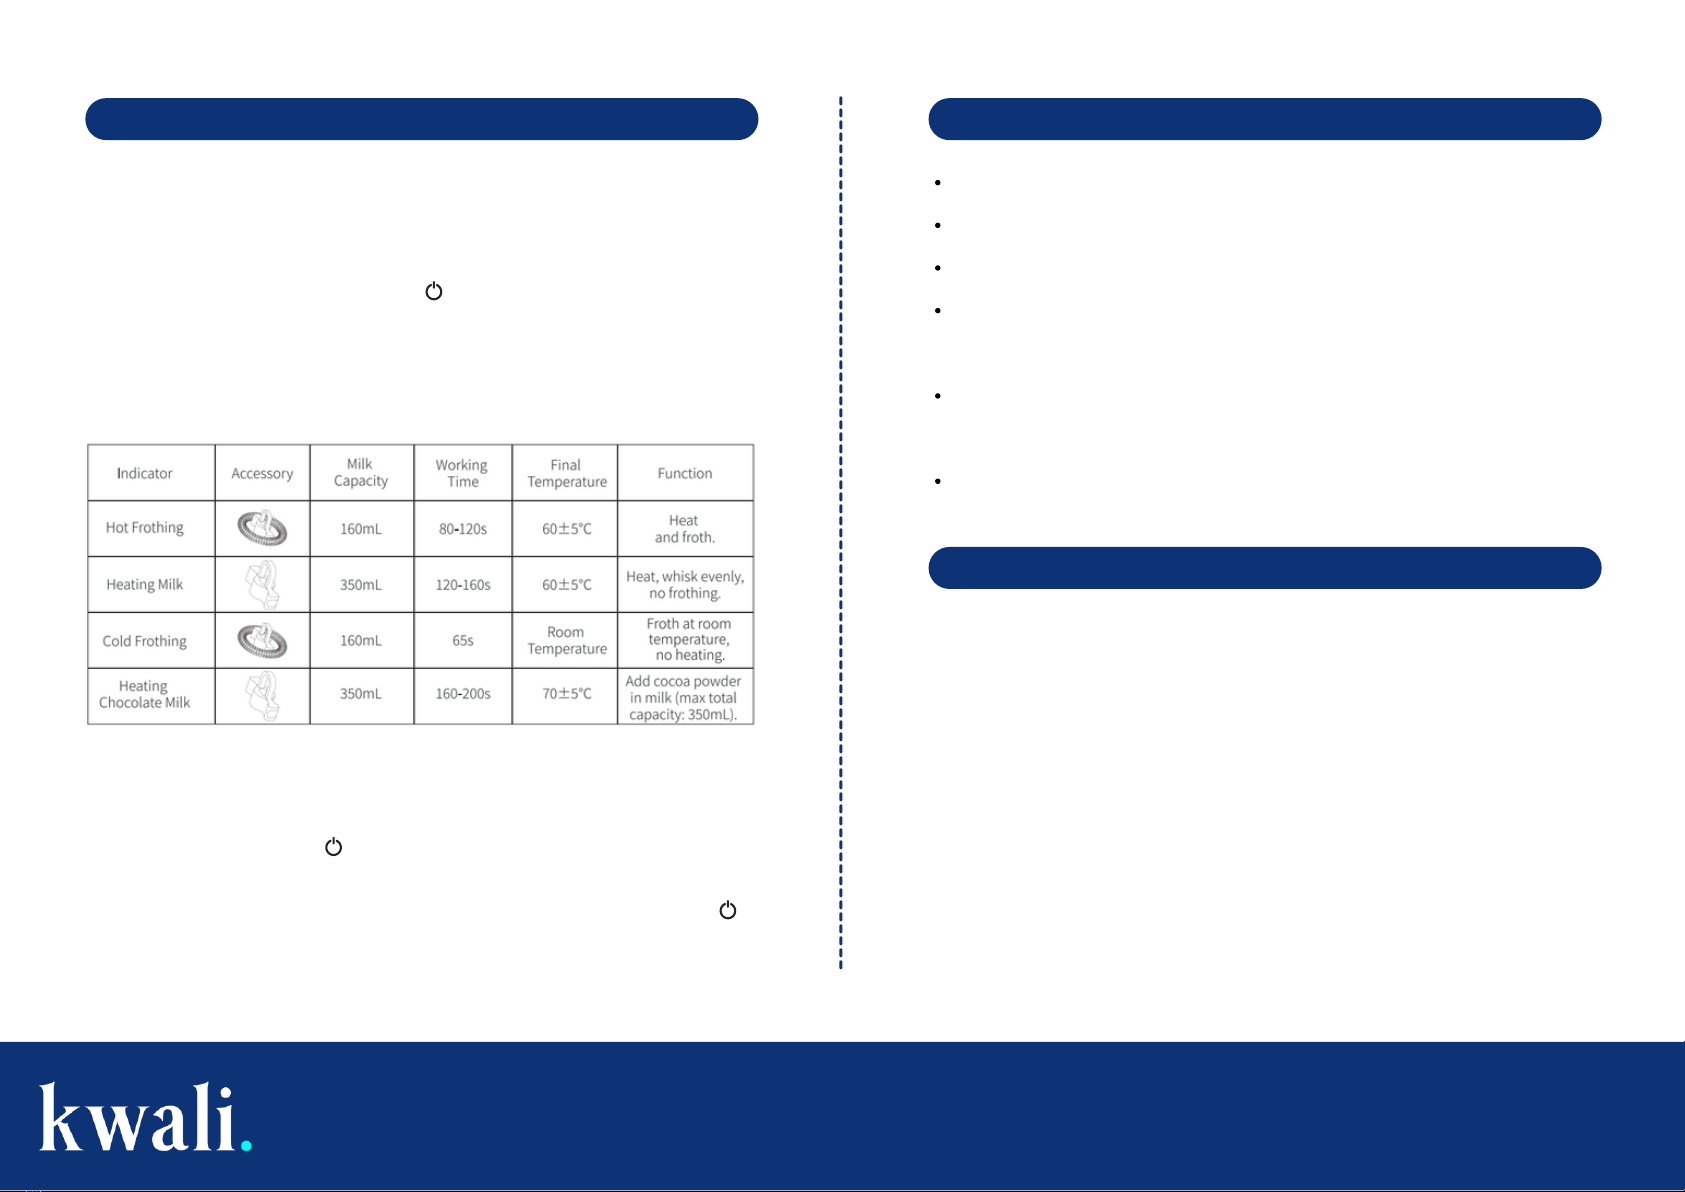
Functie Instructie
4. De bovenstaande werktijd is voor melk op kamertemperatuur met de getoonde:
capaciteit, die automatisch wordt aangepast aan het volume en de
oorspronkelijke temperatuur van de melk, dus er is een klein verschil.
Bijvoorbeeld de lager de oorspronkelijke temperatuur van melk, hoe meer melk
wordt toegevoegd, hoe langer de tijd.
5. Druk continu op de knop " ", de modi heet opschuimen, melk opwarmen, koud
opschuimen, chocolademelk opwarmen, de uitschakeling zal achtereenvolgens
schakelen en doorlopen.
6. Selectie annuleren: Als u de werkstatus wilt annuleren, drukt u op de knop " "
en de indicator gaat uit en de opschuimer stopt met werken en keert terug naar:
standby-status.
Gebruik volle melk om op te schuimen (vetcapaciteit > 3,0%) voor een beter
resultaat.
Giet de melk voor gebruik om droge verbranding of oververhitting te
voorkomen, waardoor de melkopschuimer niet normaal kan werken.
Verwarm en schuim eerst de melk en bereid de koffie of warme chocolademelk
zodra de melkopschuimer werkt.
Deze opschuimer kan kamertemperatuur melk (namelijk koude
opschuimfunctie) opschuimen tot melkschuim, wat niet betekent dat hij de
melk kan opschuimen tot koud melkschuim, want de opschuimer zal tijdens het
werk een bepaalde temperatuur produceren.
De optimale temperatuur voor het verwarmen van melk is 60-70°C, wat niet
alleen de moleculaire structuur en het gehalte aan voedingsstoffen van de melk
niet vernietigt, maar ook de smaak en smaak verbetert zonder dat je te lang
hoeft te wachten.
Controleer voor gebruik of er vuil in de melkopschuimer zit. Reinig en bewaar
het product na elk gebruik aan de hand van de gebruikershandleiding.
De volgende gebruikstips helpen je om beter melkschuim te maken.