Section 1.0 - General Description
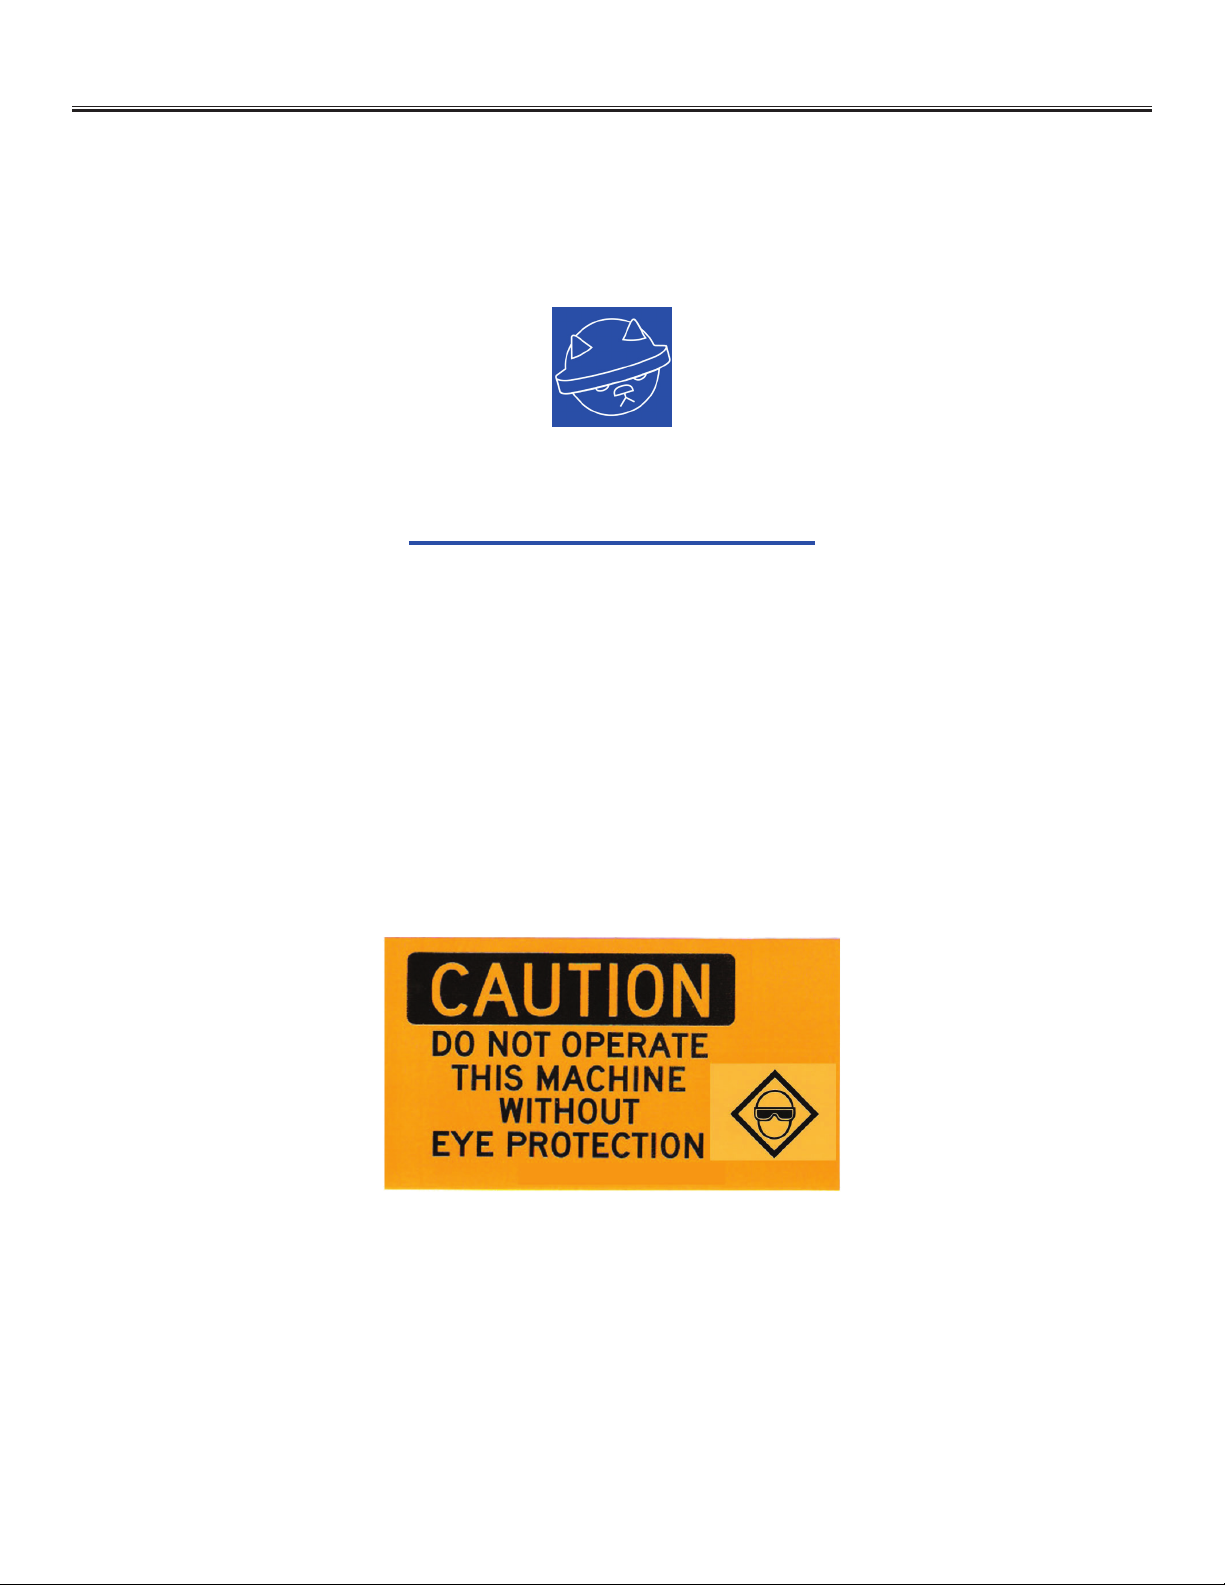
Work Safely. Always wear safety glasses near the machine.
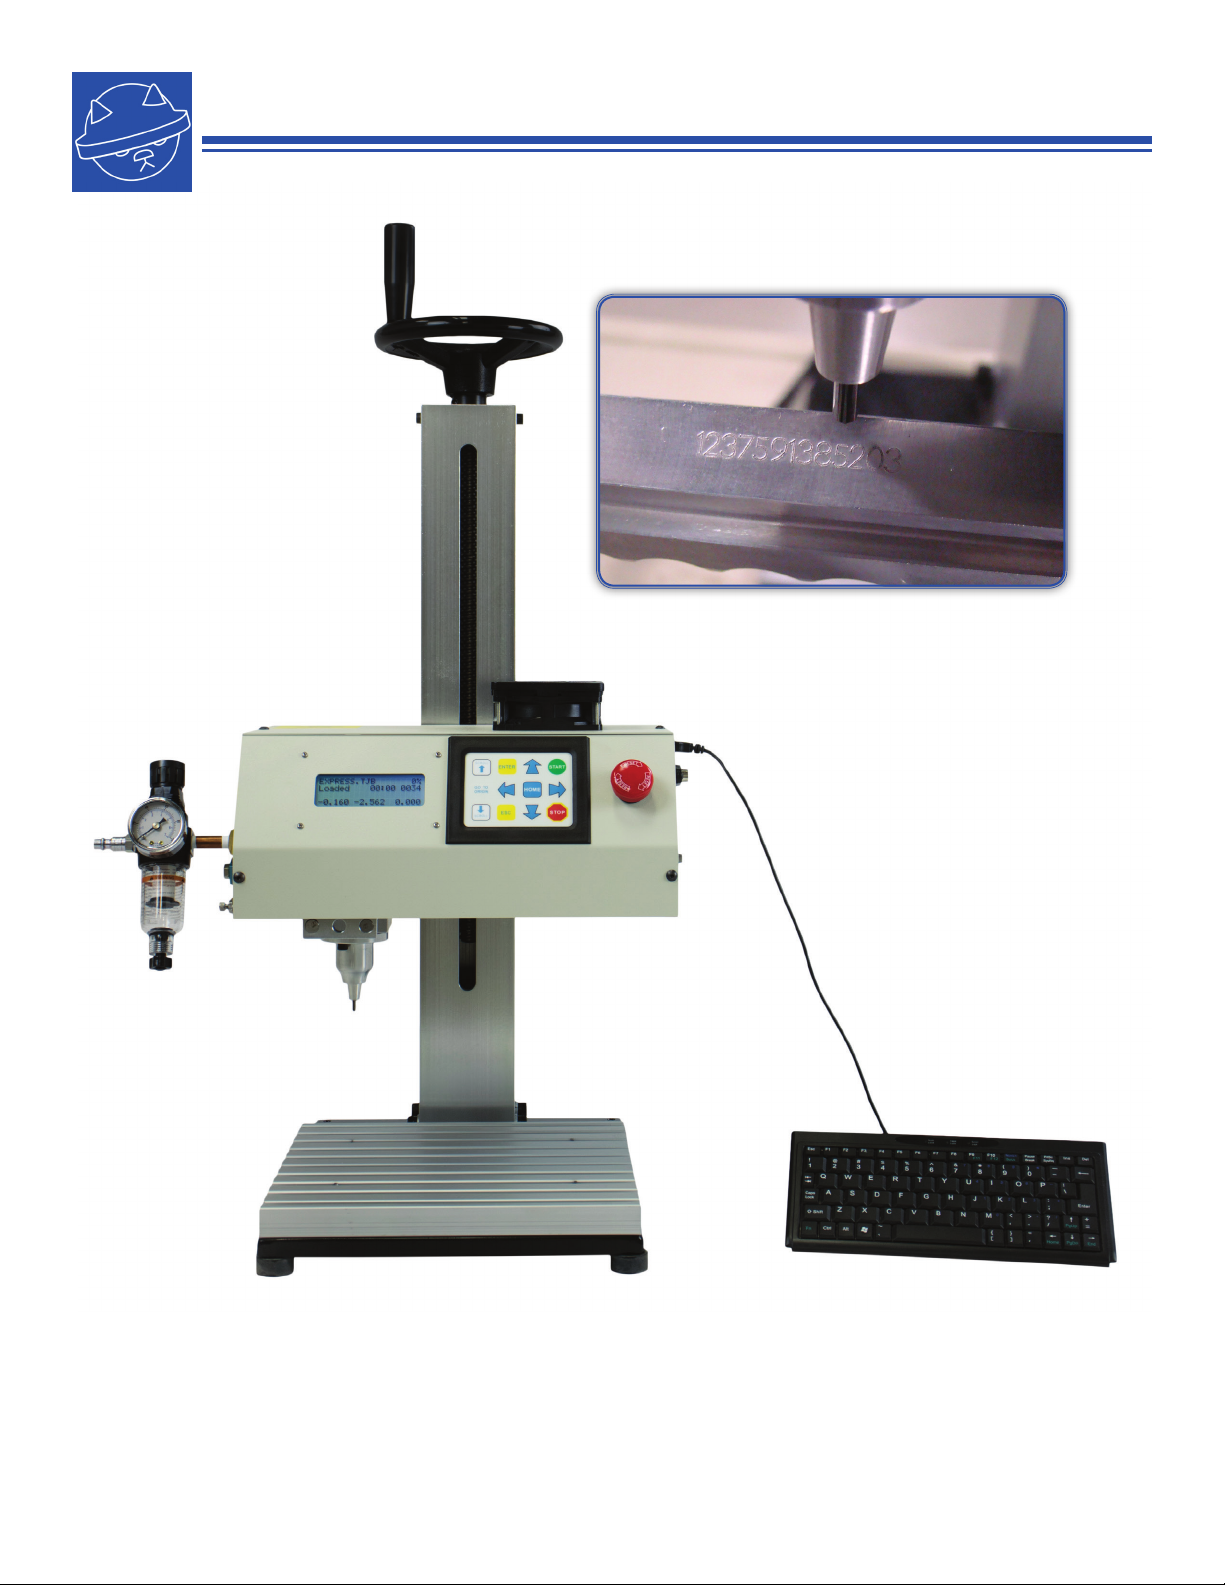
The KwikMark Marker is a self contained bench top dot peen (impact) marker designed to quickly and
consistently perform micro impacts on to the surface of a wide range of materials from hardened steel
to delicate plastics.
The X-Y axes are driven by a unique pre-loaded drive system for maintenance free high performance
operation. Two brushless programmable motors are used to actuate the X & Y drives to a linear
motion for the purpose of moving an impact head point to point over your product which causes the
marking operation.
The mark occurs by means of a solid carbide stylus vibrating between a spring and a jet of air
hundreds of times per second, performing the impact on the parts surface. The force is ballistic which
results in minimal stress to your product surface. Furthermore, this concept transfers no direct
stresses into the machine slides, for greater longevity.
The standard KwikMark (KM-64) operates within an approximate 6" x 4" work area and features
solid-state proximity switches as limit sensors for homing and initializing each axis. The KwikMark
features high resolution, repeatable performance due in part to the anti-backlash assembly of the
axial take up mechanism. The unique hardened and ground slide rods in combination with the
bearings result in long life and require no external lubrication or maintenance/service.
The bearings are steel backed with impregnated bronze/PTFE on the surface. In operation, on a
microscopic level, the teon acts as miniature strands rolling and interweaving within themselves,
providing the anti-friction properties. Because of this, no lubrication is required.
The KwikMark features high performance, high torque motors for fast speeds and high accelerations
resulting in quick and accurate motion. Because of the above, caution should be taken to keep the
operator aware of pinch points, moving slides, and sudden motions.