manuals.online logo
Brands
  1. Home
  2. •
  3. Brands
  4. •
  5. L.L.Bean
  6. •
  7. Tent
  8. •
  9. L.L.Bean Big Woods Dome Tent User manual

L.L.Bean Big Woods Dome Tent User manual

Setting Up The Main Room of Your Tent
1. Unroll the tent and separate the components.
Spread out the tent body. Assemble the tent
poles. Slide one of the long, straight aluminum
ridge poles through one of the mesh pole sleeves
on the roof of the tent. Repeat this step with the
second ridge pole (Fig. 2). Make sure the two
ridge poles bisect each other exactly and are
centered over the top of the tent.
2. Take one of the 4 aluminum leg poles and slide
its elbow end over the end of one of the ridge
poles until it is fully seated (Figure 3). Next,
install a leg pole on the other end of the same
ridge pole. Repeat this step with the second
ridge pole.
4. To prevent wind from moving the tent, stake
out the four corners of the main room using
the black stakeout loops where the poles are
attached (Fig. 6).
Becoming Familiar With Your Tent
Before your first camping outing we recommend
that you set up the tent at home and become
familiar with the parts and set up procedure. Your
storage bag contains the following: (See Fig. 1)
• Tentandfly
• One pole bag containing 2 long, straight
aluminum ridge poles, 4 aluminum leg poles
with pre-bent elbows, 2 long, straight fiberglass
poles and 2 short, straight fiberglass poles.
• Onestakebagwithstakesandguylines
Big Woods Dome Tent Instructions
Fig. 1
For more information regarding the use and setup of this tent, please call our Product Support Team at 800-CAMPLLB.
Fig. 3
Fig. 5
3. Oneatatime,take the bottomends oftheleg
poles and insert their tips into the grommets in
the black stakeout loops located at the corners
of the tent’s main room. Do not use the grommets
with orange webbing (Fig. 4). The main room of
the tent will now be standing (Fig. 5).
Fig. 4
Selecting a Site
Select a level site that is clear of debris and other
objects that could damage the tent or compromise
setup. Check above the site for any potentially
dangerous tree limbs that could fall on the tent.
Fig. 2
For more information regarding the use and setup of this tent, please call our Product Support Team at 800-CAMPLLB.
1. Take one of the long fiberglass poles and slide it
through the sleeve located over one of the side
rooms of the tent. These sleeves have an orange
opening. If one of the pole’s ferrules (the part
that connects the pole’s pieces) comes apart
or gets caught on material inside the sleeve, do
not try to force it through. Simply make sure the
ferrules are seated properly, back the pole out a
little and try again. Make sure the fiberglass pole
goes over the aluminum pole of the main room.
Repeat on the sleeve located over the other side
room of the tent (Fig. 8).
5. Attach the clips located on the corners of the
main room to the leg poles. There are 2 clips at
each corner (Fig. 7). Be sure that the top clip
is attached just below the sleeve on the bent
elbow of the leg pole.
Installing the Fly
2. Insert the tips of the long fiberglass poles into the
grommets with orange webbing (Fig. 9). These
are located adjacent to where the aluminum
poles are attached.
Fig. 8
Fig. 7
Setting Up The Side Rooms of Your Tent
3. Locate the hard plastic clips and bungee loops
where the fiberglass and aluminum poles cross
each other. At each of these 4 spots, wrap the
bungee twice around the two poles and secure
the bungee onto the clip.
4. Now you’re ready to finish staking out your
tent. Loosen the webbing on the stakeout loops
located at the outside corners of the side rooms.
Pull them out before driving the stake through
the loop and securely into the ground. Tighten
the webbing on the stakeout loop (Fig. 10). The
main room is now complete (Fig. 11).
1. Slide the fly over the main room of the tent so
the dark green sides are oriented over the tent’s
side rooms. The light green sides should be over
the tent doors. (Fig. 1A).
2. Locate the 4 clips at
the corners of the fly
and connect them to
the corresponding
clips on the main tent
body (Fig. 2A).
Fig. 2A
Fig. 3A Fig. 4A
4.Oncetheflyispositionedcorrectlyoverthetent,
reach under the fly at each corner and attach
the 2 Velcro loops to the tent’s aluminum leg
poles.
3. The two remaining short fiberglass poles are
used to create awnings over each of the tent
doors. Undo one of the fly clips and slide the
awning pole into the sleeve located on the
underside of the fly (Fig. 3A). Place each end of
the awning pole into the grommets located in a
clip panel that extends off the tent body (Figure
4A). Reattach the fly clip. Repeat for the awning
over the other door.
Fig. 10
Fig. 1A
Fig. 9
Fig. 11

Other L.L.Bean Tent manuals

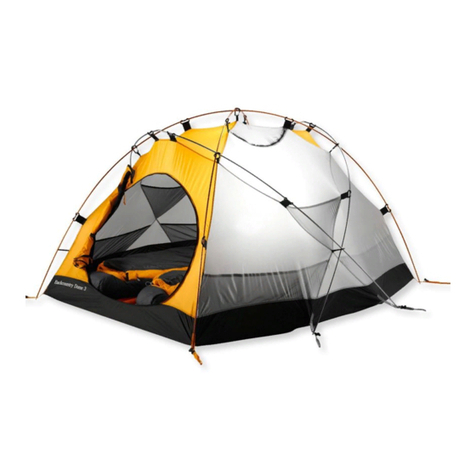
L.L.Bean Backcountry User manual

L.L.Bean

L.L.Bean Backcountry User manual

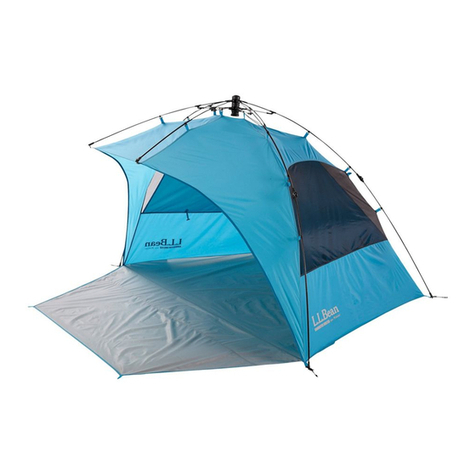
L.L.Bean Sunbuster Shelter User manual

L.L.Bean

L.L.Bean Sunbuster Shelter User manual

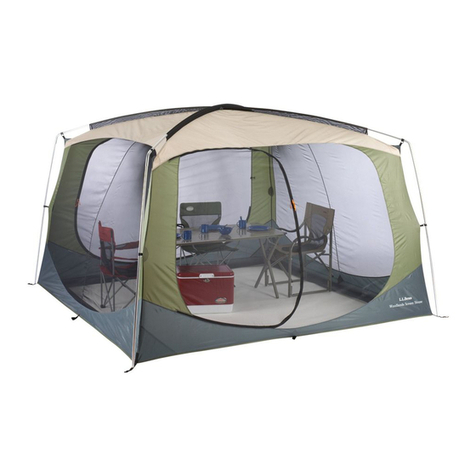
L.L.Bean Woodlands Screen House User manual

L.L.Bean

L.L.Bean Woodlands Screen House User manual

Popular Tent manuals by other brands

nomad Desert Woodstock 3 manual

nomad

nomad Desert Woodstock 3 manual

INSTYLE ARAWAK 6414-257 instruction manual

INSTYLE

INSTYLE ARAWAK 6414-257 instruction manual

mitko DOME TENT Series manual

mitko

mitko DOME TENT Series manual

Kampa Brean 3/4 operating manual

Kampa

Kampa Brean 3/4 operating manual

Tentipi Porch quick guide

Tentipi

Tentipi Porch quick guide

ClearSpan PB02906R4 manual

ClearSpan

ClearSpan PB02906R4 manual

RUSTA 751511760101 manual

RUSTA

RUSTA 751511760101 manual

GigaTent Mt. Kinsman FT021 owner's manual

GigaTent

GigaTent Mt. Kinsman FT021 owner's manual

SEMCOM TranspaForza TF-Plus Assembly

SEMCOM

SEMCOM TranspaForza TF-Plus Assembly

Commodore Skylark CO-190 owner's manual

Commodore

Commodore Skylark CO-190 owner's manual

Tentsile T-Mini owner's manual

Tentsile

Tentsile T-Mini owner's manual

Coleman BEACH SHADE user manual

Coleman

Coleman BEACH SHADE user manual

Rocktrail Z29748 Assembly and Safety Advice

Rocktrail

Rocktrail Z29748 Assembly and Safety Advice

Dometic Santorini FTK4X8/2X4 Installation and operating manual

Dometic

Dometic Santorini FTK4X8/2X4 Installation and operating manual

Woods Creekside 4 owner's manual

Woods

Woods Creekside 4 owner's manual

Easy Camp FUNSTER Packing Instructions

Easy Camp

Easy Camp FUNSTER Packing Instructions

Costway TP10145 manual

Costway

Costway TP10145 manual

Idena Riva Assembly instructions

Idena

Idena Riva Assembly instructions

manuals.online logo
manuals.online logoBrands
  • About & Mission
  • Contact us
  • Privacy Policy
  • Terms and Conditions

Copyright 2025 Manuals.Online. All Rights Reserved.