manuals.online logo
Brands
  1. Home
  2. •
  3. Brands
  4. •
  5. La Cornue
  6. •
  7. Ventilation Hood
  8. •
  9. La Cornue 75LCI18 User manual

La Cornue 75LCI18 User manual

This manual suits for next models

14

Other La Cornue Ventilation Hood manuals

La Cornue Chateau Line Hood User manual

La Cornue

La Cornue Chateau Line Hood User manual

La Cornue Chateau series User manual

La Cornue

La Cornue Chateau series User manual

La Cornue H1LP Quick start guide

La Cornue

La Cornue H1LP Quick start guide

La Cornue CornuFe Instructions for use

La Cornue

La Cornue CornuFe Instructions for use

La Cornue Chateau 110 60Hz User manual

La Cornue

La Cornue Chateau 110 60Hz User manual

La Cornue CornuFe Quick start guide

La Cornue

La Cornue CornuFe Quick start guide

Popular Ventilation Hood manuals by other brands

Gorenje S3 IHGC963S4X manual

Gorenje

Gorenje S3 IHGC963S4X manual

KOBE ISX2136SQB-1 Installation instructions and operation manual

KOBE

KOBE ISX2136SQB-1 Installation instructions and operation manual

U.S. Products ADVANTAGE-100H Information & operating instructions

U.S. Products

U.S. Products ADVANTAGE-100H Information & operating instructions

Kuppersberg DUDL 4 LX Technical Passport

Kuppersberg

Kuppersberg DUDL 4 LX Technical Passport

Framtid HW280 manual

Framtid

Framtid HW280 manual

Thermador HGEW 36 FS installation manual

Thermador

Thermador HGEW 36 FS installation manual

Electrolux LFT769X user manual

Electrolux

Electrolux LFT769X user manual

AEG X69453MVO UK user manual

AEG

AEG X69453MVO UK user manual

Broan B5836SS manual

Broan

Broan B5836SS manual

Heinner HDCH-6060RGBK quick start guide

Heinner

Heinner HDCH-6060RGBK quick start guide

Baumatic AS35SS instruction manual

Baumatic

Baumatic AS35SS instruction manual

Franke FTF 604 XS V2 Instructions for use and installation

Franke

Franke FTF 604 XS V2 Instructions for use and installation

Best UCB3I30SBW installation instructions

Best

Best UCB3I30SBW installation instructions

Gram EFU 503-90 X instruction manual

Gram

Gram EFU 503-90 X instruction manual

CIARRA CBCS6803 Installation and user manual

CIARRA

CIARRA CBCS6803 Installation and user manual

sauter SHG501 Instructions for installation and use

sauter

sauter SHG501 Instructions for installation and use

Franke 392-17 User instructions

Franke

Franke 392-17 User instructions

FALMEC Polar Black 35 Instruction booklet

FALMEC

FALMEC Polar Black 35 Instruction booklet

manuals.online logo
manuals.online logoBrands
  • About & Mission
  • Contact us
  • Privacy Policy
  • Terms and Conditions

Copyright 2025 Manuals.Online. All Rights Reserved.

Revised 3/27/20 Copyright © 2020 La Cornue Page 1
***ATTENTION***
PLEASE REMOVE THE
RIGHT SIDE BAFFLE
FILTER TO LOCATE YOUR
NEW REMOTE CONTROL.
Revised 3/27/20 Copyright © 2020 La Cornue Page 2
Revised 3/27/20 Copyright © 2020 La Cornue Page 3
`
INSTALLATION INSTRUCTIONS &
USE & CARE GUIDE
Insert Series for Wall Hoods
(600 & 1200 CFM)
Insert Models for Wall Hoods
Model
Width
Depth
CFM
Duct
Size
75LCI18
28 3/8”
18”
600
8”
90LCI18
34 3/8”
18”
600
8”
90LCI22
34 3/8”
22”
600
8”
110LCI18
40 3/8”
18”
600
8”
110LCI22
40 3/8”
22”
600
8”
120LCI18
46 3/8”
18”
1200
10”
120LCI22
46 3/8”
22”
1200
10”
135LCI18
52 3/8”
18”
1200
10”
135LCI22
52 3/8”
22”
1200
10”
150LCI18
58 3/8”
18”
1200
10”
150LCI22
58 3/8”
22”
1200
10”
165LCI18
64 3/8”
18”
1200
10”
165LCI22
64 3/8”
22”
1200
10”
180LCI18
70 3/8”
18”
1200
10”
180LCI22
70 3/8”
22”
1200
10”
Before beginning installation, please thoroughly read and become familiar with these instructions. Installation and
service must be completed by a qualified installer. Failure to properly install this product may void the warranty.
Installer:
Please leave Installation Instructions with the range hood Insert.
Owner:
Please keep Installation Instructions for local electrical inspector’s use and for future reference.
WARNINGS: Must be followed carefully to avoid personal injury.
IMPORTANT: Must be followed carefully to avoid damage or incorrect installation.
TIPS: Contain helpful information to facilitate installation.
Revised 3/27/20 Copyright © 2020 La Cornue Page 4
READ AND SAVE THESE INSTRUCTIONS
WARNING! TO REDUCE THE RISK OF FIRE, ELECTRICAL SHOCK, OR INJURY TO
PERSONS OBSERVE THE FOLLOWING:
a) Use this unit only in the manner intended by the manufacturer. If you have any questions, please contact the
manufacturer at the address or telephone number listed in the warranty.
b) Before servicing or cleaning unit, switch power off at service panel, lock service panel, and lock the service
disconnection means to prevent power from being switched on accidentally. When the service disconnecting
means cannot be locked, securely fasten a prominent warning device, such as a tag, to the service panel.
CAUTION
-- For general ventilating use only. Do not use to exhaust hazardous or explosive materials and vapors.
WARNING –TO REDUCE THE RISK OF A RANGE TOP GREASE FIRE:
a) Never leave surface units unattended at high settings. Boilovers cause smoking and greasy spillovers that may
ignite. Heat oils slowly on low or medium settings.
b) Always turn hood ON when cooking at high heat or when flambeing food (i.e. Crepes Suzette, Cherries Jubilee,
Peppercorn Beef Flambe’).
c) Clean ventilating fans frequently. Grease should not be allowed to accumulate on fan or filter.
d) Use proper pan size. Always use cookware appropriate for the size of the surface element.
WARNING! TO REDUCE THE RISK OF INJURY TO PERSONS IN THE EVENT OF A
RANGE TOP GREASE FIRE, OBSERVE THE FOLLOWING:
a) SMOTHER FLAMES with a close-fitting lid, cookie sheet, or metal tray, then turn off the burner. BE CAREFUL
TO PREVENT BURNS. If the flames do not go out immediately, EVACUATE AND CALL THE FIRE
DEPARTMENT.
b) NEVER PICK UP A FLAMING PAN—YOU MAY BE BURNED.
c) DO NOT USE WATER, including wet dishcloths or towels. A violent steam explosion will result.
d) Use an extinguisher ONLY if:
1. You know you have a Class ABC extinguisher and you already know how to operate it.
2. The fire is small and contained in the area where it started.
3. The fire department is being called.
4. You can fight the fire with your back to an exit.
Recommendations:
1. Consult a licensed ventilation contractor or qualified technician for proper installation of exhaust ducting.
Locate the cooking area for minimum cross drafts-away from doors and windows, when possible.
2. Ducts must be of adequate size and duct runs should be as short as possible. Where turns are necessary,
keep turning radius as large and as smooth as possible.
3. The ducting must be air tight. Use a minimum of 2 sheet metal screws at every duct joint. Then, seal the duct
joints with high quality duct tape.
4. Do not use this unit with any solid-state speed control device.
5. This unit must be grounded.
Revised 3/27/20 Copyright © 2020 La Cornue Page 5
INSTALLATION INSTRUCTIONS
WARNING –TO REDUCE THE RISK OF FIRE, ELECTRIC SHOCK, OR INJURY TO
PERSONS, OBSERVE THE FOLLOWING:
a) Installation work and electrical wiring must be done by qualified person(s) in accordance with all applicable
codes and standards, including fire-rated construction codes and standards.
b) Sufficient air is needed for proper combustion and exhausting of gasses through the flue (chimney) of fuel
burning equipment to prevent back drafting. Follow the heating equipment manufacturer's guidelines and safety
standards such as those published by the National Fire Protection Association (NFPA) and the American Society
for Heating, Refrigeration and Air Conditioning Engineers (ASHRAE) and the local code authorities.
c) When cutting or drilling into wall or ceiling, do not damage electrical wiring and other hidden utilities.
d) Ducted fans must always be vented to the outdoor.
WARNING -- TO REDUCE THE RISK OF FIRE, USE ONLY METAL DUCTWORK.
CAUTION –To reduce the risk of fire and to properly exhaust air, be sure to duct air outside –
Do not vent exhaust air into spaces within walls, ceilings, cabinets or into attics, crawl spaces, or garages.
CAUTION –To reduce the risk of fire and electric shock, install this (range hood) only with
Remote Blower models rated maximum 6 amps.
CONTENTS:
Part 1 - Planning The Installation Part 2 - Securing The Insert
Part 3 - Use & Care Part 4 - Electrical Connection (Give copy of these 2 pages to electrician.)
PART 1 Planning the Installation
La Cornue Insert Series for Wood Hoods are designed for installation inside custom hood canopies. Proper
installation of the Insert is directly related to the material from which the custom canopy is constructed. A qualified
person must complete the installation of this unit. Because of the large size and weight of this hood / Insert, two
installers are recommended. Plan the installation so that all minimum clearances are met or exceeded.
Dimensions shown provide minimum clearances, unless otherwise specified. Important: You must provide
structural framing and tight backing in the areas in which you are securing the Insert inside your custom canopy.
Failure to do so could distort and damage the Insert and void the warranty.
Given that most installations are different, a back-draft damper is not provided with this unit. Trade-Wind® back
draft dampers are also available from your local Trade-Wind® dealer. Always install ventilation products with an
approved wall or roof cap. Duct performance is improved by using round, smooth metal duct work instead of
rectangular. Do not rely on duct tape alone to seal duct joints. Use sheet metal screws as required to support the
duct.
WARNING! For maximum ventilation performance, the bottom of the hood or insert should be 30 -
36 inches (76.2 - 91.4 cm) above the cooking surface (minimum is 24”). This would typically result in the
bottom of the hood being 66 - 72 inches (167.6 - 182.9 cm) above the floor. These dimensions provide for
safe and efficient operation of the hood. Always observe local building codes.
Revised 3/27/20 Copyright © 2020 La Cornue Page 6
Important Cut-out Information
Cabinet or hood cutouts should be at least 1/8” larger than the following outside dimensions
Models Available (by Width)
CFM
28 3/8”
34 3/8”
40 3/8”
46 3/8”
52 3/8”
58 3/8”
64 3/8”
70 3/8”
Sones
Control
Blower
A
600
75LCI18
90LCI18
110LCI18
-
-
-
-
-
7.5
3-
Speed
Internal
Motor
B
600
-
90LCI22
110LCI22
-
-
-
-
-
7.5
3-
Speed
Internal
Motor
C
1200
-
-
-
120LCI18
135LCI18
150LCI18
165LCI18
180LCI18
8.5
3-
Speed
Two Internal
Motors
D
1200
-
-
-
120LCI22
135LCI22
150LCI22
165LCI22
180LCI22
8.5
3-
Speed
Two Internal
Motors
Notes:
1. Center of electrical access is 7” from front & 2 1/2” from side of liner.
Connection access is behind filters.
2. Damper not included.
3. Length & width cutouts should be 1/8” larger than above
dimensions.
1. Center of electrical access is 7” from front & 2 1/2” from side of
liner. Connection access is behind filters.
2. Damper not included. (No Vent Transition Needed)
3. Length & width cutouts should be 1/8” larger than above
dimensions.
Notes:
A. Front View
B. Front View
b. Side View
a. Side View
Revised 3/27/20 Copyright © 2020 La Cornue Page 7
Notes:
1. Center of electrical access is 7” from front & 2 1/2” from side of liner.
Connection access is behind filters.
2. Damper not included.
3. Length & width cutouts should be 1/8” larger than above
dimensions.
1. Center of electrical access is 7” from front & 2 1/2” from side of
liner. Connection access is behind filters.
2. Damper not included. (No Vent Transition Needed)
3. Length & width cutouts should be 1/8” larger than above
dimensions.
Notes:
C. Front View
D. Front View
d. Side View
c. Side View
Revised 3/27/20 Copyright © 2020 La Cornue Page 8
PART 2 Securing the Insert
TILE BACKSPLASHES
IMPORTANT: Inserts installed immediately above the top edge of tile backsplashes thicker than 3/4” should be
installed slightly forward—not flush with the back wall. The back filter bracket of the Insert is 1” deep and tile
installations thicker than this will prevent the filters from being removable.
MOUNTING HOLES
NOTE: DRILLING THROUGH STAINLESS STEEL REQUIRES A TITANIUM BIT. BE CAREFUL NOT TO DRILL
THROUGH FILTER BRACKETS, ELECTRICAL COMPONENTS OR UL LABEL.
The La CornueInsert Series for Wood Hoods was designed for various wood hood applications, no mounting holes
have been pre-drilled. This allows the Insert to be attached in most any area of the canopy that has a wood frame
support, e.g., the back, sides or top. We recommend at least six equally spaced screws per Insert—three screws
along the back (top or back side panel) and three screws on the front top, immediately next to the light bar wall or
behind the removable light bar. Where possible, the screw holes should be drilled into the top of the Insert (instead
of the sides or back). This will help prevent distorting the Insert walls in situations where the wood frame is not
properly sized to the Insert. Models with internal motors should also have at least one screw centered and
securely in place on each end (side panel) of the Insert because of the added weight.
Neatly measure and mark (left to right and top to bottom) and drill screw holes through the Insert as required to
match the wood backing. It is easier to drill holes from the outside in, by setting the Insert on its face (on
cardboard) and drilling from the back side. Secure the Insert by driving screws (by others) tightly into the wood
frame. Use washers where necessary.
*When removing the filters, be careful not to scratch the Insert by placing the filters, screws, drill bits or drill on the
Insert’s face.
CONNECTING TO THE VENT PIPE
The La CornueInsert Series for Wood Hoods comes with a metal start collar welded in place. Attach the Start
Collar to the duct with at least three equally spaced screws. Also apply duct tape, preferably the metal type.
PART 3 Use and Care
WARNING!
Do NOT operate the blower / ventilator system without the filters in place, or with dirty, grease laden filters.
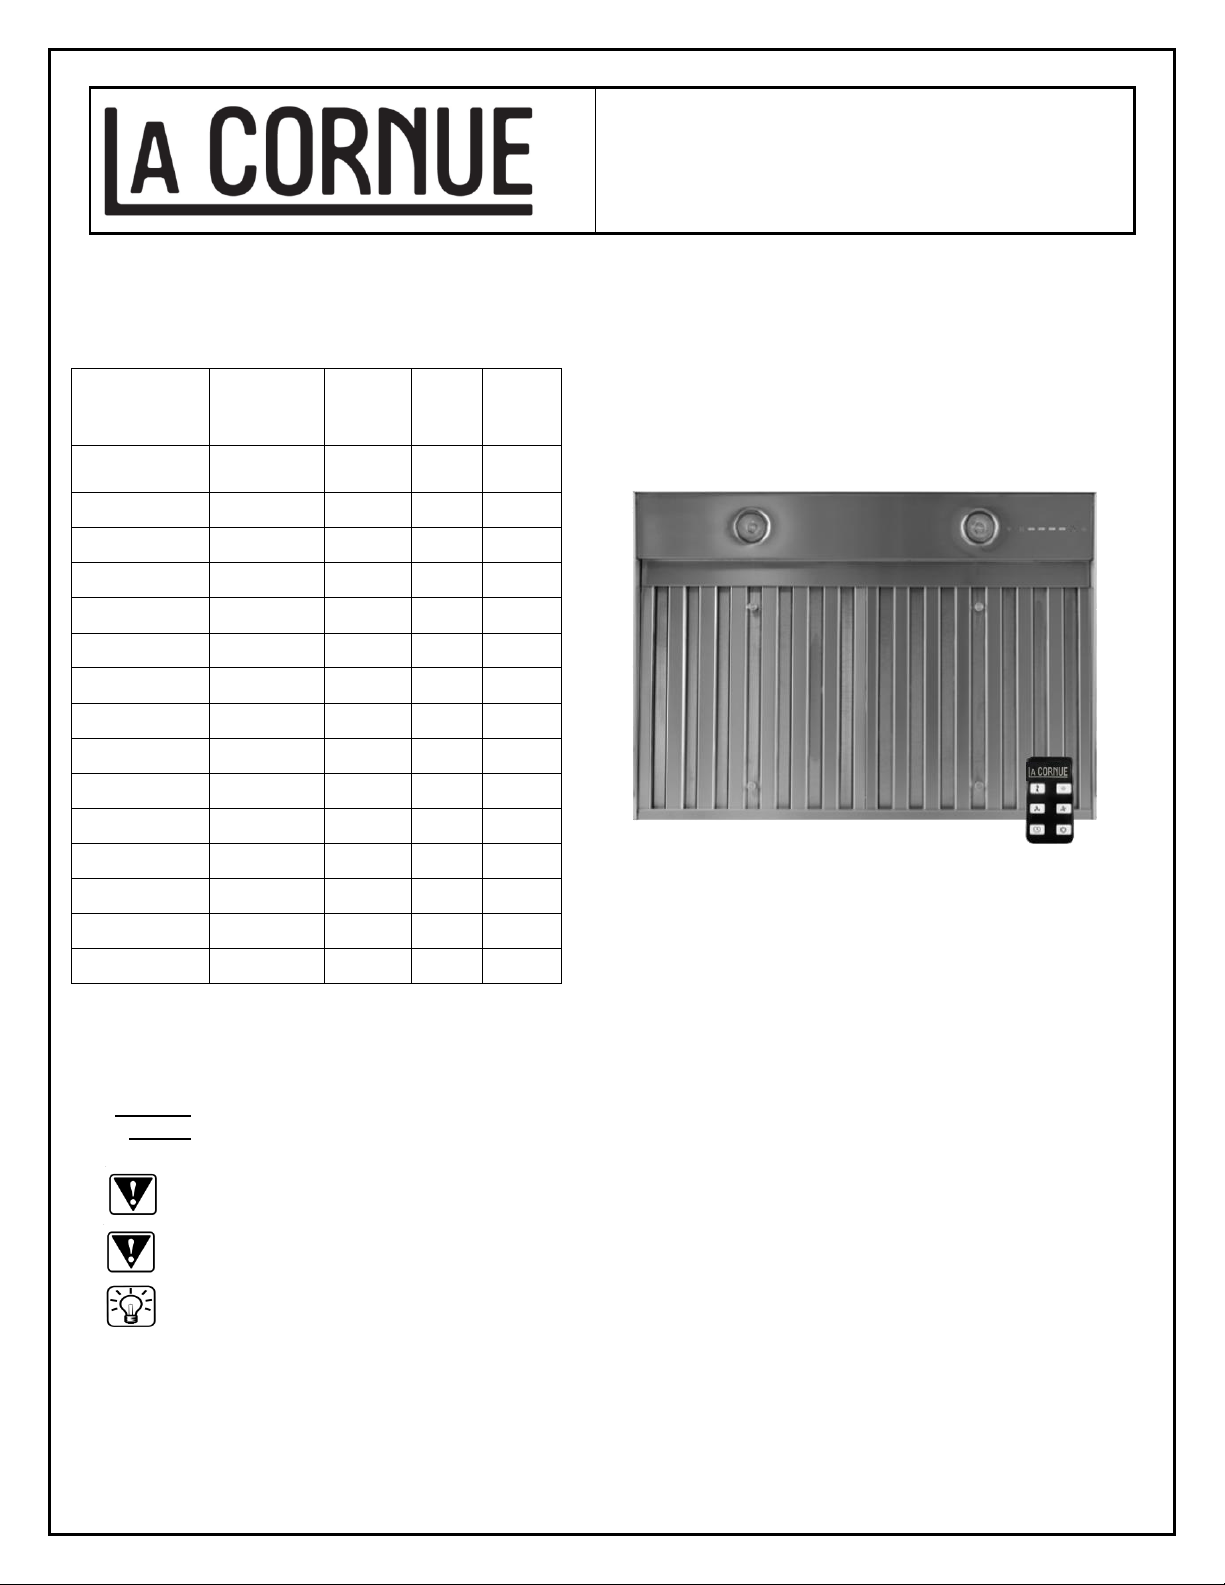
OPERATING CONTROLS:
Always activate the ventilator when using cooking appliances. For best performance, turn on the blower a few
minutes before starting to cook to establish an airflow pattern within the room. To use the electronic touch control,
touch the button that corresponds to the desired speed. To turn off blower, touch the illuminated speed button
again or the illuminated blower off control button. The inline and remote blower options come with knobs. To use
these controls, adjust the fan speed by simply turning the knob. To turn off blower, turn knob to off position.
ENERGY SAVING TIPS:
Eliminate air currents in the Insert vicinity by shutting nearby windows and doors, turning off ceiling fans and
adjusting the adjacent heating and air conditioning outlets if necessary. Place your largest pans on the rear
burners whenever possible. Clean filters and grease laden surfaces often to improve efficiency. Always use lids on
cookware to retain heat and moisture. Minimize the amount of liquid used to cook food. Select cookware of proper
size, material and construction for the cooking task being performed.
Revised 3/27/20 Copyright © 2020 La Cornue Page 9
CARE & CLEANING:
Proper cleaning is necessary to maintain performance and appearance, while also ensuring safe operation. The
frequency of cleaning should be according to the type and amount of cooking. Best results will be achieved by
cleaning soiled components as soon as possible. Filters must be cleaned regularly. Using the aluminum knob,
lightly pull the filter toward the front of the Insert while pulling the backside downwards. Replacing the filter is just
as easy as taking it out.
The filters may be cleaned by hand washing in hot water using a mild detergent solution, or by placing them in a
dishwasher. Locate holes on the sides of the filter. Put filter in dishwasher with holes facing up so detergent can
enter filters. Dry the filters completely before using again. Rinse and dry with a soft lint-free cloth. Always wipe
stainless steel surfaces with the grain. Never wipe across the grain. After cleaning, reinstall the filters carefully.
>> Most common scrubber type pads will scratch the hood.
CAUTION:
If a commercially available stainless steel cleaner is used, it is important to read the labels for chlorine compounds.
Chlorine is a corrosive substance, DO NOT USE. Follow polish manufacturer’s instructions.
LED LIGHT BULBS:
La CornueInsert Series for Wood Hoods are designed for MR16/GU10 LED flood light bulbs. They can be
purchased at most home or grocery stores. The bulbs provided with the unit are 3.5 watt, 350 lumens, and 3000K
(warm white color temperature).
Explaining the Remote
The diagram to the left shows all functions of the
remote. Push the speed or light buttons once to turn
on; push the same button a second time to turn off.
You can use the “off” button to power off the lights
and blower simultaneously.
The “5 minute delay auto off” button can be pressed
when the blower is on at any speed. The blue light
behind the speed button will blink showing that this
feature has been activated. It will continue to blink for
5 minutes and then the blower will shut off
automatically. If you press the “5 minute delay auto
off” button again the blinking on the speed button
stops and the blower has returned to manual mode.
If you would like to mount the remote to any surface near your range, Velcro pieces have been provided. Peel and
stick one piece to back of remote, and the other to desired surface.
If battery in remote needs replacing, use a CR2025 watch battery. These are very common and easy to find. To
access, look to the bottom end of the remote; push release to the right, and slide battery tray out.
Revised 3/27/20 Copyright © 2020 La Cornue Page 10
Range of Remote Control
The infrared transmitter at the top of the remote must be pointed in the direction of the electronic control at the right
front of your hood or Insert. Range distance will vary depending on your installation, but see diagram below for
approximate range area.
PART 4 Electrical Connection
IMPORTANT: Copy this page and the next page to your electrical installer.
WARNING! Ensure that the power supply is disconnected before proceeding. Verify that the power supply
matches the ratings found on the appliance data label before proceeding. The complete appliance must be
properly grounded at all times when electrical power is applied. Do not ground the appliance with the neutral
(white) house supply wire. A separate ground wire must be utilized. Failure to complete electrical connections
properly may result in damaged or non-functional systems. Follow instructions carefully to ensure proper
installation.
It is the owner’s responsibility to ensure that a qualified person performs the electrical connection of this appliance.
The electrical installation, including minimum supply wire size, must comply with the National Electric Code
ANSI/NFPA 70-1990 (or latest revision) and local codes and ordinances. A copy of this standard may be obtained
from: National Fire Protection Association, 1 Batterymarch Park, Quincy, Massachusetts 02269-9101
INSTRUCTIONS: A 15 to 20 amp electrical service is recommended for proper electrical supply. Before
determining, calculate amp ratings based on the product label found on the Insert and the ventilator. Always
observe local building codes. Always use a dedicated circuit. Line load is calculated by adding the amperage of
the halogen lights to the rated amperage of the ventilator (either in-line or roof top). If the ventilator is rated in watts
rather than amps, divide the watts by 120 and this will give you the amperage rating. The La CornueInsert Series
for Wood Hoods, without the internal motor, is supplied with a 6.0 amp variable speed fan control. Make sure the
rated amperage on the remote ventilator does not exceed 6.0 amps (or 700 watts).