La Crosse W85947 User manual

1
ALL NOAA HAZARDS /AM / FM
Weather Alert Clock Radio
One Button Selects Tornado Only Alerts
Model: W85947 | Instruction Manual
Weather radios are the fastest way to get emergency information.
Are frequent unwanted alerts keeping you up at night? The La
Crosse™ Weather Alert Clock Radio has one simple button that limits
unwanted alerts interruptions without the need for programming.*
Monitor all 7 weather band channels, listen to AM/FM radio or press
one button to standby for ALL HAZARDS ALERTS or TORNADO
ONLY ALERTS. Professional alert settings allow tailoring the weather
alert radio to your needs. Always on when a/c cord is plugged in so
you never miss a warning.
QUICK SETUP:
A/C Operation:
Use a/c power cord for continual weather alert radio use.Plug the 6.0V
adapter into the wall outlet and into the AC/DC power port on the back
of the weather alert radio.
AUTO ON: As soon as you plug the A/C Adapter
into the wall and into the weather alert radio, the
radio turns ON.
1. The weather alert radio will default to the
Weather Band and search for the clearest
channel. The channel indicator will blink “-“ in the
channel area. The strength indicator will show
signal strength.
Note: Signal strength indicator operates on
weather band only.
2. Use the ︿or ﹀navigation buttons to select a
different channel.
3. Press the OK button to confirm the channel.
4. CH # SELECTED will show on the scroll line for
5 seconds followed by NOAA WB and the
frequency.
5. After 10 seconds, the display will return to
time/date. The radio will play the 24-hour
weather broadcast.
THAT’S IT!Nothing else is required for the weather radio to work!
There are many options to use the full features of this Weather Alert
Clock Radio.
Note: An option to select FIPS Codes is in the program menu (pro-
settings).
OFF: The Weather Alert Radio is always on unless power is removed
(a/c adapter and batteries).
Backup Battery Operation:
Use backup batteries during power outage. Battery operation is not for
regular use.
•Remove battery cover from
the back of the weather alert
radio.
•Install 3-AAA LR3 alkaline
batteries (not included).
•Replace battery cover.
Important:
Do not mix old and new batteries.
Do not mix alkaline, standard, or rechargeable batteries.
ALERTS:
Easy 1 button press to select:
•Tornado Only Alerts
•All Hazards Alerts
Note: The weather alert radio will
always be armed regardless of
type of alert selected.
Tornado Only Alerts:
•The weather alert radio will default to All Hazards Alerts
•Press and release the TORNADO ONLY/ALL
HAZARDS button once to hear only the
Tornado Alerts*.
•The Selected Alerts area will read TORNADO
ONLY.
•The Red LED light (armed) will stay on while in
Tornado Mode.
Note: When TORNADO ONLY is displayed and
the Red LED Armed light is on steady, you have
selected to only receive tornado alerts.
During a Tornado Alert:
•The alert message will scroll across the bottom of
the display (13 characters).
•The Red LED Armed light will flash during TornadoWatch or
Warning Alert. (0.8 seconds in every 2 seconds).
•The color-coded Alert LED Light (advisory, watch, or warning) will
stay lit until the alert expires.
•The volume will increase to 16 (the maximum sound)
automatically during a Tornado Warning Alert. The unit will stop
broadcasting when the final tone of the alert message is received.
Note: Tornado Watches will unmute the radio (if muted) but will
not automatically increase volume.
All Hazards Alerts:
•The weather alert radio will default to All Hazards Alerts.
•The Selected Alerts area will read ALL HAZARDS.
During an All Hazard Alert (will include Tornado):
•The alert message will scroll across the bottom of the display (13
characters).
•The Red LED Armed light will flash during Tornado
Watch and All Warning Alerts. (0.8 seconds in every
2 seconds).
•The color-coded Alert LED Light (advisory, watch, or
warning) will stay lit until the alert expires.
•The volume will increase to 16 (the maximum sound)
automatically during a Warning Alert. The unit will stop
broadcasting when the final tone of the alert message is received.
Volume
button
Navigation
buttons
AM/FM
Power
button

2
Note: Tornado Watches will unmute the radio (if muted) but will
not automatically increase volume.
NOAA/LISTEN Button:
When in WB (weather band), press the NOAA/LISTEN
button to mute alerts*.
•When alerts are muted, the Alert will continue to
scroll across the display.
•The color-coded Alert LED Light (advisory, watch, or warning) will
stay lit until the alert expires.
•The Red LED Armed light will flash during Tornado warnings.
(0.8 seconds in every 2 seconds).
•Press the NOAA/LISTEN button again to hear the alerts.
Note: All warnings will automatically unmute the radio and the
volume will increase to 16 (maximum).
Note: Advisories and Watches (except for Tornado Watch and
Weekly Test) will not unmute but the message will scroll and the
appropriate Alert Type Light will remain on.
Weather Band Signal Strength Indicator
•Signal strength indicator operates on Weather Band
only.
•The bars will not change once the reception of the
selected channel is okay unless it changes to
another Weather Band channel.
PROGRAM MENU:
The program menu allows you to set:
•DST (Daylight Saving Time) ON/OFF
•Time
•Calendar
•Scroll Speed
•Pro-settings (FIPS Code, Channel, Edit or Select Alerts)
OK Button: The OK button will confirm each setting.
〉Navigation button: From each mode the 〉navigation button will
move to the next mode in the program menu.
︿or ﹀Navigation Buttons: Use the ︿or ﹀navigation buttons to
adjust a setting.
DAYLIGHT SAVING TIME:
Press the MENU button on the top of the weather radio to enter the
program menu. DST ON will show on the display.
1. DST ON/OFF: Press the OK button to select
DST set.
2. Use the ︿or ﹀navigation buttons to select
DST ON or OFF. Press the OK button to
confirm.
3. Press the 〉navigation button to move to time
setting.
TIME SET:
With TIME SETTING displayed, press the OK button to select the
hour.
1. HOUR: The hour will flash. Use the ︿or ﹀
navigation buttons to adjust the hour. Press the
OK button to confirm and move to the minutes.
2. MINUTES: The minutes will flash. Use the
︿or ﹀navigation buttons to adjust the
minutes. Press the OK button to confirm.
CALENDAR SET:
From the time set mode, press the navigation button 〉to enter
calendar set mode to set the month.
1. MONTH: Press the OK button. The month will
flash. Use the ︿or ﹀navigation buttons to
adjust the three-letter month. Press the OK
button to confirm and move to the date.
2. DATE: The date will flash. Use the ︿or ﹀
navigation buttons to adjust the date. Press the
OK button to confirm and move to the year.
3. YEAR: The year will flash. Use the ︿or ﹀navigation buttons to
adjust the year. Press the OK button to confirm.
SCROLL SPEED:
From calendar set mode, press the 〉navigation button to enter scroll
speed. Press the OK button to enter the setting.
1. Use the ︿or ﹀navigation buttons to adjust the
scroll speed (1, 2 or 3).
2. Press the OK button to confirm and move to the
optional pro-settings mode.
OPTIONAL PRO-SETTINGS:
These settings are not required for the alerts to function. These
settings allow you flexibility in the alerts* you wish to receive for a
given location.
•FIPS CODE
•CHANNEL
•SELECT ALERTS
PRO-SETTINGS: From scroll speed mode, press the 〉navigation
button to enter pro-settings.
Press the OK button to move to SET FIPS CODE setting. Press the
OK button again to select the FIPS Code (Federal Information
Processing Standard). The first “bit” will flash.
1. FIPS CODE: Use the ︿or ﹀navigation buttons to adjust the
first “bit” of the code. Use the 〉button to select the second bit of
the code.
2. Use the ︿or ﹀navigation buttons to adjust the “bit”. Repeat
these steps for the rest of the bits.
3. Press the OK button to confirm the setting.
Remove FIPS Code: To remove a FIPS Code, set all the ‘bits’ to “0”.
Note: Find USA FIPS Codes: http://nws.noaa.gov/nwr/indexnw.htm
SET NOAA CHANNEL:
From the FIPS Code settings press the 〉navigation button to move to
manual channel set. Press the OK button to enter the setting.
1. Use the ︿or ﹀navigation buttons to select a weather band
channel.
2. Press the OK button to confirm. The radio will briefly show the
NOAA weather band selected.
SELECT ALERTS:
From channel
mode press
the 〉navigation button to move to Select Alerts.
Press the OK button to view the first alert*.

3
IMPORTANT:A list of alerts is at the end of this manual with default
settings. When the minimal alarm default is YES, the alert cannot be
disabled (OFF).
SELECT ALERTS: Many alerts are defaulted to ON
(enabled).
1. Use the ︿or ﹀buttons to select OFF to
disable that alert.
Note: Warning level alerts cannot be edited.
2. Use the 〈or 〉navigation buttons to view the different alerts.
3. Use the ︿or ﹀buttons to disable or enable the alerts.
4. Press the OK button to confirm changes and return to pro-setting.
WEATHER BAND RADIO:
The IC Chip supports weather band reception from 162.4 to 162.55
MHz. The highly integrated IC Chip receives all seven NOAA specified
frequencies, implements narrowband FM de-emphasis, and supports
1050 Hz alert tone detection. In addition, the IC Chip provides
advanced features not available on conventional radios, such as an
AFC and a dynamic channel bandwidth filter. In WB mode the weather
alert radio will continually broadcasts weather radio. Fully extend
telescoping antenna.
Radio receives 7 weather band (WB) frequencies:
Channel 1: 162.400MHz Channel 5: 162.500MHz
Channel 2: 162.425MHz Channel 6: 162.525MHz
Channel 3: 162.450MHz Channel 7: 162.550MHz
Channel 4: 162.475MHz
VOLUME:
In any radio mode, press and release the -VOLUME
+button to adjust the volume to a desired level.
•Default volume is eight.
•Level 1-16 are available.
BACKLIGHT:
The backlight is defaulted
to the brightest setting.
Use the SNOOZE/LIGHT
(HI/LOW/OFF) button to
adjust the backlight:
•High (default)
•Low
•Off
TIME ALARM:
SET ALARM TIME:
1. Hold the TIME ALARM button for 2 seconds to set
the alarm hour.
2. HOUR: The hour will flash. Use the ︿or ﹀
navigation buttons to adjust the hour. Press the 〉navigation
button to confirm and move to the minutes.
3. MINUTES: The minutes will flash. Use the ︿or ﹀navigation
buttons to adjust the minutes.
4. Hold the TIME ALARM button to confirm and exit alarm set mode.
ALARM ON/OFF:
•ON: In Alarm Mode, press and release the TIME ALARM button
to turn the alarm ON. A bell icon will appear.
•OFF: In Alarm Mode, press and release the TIME ALARM button
again to turn the alarm OFF. The bell icon will disappear.
Note: When the alarm sounds, any button will silence the alarm.
SNOOZE: When the alarm sounds press the SNOOZE/LIGHT button
to snooze the alarm for 10 minutes. Zz will appear on the screen.
Note: the alarm will sound for two minutes unless turned off.
AM/FM RADIO MODE:
The Weather Alert Clock Radio is always on in weather band mode
even when you choose to listen to AM or FM radio.
Note: All warnings will automatically override AM/FM radio.
To listen to AM or FM radio, press and release the AM/FM
POWER button (on front).
Press and release the AM/FM button (on top) to select:
•AM radio
•FM radio
•WB radio
Select frequency using the〈or 〉navigation buttons. Hold the
︿or ﹀navigation button to scan all stations.
MEMORY PRESETS: Use the ︿or ﹀navigation buttons to save a
radio station to memory. You can save up to 19 stations. Use the
︿or ﹀navigation buttons to select a station from preset memory.
AM RADIO:
The highly integrated IC Chip supports worldwide AM band reception
from 520 to 1710 kHz using a digital low-IF architecture with a
minimum number of external components and no manual alignment
required. This digital low-IF architecture allows for high-precision
filtering offering excellent selectivity and SNR with minimum variation
across the AM band.
FM RADIO:
The IC Chip FM receiver is based on the proven IC Chip FM tuner. The
receiver uses a digital low-IF architecture allowing the elimination of
external components and factory adjustments. The IC Chip integrates
a low noise amplifier (LNA) supporting the worldwide FM broadcast
band (87.5 to 108 MHz).
LOW BATTERY ICON:
•The low battery icon will flash when the backup batteries need
to be replaced.
•The icon will flash, indicating low backup batteries when the
Weather Alert Clock Radio is operating with a/c power.
RESET BUTTON

4
The RESET button is a pin hole inside the battery compartment
marked Reset. Use a paperclip to gently poke the RESET button once
if the radio screen seems distorted or is not functioning correctly.
SPECIFICATIONS:
Dimensions:6.5” in W x 3.177” in D x3.122” in H
(165.1 mm W x80.695 mm D x 79.298 mm H)
Weather Band ( 7 Channels) -6dB 162.4000 - 162.5500MHz
AM 82dB 520-1710 KHz
FM 10dB 87.5 -108 MHz
Operating Temperature: 32 °F - 122°F (0 °C – 50 °C)
Storage Temperature: 14 °F - 122°F (-10 °C – 50 °C)
A/C Cord: 6.0AC adapter (included)
Battery backup: 3 x AAALR3 alkaline (not included)
MAINTENANCE AND CARE:
•Avoid placing the weather alert radio near electrical devices to
avoid RF (radio signal) interference.
•Extreme temperatures, vibration, and shock should be avoided to
prevent damage to the units.
•Clean with a soft, damp cloth. Do not use solvents or scouring
agents; they may mark the weather alert radio.
•Do not submerge the weather alert radio in water.
•Opening the casing invalidates the warranty.
•Do not try to repair the unit.
•Do not leave in vehicle in extreme temperatures.
•Weather alert radio is not waterproof.
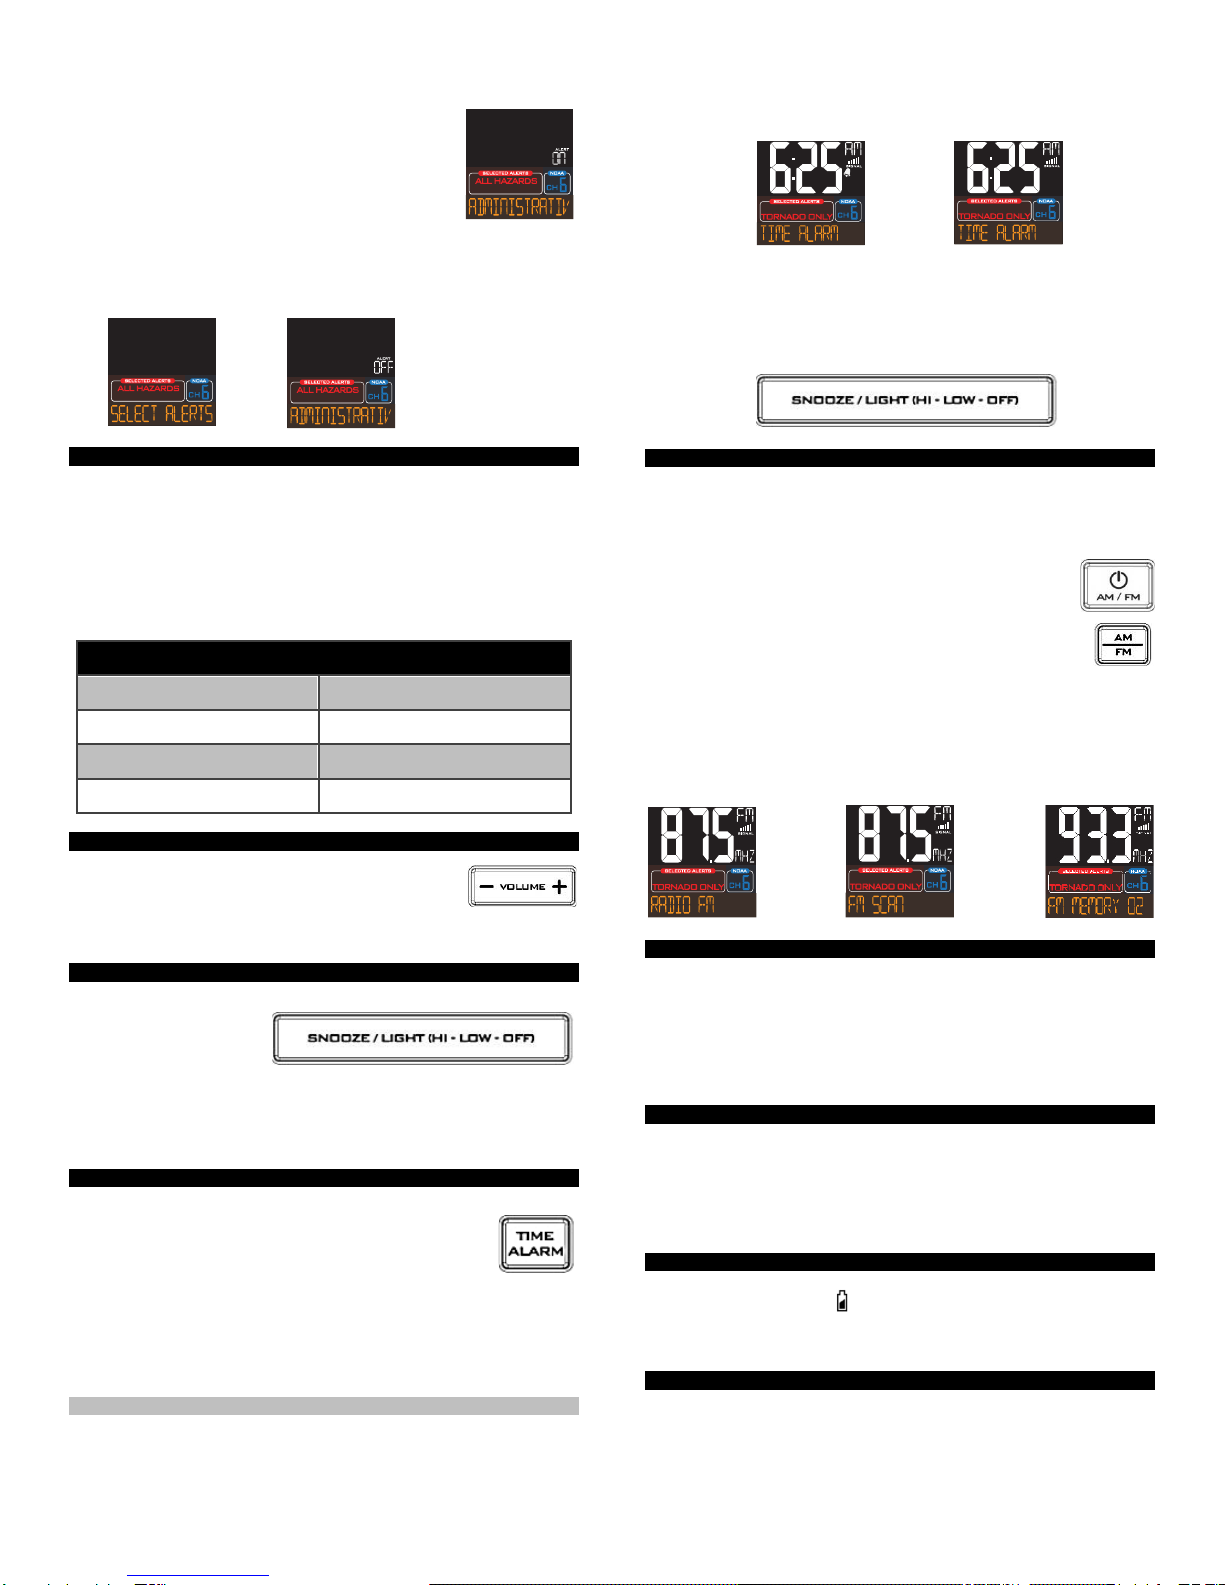
•Change backup batteries as soon as the low battery icon begins
to flash.
* Disclaimer:
La Crosse McCormick, LLC. (“La Crosse”) provides various alert
options to aid users. La Crosse shall not be liable for accuracy,
usefulness or availability of information transmitted via the service.
Users are solely responsible for damages to persons or property by
service use.
FCC:
This Device complies with Part 15 of the FCC Rules. Operation is
subject to the following two conditions: (1) This device may not cause
harmful interference, and (2) the device must accept any interference
received, including interference that may cause undesired operation.
NOTE: THE MANUFACTURER IS NOT RESPONSIBLE FOR ANY
RADIO OR TV INTERFERENCE CAUSED BY UNAUTHORIZED
MODIFICATIONS TO THIS EQUIPMENT. SUCH MODIFICATIONS
COULD VOID THE USER AUTHORITY TO OPERATE THE
EQUIPMENT
WARRANTY: 1-YEAR LIMITED
La Crosse McCormick, LLC warrants that if the accompanying product
proves to be defective to the original purchaser in material or
workmanship within 1-year from the original retail purchase, La Crosse
McCormick, LLC will, at La Crosse McCormick, LLC ’s option, either
repair or replace same without charge (but no cash refund will be
made).
WARRANTY CONDITIONS:
1. You must mail or ship the product, together with the original bill of
sale and this limited warranty statement as proof of warranty.
2. This warranty is void if any defects are caused by abuse, misuse,
negligence or unauthorized repairs.
3. All liability for incidental or consequential damages is specifically
excluded. Some states do not allow the exclusion or limitation of
incidental or consequential damages, so the above limitation or
exclusion may not apply to you. This warranty gives you specific
legal rights, and you may also have other rights, which vary from
state to state.
Limitation of Liability and Remedies
La Crosse McCormick, LLC shall have no liability for any damages due
to loss of profits, loss of use or anticipated benefits, or other incidental,
consequential, special or punitive damages arising from the use of, or
the inability to use, this product, whether arising out of contract,
negligence, tort or under any warranty, even if La Crosse McCormick,
LLC has been advised of the possibility of such damages. La Crosse
McCormick, LLC’s liability for damages in no event shall exceed the
amount paid for this product.
WARRANTY SERVICE PROCEDURE:
Please follow the procedure below to ensure the weather alert radio is
properly serviced and returned. Failing to follow the procedures may
result in delays or loss of product.
1. PROOF-OF-PURCHASE: Include some form of proof-of-
purchase.
2. RADIO: Enclose the Weather Alert Clock Radio.
3. PROPER PACKING: Pack the weather alert radio securely to
prevent damage during transit. Use original packing material if
possible.
4. PROBLEM DESCRIPTION: Enclose a detailed written description
of the problem.
5. CONTACT INFORMATION: Enclose a typed or clearly printed
name, address, and phone number where you can be contacted
during the day M-F.
6. PREPAID TRACEABLE CARRIER: Ship the package with the
contents listed above, prepaid and insured by way of traceable
carrier (to avoid loss in transit). The Manufacturer is not
responsible for units not received if the package has not been
properly insured.
Mail to:
La Crosse McCormick
Warranty Department
2817 Losey Blvd S
La Crosse WI 54601
7. REPAIR/EXCHANGE: The weather alert radio will be repaired or
exchanged upon its receipt if it is under warranty.
8. SERVICE TIMELINE: Please allow approximately
2-4 weeks for the weather alert radio to be serviced under
warranty.
Contact Support: 1-608-782-1610
Support:
www.lacrosseclock.com/w85947
Product Registration:
www.lacrosseclock.com/register

5
Event Codes for U.S.
and Canada
Note: Not all event
codes may be
transmitted in all
areas.
Event Description
Manufacturer May
Allow User to
Enable or Disable
this Event
The Default for
this Event
Minimal Audio or External
Alarm Required by Default
Visual Prompt Required by
Default
Level
ADR Administrative message Yes Disabled No Advisory
AVA Avalanche Watch Yes Enabled No Watch
AVW Avalanche Warning No Enabled Yes Warning
BHW Biological Hazard Warning No Enabled Yes Warning
BWW Boil Water Warning No Enabled Yes Warning
BZW Blizzard Warning No Enabled Yes Warning
CAE Child Abduction Emergency Yes Enabled No Advisory
CDW Civil Danger Warning No Enabled Yes Warning
CEM Civil Emergency Message No Enabled Yes Warning
CFA Coastal Flood Watch Yes Enabled No Advisory
CFW Coastal Flood Warning No Enabled Yes Warning
CHW Chemical Hazard Warning No Enabled Yes Warning
CWW Contaminated Water Warning No Enabled Yes Warning
DBA Dam Watch Yes Enabled No Watch
DBW Dam Break Warning No Enabled Yes Warning
DEW Contagious DiseaseWarning No Enabled Yes Warning
DMO Practice/Demo Yes Disabled No Advisory
DSW Dust Storm Warning No Enabled Yes Warning
EAN Emergency Action Notification No Enabled Yes Warning
EAT Emergency Action Termination No Enabled Yes Advisory
EQW Earthquake Warning No Enabled Yes Warning
EVI Immediate Evacuation No Enabled Yes Warning
EVA Evacuation Watch Yes Enabled No Watch
FCW Food Contamination Warning No Enabled Yes Warning
FFA Flash FloodWatch Yes Enabled No Watch
FFS Flash Flood Statement Yes Enabled No Advisory
FFW Flash Flood Warning No Enabled Yes Warning
FLA Flood Watch Yes Enabled No Watch
FLS Flood Statement Yes Enabled No Advisory
FLW Flood Warning No Enabled Yes Warning
FRW Fire Warning No Enabled Yes Warning
FSW Flash Freeze Warning No Enabled Yes Warning
FZW Freeze Warning No Enabled Yes Warning
HLS Hurricane Statement Yes Enabled No Advisory
HMW Hazardous Materials Warning No Enabled Yes Warning
HUA Hurricane Watch Yes Enabled No Watch
HUW Hurricane Warning No Enabled Yes Warning
HWA High Wind Watch Yes Enabled No Watch
HWW High Wind Warning No Enabled Yes Warning
IBW Iceberg Warning No Enabled Yes Warning
IFW Industrial Fire Warning No Enabled Yes Warning
LAE Local Area Emergency No Enabled Yes Advisory
LEW Law Enforcement Warning No Enabled Yes Warning
LSW Land Slide Warning No Enabled Yes Warning
NAT National Audible Test Yes Disabled No Advisory

6
Event Codes for U.S.
and Canada
Note: Not all event
codes may be
transmitted in all
areas.
Event Description
Manufacturer May
Allow User to
Enable or Disable
this Event
The Default for
this Event
Minimal Audio or External
Alarm Required by Default
Visual Prompt Required by
Default
Level
NIC National Information Center Yes Disabled No Advisory
NMN Network Notification Message Yes Disabled No Advisory
NPT National Periodic Test Yes Disabled No Advisory
NST National Silent Test Yes Disabled No Advisory
NUW Nuclear Power PlantWarning No Enabled Yes Warning
POS Power Outage Advisory Yes Enabled No Advisory
RHW Radiological Hazard Warning No Enabled Yes Warning
RMT Required Monthly Test Yes Disabled No Advisory
RWT Required Weekly Test No Disabled Yes Advisory
SMW Special Marine Warning No Enabled Yes Warning
SPS Special Weather Statement Yes Enabled No Advisory
SPW Shelter In-PlaceWarning No Enabled Yes Warning
SVA Severe Thunderstorm Watch Yes Enabled No Watch
SVR Severe Thunderstorm Warning No Enabled Yes Warning
SVS Severe Weather Statement Yes Enabled No Advisory
TOA Tornado Watch No Enabled Yes Watch
TOE
911 Telephone Outage
Emergency
Yes Enabled No Advisory
TOR Tornado Warning No Enabled Yes Warning
TRA Tropical Storm Watch Yes Enabled No Watch
TRW Tropical Storm Warnings No Enabled Yes Warning
TSA Tsunami Watch No Enabled Yes Watch
TSW Tsunami Warning No Enabled Yes Warning
TXB Transmitter Backup On Yes Disabled No Advisory
TXF Transmitter Carrier Off Yes Disabled No Advisory
TXO Transmitter Carrier On Yes Disabled No Advisory
TXP Transmitter Primary On Yes Disabled No Advisory
VOW Volcano Warning No Enabled Yes Warning
WFA Wild Fire Watch Yes Enabled No Watch
WFW Wild Fire Warning No Enabled Yes Warning
WSA Winter Storm Watch Yes Enabled No Watch
WSW Winter Storm Warning No Enabled Yes Warning
??A Unrecognized Watch Yes Enabled No Watch
??E Unrecognized Emergency Yes Enabled No Advisory
??S Unrecognized Statement Yes Enabled No Advisory
??W Unrecognized Warning No Enabled Yes Warning
Optional Codes:
The definitions below explain how a receiver should react to future alert messages that, at the time this standard was published, were not
defined. It is expected that all future WATCH codes will end in “A”, that all future EMERGENCY codes will end in “E”, that all future
STATEMENT codes will end in “S”, and that all future WARNING codes will end in “W”. Implementation of and algorithm using these wildcard
event codes would enable a receiver to respond to additional event codes that might be transmitted in the future.
Devices that implement the functionality described in this standard, and that includes an option for the user to turn this functionality on or off,
must have “ALERT ENABLED” (i.e. functionality turned on) as the default mode, and must be shipped from the factory in this mode.
For items marked “enabled” the device must provide audible, visual, or external indication of alert.
Table of contents
Other La Crosse Clock Radio manuals