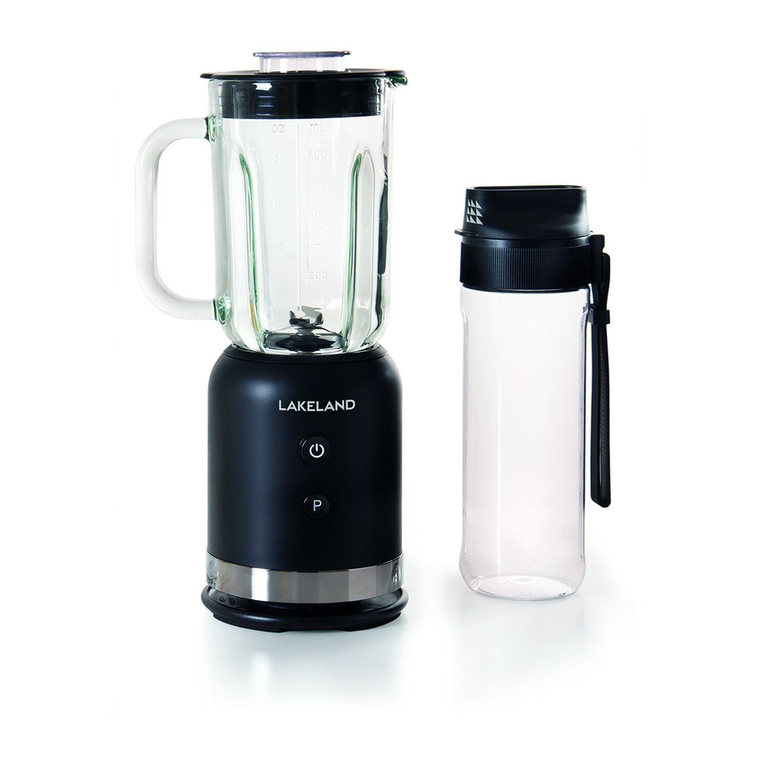
Lakeland Davina Installation and operation manual

PERSONAL
BLENDER


3
Thank you for choosing the Davina Personal Blender.
Please take a little time to read this booklet before you use your machine and
keep it in a safe place for future reference.
The Personal Blender makes healthy smoothies, shakes and drinks from
fresh and frozen fruit, vegetables, yoghurt and milk in minutes. Blend your
ingredients inside the cup, remove, and go! It’s also great for drinks made from
dairy free ingredients like almond milk or coconut water. Drinks are blended
inside the cup so there’s no waste or mess, and less washing up.
This product has been carefully selected and rigorously tested to meet our
high standards, so you can be assured that any product you purchase will be
easy-to-use and highly durable.
Product features
Safety Cautions
Instructions for use
A guide to ingredients
Adapting your own recipes
Hints and Tips
Recipes
Troubleshooting
Care and Cleaning
Recycling your electricals
Electrical Connections
4
5
8
11
11
12
13
15
16
16
17
contents

4
PRODUCT FEATURES
1. Cup Lid with Carry Handle
2. Cup (1x 600ml and 1x 400ml)
3. Blade
4. Carry Handle
5. Base
6. Power Cord
1
2
3
4
5
6

5
SAFETY CAUTIONS
Carefully read all the instructions before using the appliance and keep in a safe
place for future reference. Always follow these safety cautions when using the
appliance to avoid personal injury or damage to the appliance.This appliance
should be used only as described in this instruction book.
This appliance can be used by children aged from 8 years and
above and persons with reduced physical, sensory or mental
capabilities or lack of experience and knowledge if they have been
given supervision or instruction concerning use of the appliance in
a safe way and understand the hazards involved. Children shall not
play with the appliance. Cleaning and user maintenance shall not
be done by children unless they are older than 8 and supervised.
• Make sure your electricity supply matches the voltage shown on the
appliance.
• Ensure all packaging materials and any promotional labels or stickers are
removed from the appliance before the rst use.
• Always inspect the appliance before use for noticeable signs of damage.
Do not use if damaged or has been dropped. In the event of damage, or
if the appliance develops a fault contact the Lakeland customer care team
on 015394 88100.
• Do not use this appliance if the lead is damaged. If the lead is damaged it
must be replaced with a special lead. Contact the Lakeland customer care
team on 015394 88100.
• Always use the appliance on a dry, level surface.
• Unplug from the mains when not in use and before cleaning.To
disconnect, turn the socket to “off“ and remove the plug from the mains
socket.
6
• Do not use any accessories or attachments with this appliance other than
those supplied by Lakeland.
• To protect against re, electric shock or personal injury, do not immerse
cord, plug or unit in water or other liquids.
• Do not leave the lead hanging over the edge of a kitchen table or
worktop.Avoid contact between the lead and hot surfaces.
• For indoor use only.
• For domestic use only.
• This appliance should be used for preparation of drinks as described
within the instructions for use that accompany it.
• Always ensure that your hands are dry before removing the plug from
the mains socket. Never pull the plug out of the mains socket by its lead.
• To avoid injury or possible re, do not cover the appliance when in use.
• Never leave appliance unattended when in use.
• Do not connect this appliance to an external timer or remote control
system.
• An extension cable may be used with care.The electrical rating of the
cable should be at least as great as the appliance.
• This appliance complies with the basic requirements of Directives 04/108/
EC (Electromagnetic Compatibility) and 06/95/EC (Safety of Domestic
Electrical Appliances).
• WARNING; A cut off plug inserted into a 13amp socket is a serious
safety (shock) hazard. Ensure the cut off plug is disposed of safely.

7
• CAUTION; the plastic bags used to wrap this appliance or the packaging
may be dangerous.To avoid risk of suffocation, keep these bags out of
reach of babies and children.These bags are not toys.
• The blade is very sharp. Handle with care. Hold by the blade by the base,
well away from the cutting edges, when handling and cleaning.
• This appliance is not suitable for processing very hard foods eg. coffee
beans, hard spices or processing hot liquids.
• Do not attempt to operate the machine with an empty cup.
• The blade has a safety mechanism and cannot operate without the cup
attached. However, to reduce the risk of injury, never attempt to place the
blades on the base without the cup.
• The cup is dishwasher and fridge safe, do not use in the freezer.

8
INSTRUCTIONS FOR USE
Before rst use, wash the cup and cup lid in hot soapy water, rinse and dry
thoroughly. Wash the blade with a dish brush and dry carefully, as it’s very
sharp.
The rst time the blender is used there may be a slight smell, this is normal
and will disappear after initial use.
Place your ingredients in the cup, being careful not to ll it beyond the
MAX mark

9
Screw the blade securely onto the cup. Place the blade and cup onto the
base.
Slot the notch on the blade into the slot at the back of the base, in the
‘OPEN’ position.Twist the cup and blade clockwise, locking it onto the base in
the ‘CLOSE’ position.
Slot

10
WARNING:The blade has a safety mechanism and cannot operate without
the cup attached. However, to reduce the risk of injury, never attempt to place
the blade on the base without the cup.
Plug the base into the power socket. Blend for up to 30 seconds until smooth.
If your drink needs further blending, allow the machine to rest for 1 minute
before blending again for 30 seconds.
You can remove the cup and blade from the base, and shake to mix the
ingredients between cycles to help them blend.
You can blend like this for 5 cycles, then allow the motor to cool for at least
15 minutes.
To stop blending, switch off the blender at the socket and unplug.Turn the cup
and blade anti-clockwise to unlock and remove them from the base.
Unscrew the blade, replace with the cup lid, and go!

11
A GUIDE TO INGREDIENTS
ADAPTING YOUR OWN RECIPES
You need a combination of liquids and solids to make smoothies, shakes and
drinks.
Water, fruit and vegetable juice, milk, almond milk, rice milk, yoghurt, soya
yoghurt and coconut water all work well.
Fruit and vegetables should be cut into bite sized pieces so they process
quickly. Other ingredients such as oats, can also be added.
Always make sure your ingredients do not exceed the 600ml/20oz mark on
the cup before blending.
After you have made some of the recipes supplied you may wish to adapt a
few of your own recipes.
Start by selecting one of the recipes in this booklet, which is similar to your
own and use this as a guide.

12
HINTS & TIPS
• Cut harder fruit and vegetables into bite sized pieces so they process
quickly.
• Your recipes should use at least 50% liquid. Maximum 75%.
• If your drink is too thick, you can add more liquid after processing.
• You can use frozen fruit, vegetables, soft fruit and spinach. Add these to
the liquid in the cup, then add other ingredients so that they can soften a
little before processing.
• Ingredients retain more of their nutritional value just after they have been
blended.Try to drink your smoothies when they are fresh.
• Add ingredients to the cup in this order: liquids, fresh fruit and vegetables,
frozen fruit, yoghurt and ice cream.
• The cup is fridge safe, but do not use in the freezer.

13
RECIPES
yoghurt fruit smoothie
Please note all spoon measurements use standard metric measuring spoons
for example, 5ml is 1 tsp and 15ml is 1 tbsp.We recommend you use a set of
measuring spoons.
All recipes make 1 smoothie in the 600ml cup.
1. Place the ingredients into the cup and screw on the blade.
2. Blend, following the instructions in ‘Instructions for use’.
INGREDIENT QUANTITY
Yoghurt, Dairy or Soya 150g
Fruit of your choice
e.g mango, peach, nectarine, pear 150g

14
BREAKFAST OAT SMOOTHIE
green smoothie
1. Place the ingredients into the cup and screw on the blade lid.
2. Blend, following the instructions in ‘Instructions for use’.
1. Place the ingredients into the cup and screw on the blade lid.
2. Blend, following the instructions in ‘Instructions for use’.
INGREDIENT QUANTITY
Milk, dairy, soya,
almond or rice milk 150ml
Berries, frozen or fresh 50g
Rolled Oats 2 tbsp
Banana, cut into pieces 1
Honey 1 tablespoon (optional)
INGREDIENT QUANTITY
Baby Spinach 50g
Coconut water or apple juice 150ml
Cucumber, chopped into chunks 50g
Avocado, stone removed 50g
Green Grapes 5-6 (optional)

15
TROUBLESHOOTING
The following are some common problems that can occur when using the
Davina Personal Blender on the Move. Please review the problems, their
possible cause and any corrective action that should be taken.
PROBLEM POSSIBLE CAUSE SOLUTION
Some of my drink has
leaked out from the cup
during blending.
The blade is not screwed
onto the cup or the base
properly, or there are too
mainy ingredients in the
bottle.
Switch off the power.Take the
cup and blade off the base and
check they are screwed together.
Check the cup and blade are
locked into the ‘CLOSE’ position
on the base. Check the cup is not
lled beyond the 600ml / 20oz
mark.
The Davina Personal
Blender is not starting.
The power is not on at the
socket, or the cup is not
locked onto base.
Check the power is switched on
at the socket. Check the cup and
blade are locked into the ‘CLOSE’
position on the base.
The ingredients are not
blending properly.
There may not be enough
liquid in the recipe, or hard
fruit and vegetables may need
to be cut into smaller pieces.
Check the recipe has at least 50%
liquid ingredients. Remove any
large pieces of fruit or veg from
the cup and cut them into smaller
pieces. Shake the cup between
blending cycles.
The motor has stalled. The cup is too full.
Turn off the blender, unplug and
allow to cool for at least 15
minutes. Check the cup is not
lled beyond the 600ml / 20oz
mark. Remove surplus ingredients
from the cup and reblend.
The motor is
overheating.
The motor has been on for
too long.
Blend for 30 seconds, allow to
rest for 1 minute until blending
again.You can blend like this for
5 cycles, then allow the motor to
cool for at least 15 minutes.

16
care and cleaning
• Before the rst use and after every use, clean each part thoroughly.
• Switch off and unplug the personal blender before cleaning.
• Always use plastic, wooden or silicone spatulas to remove any ingredients
from the cup.
• Wash the cup and cup lid in hot soapy water, rinse and dry thoroughly.
Wash the blade with a dish brush and dry carefully, as it’s very sharp.
Do not use abrasive cleaners or materials, including steel wool.To clean
the base, wipe with a clean, damp cloth and dry before storing. Never
immerse the unit in water or any other liquid.The cup is dishwasher safe.
Check all parts before reassembly.
• Store the smoothie maker with the power cable loosely coiled. Never
wrap it tightly around the base unit.

17
electrical connections
fitting a new plug
This appliance is tted with a fused three-pin plug to BS1363 which is suitable
for use in all homes tted with sockets to current specications. If the tted
plug is not suitable for your socket outlets, it should be cut off and carefully
disposed of.To avoid an electric shock, do not insert the discarded plug into a
socket.
This product is a class II electrical and does not include an earth wire.
If for any reason you need to t a new plug, the exible mains lead must be
connected as shown here. The wires in the mains lead tted to this appliance
are coloured in accordance with the following code:
N
L
3 amp fuse
Live (brown)
3 amp fuse
Neutral (blue)
Connect BLUE to Neutral (N)
Connect BROWN to Live (L)
3 amp fuse to be used

18
If the colours of the wires in the mains lead of this appliance do not
correspond with the coloured markings identifying the terminals in your plug,
proceed as follows.
The wire which is coloured blue MUST be connected to the terminal which is
marked with the letter N (Neutral).The wire which is coloured brown MUST
be connected to the terminal which is marked with the letter L (Live).
Before retting the plug cover, check that there are no cut or stray strands of
wire inside the plug. Use a 3 amp BS1362 fuse. Only BSI or ASTA approved
fuses should be used. If you are at all unsure which plug or fuse to use, always
refer to a qualied electrician.
Note: after replacing or changing a fuse on a moulded plug which has a fuse
cover, the cover must be retted to the plug; the appliance must not be used
without a fuse cover. If lost, replacement fuse covers can be obtained from
an electrical shop.This appliance complies with the following E.U. Directives:
2006/95/EC (LowVoltage Directive) and 2004/108/EC (EMC Directive).
recycling your electricals
Along with many other high street retailers, Lakeland has joined a scheme
whereby customers can take their unwanted electricals to recycling points set
up around the country.
Visit www.recycle-more.co.uk to nd your nearest recycling point.

19

Lakeland
Alexandra Buildings,Windermere, Cumbria, LA23 1BQ,
Tel.: +44(0)15394 88100 Web: www.lakeland.co.uk
Table of contents
Other Lakeland Blender manuals

Lakeland
Lakeland MyKitchen 13651 User manual

Lakeland
Lakeland 16048 User manual

Lakeland
Lakeland 63492 User manual

Lakeland
Lakeland Nutrishot User manual

Lakeland
Lakeland Timeless 16048 User manual

Lakeland
Lakeland 71075 User manual

Lakeland
Lakeland 27213 User manual

Lakeland
Lakeland 17885 User manual

Lakeland
Lakeland 31577 User manual

Lakeland
Lakeland 14213 User manual