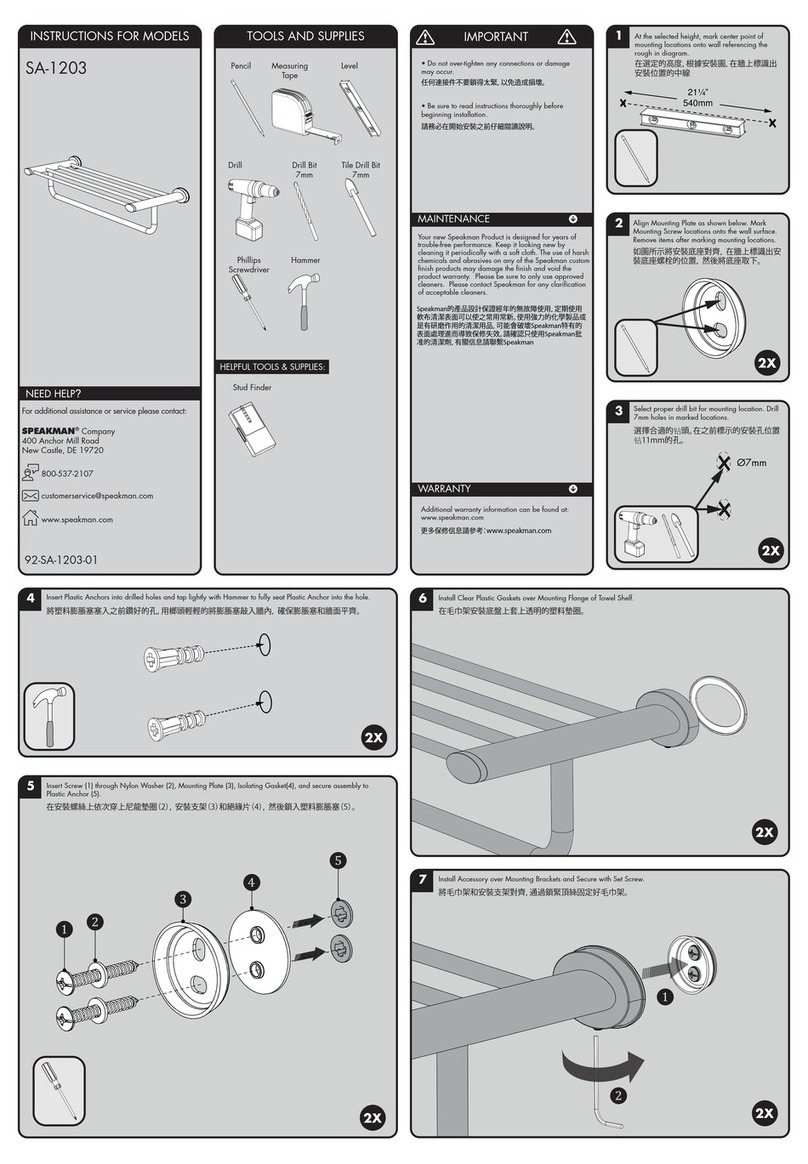
Installation procedure
1.
Insert the ap lid body in the cutout of the
mounting surface.
2.
Having opened the lid, insert the screws
through the provided access screw holes
(2 on each side) and fasten the ap lid body
securely.
3.
Slowly open and close the lid completely a
few times in order to make sure that there are
no obstacles such as the bottom edge of the
cutout or any item inside.
4.
Cover the screwdriver access holes with the
caps provided.
5.
Past the warning sticker in a visible position
to avoid any injury when using the AZ-GD310.
AZ-GD310STAINLESS STEEL DAMPENED FLAP LID SYSTEM
Installation instructions
Parts description
Dimension drawing
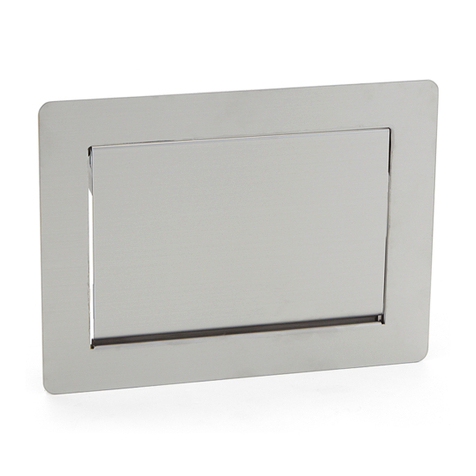
Thank you for purchasing this stainless steel, dampened ap system. Please read these instructions carefully
for a proper installation.
● Installation screws are not included (4 screws needed). Type and length of the screws
should be decided by taking the type of support into consideration.
We recommend the use of Tapping ST3 screws.
Description Quantity
Flap lid body 1
Installation instruction 1
Warning sticker 1
Access hole cover caps 4
SUGATSUNE
SUS304
4×φ3.5 holes
for installation
screws
10
100
384
220
294
310
(1.5)
(22.6)
when ap at 90˚
(310) when ap at 90˚
(244.7)
when ap at 90˚
140
64
Cutout : front view Cutout : side view
Installation surface
LAMP logo
AZ-GD310
Access hole cover cap
Screwdriver access hole
Lid
TOP
BOTTOM
Screw
Cutout dimensions
! IMPORTANT:
・Make sure that the LAMP logo is at the
top.
・Do not leave any gap between the ap
lid body and the mounting surface
! IMPORTANT:
・Make sure that the nal assembly is
securely fastened.
0
1860
186
6×R6 Max
204
0
274
0
+1
341
18~22mm
54 140
AZ-GD310
Mounting screw holes
The AZ-GD310 is designed to function when installed vertically as shown below. Horizontal, slanted or
upside down installation will result in improper function and may be lead to injury.
To avoid any risk of accidental fall, ensure that the AZ-GD310 is securely fastened to its support.
Any attempt to dismantle, modify or use in any way other than that indicated below, may result in
damage or injury.
CAUTION If these cautions are not followed, it may result in injury or damage.


