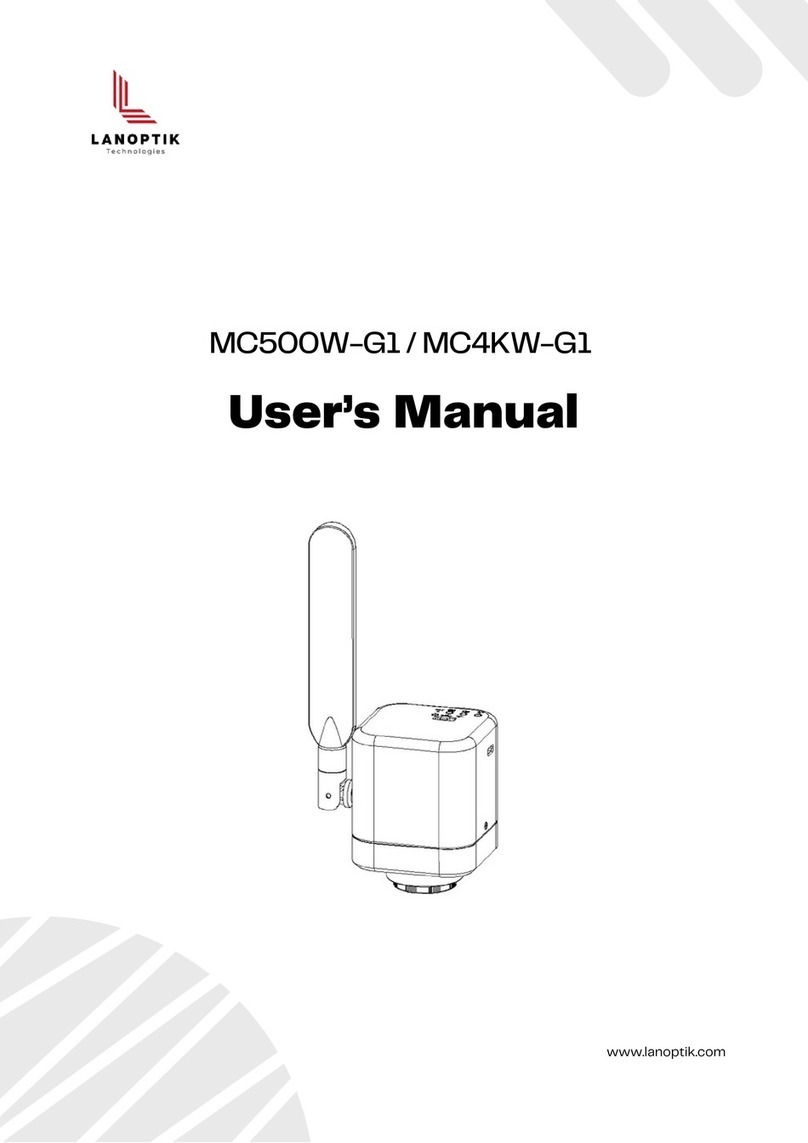
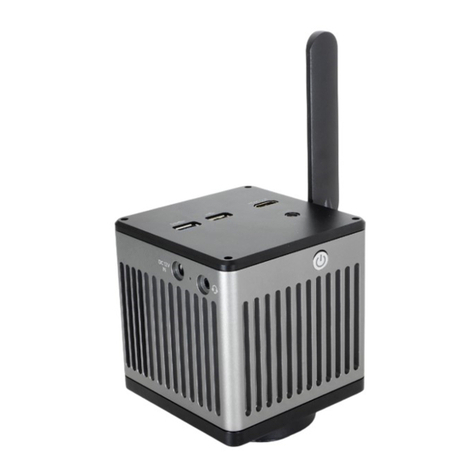
Lanoptik MC500W-G2 User manual

MC500W-G2 / MC4KW-G2
User’s Manual
www.lanoptik.com

Content
www.lanoptik.com
CHAPTER 1 NOTES AND SAFETY REQUIREMENTS
1.1 CAUTIONS AND NOTES
CHAPTER 2 SOFTWARE SYSTEM REQUIREMENTS
CHAPTER 3 PACKING LIST
CHAPTER 4 FUNCTION INTRODUCTION
CHAPTER 5 PRODUCT ASSEMBLY GUIDE
5.1 CAMERA ASSEMBLY & DISASSEMBLY
5.1.1 Assembly with Microscope
5.1.2 Camera Disassembly
CHAPTER 6 INSTRUCTIONS
6.1 USB WIRED WORK MODE
6.2 WIFI WORK MODE - IOS SYSTEM
6.3 WIFI WORK MODE - ANDROID SYSTEM
CHAPTER 7 DISCLAIMER
- 1 -
- 1 -
- 2 -
2.1 SYSTEM REQUIREMENTS UNDER USB WORK MODE - 2 -
- 3 -
- 4 -
4.1 NAME AND FUNCTION FOR BODY UNITS OF CAMERA - 4 -
- 7 -
- 7 -
- 7 -
- 8 -
- 9 -
- 9 -
- 9 -
- 10 -
- 11 -
2.1 SYSTEM REQUIREMENTS UNDER WiFi WORK MODE - 2 -
4.1.1 Body Introduction - 4 -
4.1.2 Function for Body Units of Camera - 4 -
4.2 OPTIONAL ACCESSORY INTRODUCTION - 5 -
4.2.1 Connection Methods and Types - 6 -
6.1.1 Install Pixit Pro Software for Windows OS
6.1.2 To Connect Device
- 9 -
- 9 -
6.1.3 Open Software
6.1.4 Start to Use
- 9 -
- 9 -
6.2.1 Install KoPa WiFi Lab for iOS Device
6.2.2 To Connect Device
- 9 -
- 9 -
6.2.3 Open Software
6.2.4 Start to Use
- 10 -
- 10 -
6.3.1 Install KoPa WiFi Lab for Android Device
6.3.2 To Connect Device
- 10 -
- 10 -
6.3.3 Open Software
6.3.4 Start to Use
- 10 -
- 10 -

To avoid danger or damage incurred to the lens, do not touch the lens or sensor directly with your
fingers.
Chapter 1 Notes and Safety Requirements
1.1 Cautions and Notes
User's Manual | Microscope Camera MC500W-G2 / MC4KW-G2 Series
To avoid failure or electric shock hazard and so on, do not disassemble or modify the internal
structure of the device.
Do not plug in or unplug the Power connection port when hands are wet.
Do not use alcohol and other organic solvents to clean.
If the lens or sensor is dirty or damp, you should better use dry and non-linen fabric or professional
lens tissue to wipe them. To avoid scratches on the surface, do not touch the lens with your fingers.
Wipe the lens or sensor lightly.
The products are not specifically designed for an outdoor use. Do not expose it to outdoor
environment without any protection. Excessive temperature and humidity will damage the lens.
Please avoid using the product under the following environment: high temperature or high humidity
environment, places with direct sunlight, dirt or vibration and places near heat source.
Please use and store in the following environment:
Operating temperature
:
-10℃~ 50℃
Storage temperature
:
-20℃~ 60℃
Operating Humidity
:
30~80%RH
Storage Humidity
:
10~60%RH
If any foreign matter, water or liquid enter into the device by accident, disconnect the Power line
immediately. Please send it to the maintenance center and do not use the hair dryer to dry it by
yourself.
To prevent microscope from being tripped over or dropped, please put away the device’s connect
cable in use or standby.
To avoid electric shock by accident, please power off microscope before you move your computer or
laptop.
The cleanliness of the device lens will directly affect clarity degree of contents from the computer
screen during preview. Problems like various circles or spots on the screen may mostly be incurred
by dirt on the lens. When cleaning, please use professional lens tissue or other professional detergent
to clear the dirt on the lens.
Registered trademark and copyright: Copyright ownership of this produc belongs to Lanoptik
Technologies Ltd. Without written authorization of this company, any organizations or individuals
shall not photocopy, print, or translation to another language to any part of this document.
www.lanoptik.com
- 1 -
User's Manual | Microscope Camera MC500W-G2 / MC4KW-G2 Series
www.lanoptik.com
- 2 -
Windows 7 (64bit), Windows 8 (64bit), Windows 8.1 (64bit), Windows 10 (64bit) , Windows 11 (64bit)
2.2 System Requirements under WiFi Work Mode
2.1 System Requirements under USB Work Mode
Chapter 2 Software System Requirements
Dual core 3GHz or higher CPU
USB 2.0 high-speed interface or USB2.0 compatible interface
At least 10 GB available hard-disk space
8G or more memory
DVD-ROM driver (only needed when installing software)
5.0 or above version for Android system.
8.0 or above version for IOS system.
Wireless network hardware must support the 802.11ac protocol (5G WiFi mode).

www.lanoptik.com
- 3 -
User's Manual | Microscope Camera MC500W-G2 / MC4KW-G2 Series
Chapter 3 Packing List
Camera Installation Disk
USB Power Adapter USB Cable
Eyepiece (optional accessory) Eyepiece Adapter (optional accessory)

www.lanoptik.com
- 4 -
User's Manual | Microscope Camera MC500W-G2 / MC4KW-G2 Series
Chapter 4 Function Introduction
4.1 NAME AND FUNCTION FOR BODY UNITS OF CAMERA
4.1.1 Body Introduction
4.1.2 Function for Body Units of Camera
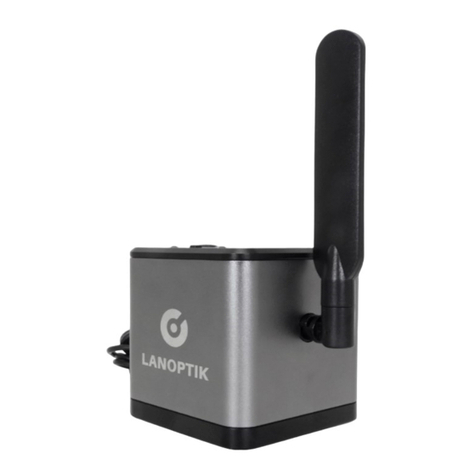
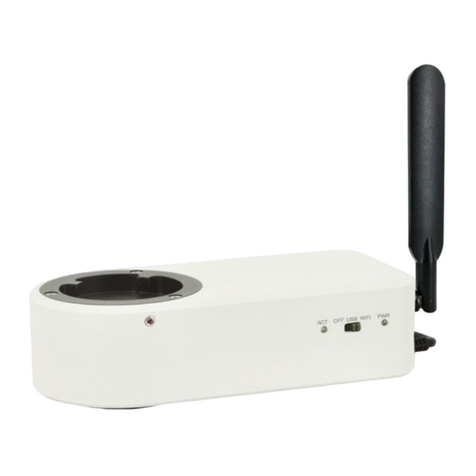
WiFi Digital Camera:
Standard C Port WiFi Digital Camera suitable for adapter ring of 23.3mm, 30mm and30.5mm, achieving
connections with microscopes of different interfaces; the COMS chips significantly reduce the image
noise, bearing characteristics of quick transmission speed, excellent color rendition, clear image and
storage convenience, etc., which can be widely used in industrial tubes, teaching,material analysis,
clinical examination, machine vision, etc.
①
WiFi signal switch/reset button hole
Short press: press 1-3 seconds to switch WiFi signals (2.4G to 5G)
Long press: more than 10 seconds, restore the default Settings.
②
Charge lamp
While charging from a USB port in a computer or adapter, it can be used at the same time.
If battery has low energy or no energy, the light flashes once 1.5 seconds.
If battery has medium energy, the light flashes once 2.5 seconds.
If battery has high energy, the light flashes once 4 seconds.
If battery fully charged, the light will be always green.

www.lanoptik.com
- 5 -
User's Manual | Microscope Camera MC500W-G2 / MC4KW-G2 Series
③
Power lamp
High power: green light
Low power: red light
No power: the device turns to power off state after 30 times of red light flashing.
You need to reset the button for new work.
When red light flashes, work can be done under charging mode.
④
WiFi lamp
The WiFi indicator is on when in wireless working mode,
When the output signal is 2.4G WiFi, the WiFi indicator is blue.
When the output signal is 5G WiFi, the WiFi indicator is green.
Note: the default WiFi output signal is 5G WiFi.
The switch of 2.4G and 5G signals can be achieved by pressing the WiFi signal switching port (1-3
seconds).
⑤
Toggle key
:
Toggle left(switch Icon): shut down.
Toggle middle
(
USB Icon)
:
PC enable.
Toggle right (WiFi Icon)
:
wireless WiFi enable.
Divided into Three states
:
⑥
USB Type-C port
Charge the WiFi Digital Camera is connecting adaptor with USB Cable;
Connect PC with USB Cable, and turn on the USB Cable work mode, Camera will start wired working.
⑦
Antenna
External antenna for WiFi signal.
⑧
Quick mounting screw hole
It has ¼ inch threaded port at the bottom, and it can be directly locked on the tripod.
⑨
C-mount thread
Make the camera can be installed to a standard C-mount microscope or spotting scope; or a different
interface microscope with adapter (optional accessory).
(
For detailed specifications, please refer to
Chapter 5
)
⑩
Dustproof Cover
Screw it out before use for dust prevention and chip protection.

www.lanoptik.com
- 6 -
User's Manual | Microscope Camera MC500W-G2 / MC4KW-G2 Series
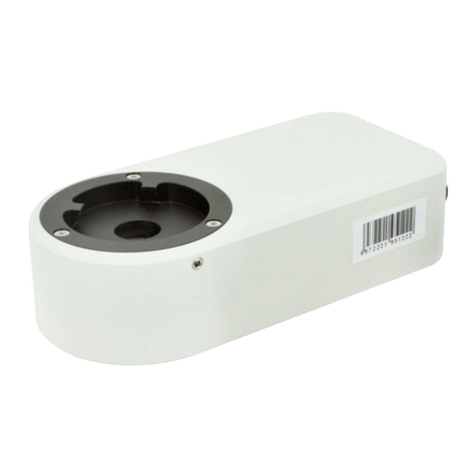
Adapter Ring and Eyepiece (Optional Components):
The camera can be equipped into microscopes of different calibers
through adapter ring and eyepiece. The Camera eyepiece body is of
Standard C Port; 0.5X eyepiece is of 23.2mm; adapter ring is of
23.2/30mm, 23.2/30.5mm. According to different assembly methods,
the equipment can be connected to eyepieces of different ports.
4.2 Optional accessory Introduction
1. Install to a standard C-mount interface microscope
2. Install to a 23.2mm interface microscope
4.2.1 Connection methods and types
3. Install to a 30mm interface microscope
4. Install to a 30.5mm interface microscope

www.lanoptik.com
- 7 -
User's Manual | Microscope Camera MC500W-G2 / MC4KW-G2 Series
Chapter 5 Product Assembly Guide
5.1 Camera Assembly and Disassembly
5.1.1 Assembly with Microscopes
Picture 5-1 Picture 5-2
Connection of Microscope for Standard C Port
Unscrew the plastic dustproof cover at the bottom of the Camera, take the protective film on the filter
of the cavity (See Picture 5-1).
Screw the Camera to other microscopes (Standard C Port) (See Picture 5-2).
Connect the eyepiece to the computer and start the program.
Connection with Stereo Microscope
Unscrew the dustproof cover of the WiFi Digital Camera, take the protective film on the filter of the
cavity.
Connect the eyepiece to additional eyepiece (See Picture 5-3 and 5-4).
Narrow the eyepiece cover (or empty sleeve) into 23.2/30mm adapter ring (or 23.2/30.5mm adapter
ring).
Set the adapter ring with WiFi Digital Camera to stereo microscope (See Picture 5-5).
Picture 5-3
Picture 5-4 Picture 5-5

www.lanoptik.com
- 8 -
User's Manual | Microscope Camera MC500W-G2 / MC4KW-G2 Series
5.1.2 Camera Disassembly
Disassembly with Standard C Port WiFi Digital Camera
(
1
)
Turn off the software and unplug the USD cable.
(
2
)
Screw out the WiFi Digital Camera from the microscope.
(
3
)
Screw the plastic dustproof cover on.
(
4
)
Put the WiFi Digital Camera in place in case of falling down.
Disassembly with Stereo microscope
(
1
)
Take the product and adapter ring out from the stereomicroscope.
(
2
)
Disassemble the adapter ring and eyepiece from the product.
(
3
)
Screw the plastic dustproof cover on.
(
4
)
Put the WiFi Digital Camera in place in case of falling down.

www.lanoptik.com
- 9 -
User's Manual | Microscope Camera MC500W-G2 / MC4KW-G2 Series
Chapter 6 Instructions
6.1 USB Wired Work Mode
Put the appendant disc into the DVD driver of your computer, click Pixit Pro Install file and finish the
installation of the application software according to the software reminder. For detailed install methods,
please refer to User Manual of Pixit Pro.
6.1.1 Install Pixit Pro Software for Windows OS
(1) Connect the USB-A port of the USB cable to the USB port of the computer.
(2) Turn the camera and switch to USB work mode. It may appear the reminder for installing device’s
driver when you first use the camera and then system will finish installation automatically.
6.1.2 To Connect Device
(1) Place the camera soundly and align the lens to the observation object.
(2) Execute the Pixit Pro software in your computer to observe your needed image.
6.1.3 Open Software
(1) Connect the microscope to camera when required.
(2) Turn on the camera and connect to the device.
(3) Adjust the microscope or camera button to view required objects.
(4) For more detailed instructions, please refer to User Manual of Pixit Pro.
6.1.4 Start to Use
6.2 WiFi Work Mode - iOS System
Download and install KoPa WiFi Lab software in APP Store of Apple.
6.2.1 Install KoPa WiFi Lab for iOS Device
(1) Turn the work mode switch of the WiFi Digital Camera to WiFi work mode. After about 20 seconds, the
WiFi indicator in the WiFi camera stops flashing and stays on.
(2) Setting under iPad or iPhone system-connect camera under WiFi, WiFi name:
WiFiCamera_xxxxxx (2.4G mode)
WiFiCamera_5G_xxxxxx (5G mode)
Password: 12345678
6.2.2 To Connect Device

www.lanoptik.com
- 10 -
User's Manual | Microscope Camera MC500W-G2 / MC4KW-G2 Series
(1) Place the WiFi Digital Camera soundly and align the lens to the observation object.
(2) Execute the KoPa WiFi Lab software under the desktop of system to observe your needed image.
6.2.3 Open Software
For more detailed instructions, please refer to User Manual of KoPa WiFi Lab for iOS.
6.2.4 Start to Use
6.3 WiFi Work Mode - Android System
You can use one of the following two methods when installing software.
(1) Download and install KoPa WiFi Lab software on Google play.
(2) Copy the KoPa WiFi Lab for Android software to Android system for installation.
6.3.1 Install KoPa WiFi Lab for Android Software
(1) Turn the work mode switch of the WiFi Digital Camera to WiFi work mode. After about 20 seconds, the
WiFi indicator in the WiFi camera stops flashing and stays on.
(2) Setting under iPad or iPhone system-connect camera under WiFi, WiFi name:
WiFiCamera_xxxxxx (2.4G mode)
WiFiCamera_5G_xxxxxx (5G mode)
Password: 12345678
6.3.2 To Connect Device
(1) Place the WiFi Digital Camera soundly and align the lens to the observation object.
(2) Execute the KoPa WiFi Lab software under the desktop of system to observe your needed image.
6.3.3 Open Software
For more detailed instructions, please refer to User Manual of KoPa WiFi Lab for Android.
6.3.4 Start to Use

www.lanoptik.com
- 11 -
User's Manual | Microscope Camera MC500W-G2 / MC4KW-G2 Series
Please do not use wet hands to plug and unplug the power supply of the equipment.
Please be sure to use a regular brand power socket, and make sure the grounding is well grounded to
prevent electric shock.
Please be sure to make regular safety checks on sockets and plugs to avoid potential electrical
safety hazards caused by aging and short circuit.
Please be sure not to use the product in a humid or hot environment to ensure the safety of the
product.
Please be sure to loosen bundle cords of the power cable before using, to avoid electromagnetic
induction and heating, thus increasing the heat dissipation speed.
Please be sure not to use the product equipment or socket or other places in high or easy to fall, so
as to avoid damage.
Before opening the socket power supply, please be sure to turn off the load power switch of the
product equipment.
The company reserves the rights to improve product, upgrade technology and change parameters
without prior notice.
1. In order to protect the legitimate rights and interests of users, please carefully read the
instructions, disclaimers and safety instructions provided with this product before using it. The company
reserves the right to update the above documents. Please operate the product
according to the instructions and safety instructions.
2. Once you begin to use the product, you shall be deemed to have read, understood,
recognized and accepted all terms and contents of the product's instructions, disclaimers and
safety instructions. Users undertake to be responsible for their actions and all consequences.
User undertakes to use the product only for legitimate purposes and agrees to these terms and
any relevant policies or guidelines that the company may establish.
3. In the process of using this product, please strictly abide by and execute the requirements
including but not limited to the instructions and safety instructions. All personal injuries,
accidents, property losses, legal disputes and other adverse events that cause conflicts of
interest caused by violation of the safety instructions or irresistible factors shall be borne by
users themselves, and the company shall not assume any responsibility.
4. Safety instructions:
Chapter 7 Disclaimer

LANOPTIK TECHNOLOGIES LTD
No. 72 Hongjing Street, Lejia Road, Baiyun District, Guangzhou, China. 510400
Phone: +86 20 3898 6017 | Fax: +86 20 3847 6076
Website: http://www.lanoptik.com | Email: info@lanoptik.com
Specifications are subject to change without any obligation on the part of the manufacturer.
This manual suits for next models
1
Table of contents
Other Lanoptik Digital Camera manuals

Lanoptik
Lanoptik HDMI-800M User manual

Lanoptik
Lanoptik CA800 Series User manual

Lanoptik
Lanoptik JX Series User manual

Lanoptik
Lanoptik MC Series User manual

Lanoptik
Lanoptik HE Series User manual

Lanoptik
Lanoptik MC500W-G1 User manual

Lanoptik
Lanoptik HW Series User manual

Lanoptik
Lanoptik HC4K User manual

Lanoptik
Lanoptik HD1210 Series User manual
Popular Digital Camera manuals by other brands

Kodak
Kodak M341 - EASYSHARE Digital Camera user guide

Viewpro
Viewpro Z-Fusion pro user manual

Global Point Products
Global Point Products X Games Clipster user manual

OPLENIC
OPLENIC Pro-MicroScan user manual

HoverCam
HoverCam AirStation quick start guide

Panasonic
Panasonic LUMIX DMC-FX40 Basic operating instructions