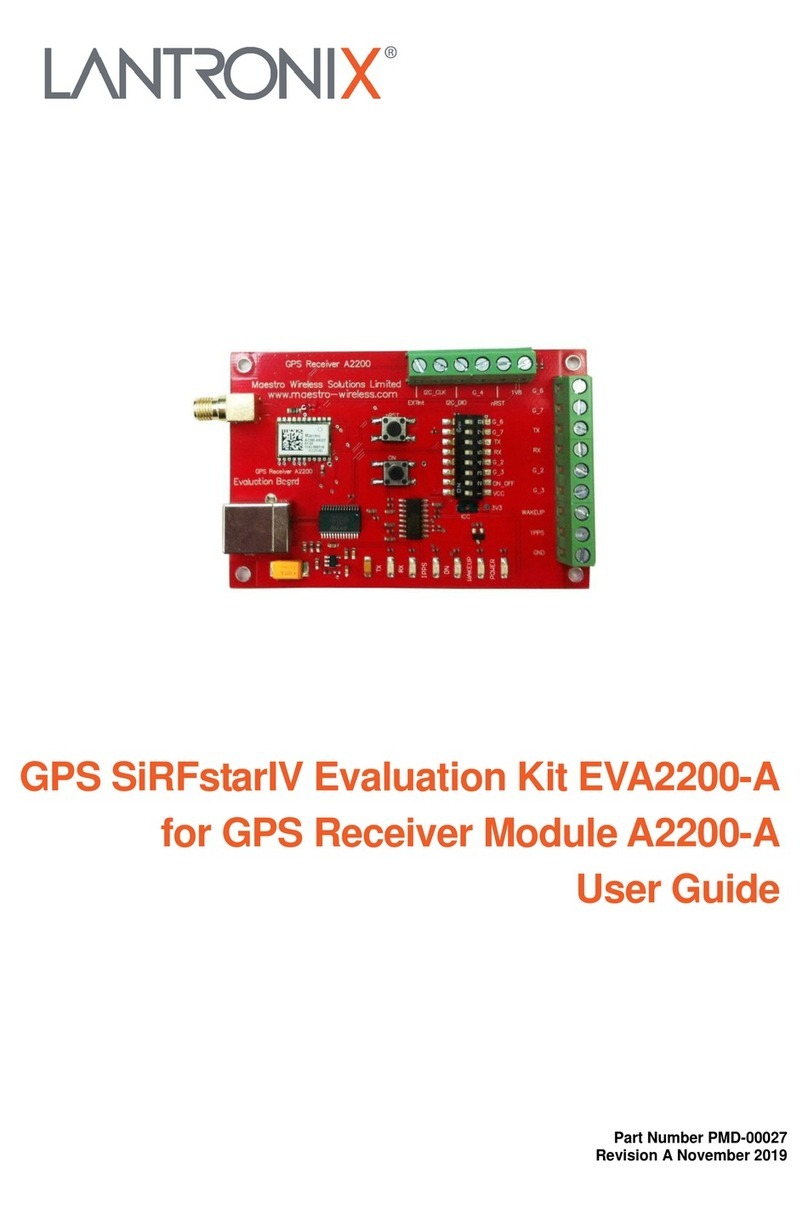
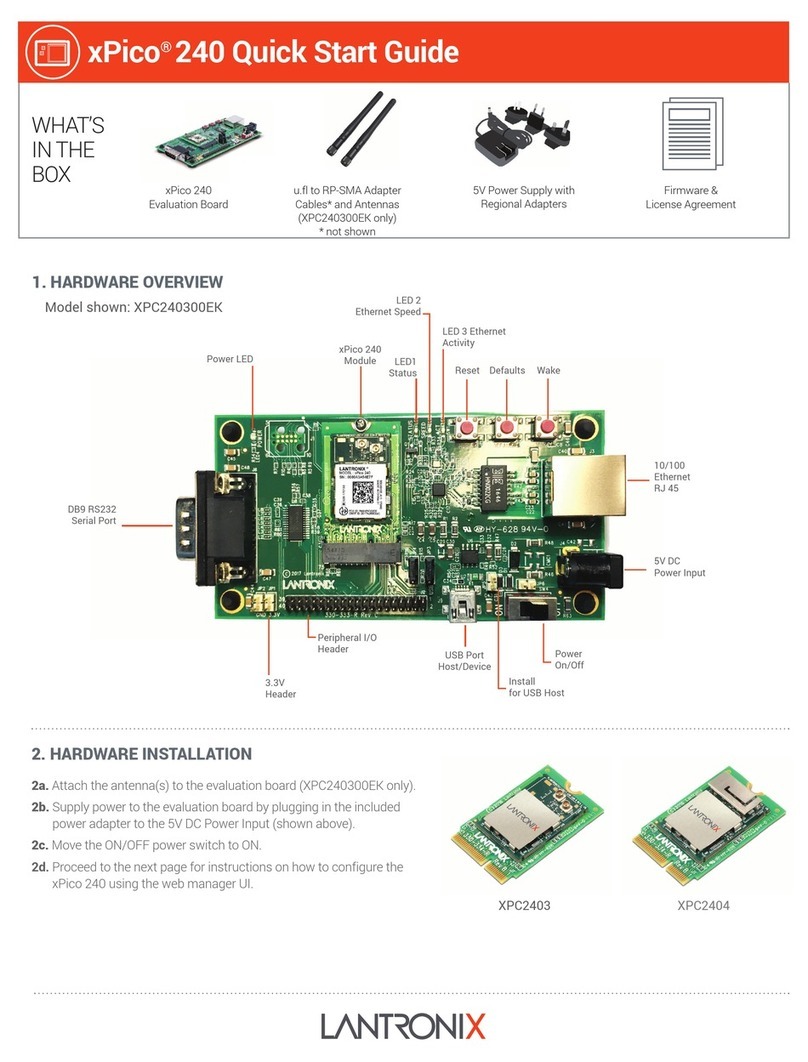
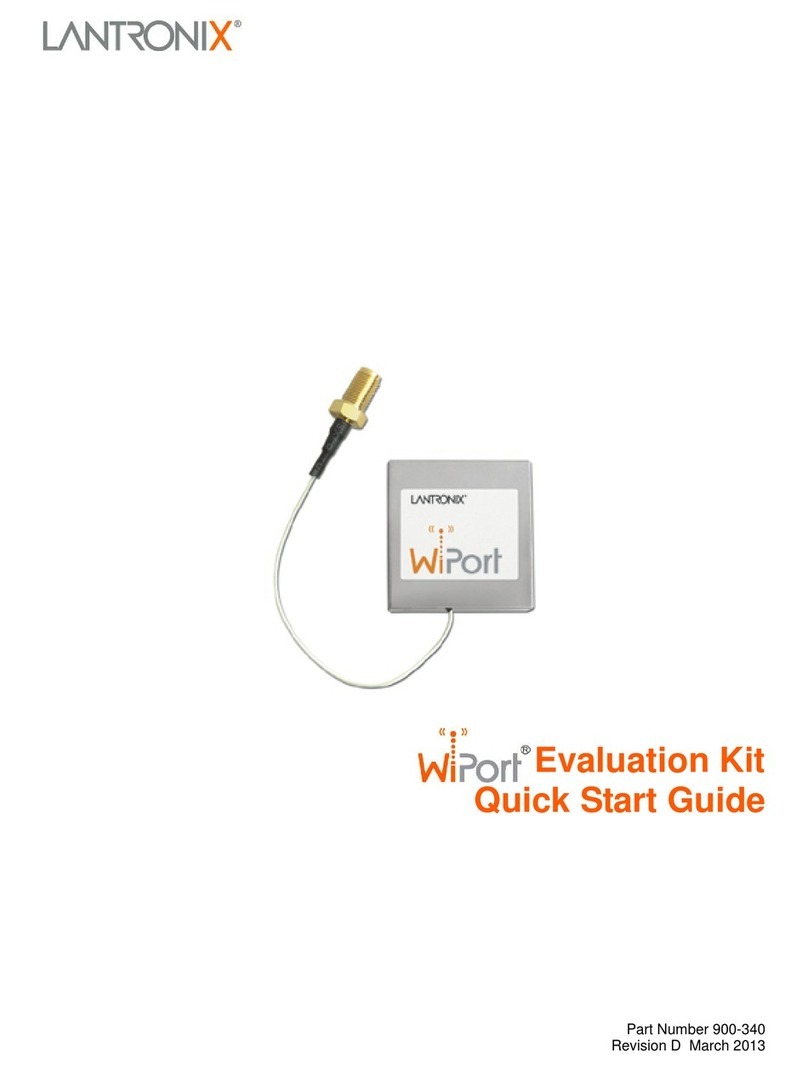
Lantronix PremierWave User manual

Part Number 900-582
Revision A January 2011
PremierWave™
Evaluation Board Quick Start

PremierWave Evaluation Board Quick Start 2
Copyright and Trademark
© 2011 Lantronix. All rights reserved. No part of the contents of this book may be transmitted or
reproduced in any form or by any means without the written permission of Lantronix. Printed in
the United States of America.
Ethernet is a trademark of XEROX Corporation. Windows is a trademark of Microsoft
Corporation.
Contacts
Lantronix Corporate Headquarters
167 Technology Drive
Irvine, CA 92618, USA
Phone: 949-453-3990
Fax: 949-450-7249
Technical Support
Online: www.lantronix.com/support
Sales Offices
For a current list of our domestic and international sales offices go to the Lantronix web site at
www.lantronix.com/about/contact.
Disclaimer and Revisions
This equipment has been tested and found to comply with the limits for a Class B digital device,
pursuant to Part 15 of the FCC Rules. These limits are designed to provide reasonable protection
against harmful interference in a residential installation. This equipment generates, uses, and can
radiate radio frequency energy and, if not installed and used in accordance with the instructions,
may cause harmful interference to radio communications. However, there is no guarantee that
interference will not occur in a particular installation. If this equipment does cause harmful
interference to radio or television reception, which can be determined by turning the equipment
off and on, the user is encouraged to try to correct the interference by one of the following
measures:
♦Reorient or relocate the receiving antenna.
♦Increase the separation between the equipment and receiver.
♦Connect the equipment into an outlet on a circuit different from that to which the receiver is
connected.
♦Consult the dealer or an experienced radio/TV technician for help.
This device complies with Part 15 of the FCC Rules. Operation is subject to the following two
conditions: (1) This device may not cause harmful interference, and (2) this device must accept
any interference received, including interference that may cause undesired operation. This device
is intended only for OEM Integrators.
Revision History
Date
Rev.
Comments
January 2011
A
Initial Document.
For the latest revision of this product document, please check our online documentation at
www.lantronix.com/support/documentation.

PremierWave Evaluation Board Quick Start 3
Table of Contents
Copyright and Trademark ____________________________________________________ 2
Contacts__________________________________________________________________ 2
Disclaimer and Revisions ____________________________________________________ 2
Revision History____________________________________________________________ 2
Introduction _______________________________________________________________ 4
Evaluation Board Contents ___________________________________________________ 4
Development Kit Contents____________________________________________________ 4
What You Need to Know_____________________________________________________ 5
Hardware Address ______________________________________________________ 5
IP Address_____________________________________________________________ 5
Connecting a PremierWave Device—Network Method _____________________________ 6
Option 1: Wired connection via Ethernet __________________________________ 6
Option 2: Wireless connection via Access Point or Wireless Router_____________ 6
Option 3: Wireless connection via Wireless card (factory default)_______________ 7
Connecting a PremierWave Device—Serial Method________________________________ 8
Installing DeviceInstaller _____________________________________________________ 8
Assigning an IP Address _____________________________________________________ 8
Configure Your PremierWave Device __________________________________________ 10
For the CLI Access via Telnet Configuration _________________________________ 10

Introduction
PremierWave Evaluation Board Quick Start 4
Introduction
Thank you for purchasing the PremierWave Evaluation Board or Development Kit from Lantronix.
This Quick Start guide describes the procedures for initial connection to the PremierWave device
through either a network connection or serial port.
Once a connection is established you can use the command line interface (CLI) for configuration
and control.
Evaluation Board Contents
♦PremierWave Evaluation Board
♦12V wall-mount power supply AC/DC, 1A
Development Kit Contents
♦PremierWave Evaluation Board
♦12V-wall-mount power supply AC/DC, 1A
♦Ethernet cable 10 ft
♦Type-A to Mini Type-B USB cable
♦RS-232, DB9F/F, 10 ft, null modem cable
♦Antenna - 2.4 GHz/5 GHz 2.15 dbi reverse polarity SMA.
♦SMA to UFL adapter cable
Note: The PremierWave device must be purchased separately.

What You Need to Know
PremierWave Evaluation Board Quick Start 5
What You Need to Know
Hardware Address
You need to know the unit hardware address (also known as MAC address) to identify the unit in
the Device Installer search list. It is on the product label in the format:
XX-XX-XX-XX-XX-XX, where the XXs are unique numbers assigned to the product.
The product label denotes the hardware MAC address for the Wired Ethernet interface for
PremierWave. The hardware MAC address for the WLAN interface is the next MAC address in
the sequence.
Eg. If product label hardware MAC address is 00:20:4A:9D:01:80, then the WLAN MAC address
is 00:20:4A:9D:01:81.
Hardware Address (Ethernet): _____-_____-_____-_____-_____-_____
Hardware Address (WLAN): _____-_____-_____-_____-_____-_____
IP Address
Your PremierWave will need a unique IP address on your network. By default, the PremierWave
device is assigned an IP address by your DHCP server. If no DHCP server is available, the
PremierWave will generate an AutoIP address (169.254.xxx.xxx).
If you are planning to use a static IP address, make note of it. The system administrator generally
provides the IP address, subnet mask, and gateway. The IP address must be within a valid
range, unique to your network, and in the same subnet as your PC.
IP Address: _______ _______ _______ _______
Subnet Mask: _______ _______ _______ _______
Gateway: _______ _______ _______ _______
Note: The factory default mode for PremierWave EN keeps the Wireless LAN interface
enabled and the Ethernet interface disabled. The IP settings above get applied to the
active interface (WLAN interface – factory default mode).

Connecting a PremierWave Device—Network Method
PremierWave Evaluation Board Quick Start 6
Connecting a PremierWave Device—Network Method
Choose the desired connection method for your PremierWave, and then follow the instructions in
the corresponding section. You have three options for connecting to PremierWave:
1. Wired connection via Ethernet cable.
2. Wireless connection via Wireless router (Infrastructure)
3. Wireless connection via Wireless card (Adhoc – factory default)
Option 1: Wired connection via Ethernet
1. Connect the PC to the PremierWave Evaluation Board with a cross-over cable or a
hub/switch and two RJ45 cables. Make sure there is no router between the PC and the
Evaluation Board.
2. Select the appropriate power plug adaptor for your geographical location. Insert it into the slot
on the Universal Power Supply; then plug the power supply into an outlet.
3. Connect the output plug of the power supply to the PremierWave Evaluation Board.
4. Move the power switch on the Evaluation Board to ON.This is the last step in 'connection.'
The PremierWave is ready for configuration.
5. Continue with Install DeviceInstaller on page 8
Option 2: Wireless connection via Access Point or Wireless Router
.
1. Ensure the PC communicates with the access point (AP) or wireless router (WR) and that the
AP or WR is running correctly.
2. Ensure the PC is on the LAN (not the WAN) side of the AP or WR.
3. Make sure there is no other router between the PC and the AP or WR.
4. Change the AP or WR configuration as follows:
a. Set the Network name (SSID) to the Lantronix Initial Infra Network.
b. Disable all wireless security (no encryption, no/open authentication).

Connecting a PremierWave Device—Network Method
PremierWave Evaluation Board Quick Start 7
5. Select the appropriate power plug adaptor for your geographical location. Insert it into the slot
on the Universal Power Supply; then plug the power supply into an outlet.
6. Connect the output plug of the power supply to the PremierWave Evaluation Board.
7. Move the power switch on the Evaluation Board to ON. This is the last step in 'connection.'
The PremierWave is ready for configuration.
8. Continue with Install DeviceInstaller on page 8
Option 3: Wireless connection via Wireless card (factory default)
.
1. Ensure the wireless card is running correctly. Change the wireless card configuration as
follows:
a. Set Network name (SSID) to Lantronix Initial Adhoc Network.
b. Select AdHoc/Peer-to-Peer Mode network.
c. Disable all wireless security (no encryption, no/open authentication).
2. Select the appropriate power plug adaptor for your geographical location. Insert it into the
slot on the Universal Power Supply; then plug the power supply into an outlet.
3. Connect the output plug of the power supply to the Evaluation Board. The final setup should
look like this:
4. Move the power switch on the Evaluation Board to ON.This is the last step in 'connection.'
The PremierWave is ready for configuration.
5. Continue with Install DeviceInstaller on page 8
.

Connecting a PremierWave Device—Serial Method
PremierWave Evaluation Board Quick Start 8
Connecting a PremierWave Device—Serial Method
In the event that the equipment required for a network
connection is not available for the initial configuration
of PremierWave, the serial method can be used.
1. Connect one end of the supplied DB9F/F serial
cable to the serial port on the laptop or desktop.
2. Connect the other end of the supplied DB9F/F
serial cable to Port 1 on the PremierWave
Evaluation Board.
3. Select the appropriate power plug adaptor for your
geographical location. Insert it into the slot on the
Universal Power Supply; then plug the power
supply into an outlet.
4. Connect the output plug of the power supply to
the PremierWave Evaluation Board.If the final
serial connection setup looks like the image to the
right, PremierWave is ready for configuration.
5. Refer to the PremierWave User Guide for
information on configuring the PremierWave using
this method.
Installing DeviceInstaller
Use DeviceInstaller to configure the IP address and other network parameters.
Note: You will need a Windows PC running Lantronix DeviceInstaller 4.3.0.2 or higher.
1. Download the latest version of DeviceInstaller from www.lantronix.com/downloads.
2. Run the executable to start the installation process
3. Respond to the installation wizard prompts. (If prompted to select an installation type, select
Typical.)
Note: For more information about DeviceInstaller, see the DeviceInstaller Online Help.
Assigning an IP Address
The unit IP address is set for DHCP by default at the factory. The hardware address is on the
product label. Assign a static IP address if you do not want the network to assign an IP address to
the PremierWave or do not have a DHCP server on the network.
1. Click StartPrograms LantronixDeviceInstallerDeviceInstaller. If your PC has more
than one network adapter, a message appears. Select an adapter and click OK.
2. Click the Search icon and select the unit from the list of Lantronix device servers on the local
network. (In case no DHCP server is available, it can take 30 seconds before an AutoIP
address is generated and the unit is detectable).
3. Click the Assign IP icon .
Assigning an IP Address
PremierWave Evaluation Board Quick Start 9
4. Select Assign a specific IP address and click Next.
5. Enter the IP address.
The Subnet mask appears automatically based on the IP address.
You may change it. On a local network, you can leave the Default gateway blank (all zeros).
6. Click Next.
7. Click Assign and wait several seconds until a confirmation message appears.
8. Click Finish.
9. Select the PremierWave from the main window list and click ToolsPing. The results
appear in the Status area.

Configure Your PremierWave Device
PremierWave Evaluation Board Quick Start 10
10. Click Clear Status to clear the window to ping the device again.
Note: If you do not receive “Reply” messages, ensure the IP address assigned is valid for
the particular network segment you are working with. For a wireless unit, ensure the
PremierWave is visible on the network created by the laptop or desktop PC’s wireless
card.
11. Click Close.
Configure Your PremierWave Device
From DeviceInstaller, it is easy to access the CLI or the Telnet Configuration tab to configure the
PremierWave. For detailed information on configuration, see the PremierWave User Guide and
the PremierWave Command Reference.
For the CLI Access via Telnet Configuration
1. In DeviceInstaller, select the Unit and then the Telnet Configuration tab.
2. Press the Go icon. The Lantronix CLI shell appears.
3. Enter your User Name and Password and click OK. The default user name is admin and
the default password is PASS.
4. Use the CLI commands to configure the device.
5. Commit any changes with the write command.
Other manuals for PremierWave
2
Table of contents
Other Lantronix Motherboard manuals

Lantronix
Lantronix xPico User manual

Lantronix
Lantronix xPico 240 User manual

Lantronix
Lantronix xPico 110 User manual

Lantronix
Lantronix SiRFstarIV EVA2200-A User manual

Lantronix
Lantronix xPico 250 User manual

Lantronix
Lantronix PremierWave User manual

Lantronix
Lantronix xPico 110 User manual

Lantronix
Lantronix MatchPort Series User manual

Lantronix
Lantronix WiPort User manual

Lantronix
Lantronix PNT-SG3FS-EVAL User manual