manuals.online logo
Brands
  1. Home
  2. •
  3. Brands
  4. •
  5. Larson Electronics
  6. •
  7. Controllers
  8. •
  9. Larson Electronics SP-CHR-12.24V-20A User manual

Larson Electronics SP-CHR-12.24V-20A User manual

SP-CHR-12.24V-20A
Larson Electronics, LLC Phone: (800) 369-6671 Fax: (903) 498-3364 www.larsonelectronics.com 1of 3
20A Solar Charged Controller
(2) USB Ports - 12V/24V Charger - LCD Display
Instruction Manual
Thank you for your purchase of the Larson Electronics SP-CHR-12.24V-20A.
WARNING:
READ CAREFULLY BEFORE INSTALLING FIXTURE. RETAIN THESE INSTRUCTIONS FOR FUTURE REFERENCE.
CRITICAL SAFETY INSTRUCTIONS:
•INSTALLATION SHOULD ONLY BE CONDUCTED BY A QUALIFIED ELECTRICIAN IN ACCORDANCE WITH NEC AND ANY
RELEVANT LOCAL BUILDING CODES.
•RISK OF FIRE OR ELECTRIC SHOCK. FIXTURE INSTALLATION REQUIRES KNOWLEDGE OF LUMINAIRES ELECTRICAL
SYSTEMS. IF NOT QUALIFIED, CONTACT A QUALIFIED ELECTRICIAN.
•BE CERTAIN ELECTRICAL POWER IS OFF BEFORE AND DURING INSTALLATION AND MAINTENANCE.
•MAKE SURE THE SUPPLY VOLTAGE IS THE SAME AS THE RATED LUMINAIRE FIXTURES VOLTAGE.
•TO PREVENT WIRING DAMAGE OR ABRASION, DO NOT EXPOSE WIRING TO EDGES OF SHEET METAL OR SHARP
OBJECTS. SUITABLE FOR DAMP LOCATIONS.
SAFETY INSTRUCTIONS
1. Make sure the battery connected to the unit has enough voltage for the controller to recognize the battery type
before first installation.
2. The battery cable should be as short as possible to minimize loss.
3. The regulator is only suitable for lead acid batteries: OPEN, AGM, GEL is not suited for nickel hydride, lithium ions
or other batteries.
4. The charge regulator is only suitable for regulating solar modules.
Never connect another charging source to the charge regulator.
The purpose of this multifunctional solar charge/discharge controller is to protect the voltage overshoot and discharge.
When sunshine is absent, the light intensity decreases. The controller will recognize the starting signal after 6 minutes and
the load will start to work according to the set parameter. When there is sunshine, the light intensity rises and the
controller recognizes the close signal after 6 minutes and the load will stop working.
MENU
UP
DOWN/ON/
OFF
LCD DISPLAY/KEY
MENU: Switch between different display, or to enter/exit setting by long press.
UP: Press to increase value.
DOWN: Press to decrease value.
SP-CHR-12.24V-20A
Larson Electronics, LLC Phone: (800) 369-6671 Fax: (903) 498-3364 www.larsonelectronics.com 2of 3
SYSTEM CONNECTION
1. Connect the battery to the charge regulator - plus and
minus.
2. Connect the photovoltaic module to the regulator - plus and
minus.
3. Connect the consumer to the charge regulator - plus and
minus.
The reverse order applies when uninstalling. An
improper sequence order can damage the
controller.
DISPLAY /SETTINGS
main display float voltage
Browsing
interface
Press MENU to browse
different interface.
battery type
Set parameter
discharge reconnect
In interface2-5,long
press MENU to enter
setting,and using[UP]
[DOWN] to set the
parameter,long press
MENU again to exit.
Long press [DOWN] to
restore parameter.
work mode discharge stop
1. Press the DOWN button to ON/OFF load manually
at main display.
2. The Work Mode is working as below:
24H
1-23H
0H
Load output 24 Hours.
Load on after sunset and closed
after setting hours.
Dusk to dawn.
TROUBLESHOOTING
Situation Probable cause Solution
Charge icon not on
when sunny
Solar panel opened
or reversed
Reconnect
Load icon off Mode setting wrong Set again
Battery low recharge
Load icon slow flashing
Over load Reduce load watt
Load icon slow flashing Short circuit protection
Auto reconnect
Power off
Battery too low/reverse Check battery/connection
SP-CHR-12.24V-20A
Larson Electronics, LLC Phone: (800) 369-6671 Fax: (903) 498-3364 www.larsonelectronics.com 3of 3
MODEL
KLD1210 KLD1220 KLD1230 KLD4820 KLD4830
Batt voltage 12V/24V auto 48V
Charge current 10A 20A 30A 20A 30A
Discharge current 10A 20A 30A 20A 30A
Max Solar input <50V <80V
Equalization
B01 sealed B02 Gel B03 flood
14.4V 14.2V 14.6V
Float charge 13.7V(defaul,adjustable)
Discharge stop 10.7V(defaul,adjustable)
Discharge reconnect
12.6V(defaul,adjustable)
USB output 5V/3A
Self-consume <10mA
Operating temperature
-35~+60 ℃
Size/Weight 150*78*35mm /150g
TECHNICAL PARAMETER
USE AND CARE
Unauthorized modification may impair the function and/or safety of this device and could affect the life of the equipment.
Always check for damaged or worn out parts before using the device. Store it in a secure place out of the reach of
children when not in use.Inspect for good working condition prior to storage and before re-use.
REPLACEMENT PARTS
The SP-CHR-12.24V-20A is designed to provide years of reliable performance. Should the need for replacement parts
arise, please contact Larson Electronics.
THESE INSTRUCTIONS MAY NOT COVER ALL DETAILS OR VARIATIONS OF THIS PRODUCT FOR YOUR EQUIPMENT OR INSTALLATION REQUIREMENTS.
SHOULD FURTHER INFORMATION NOT COVERED BY THESE INSTRUCTIONS BE REQUIRED, PLEASE CONTACT LARSON ELECTRONICS BY EMAIL AT
SALES@LARSONELECTRONICS.COM OR BY PHONE AT 1-800-369-6671 FOR FURTHER ASSISTANCE.
PLEASE VISIT LARSONELECTRONICS.COM FOR WARRANTY AND RETURN INFORMATION.

Other Larson Electronics Controllers manuals

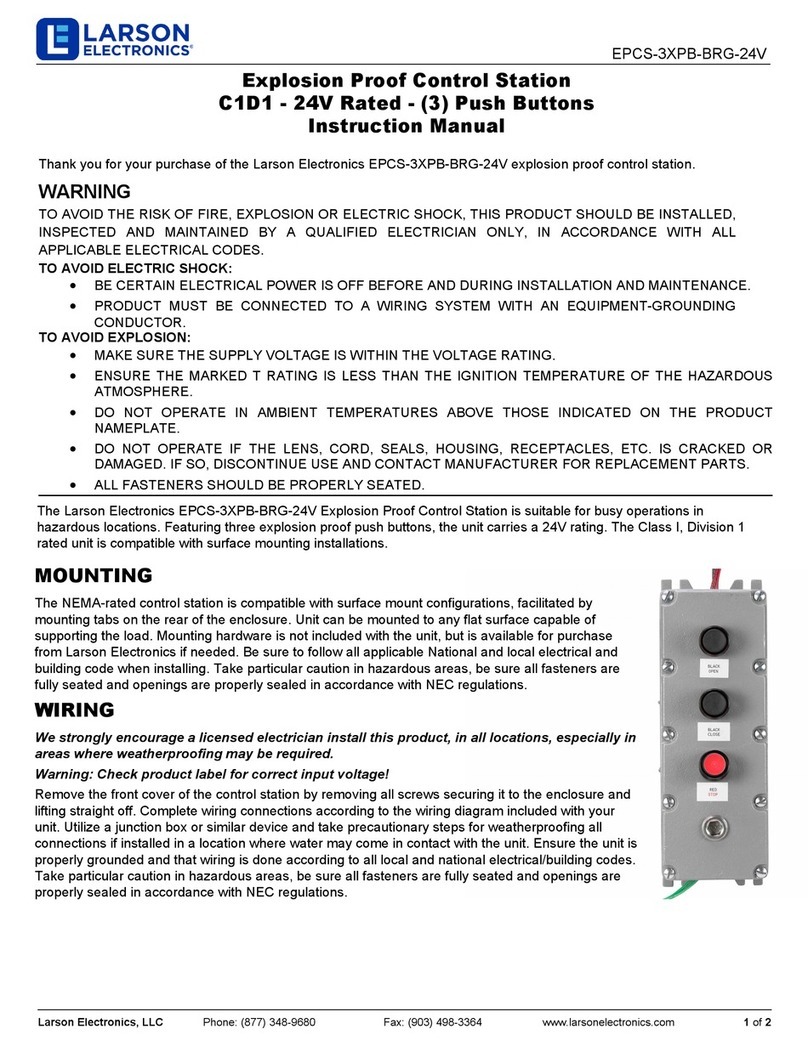
Larson Electronics EPCS-3XPB-BRG-24V User manual

Larson Electronics

Larson Electronics EPCS-3XPB-BRG-24V User manual

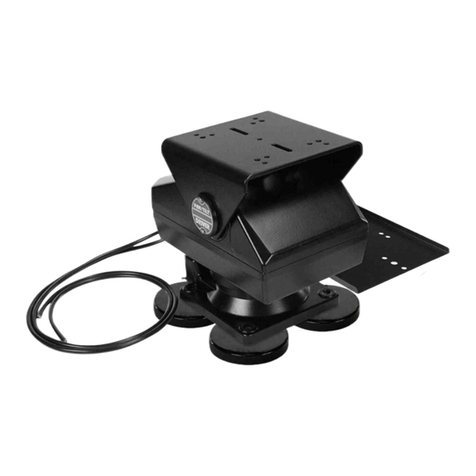
Larson Electronics PTB-1-M-30C-4C User manual

Larson Electronics

Larson Electronics PTB-1-M-30C-4C User manual

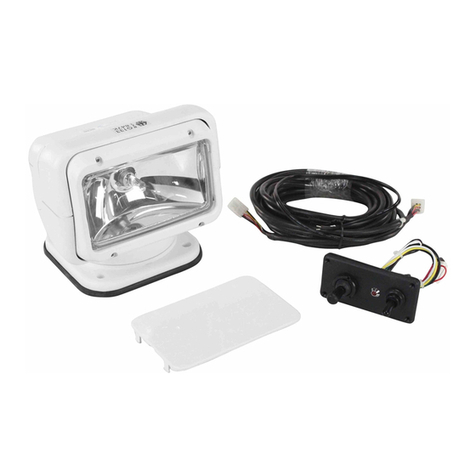
Larson Electronics Golight 2020 User manual

Larson Electronics

Larson Electronics Golight 2020 User manual

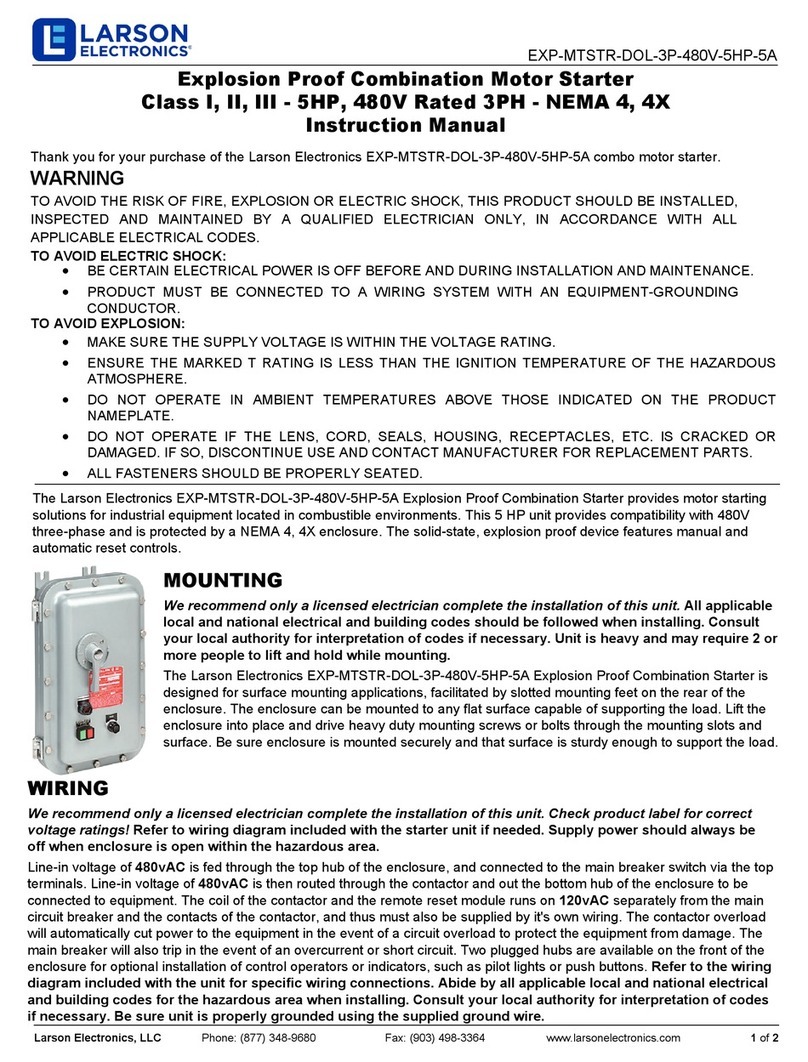
Larson Electronics EXP-MTSTR-DOL-3P-480V-5HP-5A User manual

Larson Electronics

Larson Electronics EXP-MTSTR-DOL-3P-480V-5HP-5A User manual

Popular Controllers manuals by other brands

red lion CSMSTR manual

red lion

red lion CSMSTR manual

MICROMATIC PREMIUMPLUS Instruction

MICROMATIC

MICROMATIC PREMIUMPLUS Instruction

Corsair COMMANDER PRO installation guide

Corsair

Corsair COMMANDER PRO installation guide

MB QUART GMR-LED Operator's guide

MB QUART

MB QUART GMR-LED Operator's guide

Digistar EZ3600 Getting started

Digistar

Digistar EZ3600 Getting started

Delta RMC200 Startup guide

Delta

Delta RMC200 Startup guide

Hobby-Wing FLYFUN 40A V5 user manual

Hobby-Wing

Hobby-Wing FLYFUN 40A V5 user manual

K-Rain BLUE Instructions for use

K-Rain

K-Rain BLUE Instructions for use

SainSonic CMP12 user manual

SainSonic

SainSonic CMP12 user manual

thermastor Quest DEH 3000 Installation,operation and maintenance instruction

thermastor

thermastor Quest DEH 3000 Installation,operation and maintenance instruction

Hi-Tec B1 quick start guide

Hi-Tec

Hi-Tec B1 quick start guide

Iron logic Matrix III NET user manual

Iron logic

Iron logic Matrix III NET user manual

IMG STAGE LINE CU-6DMX quick guide

IMG STAGE LINE

IMG STAGE LINE CU-6DMX quick guide

PULSEEIGHT ProAudio-8 quick start guide

PULSEEIGHT

PULSEEIGHT ProAudio-8 quick start guide

Show Tec PLE-30-080 manual

Show Tec

Show Tec PLE-30-080 manual

NovaStar MX40 Pro user manual

NovaStar

NovaStar MX40 Pro user manual

Kieback&Peter BMR410 Product description

Kieback&Peter

Kieback&Peter BMR410 Product description

Meanwell DUPS20 installation manual

Meanwell

Meanwell DUPS20 installation manual

manuals.online logo
manuals.online logoBrands
  • About & Mission
  • Contact us
  • Privacy Policy
  • Terms and Conditions

Copyright 2025 Manuals.Online. All Rights Reserved.