www.lasertools.co.uk
• Ensure that all operators have read and understood these instructions.
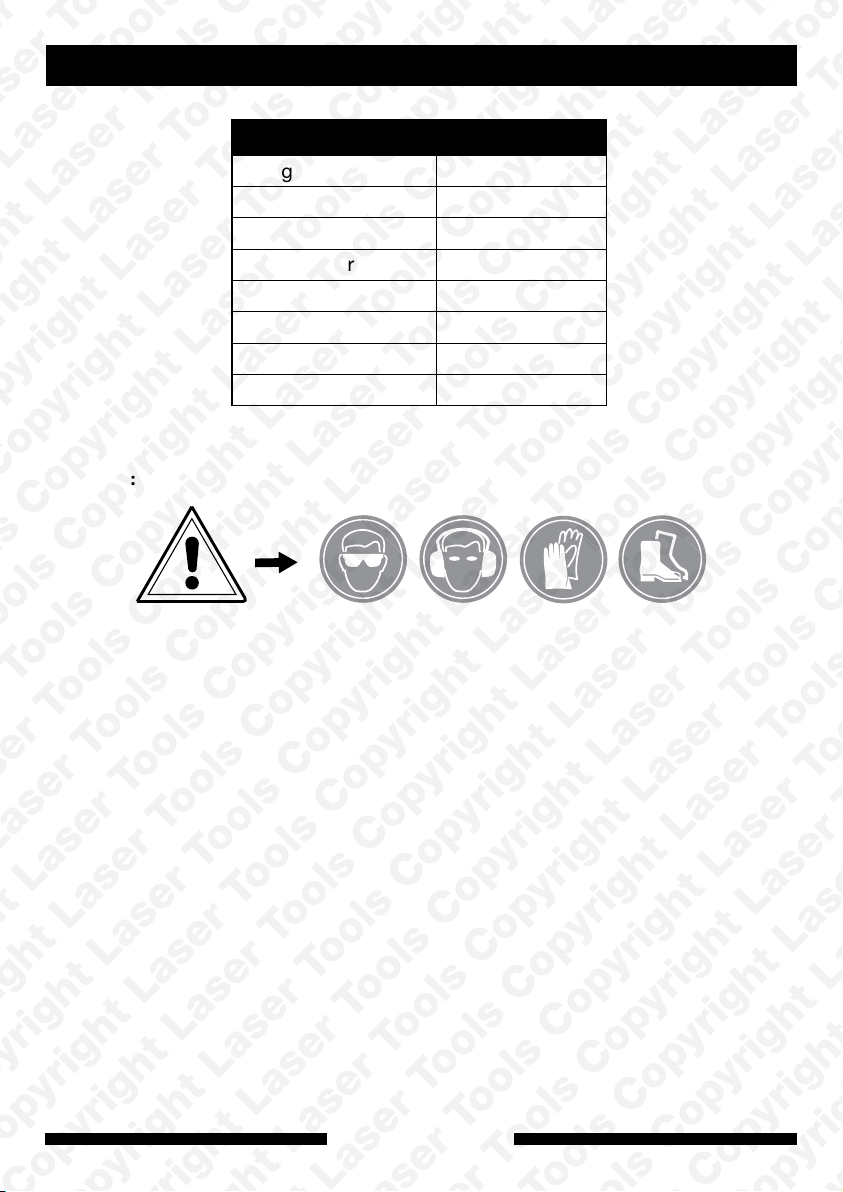
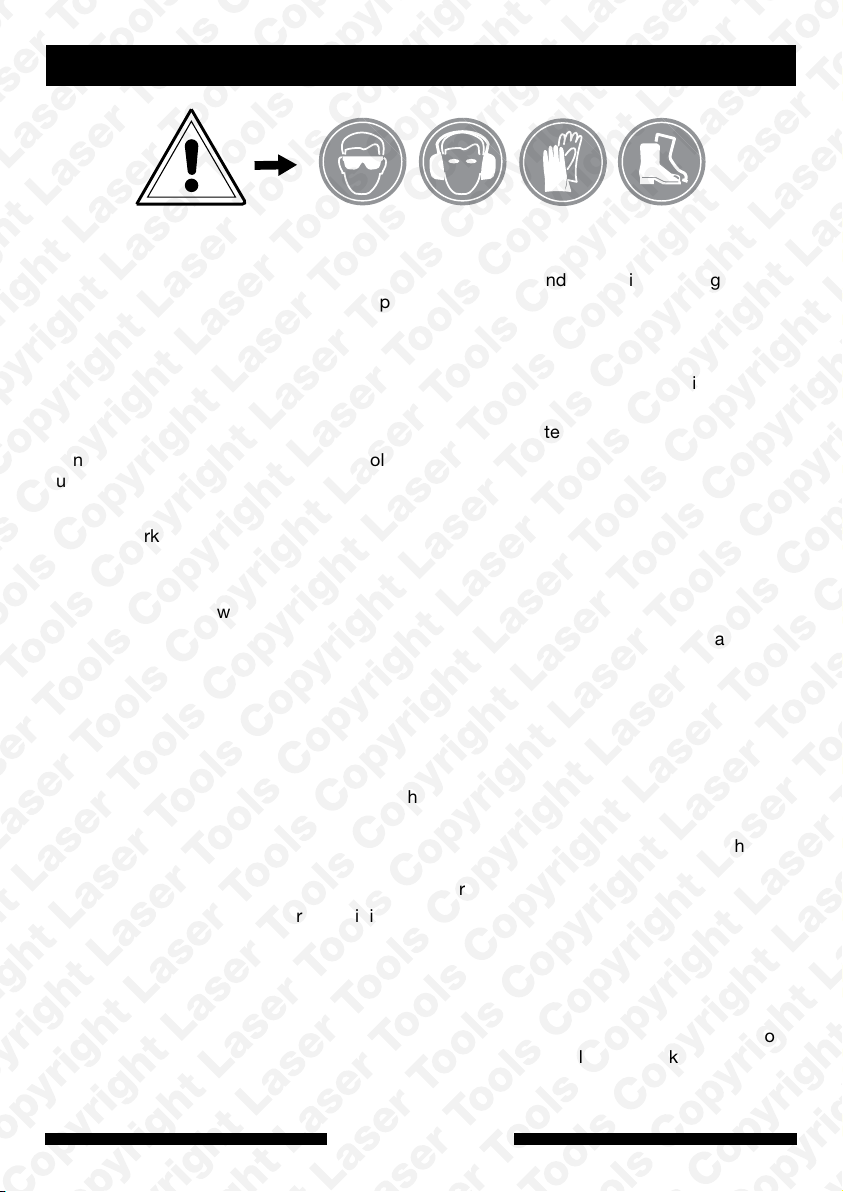
• Wear approved PPE: eye protection, ear defenders, gloves and protective clothing. If the
screwdriving task generates dust, wear a particle mask.
• Ensure no loose clothing, ties, watches, jewellery, etc. Contain long hair.
• Keep work area clean, tidy and free for any obstructions. Ensure adequate lighting.
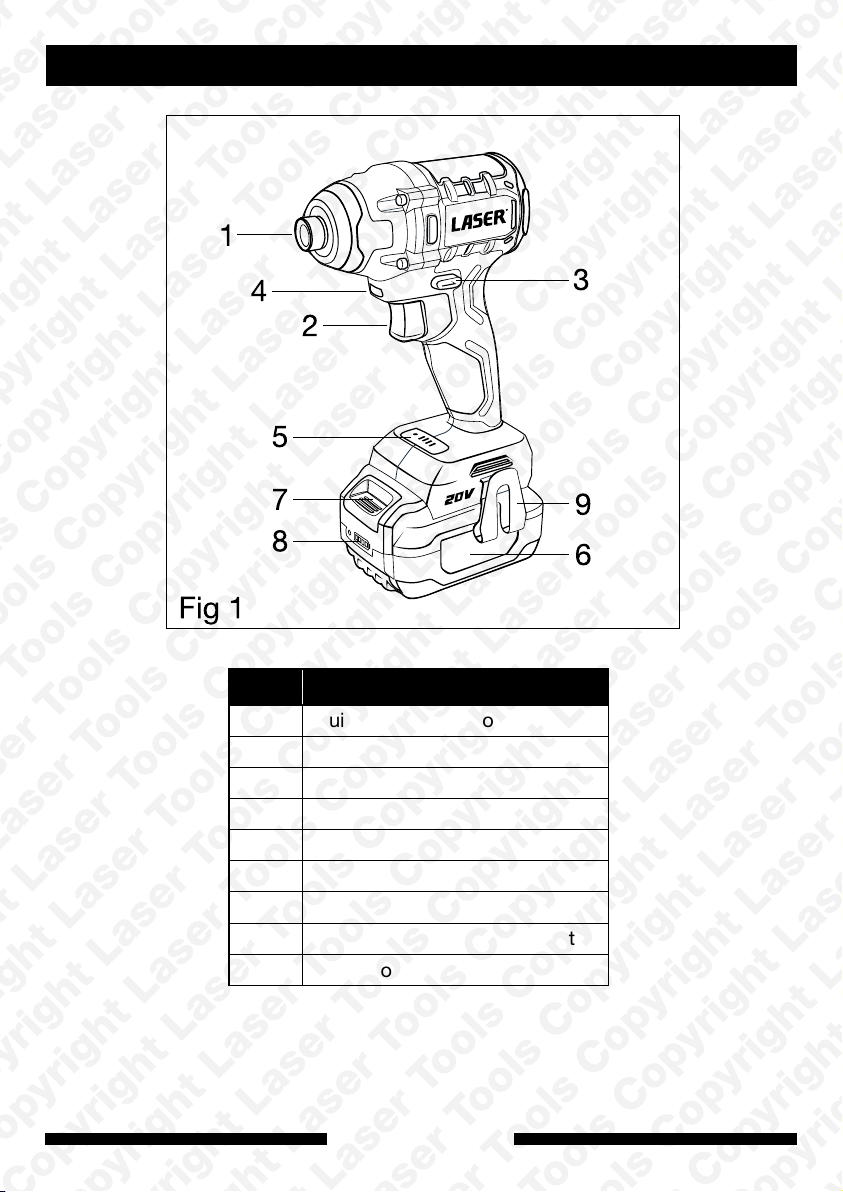
• Refer to specific instructions included with battery and battery charger for details of fitting
the battery pack to the tool and charging method.
• Always remove the battery pack before performing any maintenance.
• Only use quick-chuck type bits or bit holder. Do not use standard bits without the suitable
quick-chuck holder.
• Note: In impact mode, use with suitable impact-grade bits only.
• Ensure workpiece cannot move around — mount in a vice or secure with clamps if
necessary.
• Do not carry the screwdriver with your finger on the trigger.
• Do not use the screwdriver if it is damaged or parts are missing.
• Do not operate the screwdriver in the presence of flammable material, liquids or gases.
• Do not let the air vents on the screwdriver become clogged with dirt or covered in any way;
this will cause overheating.
• Do not let the screwdriver get wet or use in damp or wet conditions.
• Do not use the screwdriver as a fixed tool (for example, mounted in a vice).
• When not in use, remove the battery pack and store in dry, secure conditions.
• Keep the Forward / Reverse selector (3) in the centre LOCK position until the screwdriver is
required for use.
• Keep the tool clean at all times. Always wear eye protection and protective gloves when
cleaning the tool. For cleaning use a dry cloth and soft brush. Water must never come in
contact with the tool. Use clean, dry compressed air to blow through the air vents.
• Do not use the screwdriver for tasks it is not designed for. Use the product correctly and
with care. Failure to do so may cause damage and/or personal injury and will invalidate the
warranty.
WARNING: Risk of hand and arm vibration injury. The operator (or employer) will need to
carry out a health and safety risk assessment to determine a suitable duration for the use of
the tool. This will be affected by the operator, the task, the material of the workpiece, and
condition of tool.
Safety Warnings - please read
7