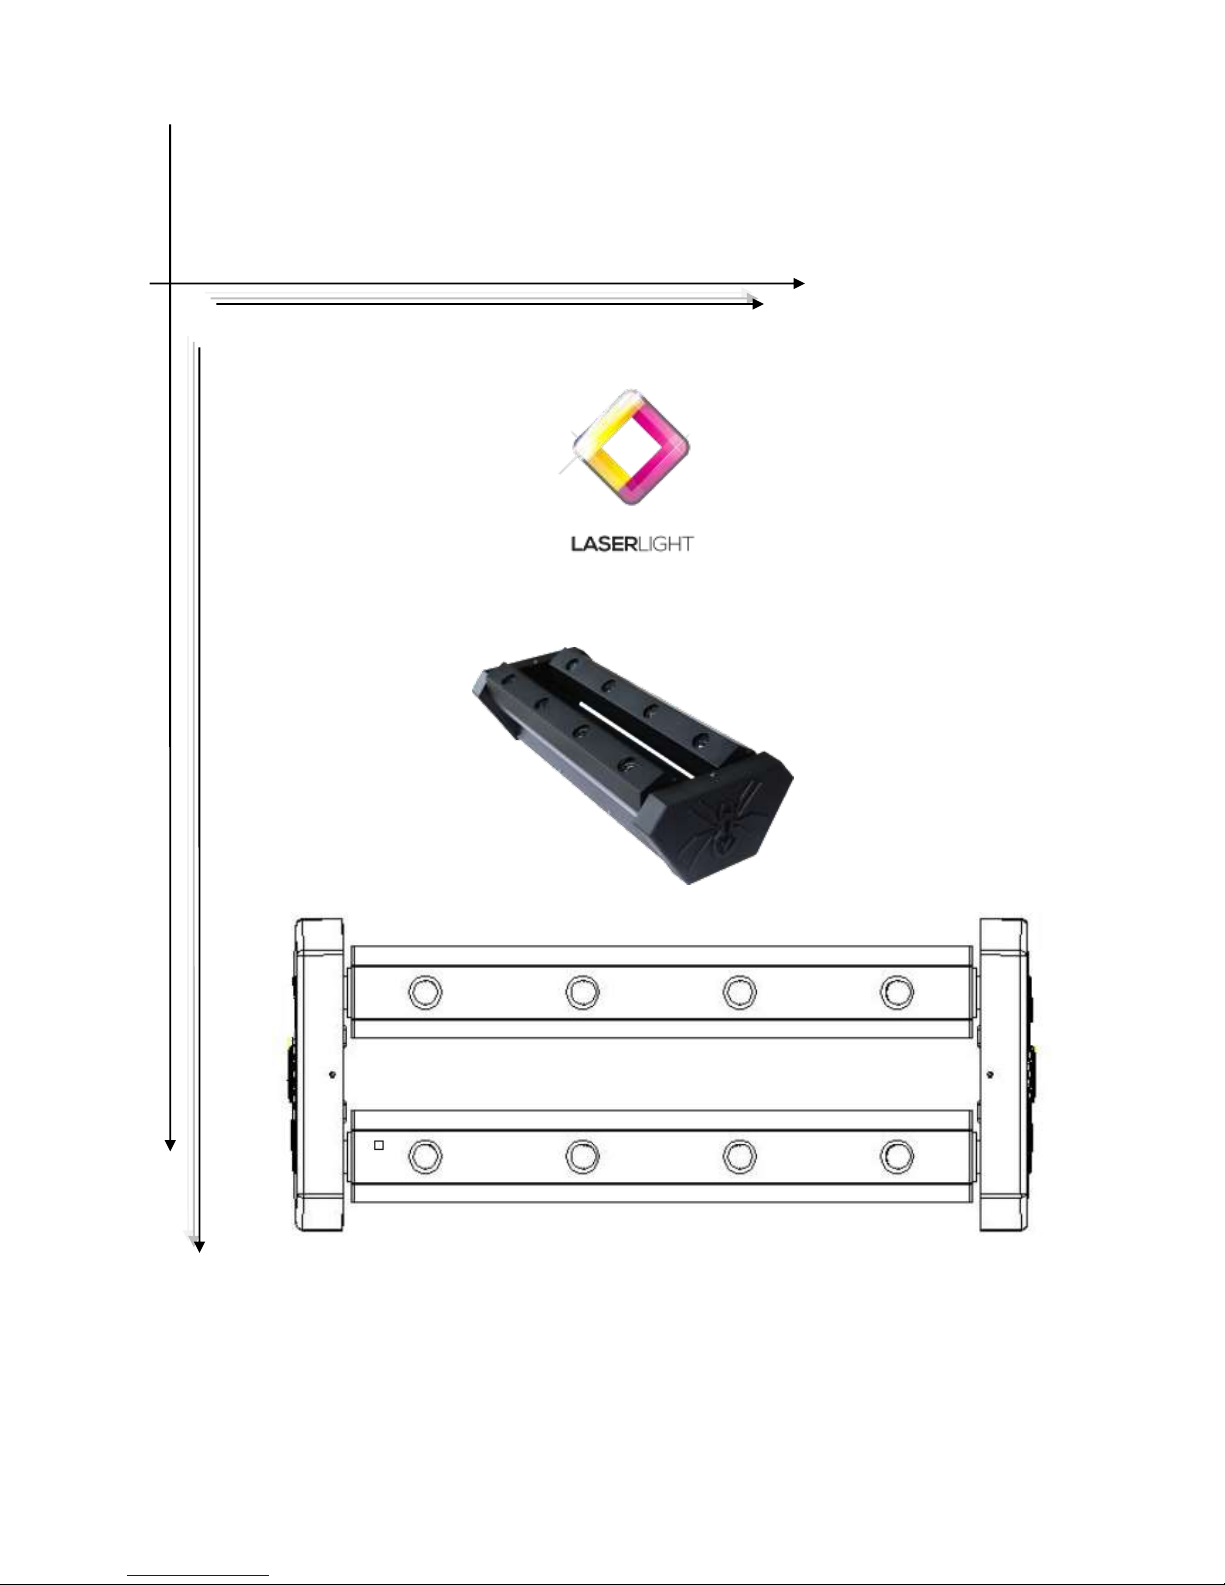
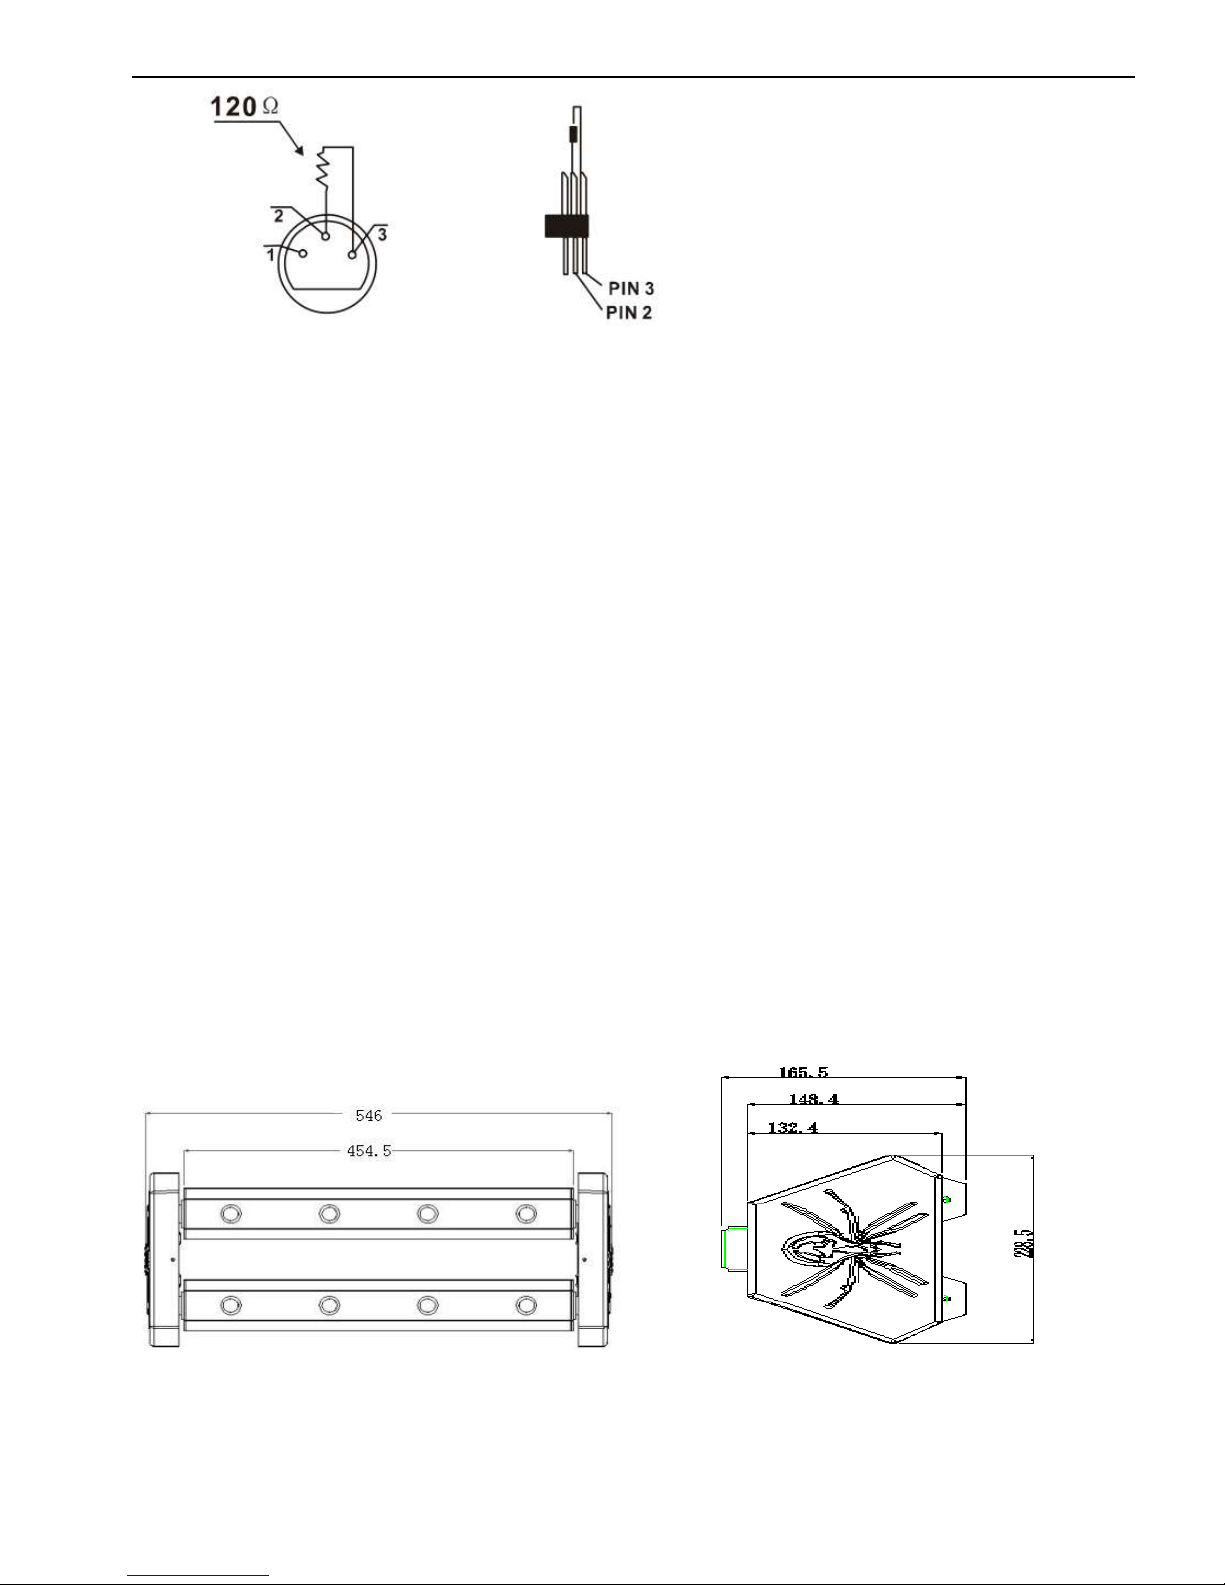
SPIDER LASER USER MANUAL
- - 4 - -
----Do not install directly on the surface of ordinary combustible materials
1. Safety Instructions
Please open and check whether break or not for transport once receive this fixture, if yes, don ‘t
use it and contact dealer or manufacture as soon as possible.
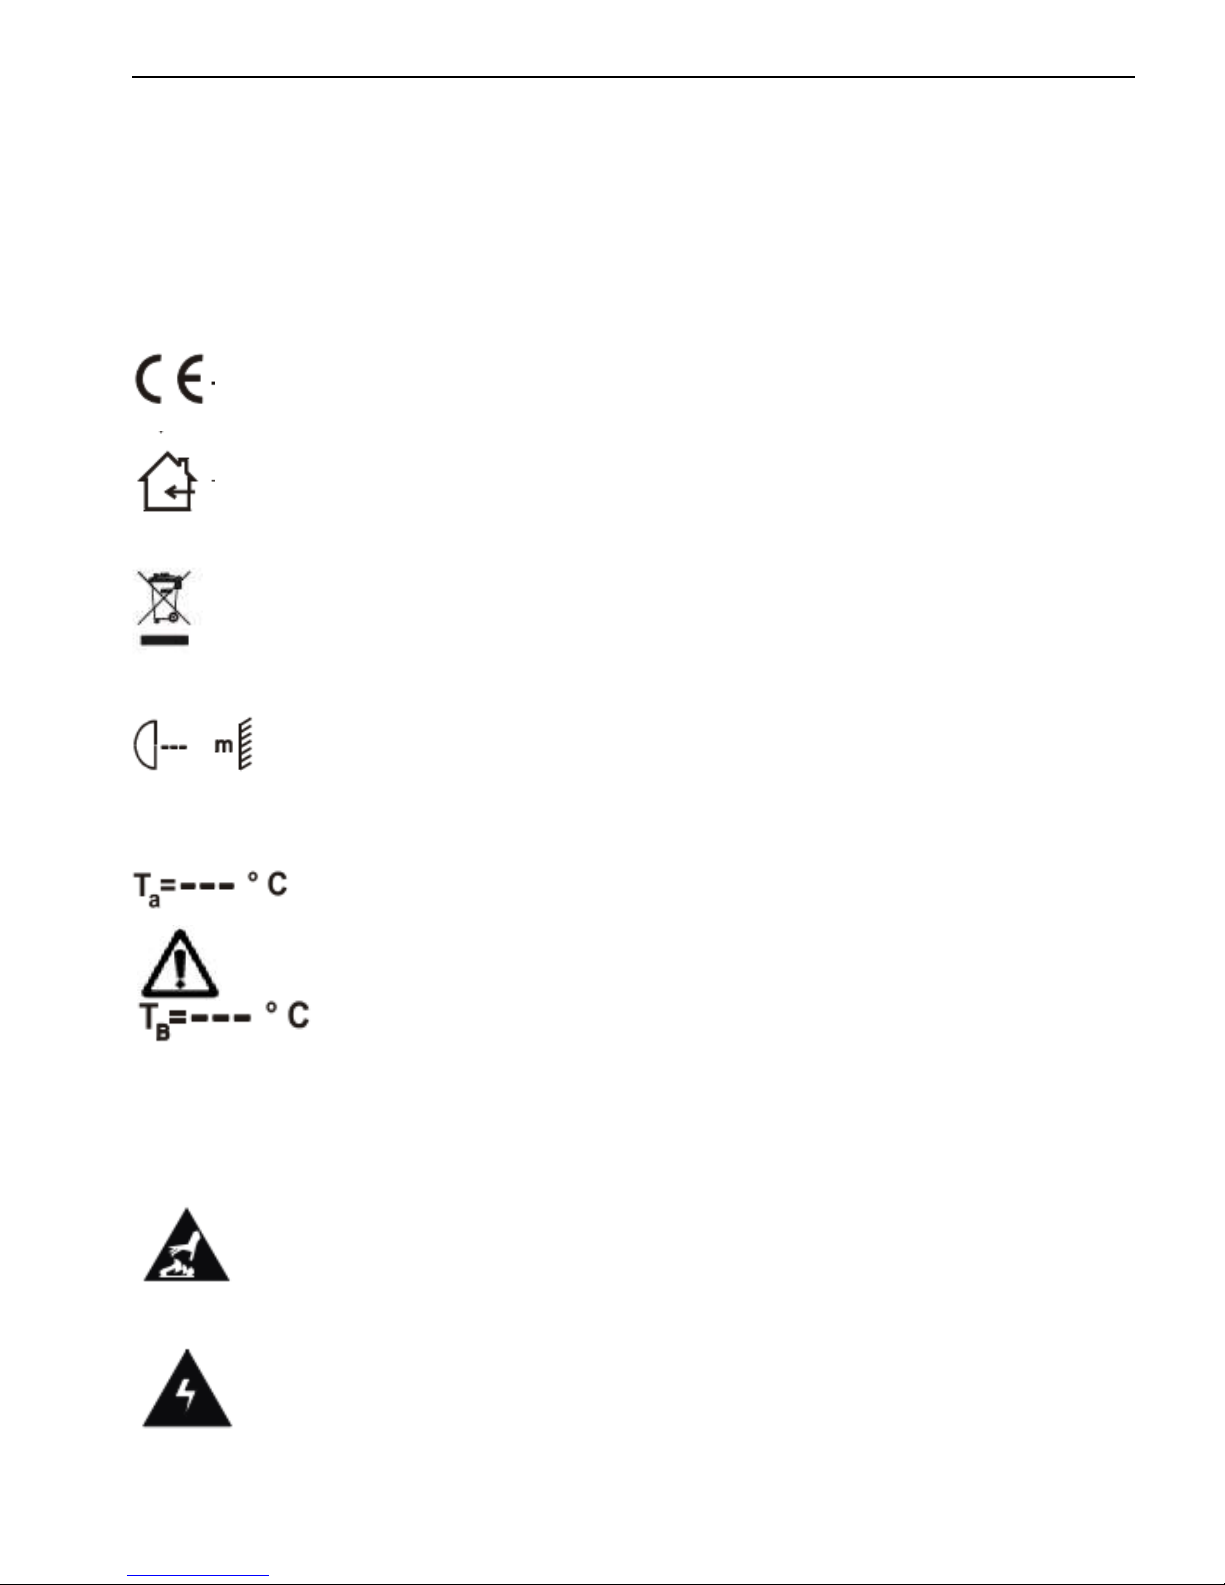
The Max applicable temperature for the light is 40°C. Do not use the light when the ambient
temperature exceeds 40 degrees, ta=40℃
The fixture is applicable for many occasions, please keep it clean, and avoid long use in
overheating or dusty environment. To prevent the fixture from the chemical liquid .
User must be careful of fire, heat, electric and fall-off that make heavy or fatal injury. Please read
this user manual carefully before power on and installation, follow safety and operation instruction
in it. If still have any question, please contact dealer or manufacture.
User must follow this user manual, do not open fixture by yourself, if any problem, please contact
professional technician, maintenance should be done by technician.
Do not turn on the fixture before installation, please turn off the light after working more than 8
hours, which will prolong the lifespan of the fixture.
During installation, prevent strong shocks or do not by strong shocks or vibration.
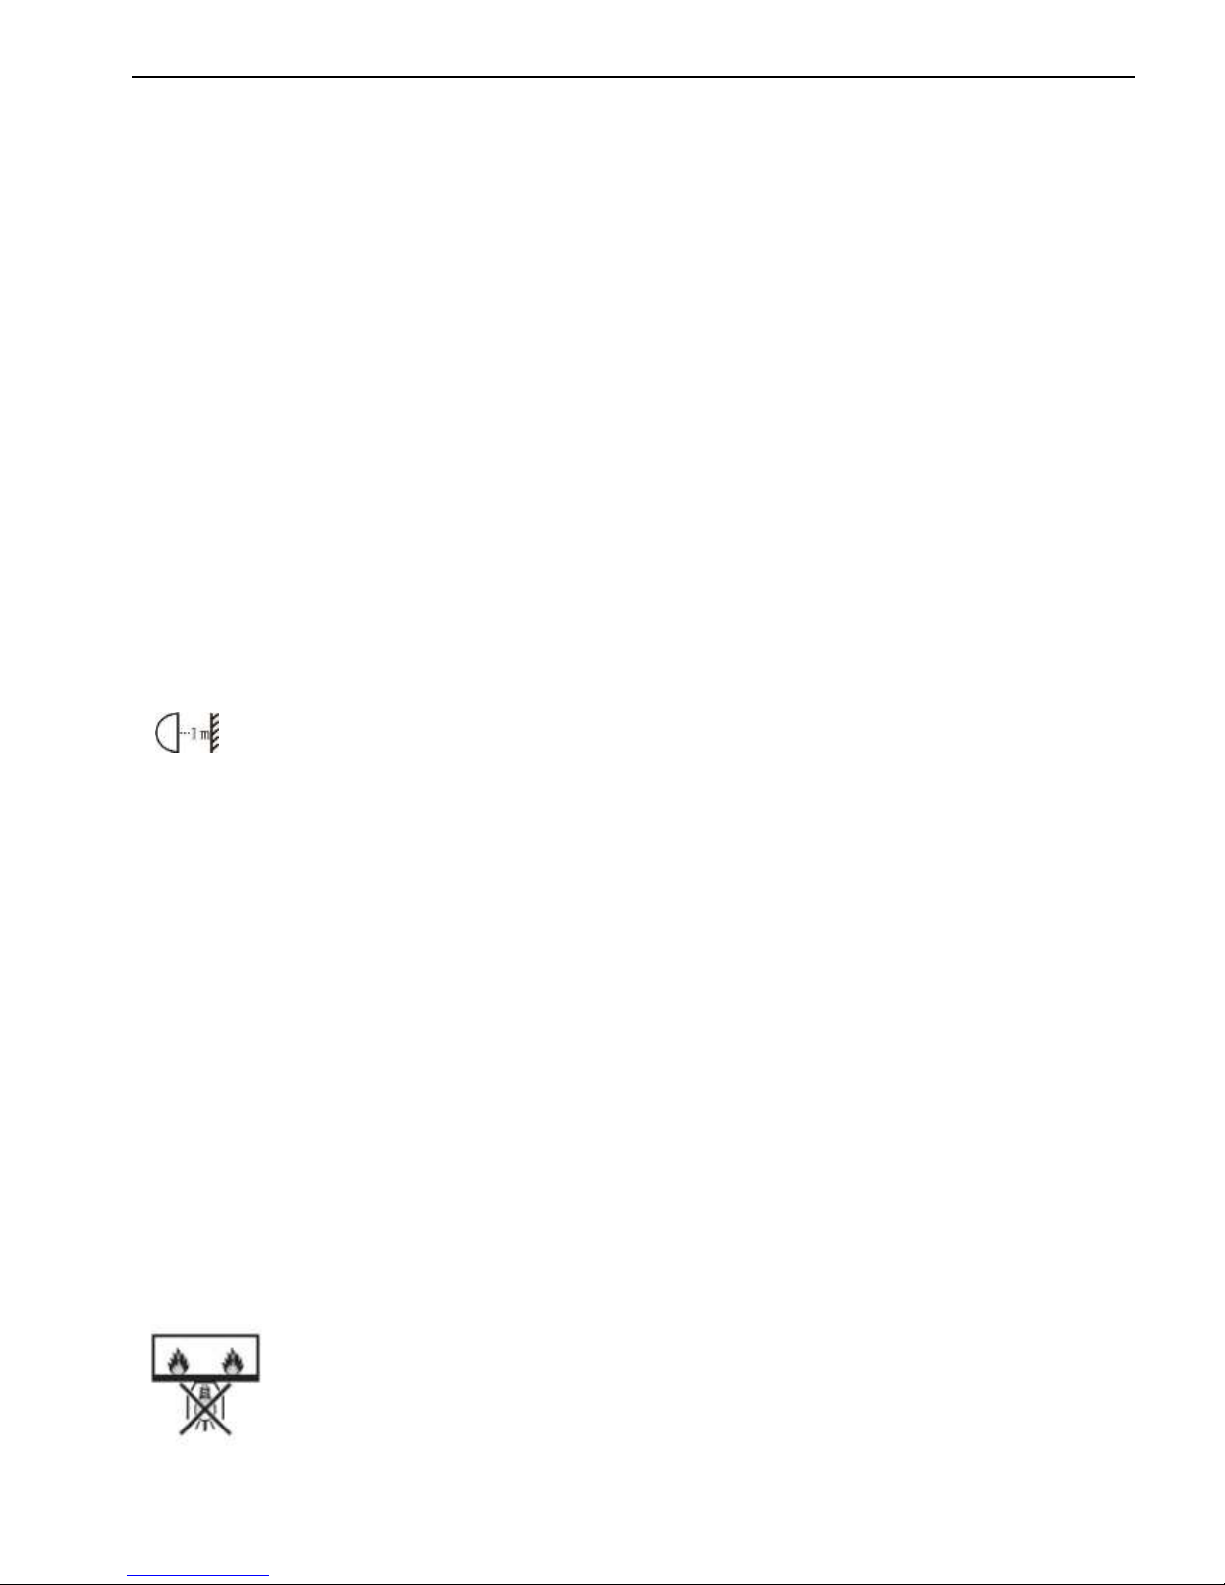
The minimum distance between light and the illuminated surface must be more than 1 meter.
Never look directly into the light source to avoid hurt to eyes (especially epileptics)!
When dust proof glass at light output breaks, cracks or other visible damage, user should replace
with new glass instead.
2. Installation
►This fixture is not suitable for direct installation on combustible material surface, please keep the
fixture surface at least 0.5m from any combustible material.
►If you use the quick lock cam in hanging up the fixture, please make sure the quick lock fasteners
turned in the quick lock holes correctly.
►The truss for hanging the fixture should be able to hold 10 times weight of this fixture and no
deformation after 1 hour hang.
►Please don’t stand under the fixture when install, uninstall, move or repair the fixture.
►Please ensure the light is connected correctly and invite professional technician to check and
confirm the electrical data before installation.
►Please invite professional technician to check the fixture and installation each
year.
3、Product specifications
1. Input voltage:AC100V~240V 50/60Hz