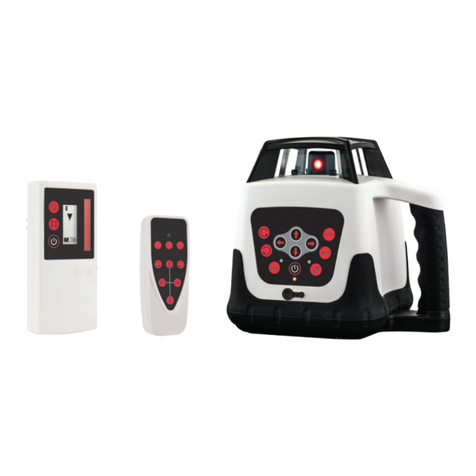
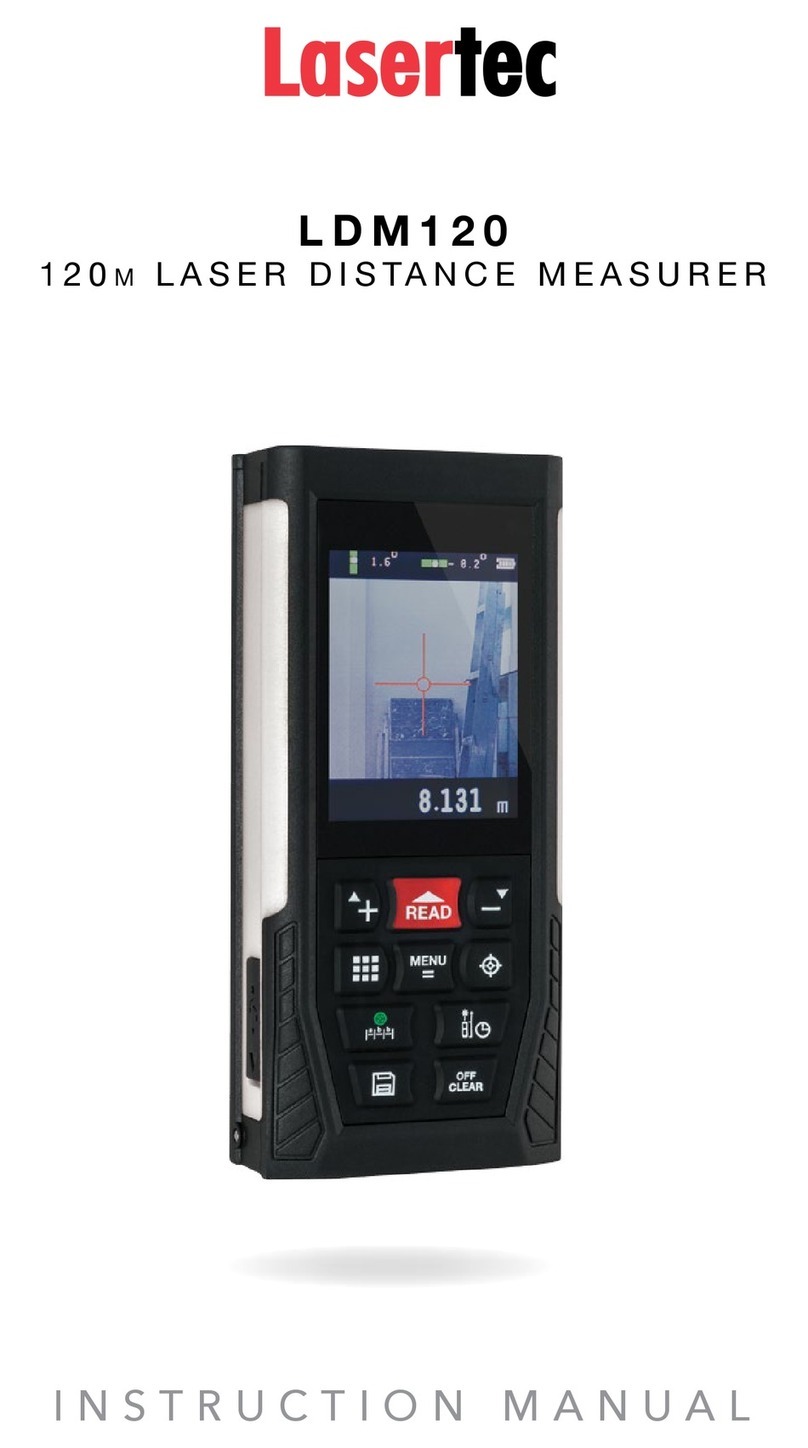
Lasertec TruPulse L2 User manual

LTI Part #0145007
© LTI 2023 Rev 01 06/08/23
TruPulse®l2
Quick reference
field Guide

LTI Technical Support
Toll Free: 1.877.696.2584
Phone: 1.303.649.1000
Email: [email protected]
Web: www.lasertech.com
LTI YouTube®Channel
www.youtube.com/lasertechpro
for TruPulse®Training Videos
LTI Corporate Headquarters
6912 South Quentin Street, Suite A
Centennial, CO 80112 USA
Fire Button
Up Button
Down Button
LTI Hours of Operation
Monday through Friday
8:00 am to 5:00 pm (MST)
(Excluding Holidays)
TruPulse®L2
*For detailed instructions on the TruPulse L2 operations, please refer to
www.lasertech.com/laser-distance-measurement and navigate to TruPulse L2 product webpage.
Display/Menu
Button

Inclination
Measurement Modes Display Icons
TruPulse®L2
Display Icons
Degrees
Percent
Feet
Meters
Slope
Distance
Horizontal
Distance
Vertical
Distance
Height
2D Missing Line
Closest Farthest Continuous Filter
Laser Firing
Battery Life
Indicator
Target Modes

TruPulse®L2 Display
The TruPulse L2 is equipped
with a dual color display
and can show information
in Red or Black. With a
built-in light sensor that
reads ambient light, the
internal software adjusts
the red brightness intensity
based on the measured
light reading.
Short Press DISP/MENU button toggles the Automatic brightness display. Short Press the button
to change the display color from black to red. For low light conditions, it is recommended to use
the red display, and in bright sunny conditions, the black display.
Change Display Options:

1-Shot Distance 2-Shot Missing Line
2-Shot Height 3-Shot Height
TruPulse®L2
Values & Key Code
= Horizontal Distance (HD)
= Slope Distance (SD)
= Vertical Distance (VD)
= Height (HT)
= Inclination (INC)
Measured by TruPulse
Calculated by TruPulse
Measurement
Icons
Inclination
Value
Range
Value

[
1
]
Press-and-hold Display/Menu button then press Up or Down
Arrow button to scroll until the UoM option is displayed. The last UoM
options chosen will be displayed.
Change Units of Measurement (UoM)
[
2
]
Press Display/Menu button to enter option selections, the icon will be
displayed indicating the UoM option menu. Then press the Up or Down buttons
to scroll through UoM options.

Press
and
Hold
Press
Press
Menu
Button
Meters/Degrees Feet/Degrees Feet/PercentageMeters/Percentage
Press Press Press
Press
Change Units of Measurement (UoM) Continued
[
1
]
Press Fire button to select UoM option and ready to take measurement.

The TruPulse L2 has ve Target Modes which allow you to select or
eliminate targets and to take the most accurate measurements possible in
various eld conditions.
Select Targeting Mode
[
1
]
Press-and-hold Display/Menu button then press Up or Down button
to scroll to the Target Mode option screen display.
[
2
]
Press-and-hold Display/Menu button to enter the Targeting Mode option
selections, the icon will be displayed indicating the Target Mode option menu.
Then press Up or Down button to scroll through options.
[
3
]
Press Fire button to select option. Ready to take measurement with selected
Targeting Mode option. The icon of selected mode will be displayed. Standard
Mode does not have an icon displayed.
[
4
]
Repeat steps to change target mode option.

Press
and
Hold
Press
Press
Menu
Button
Standard Farthest Closest ContinuousFilter
Press Press Press Press
Press
Select Targeting Mode Continued

Measure Distance
In the Slope Distance Mode , the TruPulse L2 will automatically
calculate and .
Measurements are from the 1/4-20 tripod mount (center) of the laser
to the target.
[
1
]
Press the Up or Down button until screen is displayed.
[
2
]
Aim at the target where you have a clear line of sight then press-and-hold the
re button .
[
2.1
]
The laser indicator will be displayed until measurement is acquired or
re button is released.
Displayed result will “ash” indicating measurement acquired.

[
3
]
Press Up or Down buttons to scroll through the other measurement
values calculated.
[
4
]
Press Fire button to clear measurements and repeat steps 1 through 4.
[
4
]
Press Fire button to clear measurements and repeat steps 1 through 4.
The Vertical Distance solution can be used to
measure height or clearance. In Fig. 1, just add the
height of the laser at your eye level from ground to
the measurement.
Helpful Tip
Fig. 1
Measure Distance Continued

Basic Measurements
Press
and
Hold
Fire
Button
Range Acquired
No Range
Acquired
Press
Fire
Button
HUD View

This routine is ideal for at, vertical objects that do not lean. To shoot
through brush, use the lter mode, foliage lter and a reector.
[
1
]
Press Up or Down buttons until is displayed.
[
2
]
Aim where you have a clear line of sight to the target and press-and-hold
re button .
[
2.1
]
The laser indicator will be displayed. The horizontal distance is
acquired and displayed.
[
3
]
is displayed, aim to the bottom of the target, press-and-hold re button
the inclination Angle_1 is measured and displayed.
[
4
]
is displayed, aim at the top of target, press-and-hold , the inclination
angle_2 is measured and displayed.
Measure Height (3-pt Routine)

Measure Height (3-pt Routine) Continued
[
5
]
Height measurement is calculated , display ashes then solid
with calculated height value.
• The laser sensor does not measure when taking
the two inclination angle measurements. You do
not need a clear line of sight to the bottom or top
of your target.
• The sequence of the two inclination angles shots
does not matter: Bottom to Top OR Top to Bottom.
• Press the Down arrow during the Height routine
to re-measure previous measurement (ANG__1
or ANG_2), Ideal for taking multiple height
measurements on the same target.
Helpful Tip

Press &
Hold
Fire
Button
Range
Acquired
Auto
Sequence
to AnG_1
Press Fire
Button
Auto
Sequence
to AnG_2
Press
Fire
Button
Auto
Sequence
to
Height
Result
Press Fire
Button
Basic HT Routine

Measure Height in 2-Shots
This measurement routine is ideal for leaning objects and requires a
clear line of sight for both shots.
[
1
]
Press Up or Down buttons until is displayed.
[
2
]
Aim where you have a clear line of sight to the target and press-and-hold
re button .
[
2.1
]
The laser indicator will be displayed. When the measurement is
acquired will be displayed. Note this value for the Vertical Distance
(VDb) measurement.
[
3
] Aim where you have a clear line of sight at the top of the target then press-
and-hold
the re button .

Measure Height in 2-Shots Continued
[
4
]
The laser indicator will be displayed. When the measurement is
acquired will be displayed. Note this value for the Vertical Distance
top (VDt) value.
[
5
]
Add the two values to calculate the height VDb + VDt = Height.

Measure 2D Vertical Missing Line
[
1
]
Press Up or Down buttons until is displayed.
[
2
]
Aim where you have a clear line of sight to the target and press-and-hold
re button .
[
2.1
]
The laser indicator will be displayed. When the measurement is
acquired Shot.1 results will be displayed.
[
3
] is displayed, Aim where you have a clear line of sight at target, press-
and-hold re button.
[
3.1
]
The laser indicator will be displayed. When the measurement is
acquired Shot.2 results will be displayed.

Measure 2D Vertical Missing Line Continued
[
4
]
The HD and INC ML values will be calculated and displayed
, press up arrow to scroll through the SD and VD ML values
[
5
]
Press down arrow to scroll to and re-measure the Shot.2,
[
6
]
Continue to press down arrow to return to step 1.
• Position yourself where shot 1 and 2 are made looking in the same
direction with a clear line of sight to both targets.
• The VD solution will always be accurate no matter which direction shot 1
and 2 are taken.
• If shot 2 is longer and higher than shot 2, the VD value will be negative.
Helpful Tip
from shot 1 to shot 2. Press re button to return to step 1.

Basic ML Routine
Press &
Hold
Fire
Button
Range
Acquired
Auto
Sequence
to Shot2
Press & Hold
Fire Button
Range
Acquired
Auto
Sequence
to HD
Results
Press
Down
Arrow
Press Down
Arrow
Press
Up
Arrow
Press Up Arrow For
Calculated Measurements
Press
Up
Arrow
This manual suits for next models
1
Table of contents
Other Lasertec Measuring Instrument manuals
Lasertec
Lasertec CX2G User manual

Lasertec
Lasertec HV2G User manual

Lasertec
Lasertec CL3 HYBRID User manual

Lasertec
Lasertec RDR12M User manual

Lasertec
Lasertec HV3R User manual
Lasertec
Lasertec H1R User manual

Lasertec
Lasertec HV2R User manual

Lasertec
Lasertec HV1G User manual

Lasertec
Lasertec LDM25 User manual
Lasertec
Lasertec LDM120 User manual