manuals.online logo
Brands
  1. Home
  2. •
  3. Brands
  4. •
  5. LDI
  6. •
  7. Indoor Furnishing
  8. •
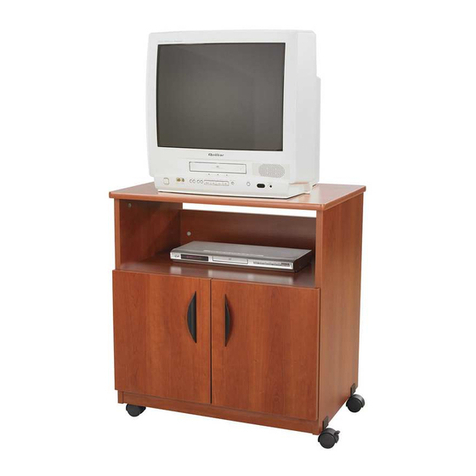
  9. LDI SAFCO 3390 User manual

LDI SAFCO 3390 User manual

Other LDI Indoor Furnishing manuals

LDI SAFCO Commute 7825-C User manual

LDI

LDI SAFCO Commute 7825-C User manual

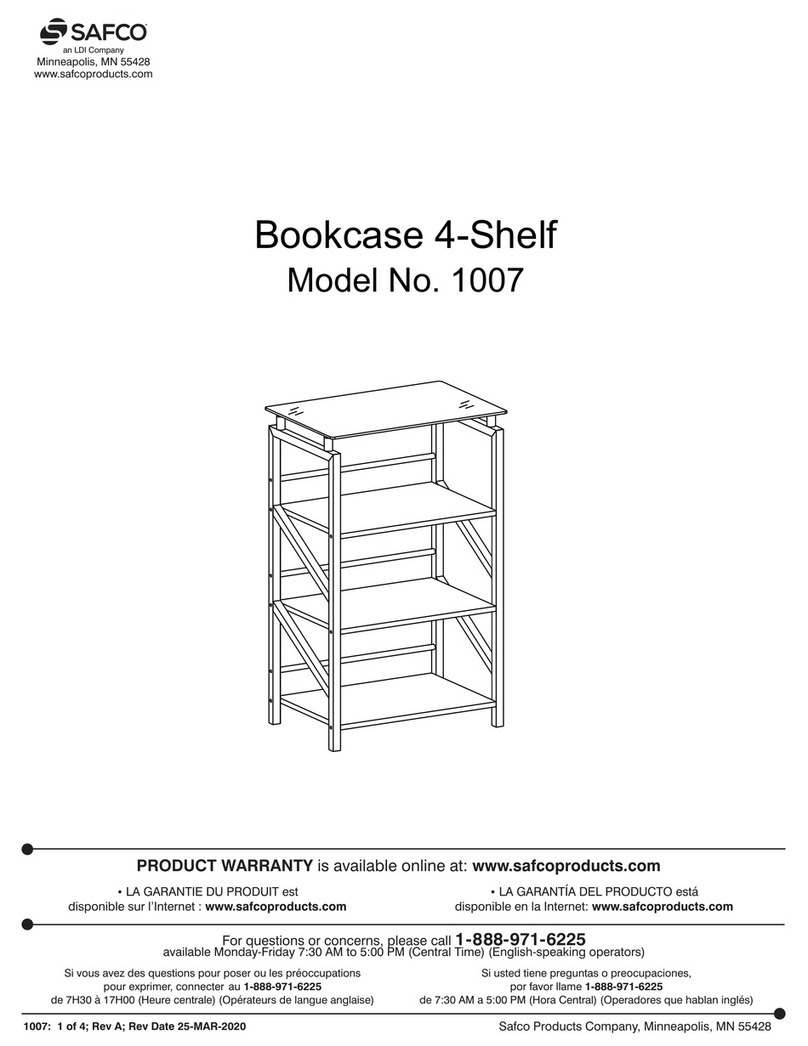
LDI Safco 1007 User manual

LDI

LDI Safco 1007 User manual

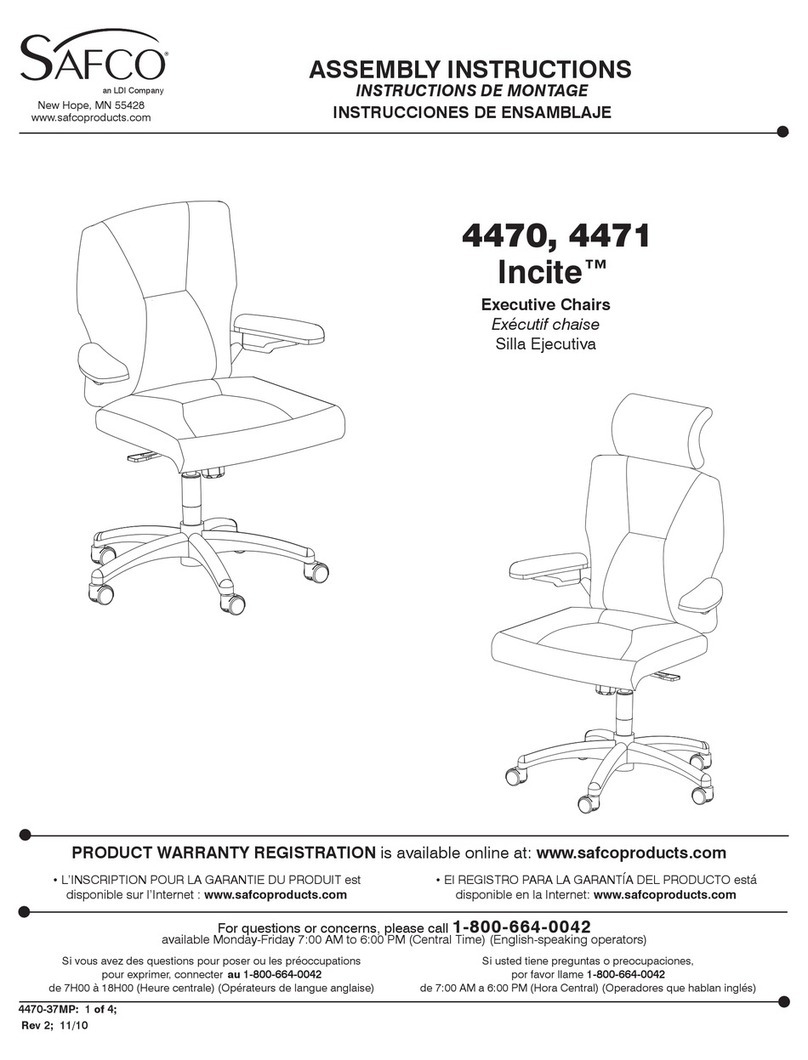
LDI SAFCO Incite 4470 User manual

LDI

LDI SAFCO Incite 4470 User manual

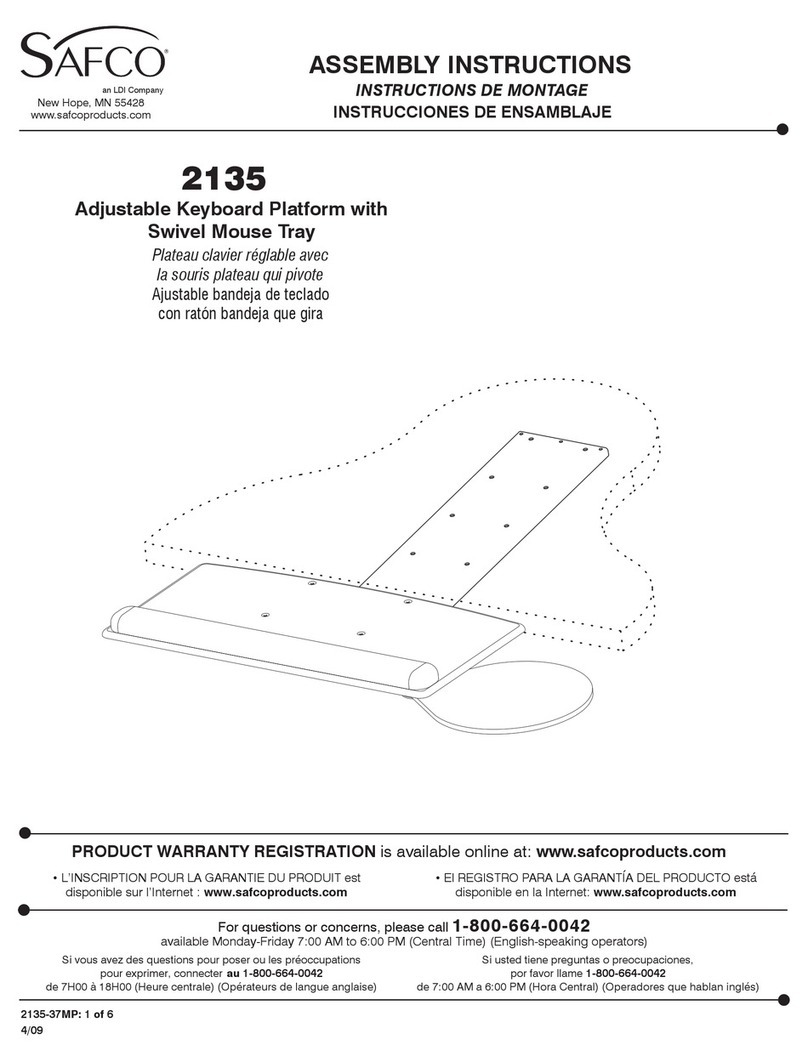
LDI Safco 2135 User manual

LDI

LDI Safco 2135 User manual

LDI SAFCO IMPROMPTU Series User manual

LDI

LDI SAFCO IMPROMPTU Series User manual

LDI SAFCO 8953 User manual

LDI

LDI SAFCO 8953 User manual

LDI SAFCO Whiffle 3906 User manual

LDI

LDI SAFCO Whiffle 3906 User manual

LDI SAFCO 1932 User manual

LDI

LDI SAFCO 1932 User manual

LDI Safco 1226 User manual

LDI

LDI Safco 1226 User manual

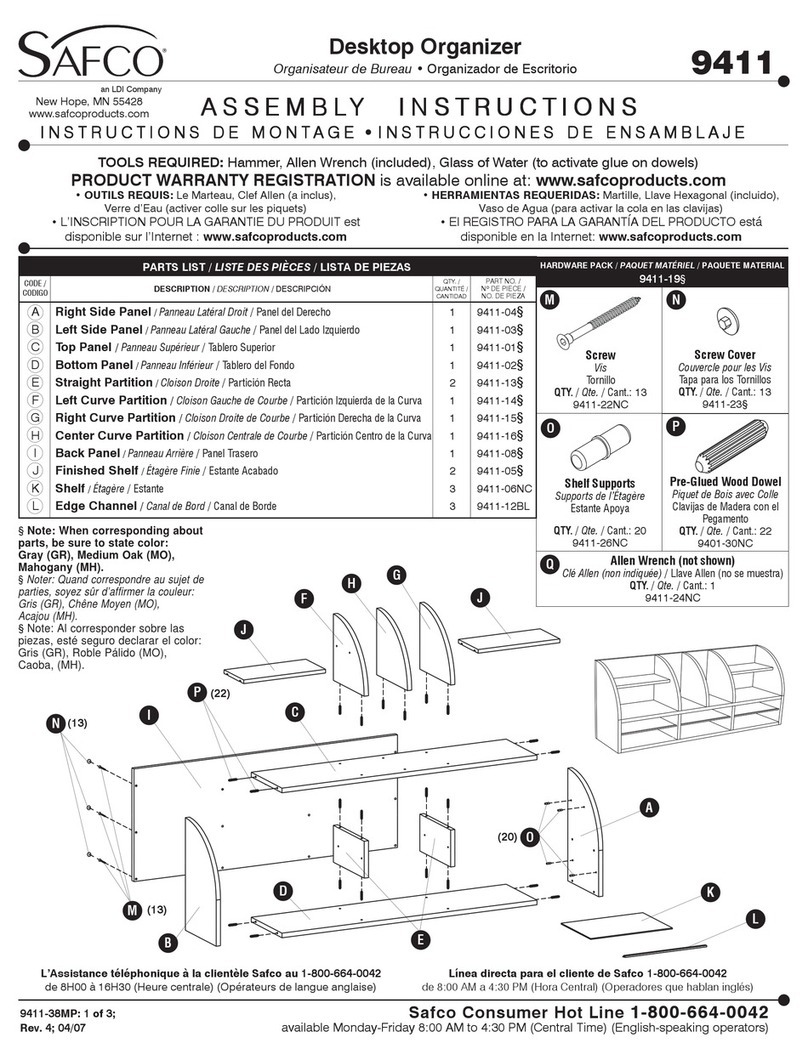
LDI Safco Desktop Organizer 9411 User manual

LDI

LDI Safco Desktop Organizer 9411 User manual

LDI Safco Reve 6803 User manual

LDI

LDI Safco Reve 6803 User manual

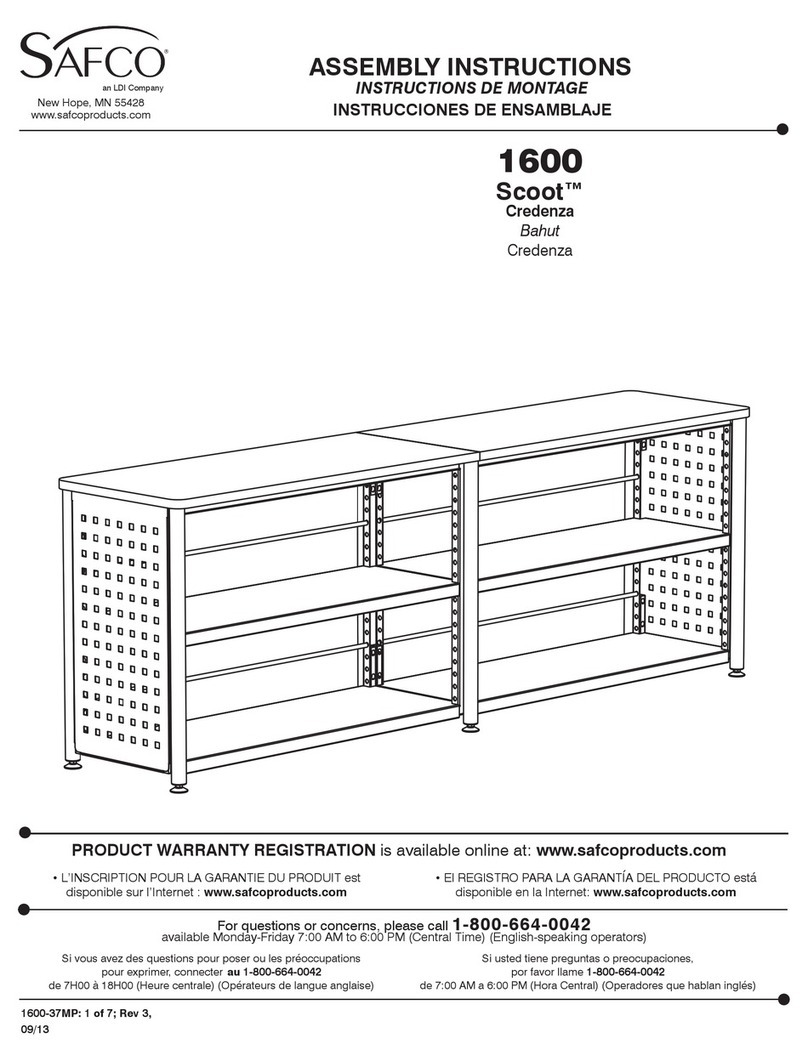
LDI Safco Scoot 1600 User manual

LDI

LDI Safco Scoot 1600 User manual

LDI SAFCO Rumba 2090 User manual

LDI

LDI SAFCO Rumba 2090 User manual

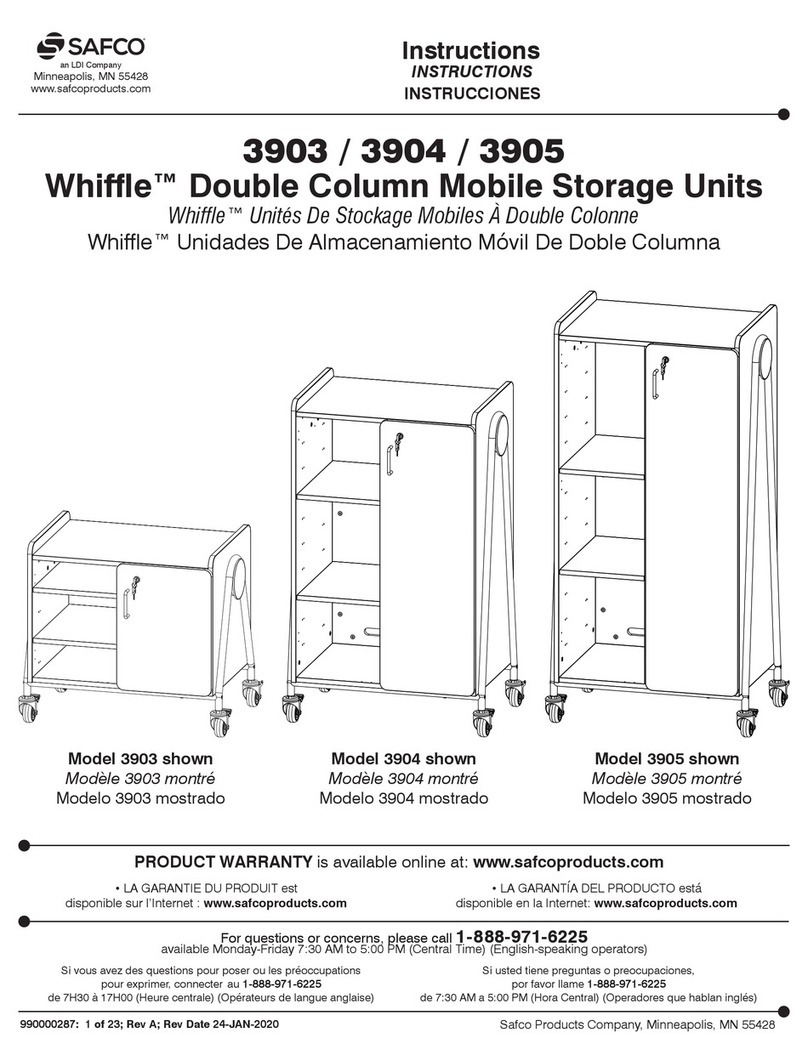
LDI SAFCO Whiffle 3903 User manual

LDI

LDI SAFCO Whiffle 3903 User manual

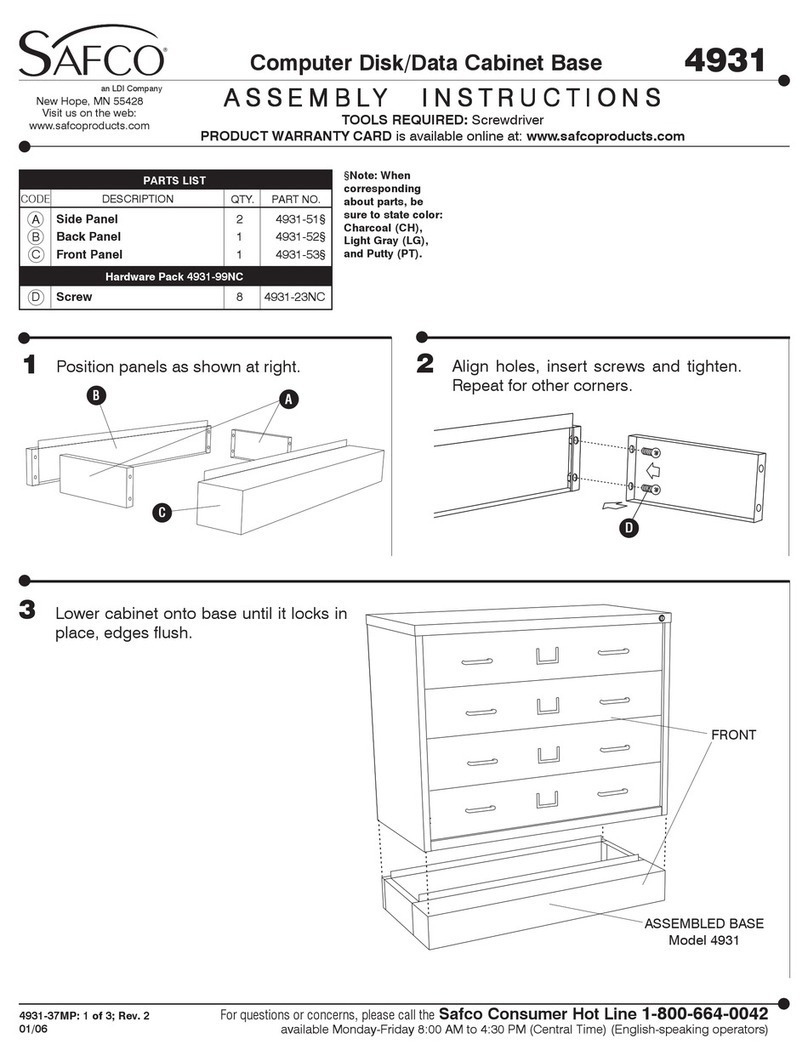
LDI Safco 4931 User manual

LDI

LDI Safco 4931 User manual

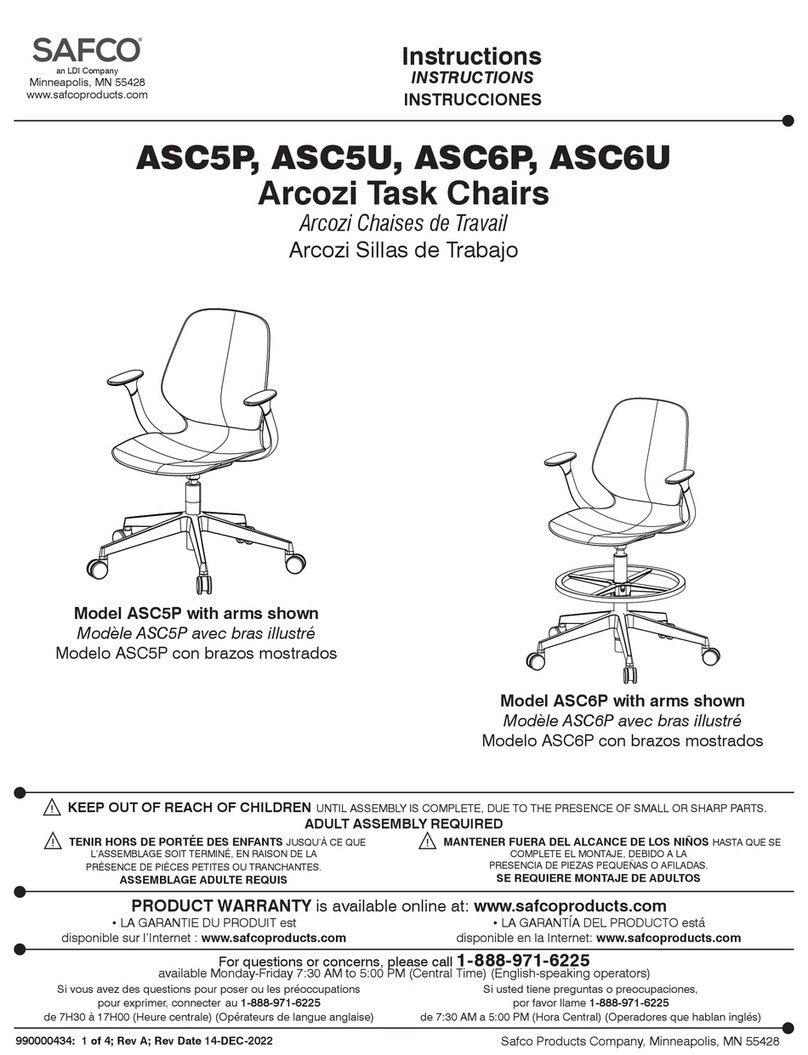
LDI SAFCO Arcozi ASC5P User manual

LDI

LDI SAFCO Arcozi ASC5P User manual

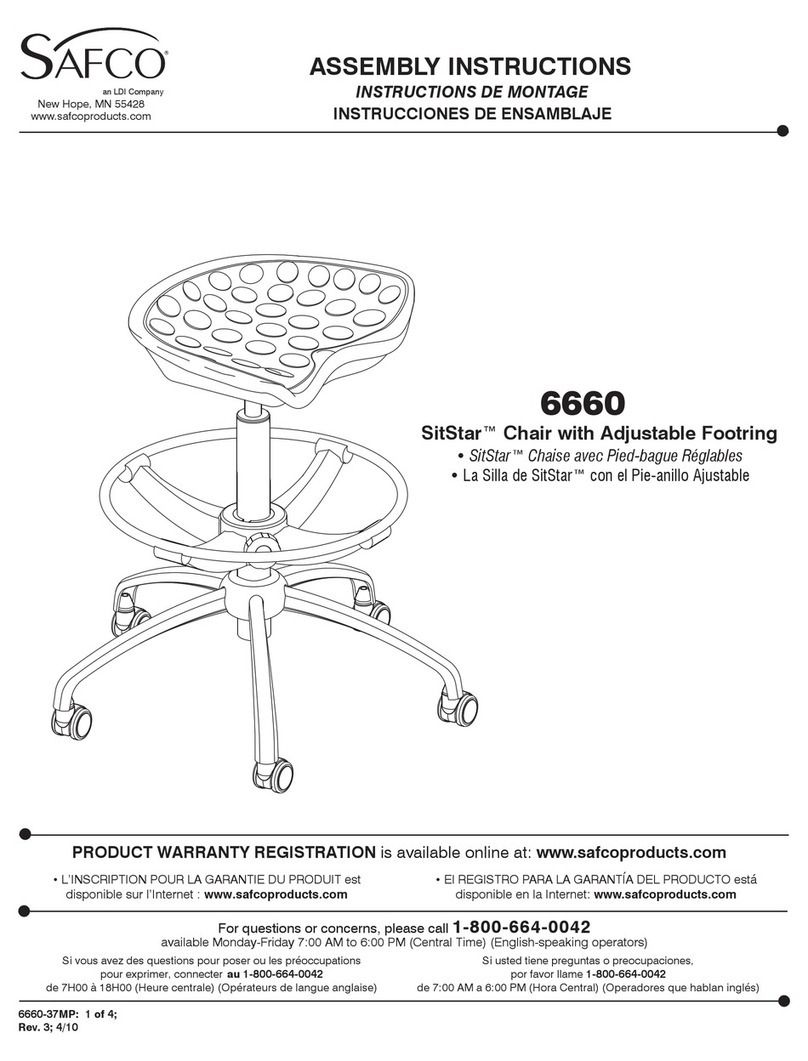
LDI Safco SitStar 6660 Quick start guide

LDI

LDI Safco SitStar 6660 Quick start guide

LDI Safco Jurni JN DSC Series User manual

LDI

LDI Safco Jurni JN DSC Series User manual

LDI Safco Mirella 5511 User manual

LDI

LDI Safco Mirella 5511 User manual

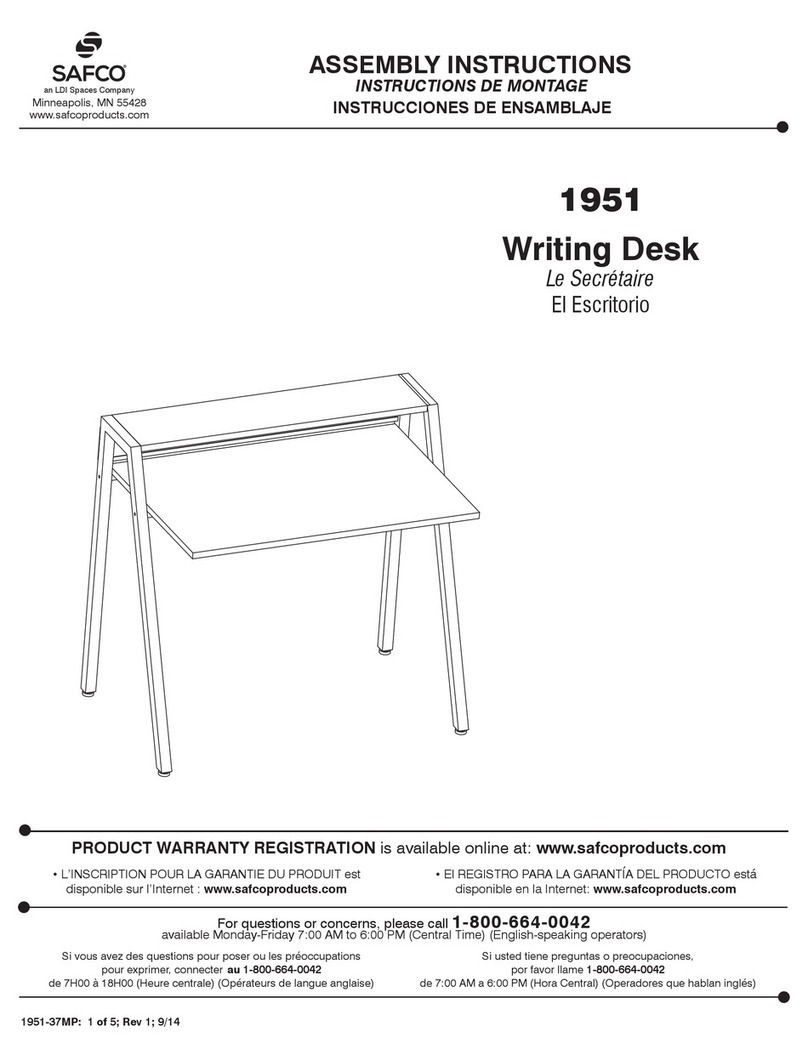
LDI SAFCO 1951 User manual

LDI

LDI SAFCO 1951 User manual

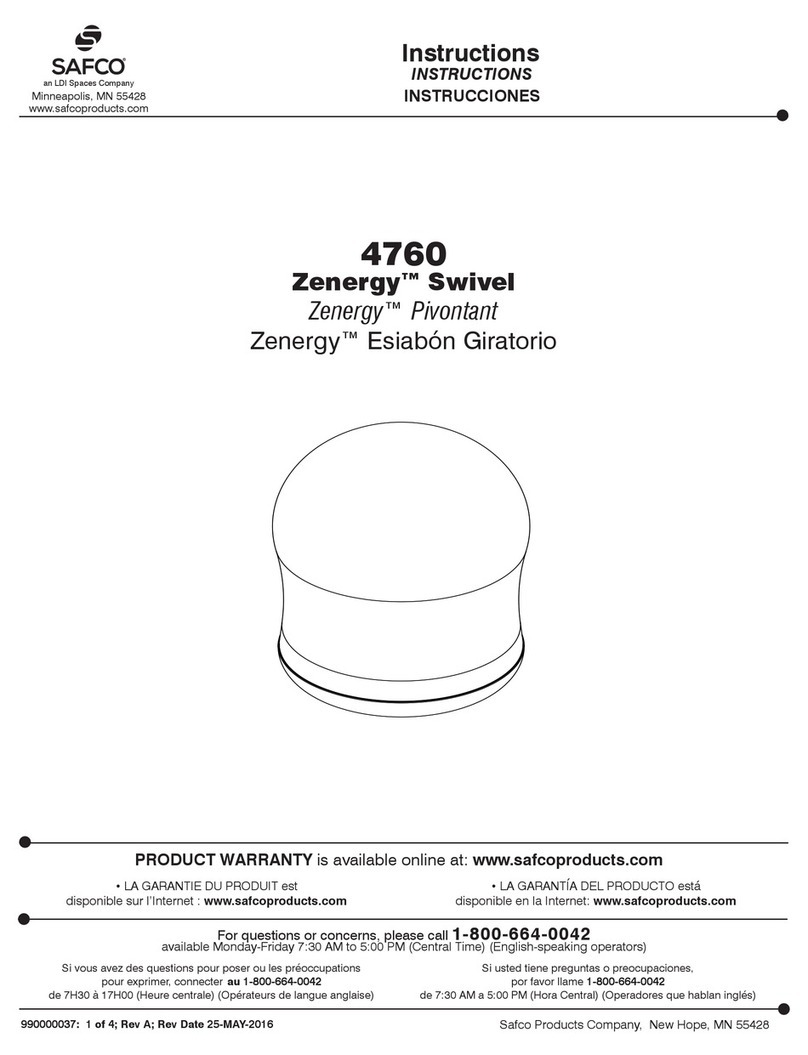
LDI Safco Zenergy 4760 User manual

LDI

LDI Safco Zenergy 4760 User manual

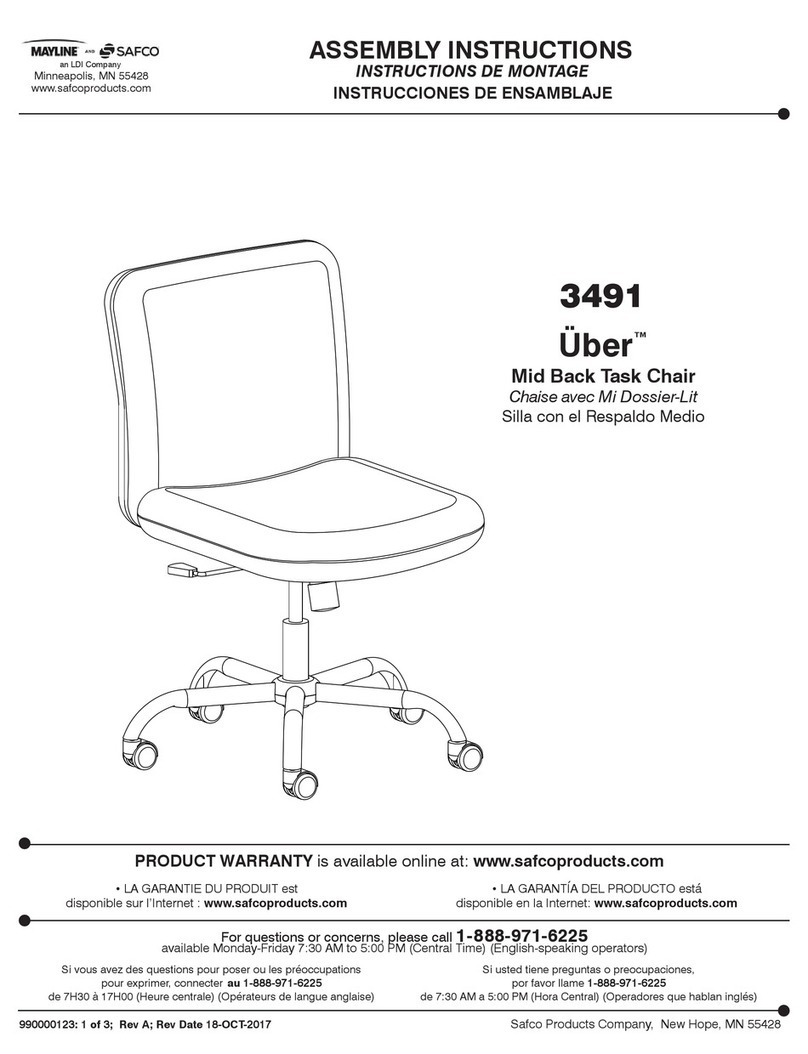
LDI Safco Uber 3491 User manual

LDI

LDI Safco Uber 3491 User manual

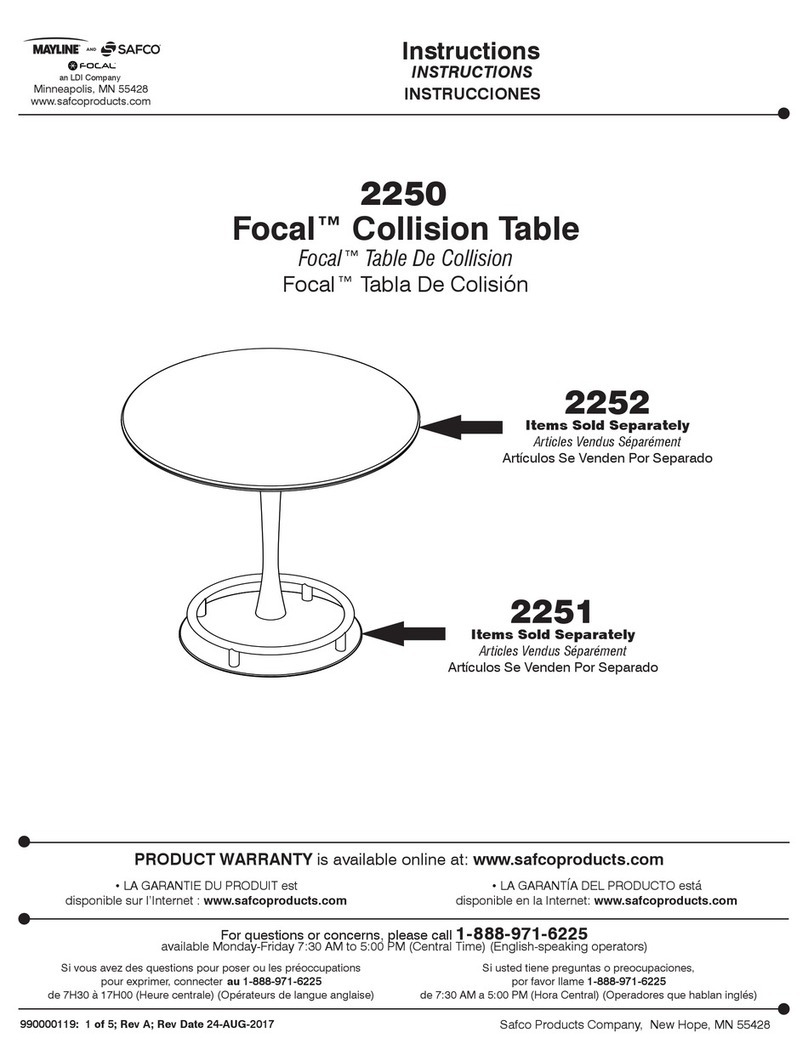
LDI Mayline Safco Focal 2250 User manual

LDI

LDI Mayline Safco Focal 2250 User manual

LDI SAFCO 1850 User manual

LDI

LDI SAFCO 1850 User manual

Popular Indoor Furnishing manuals by other brands

Regency LWMS3015 Assembly instructions

Regency

Regency LWMS3015 Assembly instructions

Furniture of America CM7751C Assembly instructions

Furniture of America

Furniture of America CM7751C Assembly instructions

Safavieh Furniture Estella CNS5731 manual

Safavieh Furniture

Safavieh Furniture Estella CNS5731 manual

PLACES OF STYLE Ovalfuss Assembly instruction

PLACES OF STYLE

PLACES OF STYLE Ovalfuss Assembly instruction

Trasman 1138 Bo1 Assembly manual

Trasman

Trasman 1138 Bo1 Assembly manual

Costway JV10856 manual

Costway

Costway JV10856 manual

moss DESIGN Caisson Credenza Assembly instructions

moss DESIGN

moss DESIGN Caisson Credenza Assembly instructions

Aquaglide FULL DECK 15.0 owner's manual

Aquaglide

Aquaglide FULL DECK 15.0 owner's manual

AREBOS AR-HE-SW30 user manual

AREBOS

AREBOS AR-HE-SW30 user manual

Till-Hilft Fulda 87005.330 Assembly instructions

Till-Hilft

Till-Hilft Fulda 87005.330 Assembly instructions

Twoey Outside 2010 quick start guide

Twoey Outside

Twoey Outside 2010 quick start guide

Hettich Easys 200 operating instructions

Hettich

Hettich Easys 200 operating instructions

The bedboss RELAX 404 Series owner's manual

The bedboss

The bedboss RELAX 404 Series owner's manual

Oeseder Möbelindustrie Bern 991 720 Assembly instructions

Oeseder Möbelindustrie

Oeseder Möbelindustrie Bern 991 720 Assembly instructions

Costway HW68469 user manual

Costway

Costway HW68469 user manual

Next ALIX A27743 Assembly instructions

Next

Next ALIX A27743 Assembly instructions

BROSA Hans Assembly guide

BROSA

BROSA Hans Assembly guide

Prodigg MINIKA PBA015T-FUR installation manual

Prodigg

Prodigg MINIKA PBA015T-FUR installation manual

manuals.online logo
manuals.online logoBrands
  • About & Mission
  • Contact us
  • Privacy Policy
  • Terms and Conditions

Copyright 2025 Manuals.Online. All Rights Reserved.

an LDI Company
Turn the A Base upside down and insert the five
B Casters into the ends of the base spokes. Turn
the base right side up.
Insert the C Pump Assembly into the base, tapered
end down. Secure the pump assembly by applying
a little downward pressure.
Slide the D Footring over the pump assembly and
secure in the desired position using the E Footring
Knob (already in place). Slide the F Dust Cover
down over the Pump Assembly.
Place the G Seat Cushion onto the pump assembly.
Press down firmly (or sit) to lock into place.
Insert the H Back Support Bar (with I Bellows
pre-assembled) into the slotted end of the seat
cushion’sseatplate.
Place the J Flat Washer over the threads of the
K Thick Knob. Screw the knob down tightly at
about the middle of the slot.
Place the L Cushioned Back onto the backrest
support bar, and secure with the M Thin Knob.
Adjust the back height and position as needed;
tighten the knob when fully adjusted.
3390
Economy Drafting Chair
Base 1 3400-54
Casters 5 3400-75
PumpAssembly 1 3400-61
Footring 1 3401-62
Footring Knob 1 3401-72
DustCover 1 3390-64
SeatCushion 1 3390-51
Back Support Bar 1 3400-63
Bellows 1 3400-64
Flat Washer 1 3400-71
Thick Knob 1 3400-73
CushionedBack 1 3390-52
ThinKnob 1 3400-72
LETTER
CODE DESCRIPTION QTY. PARTNO.
PARTSLIST
Q
Q
Q
Q
Q
Q
Q
Q
Q
Q
Q
Q
Q
ASSEMBLY INSTRUCTIONS
D
QQ
QQ
Q
AQQ
QQ
Q
B
3390-37: 1 of 2; Rev.
4; 07/06
4
5
3
2
1QQ
QQ
Q
QQ
QQ
Q
QQ
QQ
Q
QQ
QQ
QQQ
QQ
Q
QQ
QQ
Q
QQ
QQ
Q

QQ
QQ
Q
K
6
7
QQ
QQ
QQQ
QQ
Q
QQ
QQ
Q
QQ
QQ
Q
Safco Products Company, New Hope, MN 55428
C
QQ
QQ
Q
GH
L
E
QQ
QQ
Q
QQ
QQ
QQQ
QQ
Q
QQ
QQ
Q
QQ
QQ
Q
QQ
QQ
Q
QQ
QQ
Q
A
B
C
D
E
F
G
H
I
J
K
L
M
F
QQ
QQ
Q
QQ
QQ
Q
M
For questions or concerns, please call the
Safco Consumer Hot Line 1-800-664-0042
available Monday-Friday 8:00 AM to 4:30 PM (Central Time)
(English-speakingoperators)
NOTE: REMOVE
PLASTICCAP
QQ
QQ
Q
JI
QQ
QQ
Q
Voltee la base, A , al revés e inserte las cinco ruedas, B , en
los extremos de las patas de la base. Voltéela al derecho.
Inserte el montaje de la bomba, C , en la base, con el
extremo más delgado apuntando hacia arriba. Presiónelo
ligeramente hacia abajo de manera que el montaje de la
bomba quede bien insertado.
Deslice el apoyo para los pies, D , sobre el montaje de la
bomba y fíjelo en la posición deseada utilizando la perilla del
apoyo para los pies, E , la cual ya se encuentra instalada.
Deslice la cubierta contra polvo, F , sobre el montaje de la
bomba.
Coloque el cojín del asiento, G , sobre el montaje de la
bomba. Presione hacia abajo firmemente (o siéntese en él)
para fijarlo en su lugar.
Inserte la barra de soporte del respaldo, H , (con el tubo
flexible ondulado, I , ya instalado) en la ranura de la placa
del asiento.
Coloque la roldana plana, J , sobre la rosca de la perilla
gorda, K . Atornille la perilla firmemente hasta
aproximadamente la mitad de la ranura.
Coloque el respaldo ensamblado el respaldo acojinado, L ,
sobre la barra de soporte del respaldo, y fíjelo con la perilla
fina, M . Ajuste la altura y posición del respaldo según sus
necesidades y apriete la perilla.
3390
3390-37: 2 of 2; Rev.
4; 07/06
3390
Safco Products Company, New Hope, MN 55428
Tabouret de dessinateur économique NUMÉRO
DE MODÈLE
Silla para dibujante Economy NÚMERO
DE MODELO
Renverser la base A et insérer les cinq roulettes B dans les
extrémités des rayons de la base. Redresser la base.
Insérer le cylindre pneumatique C dans la base, avec le bout
conique vers le bas. Rentrer le cylindre dans la base en
exerçant une légère pression vers le haut.
Glisser l’anneau repose-pieds D sur le cylindre pneumatique
et le fixer dans la position voulue à l’aide du bouton E de
l’anneau repose-pieds (le bouton est déjà en place). Glisser le
tube anti-poussière F sur le cylindre pneumatique.
Mettre le siège à coussin G sur le cylindre pneumatique.
Appuyer vigoureusement sur le siège (ou s’asseoir sur le
siège) pour qu’il se bloque en position.
Insérer la barre de support du dossier H (avec le tube souple
ondulé I pré-assemblé) dans la fente de la plaque du siège à
coussin.
Passer la rondelle plate J sur la partie filetée du bouton épais
K . Visser le bouton solidement, à peu près au milieu de la
fente.
Mettre le dossier pré-assemblé dossier matelassé L , sur la
barre de support du dossier, puis fixer le dossier en position à
l’aide du bouton mince M . Régler la hauteur et la position du
dossier au besoin. Lorsque le tout est bien réglé, serrer le
bouton.
CODE
ALPHABÉTIQUE DESCRIPTION QUANTITÉ NODE PIÈCE
A
B
C
D
E
F
G
H
I
J
K
L
M
LISTE DES PIÈCES
Q
Q
Q
Q
Q
Q
Q
Q
Q
Q
Q
Q
Q
INSTRUCTIONS DE MONTAGE
4
5
3
2
1QQ
QQ
QQQ
QQ
Q
QQ
QQ
Q
QQ
QQ
Q
QQ
QQ
Q
QQ
QQ
Q
QQ
QQ
Q
QQ
QQ
Q
QQ
QQ
Q
QQ
QQ
Q
QQ
QQ
Q
6
7
LES PIÈCES PRÉSENTÉES DANS UN ENCART (SUR
L’ILLUSTRATION) SONT PRÉ-ASSEMBLÉES.
Base 1 3400-54
Roulettes 5 3400-75
Cylindrepneumatique 1 3400-61
Anneaurepose-pieds 1 3401-62
Bouton de l’anneau repose-pieds 1 3401-72
Tubeanti-poussière 1 3390-64
Siège à coussin 1 3390-51
Barre de support du dossier 1 3400-63
Tube souple ondulé 1 3400-64
Rondelle plate 1 3400-71
Bouton épais 1 3400-73
Dossiermatelassé 1 3390-52
Bouton mince 1 3400-72
QQ
QQ
Q
Base 1 3400-54
Ruedas 5 3400-75
Montaje de la bomba 1 3400-61
Apoyo para los pies 1 3401-62
Perilla del apoyo para los pies 1 3401-72
Cubierta contra polvo 1 3390-64
Cojín del asiento 1 3390-51
Barra de soporte del respaldo 1 3400-63
Tubo flexible ondulado 1 3400-64
Roldana plana 1 3400-71
Perilla gorda 1 3400-73
Respaldo acojinado 1 3390-52
Perillafina 1 3400-72
CÓDIGO
ALFABÉTICO DESCRIPCIÓN CANTIDAD NO. DE PIEZA
A
B
C
D
E
F
G
H
I
J
K
L
M
LISTA DE PIEZAS
Q
Q
Q
Q
Q
Q
Q
Q
Q
Q
Q
Q
Q
INSTRUCCIONES DE ENSAMBLAJE
4
5
3
2
1QQ
QQ
Q
QQ
QQ
Q
QQ
QQ
Q
QQ
QQ
Q
QQ
QQ
Q
QQ
QQ
Q
QQ
QQ
Q
QQ
QQ
Q
QQ
QQ
Q
QQ
QQ
Q
QQ
QQ
Q
QQ
QQ
Q
6
7
LAS PIEZAS QUE SE MUESTRAN EN LOS RECUADROS
(EN LAS ILUSTRACIONES) VIENEN ENSAMBLADAS
QQ
QQ
Q
QQ
QQ
Q
Si vous avez des questions à poser ou des préoccupations à exprimer, vous pouvez joindre la ligne
téléphonique d’assistance à la clientèle de Safco en composant le 1-800-664-0042. La ligne est ouverte du
lundi au vendredi, entre 8 h et 16 h 30 (heure du Centre). (Les standardistes sont d’expression anglaise.)
Si tiene preguntas o inquietudes, por favor llame a Safco Consumer Hot Line
al 1-800-664-0042. Disponible de lunes a viernes de 8:00 a.m. a 4:30 p.m.
(hora del centro) (las operadoras hablan inglés)
NOTE: REMOVE
PLASTIC CAP
LA NOTE : ENLEVEZ
LEBOUCHON
PLASTIQUE
=
NOTE: REMOVE
PLASTIC CAP
NOTA: REMUEVA EL
TAPÓN PLÁSTICO
=