Lectron Portable Electric Car Charger Level 2 32A User manual

Portable Electric Car Charger
(Level 2, 32A)
User Manual

Page 2
In the Box
Safety Information
• 1 x portable electric car charger
• 1 x user manual
• It is recommended that electrical outlets for your charger should be installed by a
licensed and qualified electrician. To avoid injury, installation must comply with the
provisions of the National Electric Code (NEC) and all local codes. In cases of any
conflict between the local codes and the NEC, local codes shall take precedence.
• This product must be grounded. In case of a malfunction or breakdown, grounding
provides a path of least resistance for electric current to help reduce the risk of
electric shock. This product includes a cord that is equipped with a grounding
conductor and a grounding plug. The plug must be inserted into an appropriate
outlet that is properly installed and grounded in accordance with all local codes and
ordinances.
• Do not drop the charger or coupleur (see the image in the Charger Components
section below).
• If the output plug separates from the charger module or the charge coupler, do not
attempt to repair the cable yourself. Contact Lectron Customer Support -
contact@ev-lectron.com - for assistance.
• Follow these basic precautions when using the charger:
• Read warnings on the charger cord label before operating the charger for
the first time. Read all instructions in this guide before using this charger.
• Never use the charger with an extension cord.
• Never use the charger with AC adapter.

Page 3
Charger Components
Display Components
1. Rated Current
2. Charge Timer
3. Charging Icon
4. Charger Amount
5. Real-time Voltage
• Shock hazard – make sure the plug is fully inserted into the wall outlet so
that there are no exposed blade surfaces.
• Children must be supervised in the vicinity of a plugged-in charger.
• To reduce the risk of fire, connect only to a circuit provided with 40 amps
maximum branch circuit overcurrent protection.
6. Real-time Current
7. Temperature
• Power
• Connected
• Charging
• Fault
LED Display
Current Adjustment Button
NEMA
14-50 Plug
Charging Coupleur
Release Button
5.
1.
7.
3.
4.
6.
2.

Page 4
Charging Your Vehicle
1. Insert the NEMA 14-50 plug into a corresponding wall outlet.
Note:
Ensure that the car is parked and the engine is turned OFF.
2. The Power / Connected LED will light up and become solid indicating that the char-
ger is powered and ready to use.

Page 5
3. Plug the Charging Coupler into your vehicle’s charging outlet until it clicks. Once
latched, the Charging Coupler will not disengage until the release button has been
pressed manually.
4. Charging begins automatically. While charging, the Charging Indicator will blink
continuously. Always double-check that the vehicle is effectively charging from your
vehicle dashboard.

Page 6
5. When the vehicle is fully charged, the Charging Indicator light will stay solid.
Double-check from the vehicle dashboard that it is fully charged. Refer to your
vehicle's manual to locate the Charge Indicator on the vehicle dashboard.
6. To remove the charging coupler from the car:
1. Press the release button.
2. Gently pull the charging coupler away from the car.
Fully Charged
210 V6/6 A+ 0 km
1
2

Page 7
Note:
240 VAC Operation: the charger requires either a 240 VAC split-phase or a 208 VAC
two-phase dedicated circuit. It draws a maximum of 32 amps of continuous current.
7. Adjust the charging current using the + or - button on the charging module, you can
see the actual charging current on the LED display.
FAQ
The LED Indicator on the charger does not light up.
Check the circuit breaker and other circuit loads.
Try another wall outlet.
Ensure that the charger module (and adapter if operating in 240 VAC mode) is fully
inserted into the wall outlet.
The vehicle does not charge.
Inspect the charging coupler.
Remove the charging coupler from the vehicle, then reinsert it into the vehicle until it
clicks.
The faulty indicator remains solid.
Verify that the vehicle charge timer is set to permit charging. Refer to your vehicle’s
manual for charge timer instructions.
The faulty indicator is blinking rapidly.
Inspect the charger module for overheating.
Carefully unplug the charger plug from the wall outlet and allow it to cool before
reconnecting it.
If the condition persists, have a qualified electrician inspect the ground circuit of the
wall outlet.

Get More Support
Specif i cations
Line Input Power: 240V AC
Frequency: 60 Hz
Maximum Current: 32A
Cable Length: 21in. Total reach length 25in
Plug: NEMA 14-50 Plug
EV connector: SAE-J1772
Dimensions: 9.45 x 3.5 x 2.4in (enclosure only)
Weight: 9.9lb
Temperature: -22°F to +122°F
Scan the QR code below or email us at contact@ev-lectron.com.
For more information, visit:
www.ev-lectron.com
Made in China

Cargador Portátil de Coche
Eléctrico (Nivel 2, 32A)
Manual del usuario

Página 2
En la caja
5ac5c7
Información de Seguridad
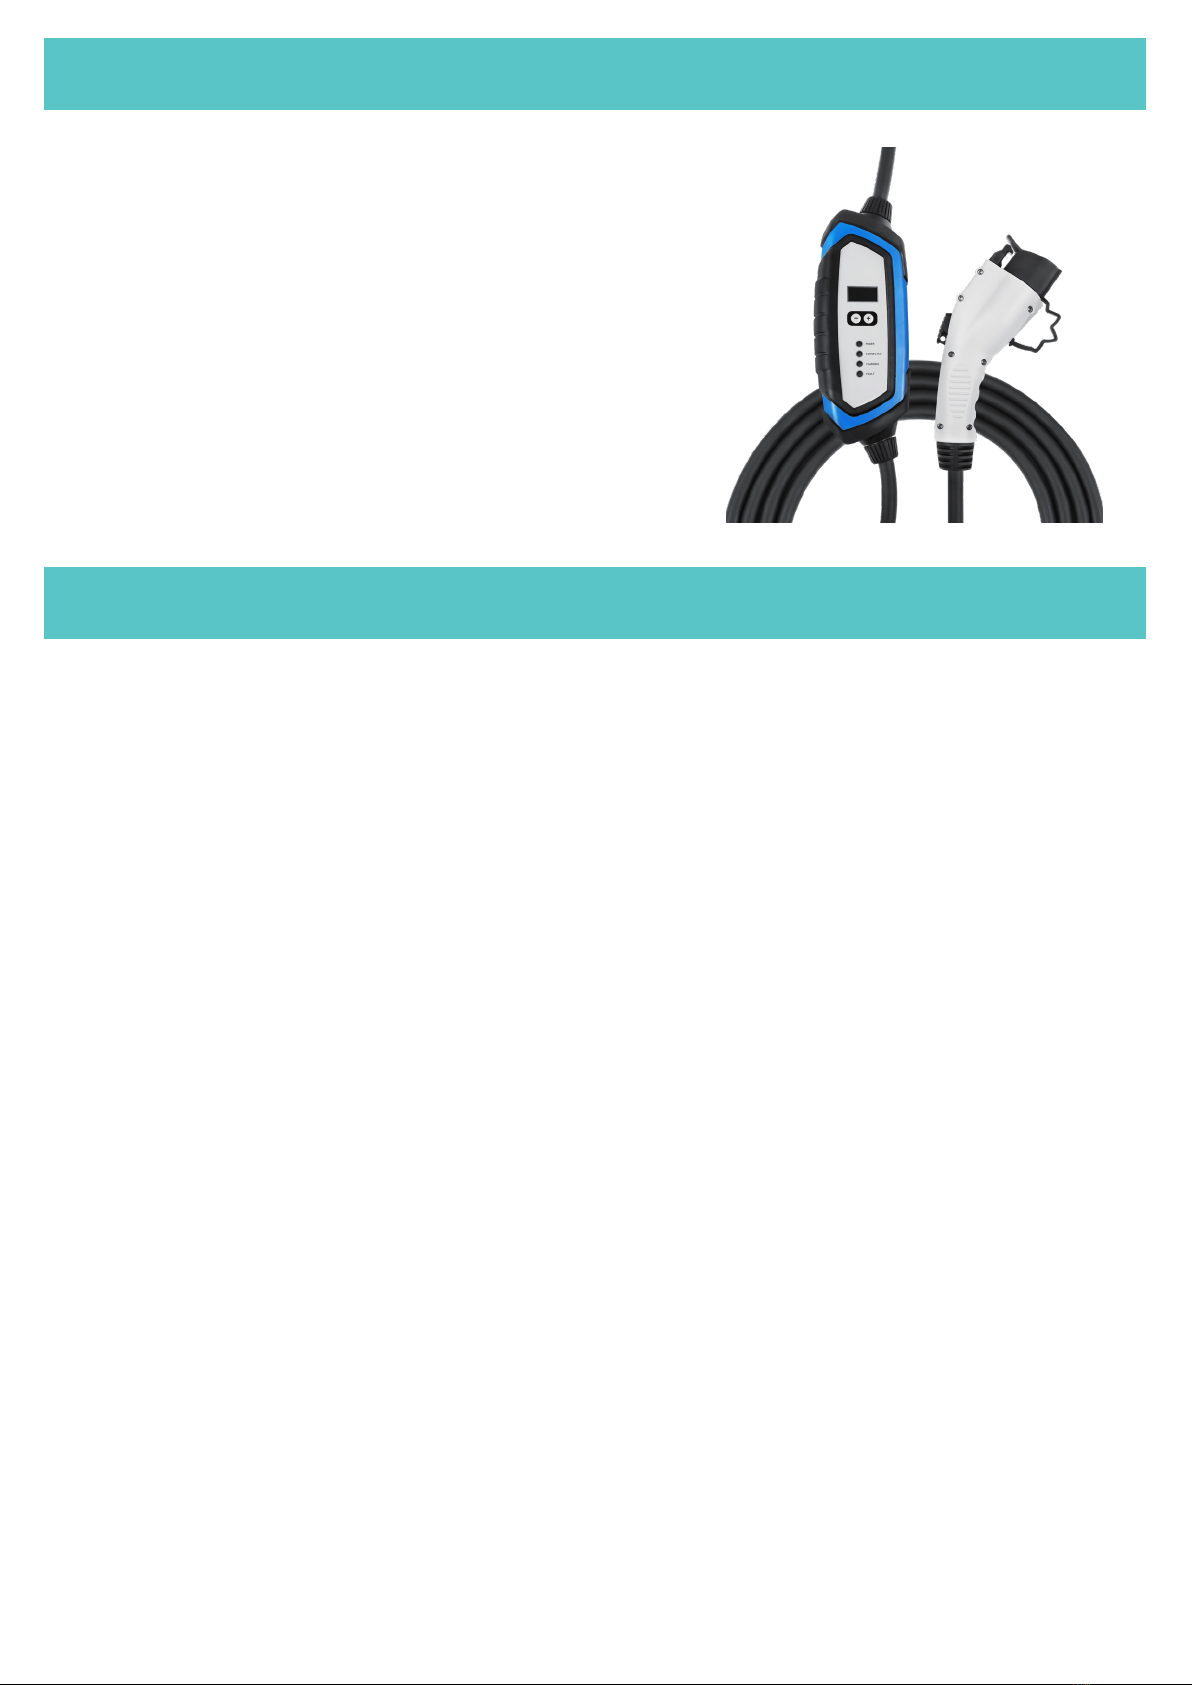
• 1 x cargador portátil de coche eléctrico
• 1 x manual de usuario
• Se recomienda que los tomacorrientes de su cargador sean instalados por un
electricista calificado y con licencia. Para evitar lesiones; la instalación debe cumplir
con las disposiciones del Código Eléctrico Nacional (NEC) y todos los códigos
locales. En caso de conflicto entre los códigos locales y el NEC, prevalecerán los
códigos locales.
• Este producto debe estar conectado a tierra. En caso de mal funcionamiento o
avería, la conexión a tierra proporciona un camino de menor resistencia para la
corriente eléctrica que ayuda a reducir el riesgo de descarga eléctrica. Este
producto incluye un cable equipado con un conductor de conexión a tierra y un
enchufe con conexión a tierra. El enchufe debe insertarse en un tomacorriente
apropiado, que esté correctamente instalado, y conectado a tierra de acuerdo con
todos los códigos y ordenanzas locales.
• No dejes caer el cargador ni el acoplador (véase la imagen en la sección de
Componentes del Cargador).
• Si el enchufe de salida se separa del módulo cargador o del acoplador de carga, no
intentes reparar el cable tÚ mismo. Ponte en contacto con el Servicio de Atención al
Cliente de Lectron (contact@ev-lectron.com) para recibir ayuda.
• Siga estas precauciones básicas cuando utilice el cargador:
• Lee las advertencias de la etiqueta del cable del cargador antes de
utilizarlo por primera vez. Lee todas las instrucciones de esta guía antes de
utilizar este cargador.

Página 3
Enchufe
14-50 Plug
• No utilices nunca el cargador con un cable alargador.
• No utilices nunca el cargador con cualquier adaptador AC.
• Peligro de descarga: asegúrate de que el enchufe está completa
mente insertado en la toma de corriente para que no haya superficies de
cuchillas expuestas.
• Los niños deben ser supervisados cerca de un cargador enchufado.
• Para reducir el riesgo de incendio, conecta únicamente a un circuito pro
visto de una protección de sobrecorriente de 40 amperios como máximo.
Componentes del Cargador
Componentes de la pantalla
1. Corriente nominal
2. Temporizador de carga
3. Icono de carga
4. Cantidad del cargador
5. Voltaje en tiempo real
6. Corriente en tiempo real
7. Temperatura
• Energía
• Conectado
• Cargando
• Fallo o Avería
LED Display
Current Adjustment Button
Acoplador de Carga
Botón de Liberación
5.
1.
7.
3.
4.
6.
2.

Página 4
Cargar Tu Vehiculo
1. Inserte el enchufe NEMA 14-50 en un tomacorriente de pared correspondiente.
Nota:
Asegúrate de que el coche está aparcado y el motor está apagado.
2. Los indicadores de encendido / conectado se iluminará y quedará fijo para indicar
que el cargador está encendido y listo para usar.

Página 5
3. Enchufa el Acoplador de Carga en la toma de corriente de tu vehículo hasta que
haga clic. Una vez encajado, el Acoplador de Carga no se desenganchará hasta que
se haya pulsado manualmente el botón de liberación.
4. La carga comienza automáticamente. Mientras se carga, el indicador de carga
parpadeará continuamente. Siempre verifique dos veces que el vehículo se esté
cargando efectivamente desde el tablero de su vehículo.

Página 6
6. Para quitar el acoplador de carga del automóvil:
1. Presione el botón de liberación.
2. Retire con cuidado el acoplador de carga del automóvil.
5. Cuando el vehículo está completamente cargado, la luz indicadora de carga
permanecerá fija. Verifique dos veces desde el tablero del vehículo que esté
completamente cargado. Consulte el manual de su vehículo para ubicar el
indicador de carga en el tablero del vehículo.
Totalmente Cargado
210 V6/6 A+ 0 km
1
2

Página 7
Nota:
Funcionamiento a 240 VCA: el cargador requiere una fase dividida de 240 VCA o un
circuito dedicado bifásico de 208 VCA. Consume un máximo de 32 amperios de
corriente continua.
7. Ajuste la corriente de carga usando el botón + o - en el módulo de carga usted
puede ver la corriente de carga real en la pantalla LED.
PREGUNTAS FRECUENTES
El indicador LED del cargador no se enciende.
Compruebe el disyuntor y otras cargas del circuito.
Pruebe con otro toma corriente.
Asegúrese de que el módulo cargador (y el adaptador si funciona en modo 240 VAC)
está completamente insertado en el toma corriente.
El vehículo no se carga.
Inspeccione el acoplador de carga.
Retire el acoplador de carga del vehículo y vuelva a insertarlo en el vehículo hasta que
haga clic.
El indicador de avería permanece fijo.
Verifique que el temporizador de carga del vehículo esté ajustado para permitir la
carga. Consulte el manual de su vehículo para ver las instrucciones del temporizador
de carga.
El indicador de avería parpadea rápidamente.
Compruebe si el módulo de carga está sobrecalentado.
Desenchufe con cuidado el cargador del toma corriente y deje que se enfríe antes de
volver a conectarlo.
Si el problema persiste, haga que un electricista calificado inspeccione el circuito de
tierra del toma corriente.

Especificaciones
Entrada/salida: 240V
Frecuencia: 60 Hz
Corriente Máxima: 32A
Longitud del Cable: 21 pulgadas. Longitud de alcance total 25 pulgadas.
Enchufe: Enchufe NEMA 5-15
Conector de Coche Eléctrico: SAE-J1772
Dimensiones: 9,45 x 3,5 x 2,4 pulgadas (solo recinto)
Peso: 9.9libras
Temperatura: -22°F a +122°F
Para más información, visita:
www.ev-lectron.com
Fabricado en China
Obtenga más apoyo
Escanee el código QR que aparece a continuación o envíenos un correo

Chargeur électrique portable
pour voiture (Niveau 2, 32A)
Manuel d'utilisateur

Page 2
Inclus dans la boîte
Informations relatives à la sécurité
• 1 x chargeur électrique portable pour voiture
• 1 x manuel d'utilisateur
• Il est recommandé que les prises électriques de votre chargeur soient installées par
un électricien agréé et qualifié. Pour éviter les blessures ; l'installation doit être
conforme aux dispositions du National Electric Code (NEC) et à tous les codes
locaux. En cas de conflit entre les codes locaux et le NEC, les codes locaux
prévaudront.
• Ce produit doit être mis en terre. En cas de dysfonctionnement ou de panne, la
mise en terre fournit un chemin de moindre résistance au courant électrique pour
réduire le risque de choc électrique. Ce produit comprend un cordon équipé d'un
conducteur de mise en terre et d'une fiche de mise en terre. La fiche doit être
insérée dans une prise de courant appropriée qui est correctement installée et mise
en terre, conformément à tous les codes et ordonnances locaux.
• Ne pas faire tomber le chargeur ou le coupleur (voir l'image dans la section
Composants du chargeur ci-dessous).
• Si la fiche de sortie se sépare du module de charge ou du coupleur de charge,
n'essayez pas de réparer le câble vous-même. Contactez le Service Client Lectron -
contact@ev-lectron.com - pour obtenir de l'aide.
• Suivez ces précautions de base lors de l'utilisation du chargeur :
• Suivez les avertissements sur l'étiquette du cordon du chargeur avant
d'utiliser le chargeur pour la première fois. Lisez toutes les instructions de
ce guide avant d'utiliser ce chargeur.
• N'utilisez jamais le chargeur avec une rallonge.
• N'utilisez jamais le chargeur avec un quelconque adaptateur secteur.

Enchufe
Prise 14-50
Page 3
• Risque de choc - assurez-vous que la fiche soit complètement insérée dans
la prise murale de sorte qu'il n'y ait pas de surface de lame exposée.
• Les enfants doivent être surveillés à proximité d'un chargeur branché.
• Afin de réduire le risque d'incendie, ne branchez l'appareil que sur un
circuit doté d'une protection contre les surintensités de 40 ampères maxi
mum.
Composants du chargeur
Composants d'affichage
1. Courant nominal
2. Minuterie de charge
3. Icône de charge
4. Etat nominal du chargeur
5. Tension en temps réel
6. Courant en temps réel
7. Température
• Puissance
• Connecté
• En charge
• Défaut
Affichage LED
Bouton de réglage du
courant
Coupleur de charge
Bouton de déverrouillage
5.
1.
7.
3.
4.
6.
2.

Page 4
Recharge de votre véhicule
1. Insérez le chargeur dans une prise murale appropriée.
Remarque :
Assurez-vous que le véhicule est garé et le moteur éteint.
2. Le voyant d'alimentation/connecté s'allumera et deviendra fixe, indiquant que le
chargeur est alimenté et prêt à l'emploi.
Table of contents
Languages:
Other Lectron Batteries Charger manuals

Lectron
Lectron V-BOX 40A User manual

Lectron
Lectron Level 1 EV Charger for J1772 User manual

Lectron
Lectron V-BOX PRO 48A User manual

Lectron
Lectron Level 2 Charging Station User manual

Lectron
Lectron 32A Level 2 EV Charger User manual

Lectron
Lectron V-BOX 48A User manual

Lectron
Lectron Portable Level 1 Charger 16A User manual

Lectron
Lectron 40 Amp Level 2 EV Charger User manual

Lectron
Lectron 16/32A EV Charger User manual

Lectron
Lectron EVC27 User manual