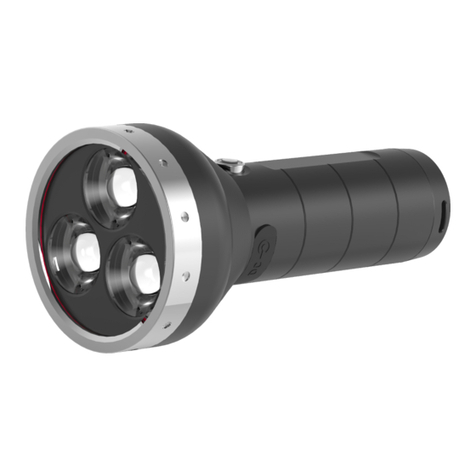
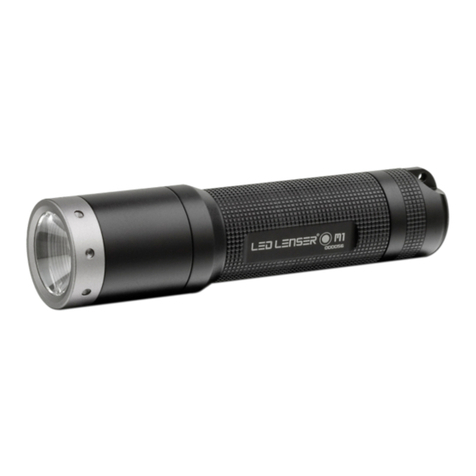
ledlenser F1R User manual
Other ledlenser Flashlight manuals
ledlenser
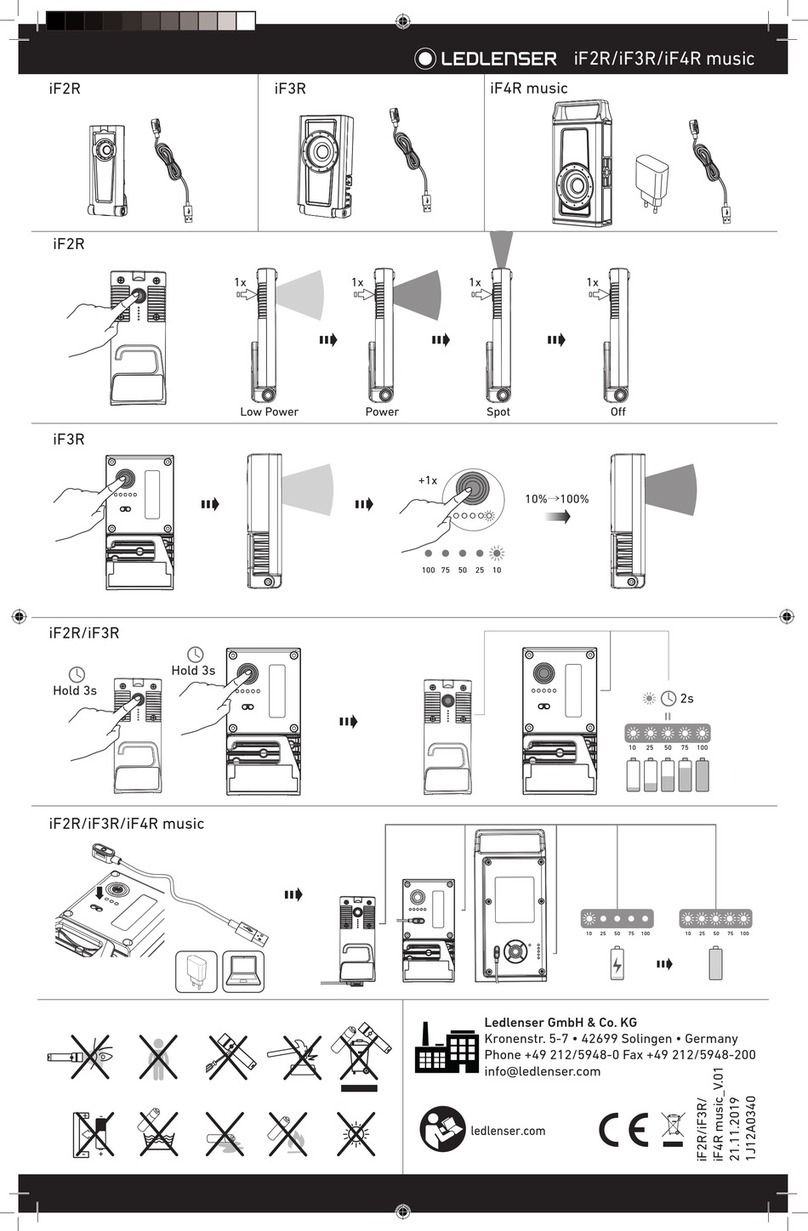
ledlenser iF2R User manual

ledlenser
ledlenser SEO 7R User manual
ledlenser
ledlenser P6R Work User manual

ledlenser
ledlenser P6R Work User manual

ledlenser
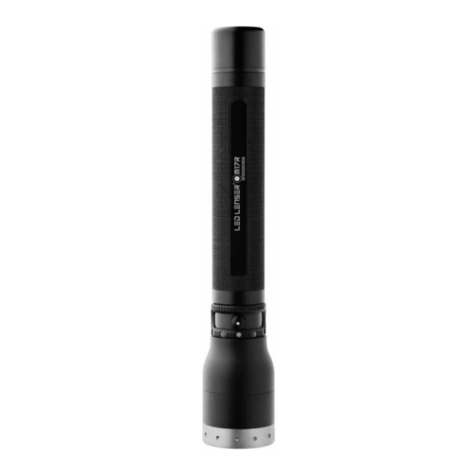
ledlenser P6.2 Instruction manual
ledlenser
ledlenser M17R-850 User manual
ledlenser
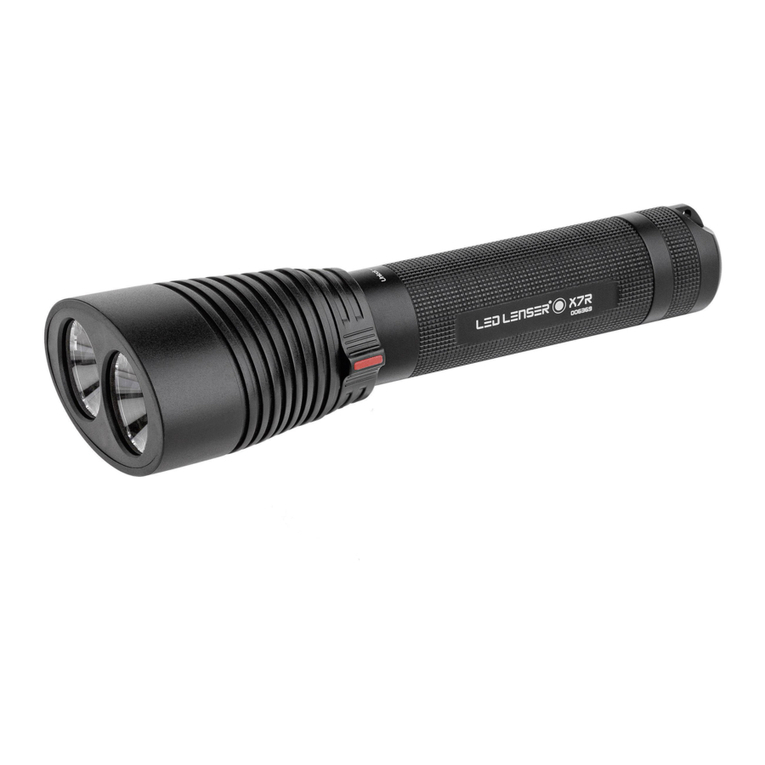
ledlenser X7R User manual
ledlenser
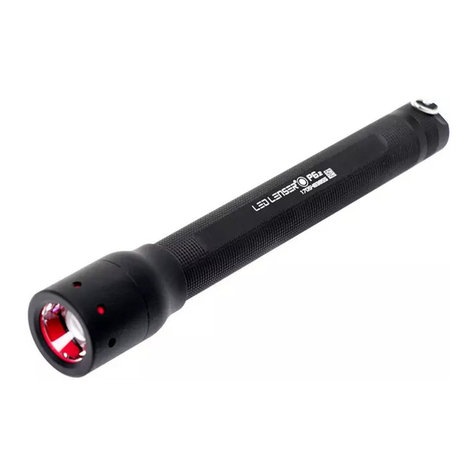
ledlenser P6.2 User manual
ledlenser
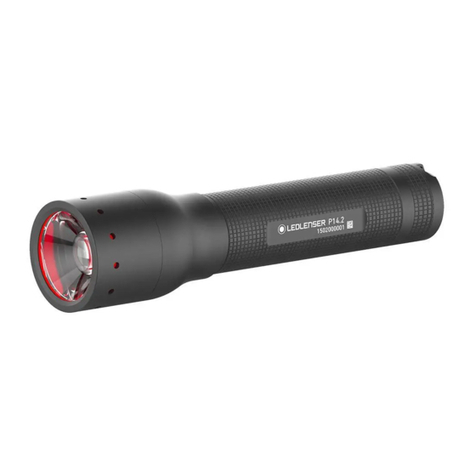
ledlenser P14.2 User manual
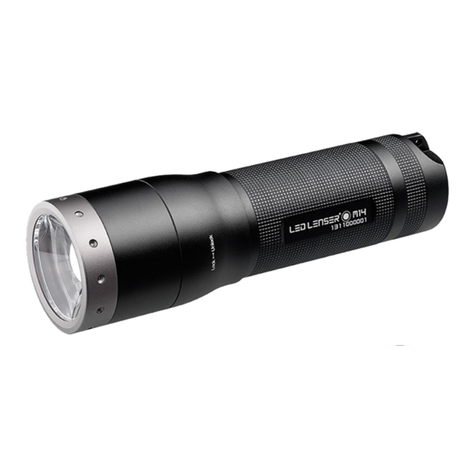
ledlenser
ledlenser M14 User manual
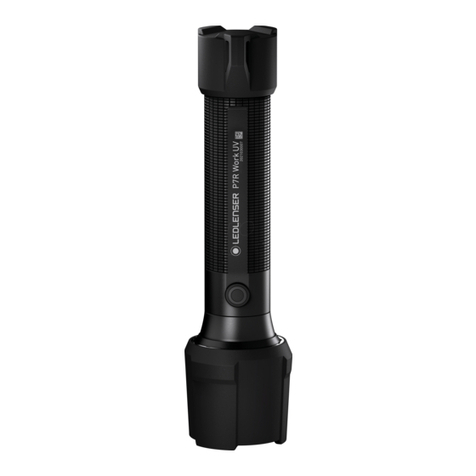
ledlenser
ledlenser P7R User manual
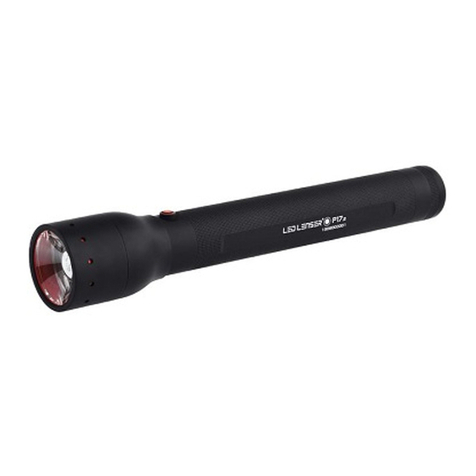
ledlenser
ledlenser P17.2 User manual
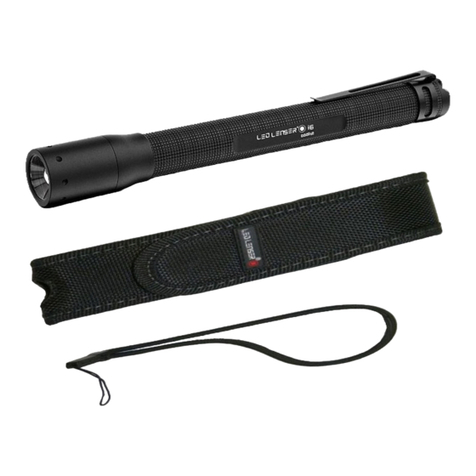
ledlenser
ledlenser i6 User manual

ledlenser
ledlenser 6005 User manual

ledlenser
ledlenser P6R Work User manual
ledlenser
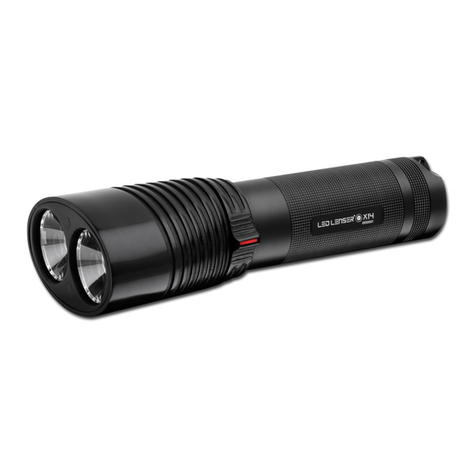
ledlenser X14 User manual
ledlenser
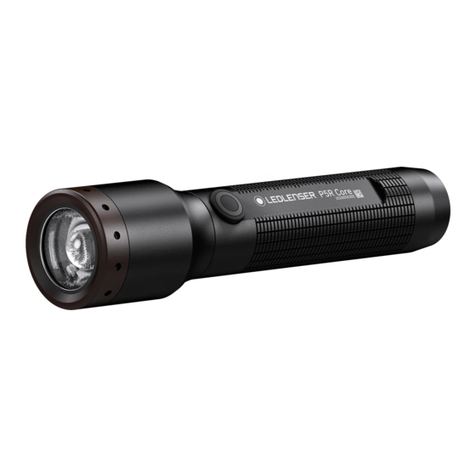
ledlenser P5R Core User manual
ledlenser
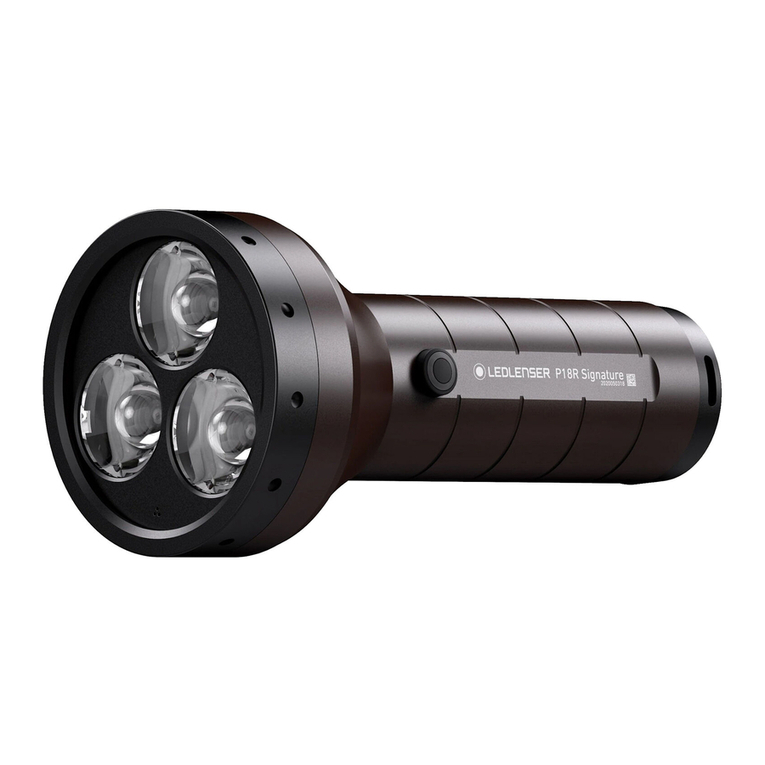
ledlenser P18R Work User manual
ledlenser
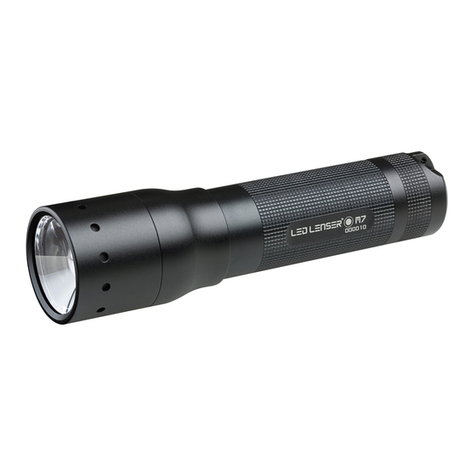
ledlenser M7 User manual

ledlenser
ledlenser P14.2 User manual
Popular Flashlight manuals by other brands

tiki
tiki Cabos Warnings and Instructions

Fervi
Fervi 0338 Operation and maintenance manual

Milwaukee
Milwaukee M18 IL Original instructions
Spectronics
Spectronics Spectroline LeakTracker SPI-LT instruction manual

Larson Electronics
Larson Electronics SLEDB-110V-M instruction manual

vulta
vulta hurricane 262 lumen fg-e15 user manual
