Legacy L1148L User manual

A
3
Owner’s Instructions
Lock-n-Load™Lever Action Grease Gun
Part No. : L1148L
A. Slide Lock-n-Load™
switch.
B. Push barrel into head
and release
Lock-n-Load™switch.
Unlock follower rod.
Pull follower rod from
barrel and lock into
place as shown.
YOU MUST PERFORM
THIS STEP BEFORE
DISENGAGING BARREL
FROM HEAD.
1
Automatic Bleeder
• Bleeds air when reconnecting
the barrel and head.
• Reduces air locks & priming
problems.
• If air does not escape quickly,
press screw to bleed.
A. Push barrel into head B. Slide Lock-n-Load™
switch.
C. Disengage barrel
from head.
Load new cartridge
into barrel.
IMPORTANT - follow each step in sequence to ensure proper loading of grease
Position right hand on gun barrel as
shown. Hold gun head with left hand,
left thumb on Lock-n-Load™switch.
2
AB C
B
Legacy Manufacturing Company
6281 North Gateway Drive
Marion, IA, 52302, U.S.A.
Ph: 319.373.7305
Fx: 319.373.7309
legacymfg.com INS1148L
( Published 03/14/2013 )
Lock-n-Load™ technology is protected by the following patents:
U.S. Patent No. 8,297,476
Foreign Patents Pending
Cartridge Loading Procedure:

Lock-n-Load™Best Practices:
1. To remove barrel to refill:
a. Pull the follower rod aggressively and lock.
b. (See fig. a.) Right hand, grip barrel.
c. Hold horizontal, waist high.
d. Left hand, turn head so outlet is away from you.
e. Left hand, grip head so thumb can
reach Lock-n-Load™switch.
f. Right hand, slightly push barrel into head and hold.
g. Push Lock-n-Load™switch forward as far as possible.
h. Right hand, pull barrel from head aggressively.
• A slight twist may be required.
2. To install barrel after refill:
a. Left hand, grip head so thumb can reach
Lock-n-Load™switch.
b. Hold horizontal, waist high, outlet is away from you.
c. Right hand, grab barrel.
d. Left hand, thumb, push Lock-n-Load™switch forward
as far as possible.
e. Right hand, insert barrel into head aggressively
• A slight twist may be required.
f. Left hand, release Lock-n-Load™switch.
g. Right hand, barrel, pull barrel away from head slightly
to lock.
• You will see Lock-n-Load™switch move toward you.
• You will see Lock-n-Load™switch move toward barrel.
• You will hear a slight “click”.
3. When inserting cartridges into barrel:
a. Follower rod must be pulled and locked.
b. Make sure cartridge is completely pushed down.
c. Make sure cartridge stays down.
4. Bulk filling, before attempting to grease:
a. Repeat the load process to extract air from grease.
• Pull follower rod and lock.
• Disengage barrel from head.
• Immediately reassemble barrel to head.
• Release follower rod.
• Press auto bleeder valve until all air escapes. (fig. b.)
5. Re-filled cartridges, before attempting to grease:
a. Repeat the load process to extract air from grease.
• Pull follower rod and lock.
• Disengage barrel from head.
• Immediately reassemble barrel to head.
• Release follower rod.
• Press auto bleeder valve until all air escapes. (fig. b.)
6. Priming after refilling with grease:
a. Release follower rod and push rod up if it doesn’t
automatically go up.
b. Point outlet up at least 45 degrees.
c. If using flexible extension, raise coupler above outlet.
d. Cover coupler outlet with thumb or finger.
e. Stroke handle completely and repeatedly
until grease flows without air.
Bulk filler ball
Recommended method for holding grease gun
to disengage barrel.
g. a. g. b.
g. c. g. d.

1. If air is not heard passing through auto bleeder
when removing or installing barrel:
a. Slide Lock-n-Load™switch and push the empty barrel
(with follower rod unlocked) into gun head.
b. Pull follower rod and lock (clears the auto bleeder)
c. Disengage barrel from head (clears the auto bleeder)
d. Repeat until auto bleeder is cleared.
e. Contact Legacy Manufacturing
2. If when assembling the barrel to head seems difficult
or springy:
a. Always push Lock-n-Load™switch forward as far as possible.
b. Grease cartridge may not be inserted completely into barrel.
c. Excess grease may be in head
- Remove excess grease.
d. Auto bleeder may be plugged
Bulk Loading Procedures:
Troubleshooting Guide:
One Handed Operation & Handle Latch:
Suction Loading Procedure
1. See step 1-2 on previous page to disengage gun barrel.
2. Insert open end of gun barrel two inches below
surface of grease.
3. Slowly pull back plunger rod handle
(drawing in grease). Then move follower rod handle
to the side to lock it.
4. See step 3 on previous page to engage barrel
into head assembly.
5. Move follower rod handle to the center to unlock it
& push into barrel. Depress bleeder valve button
to release air.
Manual Grease Filler Pump Loading Procedure
1. Make sure the barrel follower rod is unlocked
and pushed in.
2. Wipe bulk filler nipple clean.
3. Insert the grease gun bulk filler nipple into loader
pump / transfer pump receptacle.
4. Pump grease until you reach a distance of 8 inches
between the follower rod handle and the black barrel cap.
3. Grease does not flow when handle is stroked:
a. Release follower rod and push up if it doesn’t
automatically go up.
b. Grease cartridge may be empty.
c. See best “Lock-n-Load Best Practices”:
“Priming after refilling with grease”.
The L1148L’s spring loaded handle and storage hook
are designed to make it easy to engage grease fittings
in tight spaces:
One Handed Operation:
1. Connect coupler to grease fitting with one hand
while gripping grease gun like a pistol grip gun.
(fig. c.)
2. Squeeze handle to create pressure.
(The pressure will engage the grease coupler to the fitting)
3. Resume normal (two handed) greasing.
The L1148L is equipped with a handle lock to help
prevent accidental grease discharge during storage
or while maneuvering or loading the gun.
To secure the grease lever:
1. Press handle down as if greasing
(Note: Gun may expel grease during this step)
2. Slide handle latch over storage hook. (fig. d.)
To release the latch,
1. Press and release the handle.

ONE YEAR LIMITED WARRANTY*
LEGACY MANUFACTURING COMPANY (“LEGACY”) warrants that this equipment, ( NOT including couplers, whip hoses, and
wear items such as seals and springs ), will be free from defects in material and workmanship for a
period of one (1) year from the date of purchase, under normal use.* LEGACY’S sole obligation under this warranty is
limited to replacing or repairing, free of charge, any equipment that proves to be defective under normal conditions and use accord-
ing to the recommendations of LEGACY. To obtain repair or replacement, the equipment must be shipped to a LEGACY authorized
Warranty and Service Center during the warranty period, transportation charges prepaid, with proof of date of purchase. In the event of
repair or replacement, the warranty period shall not be extended beyond the original warranty period.
This warranty is extended to the original purchaser only and is not transferable. This warranty does not apply to normal wear
items such as packings, seals, tips and filters, or to equipment damaged from accident, overload, abuse, misuse, negligence, faulty
installation or abrasive or corrosive materials, or to equipment repaired or altered by anyone not authorized by LEGACY to repair and
alter equipment. No allowance will be granted for any repairs or alterations made by a purchaser without LEGACY’S prior written con-
sent.
LEGACY WILL BEAR NO OTHER EXPENSE, INCLUDING BUT NOT LIMITED TO LABOR AND MATERIAL COSTS (OTHER
THAN THOSE SPECIFIED HEREIN) OF ANY KIND, AND YOUR EXCLUSIVE REMEDY, IN LIEU OF ALL INCIDENTAL, SPECIAL,
CONSEQUENTIAL OR ANY OTHER DAMAGES, INCLUDING, BUT NOT LIMITED TO, DAMAGES FOR NEGLIGENCE, IS LIMITED
TO REPAIR OR REPLACEMENT AS HERETOFORE DESCRIBED. THE FOREGOING WARRANTIES ARE IN LIEU OF ALL OTHER
REPRESENTATIONS OR WARRANTIES, EXPRESS OR IMPLIED OF ANY KIND REGARDING ANY EQUIPMENT, INCLUDING BUT
NOT LIMITED TO THE IMPLIED
WARRANTIES OF MERCHANTABILITY AND FITNESS FOR A PARTICULAR PURPOSE OR USE. IN NO CASE SHALL LEGACY BE
LIABLE FOR ANY SPECIAL, INCIDENTAL OR CONSEQUENTIAL DAMAGES BASED UPON BREACH OF WARRANTY, BREACH OF
CONTRACT, NEGLIGENCE, STRICT LIABILITY, OR ANY OTHER LEGAL THEORY.
Unless modified in a writing, signed by both parties, this Limited Warranty is understood to be the complete and exclusive
agreement between the parties, superseding all prior agreements, oral or written, and all other communications between the parties
relating to the subject matter of this Limited Warranty. Any action for breach of warranty must be
commenced within twelve (12) months following the end of the warranty period.
* If this equipment contains a hose, the hose is warranted for ninety (90) days only. The remaining portions of this equipment
are warranted for one (1) year, as described above.
For service, call Legacy at: (319) 373-7305
or visit us on the web: legacymfg.com
Warnings / Tips / Warranty:
IMPORTANT!
Read all instructions and warnings before operating this product.
SAVE THESE INSTRUCTIONS!
IMPORTANT!
Do not load gun with air-operated grease pump. Damage to unit
will occur and warranty will be voided.
OPERATING TIP:
The Automatic bleeder will expel air pockets when reconnecting
the barrel and head, this will greatly reduce air locks
and priming problems.
Replacement Parts:
RP009006L Lock-n-Load™Barrel Assembly RP009007L Lock-n-Load™Barrel Switch Kit
Watch the Lock-n-Load Loading Demo:
lock-n-load.info/pages/misc/videos.html
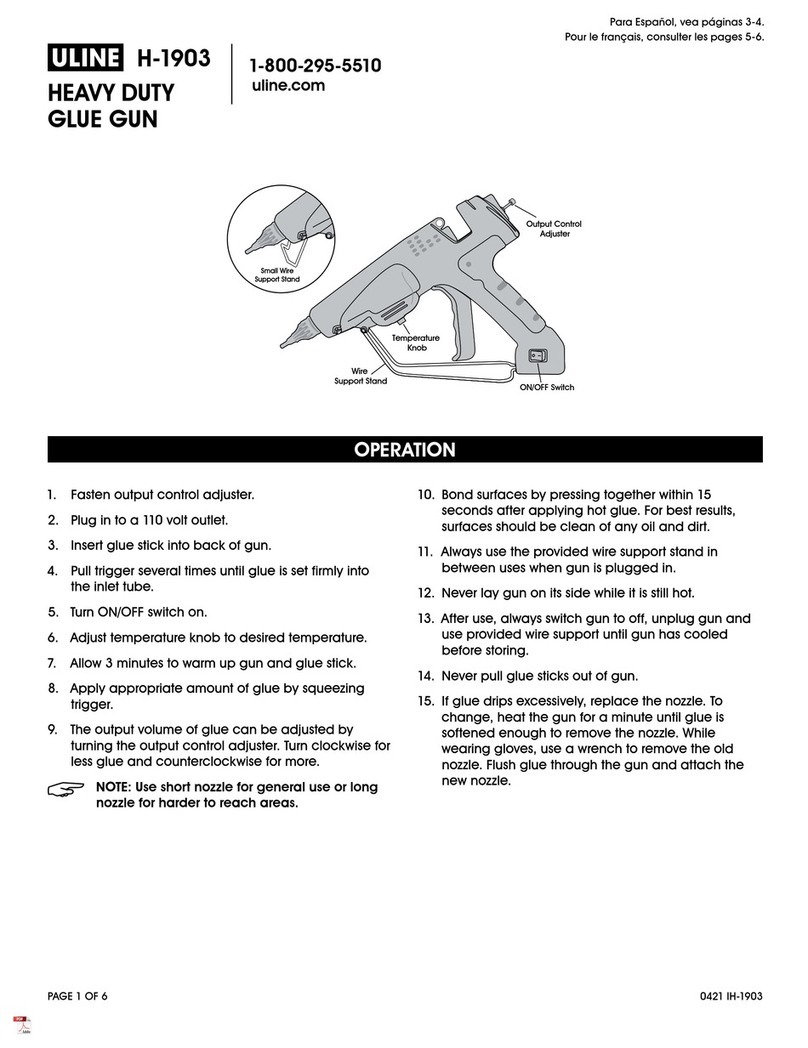
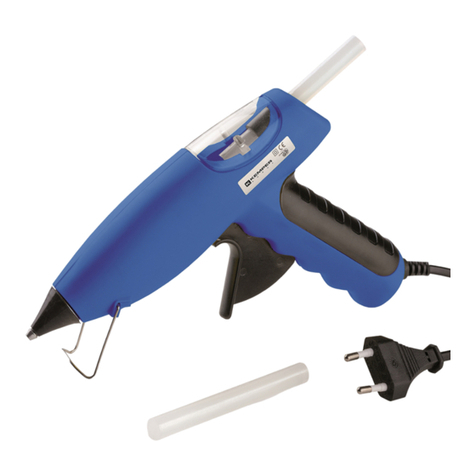
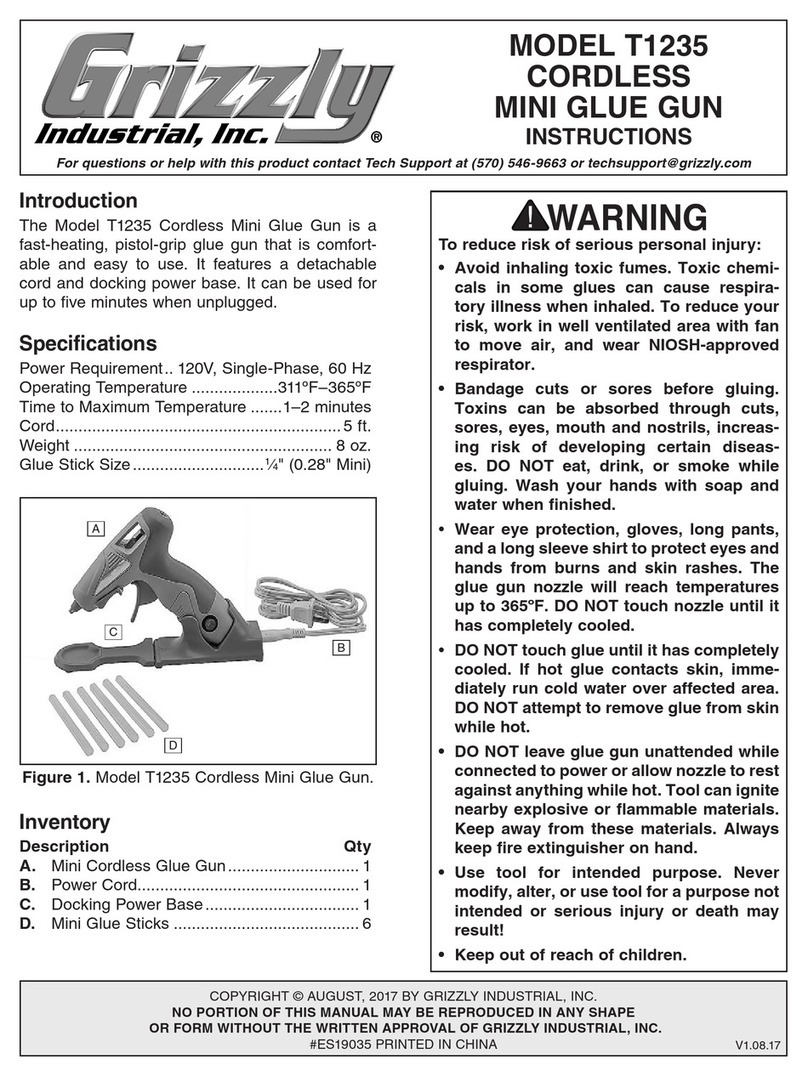
Popular Glue Gun manuals by other brands

Parkside
Parkside PHP 500 A1 - 3 Operation and safety notes

3M
3M Scotch-Weld Applicator AE II LT Specifications

Parkside
Parkside PNKP 105 A1 Translation of the original instructions

Grizzly
Grizzly T1235 instructions

Ribimex
Ribimex PRBAT20/PCOLSB User and maintenance manual

Parkside
Parkside PHP 500 B2 Quick user guide