Lenoxx DVD3460N User manual

Model no: DVD3460N
PLEASE READ AND RETAIN THESE INSTRUCTIONS FOR FUTURE REFERENCE.
Batch no: PR4217

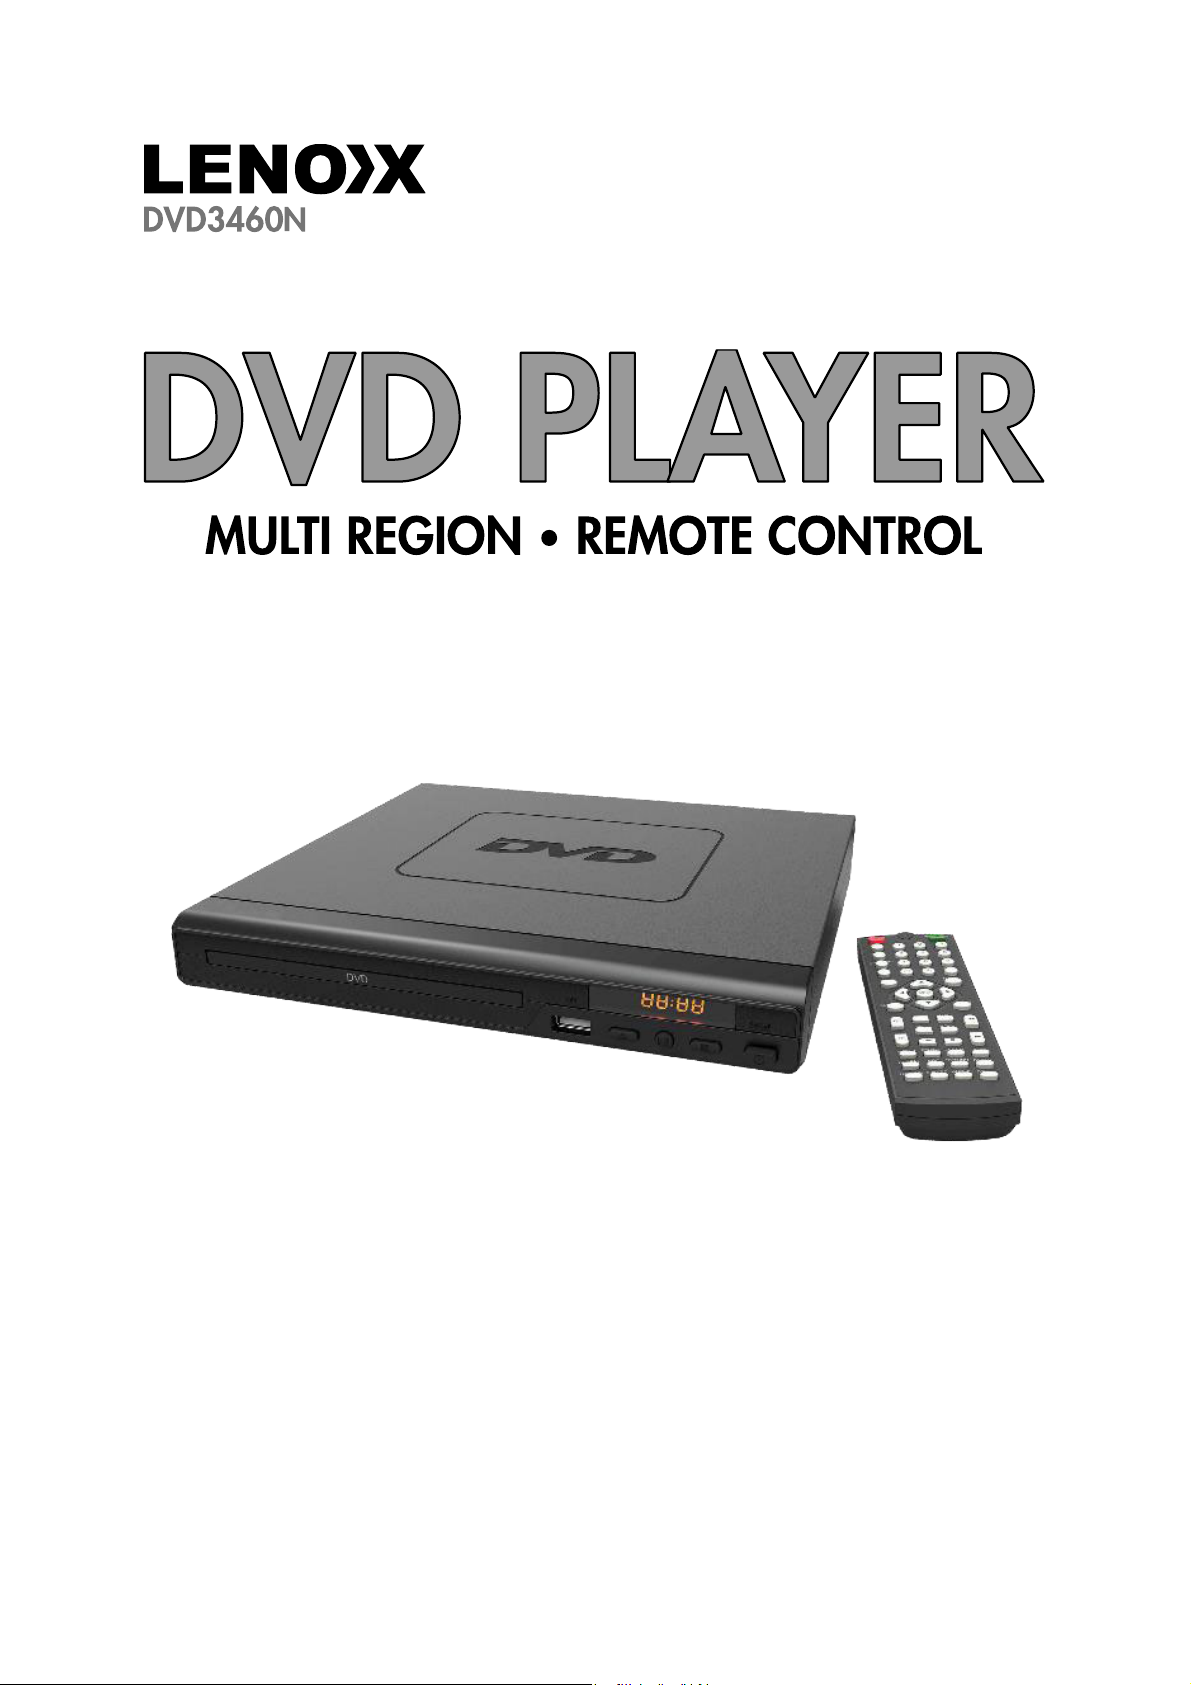
The illustrations used in this manual are to illustrate the operation method and product
structure of the product. Where there is a small difference between the physical item and
the illustrations, please take the physical as the standard.
SAFETY INSTRUCTIONS:
• Check that the voltage indicated on the rating plate corresponds with that of the local
network before connecting the unit to the mains power supply.
• Children aged from 8 years and people with reduced physical, sensory or mental
capabilities or lack of experience can use this unit, only if they have been given supervision
or instruction concerning use of the unit in a safe way and understand the hazards involved.
• Children should be supervised to ensure that they do not play with the unit. Unless they
are older than 8 years of age and supervised, children should not perform cleaning or user
maintenance. Close supervision is always necessary when an appliance is used by or near
children.
• This unit is not a toy.
• This unit contains no user serviceable parts. If the unit and any of its accessories are
malfunctioning or it has been dropped or damaged, only a qualified repairer should carry
out repairs. Improper repairs may place the under at risk of harm.
• Keep the unit away from heat sources, direct sunlight, humidity, water and any other
liquid.
• Do not immerse the unit in water or any other liquid.
• Do not operate the unit with wet hands.
• Do not operate the unit if it has been exposed to water, moisture or any other liquid, to
prevent against electric shock, explosion and/or injury to yourself and damage to the unit.
• Do not remove the appliance from the mains power supply by pulling on the cord; switch
it off and remove the plug by hand.
• Do not use the unit for anything other than it’s intended use.
• Do not use this unit outdoors.
• Do not store the unit in direct sunlight or high humidity conditions.
• Do not move the unit whilst it is in use.
• Do not put any objects into any of the openings.
• The unit must be places on a stable, heat resistant surface.
• The unit is intended for domestic use only. It should not be used for commercial purposes.
• The unit may become hot during operation. Always leave sufficient space around the unit
for ventilation.
• The voltage supplied to the unit should match the voltage that is printed on the back
panel. If you have any doubts concerning this matter, consult an electrician.
• Avoid placing the unit in direct sunlight or close to any sources of heat. Also avoid
locations subject to vibrations and excessive dust, heat, cold or moisture.
• Do not expose the unit to water.
• Do not place the unit on an amplifier or receiver.
• Do not open the cabinet as this might result in damage to the circuits or an electric shock.
If a foreign object gets into the unit, contact your dealer or service company.

CAUTION:
WARNING: DO
NOT EXPOSE THIS
APPLIANCE TO
RAIN OR
MOISTURE, DUE
TO THE HIGH RISK
OF FIRE OR
ELECTRIC SHOCK,
DO NOT OPEN THE CABINET DANGEROUS HIGH VOLTAGES ARE PRESENT INSIDE THE
ENCLOSURE. ONLY QUALIFIED SERVICE PERSONNEL SHOULD ATTEMPT THIS.
• This unit utilises a laser.
• The use of optical instruments with the unit will increase eye hazard, as the laser used in
the DVD player is harmful to eyes.
• Use of controls, adjustments or performance of procedures other than those specified
herein may result in hazardous radiation exposure.
• Do not attempt to disassemble or repair the unit; refer servicing to qualified personnel
only.
• This unit is classified as a class 1 laser product.
• The class 1 laser product marking is located on the laser protective housing inside the
enclosure.
BOX CONTENTS:
1 x Lenoxx DVD PLAYER
1 x Remote control
1 x AV cable
1 x Instruction manual

CONTROLS AND FUNCTIONS:
FRONT PANEL:
1.
DVD Tray
2.
Remote Sensor
3.
Display
4.
USB Port
5.
Open/Close
6.
Play/Pause
7.
Stop
8.
Power On /Off
REAR PANEL:
9.(Y. Pb/Cb. Pr/Cr) Output
10. Power Cable Outlet
11. 2 x Audio Outputs
12. Video Output
DVD
Ba t c h N o :PR4217
1 2 3
910
11
4
12
567 8

REMOTE CONTROL:
REMOTE CONTROL OPERATION:
Insert the baƩeries into the baƩery compartment. 2 x AAA baƩeries are required.
Point the remote at the remote sensor in front of the player and make sure there are no
obstacles in the way between the remote and the player. The distance between the
remote and the sensor must not exceed 3m.
To prevent damage to the remote control, please remove the baƩeries when not in use
for long periods of ƟŵĞ

REMOTE CONTROLS AND FUNCTIONS:
POWER ON/OFF
Press to Power On, press again for
Standby mode.
OSD
Press for information of the disc to
display
STEP
Press to play picture by picture. Press
Play to return to normal playback.
DVD/USB
Press to switch between DVD and USB
play.
MUTE
Mute sound during playback
TITLE
When using DVDs, press to return to the
title menu.
LEFT (<)
Left direction within selection menu
SETUP
Press to get into Set Up menu
L/R
Use for VCD or CD discs. Press button to
select left or right channel, or
stereo
PREVIOUS (I<<)
In DVD mode, press to go to previous
chapter. With SVCD, VCD, CD, MP3
discs, press to go to previous track.
VOLUME DOWN (-)
Decrease volume
NEXT (>>I)
In DVD mode, press to go to next
chapter. With SVCD, VCD, CD, MP3
discs, press to go to next track.
PLAY/PAUSE
Press once to pause, press again to
play
VIDEO
Switch to video output mode (cvbs.
yuv.rgb)
PROGRAMME
If the disc has two or more tracks,
chapters, or titles, set up playing
order preference. Press the button to
then input the number of the track,
title or chapter. If the programmed
tracks are over 10, press ‘Next’ to
go on programming. Use the up/
down/left/right key to move the
cursor to ‘Start’. Press ‘Enter’ to
start programmed play.
With MP3 discs, press the button to
enter ‘Directory-Play’ mode. Press
‘Programme’ again to enter file-list
mode.
REPEAT
Press repeatedly in DVD mode to
scroll through: repeat a title, chapter,
track or to the beginning. In SVCD,
VCD or CD mode: track repeat, all
repeat or repeat cancel.
PBC
VCD mode: Playback control


INSTRUCTIONS GUIDE:
Getting started:
Setting Up
Connect the power plug of the DVD player to a wall outlet. The power indicator and
clock on the front panel will illuminate.
Follow the below guidance for cable connections to get your DVD player set up:
Cable Connection Options:
1a. Connect an RCA cable between the 2 channel Audio Output port and the RCA input on
your TV.
1b. Connect a (Y Pb /Cb Pr /Cr) cable via the (Y/ Cb/Pb Cr/Pr) Output of the DVD player to
your TV (R/L/Video port and cable).
DVD OPERATION:
Once your DVD player has been connected to the TV and to a power source, the
product is ready for use.
The following DVD formats can be played: DVD, DVD-R-RW, CD Video. Mpeg4 and DivX
must be converted to AVI format.
Please complete the following guidance to complete the set-up of the DVD player:
Ensure that your TV is set to the correct mode for DVD playback.
Plug in the DVD player and press the ‘Power’ button to turn the unit on. You can do this
on the unit (Ref.8) or via the remote (Rem.1).
When the machine is switched on, pressing the POWER button on the remote control will
make it go into standby mode. Press the button again and the machine will switch on.
WARNING: If the product is not going to be used for a long period of time, it is
advisable to unplug it for safety
Press the Open/Close button on the front panel (Ref.5) or on the remote control
(Rem.20) and place a DVD disc on the disc tray. Press the Open/Close button again to
close thetray.
The DVD will read the DVD disc and begin play. You can control the playback and
settings via the buttons of the remote control.

USB OPERATION:
This product has a USB port at the DVD front face for MP3/ Movies playback.
Insert a USB unit into the USB port on the front panel of the DVD player (Ref.4).
Press the DVD/USB button on the remote control (Rem.4) to enter the USB source. The
DVD player will read and display the file list off the USB unit.
Browse the file list by pressing the buttons (Rem. 7, 24, 25, 28) on the remote
control. Select a file by pressing the Enter button (Ref.26) of the remote control.
THE MAX SIZE USB CAPACITY IS 16GB.
PLAYING JPEG/PICTURE CD DISCS AND MP3 DISCS:
The following formats can be played: Jpg, Jpeg, CD Photo
Press the STOP button and 12 small pictures will show on the TV screen.
Press the buttons on the remote control to select the desired picture to view.
To access instructions menu, use the on the remote control to
PROG - Select to change picture
transform mode
STOP - Entering picture preview mode
PREV - Previous picture
NEXT - Next picture
PLAY - Play picture
UP - Mirror image in vertical
DOWN - Mirror image in horizontal
LEFT - Rotate 90 degrees
anticlockwise
RIGHT - Rotate 90 degrees clockwise
ZOOM - Change zoom mode
FAST FORWARD - Zoom in the
picture
FAST REWIND - Zoom out the picture
Move zoom focus for
picture.
PLAYING MP3 DISCS:
The following formats can be played: Mp3, WMA, CD Audio, CD- R-RW, CD.
Whilst a MP3 disc is playing, there is a menu screen on the TV. Press the buttons
(Rem. 24/28) to scroll through tracks or folders. Press the ENTER button to select the
track orfolder.
Press the PROG button in files play mode. The screen will then display the total track
number and the current playing track. Use the digit buttons (Ref.21) to key in and select
the track or use the buttons to shift to the track and press the ENTER button
(Rem.26) to play the track.

SYSTEM SETUP:
Menu operation
Press the SETUP button on the remote control to display the Setup (Main) Menu.
1. Once the Setup Menu is on display, use the LEFT and RIGHT buttons to select an option,
then press ENTER to enter the sub-menu.
Press the UP and DOWN buttons to select the desired setting then press ENTER to confirm
your selection.
2. To exit the Setup Menu, press the SETUP button again.
Note: The items in gray cannot be changed.
General setup page
OSD Language
Select the on-screen display language.
Subtitle, Audio, Menu
These are your initial settings and will only work if the disc supports these functions (will
default to the disc value if not supported).
Version
Software information.
Display setup page
Aspect Ratio
16:9 : Use this aspect ratio when the unit is connected to the wide screen TV set.
4:3 / LB : Use this aspect ratio when the unit is connected to a normal TV set. Black bars will
appear on the top and bottom of the screen.
4:2 / PS : Use this aspect ratio when the unit is connected to a normal TV set. The wide screen
image will be shown on the full screen but some parts will be cut off.

TV type
This unit is suitable for the following TV systems : AUTO, NTSC and PAL.
AUTO : The TV system will automaƟcally switch according to the disc that is playing.
NTSC : This system is used in USA, Taiwan, Japan, etc.
PAL : This system is used in South Africa, Europe, etc.
Video Out
CVBS : Video output when connecƟng to video terminals.
YUV : Set video output in analogue component video format when connecƟng to Y /U/V
terminals.
Angle Mark
Appears when the DVD has mulƟ-angles.
CapƟon
This funcƟŽŶ does not work when the disc has no capƟon opƟons. The default setup is capƟon
oī.
Screen Saver
If the screen saver opƟon is set to on and the unit is switched on without a disc playing, then
a moving picture will appear on the screen. AŌer about 20 minutes, the unit will go into
Standby mode.
You can press any key on the remote control to acƟǀĂte the unit.
Last Memory
If the last memory opƟon is set to on and the unit is switched Žī the last posiƟŽŶ on the DVD
will be memorized.
Audio setup page
Channel Output
LT/RT : When you select this opƟon, the leŌand right surround sounds are synchronously
outpuƩed to the leŌand right channels.
Stereo : When you select this opƟon, the leŌand right surround sounds are respecƟǀĞly
outpuƩed to the leŌand right channels.
Dual Mono
Stereo : Set audio output to the stereo output.
L-Mono : Set audio output to the mono-leŌchannel.

R-Mono : Set audio output to the mono right channel.
Mix-Mono: Set audio output to the mix mono channel.
LPCM Output
On LPCM output, can choose the frequency 48K and 96K, can down frequency, but only
cannot up.
Dynamic
If you are watching a largely dynamic sounding movie, select this mode to reduce the treble
and bass while sƟůl maintaining the Įner detailed sounds.
Speaker setup page
3D/EQ
Seven EQ modes are available. You can select one according to your preference and the disc
content.
Parental setup page
Change
The control level is for parents to control the content being played. Any disc with a level higher
than the set level cannot be played. You can only change the level when the password setup
is set to Žī
You can set your own password. Note that the iniƟĂů factory password is 0000. If you forget
your own password, you can use 0000 as a general password.
Default reset
Return to original factoƌLJƐĞƫngs.

TROUBLESHOOTING:
MalfuncƟon Possible causes/measures
No power / funcƟŽŶ
Check whether the power is switched on or oīat
the wall.
Check whether the power adaptor is properly
connected to power outlet or not.
No video
Make sure that the video cables are connected
correctly.
Reset the setups of the DVD player.
Check that the input selecƟŽn on the TV is correct.
No audio
Make sure that the audio cables are connected
correctly.
Make sure that the coaxial connected stereo is
powered on.
Reset the setups of the DVD player.
Distorted video Clean DVD disc from dust/dirt
The playback is fast winding backward/forward.
Unable to play
Place a DVD disc in the disc tray.
Place the disc in on the correct side up Clean
DVD disc from dust/dirt
Close the setup of the DVD player.
Check that the Įůe is compaƟble with the unit.
Remote Control does not work Aim the Remote Control towards the front panel of
the DVD player.
Use the Remote Control closer to the DVD player.
Check the baƩery level of the baƩeries
SPECIFICATION:
Power Supply
AC 100-240V
Frequency Response
~5o/6oHz
Power ConsumpƟŽŶ
10W
CompaƟble ConnecƟŽns
AN RCA Output USB Input
(Y Pb/Cb Pr/Cr)
R/L Video
CompaƟble Formats
DVD: DVD, DVD-R-RW, CD Video. Mpeg4 and
DivX
in AVI format.
AUDIO: Mp3, WMA, CD Audio, CD-R-RW, CD
PHOTO:
Jpg, Jpeg, CD Photo

Table of contents
Other Lenoxx DVD Player manuals