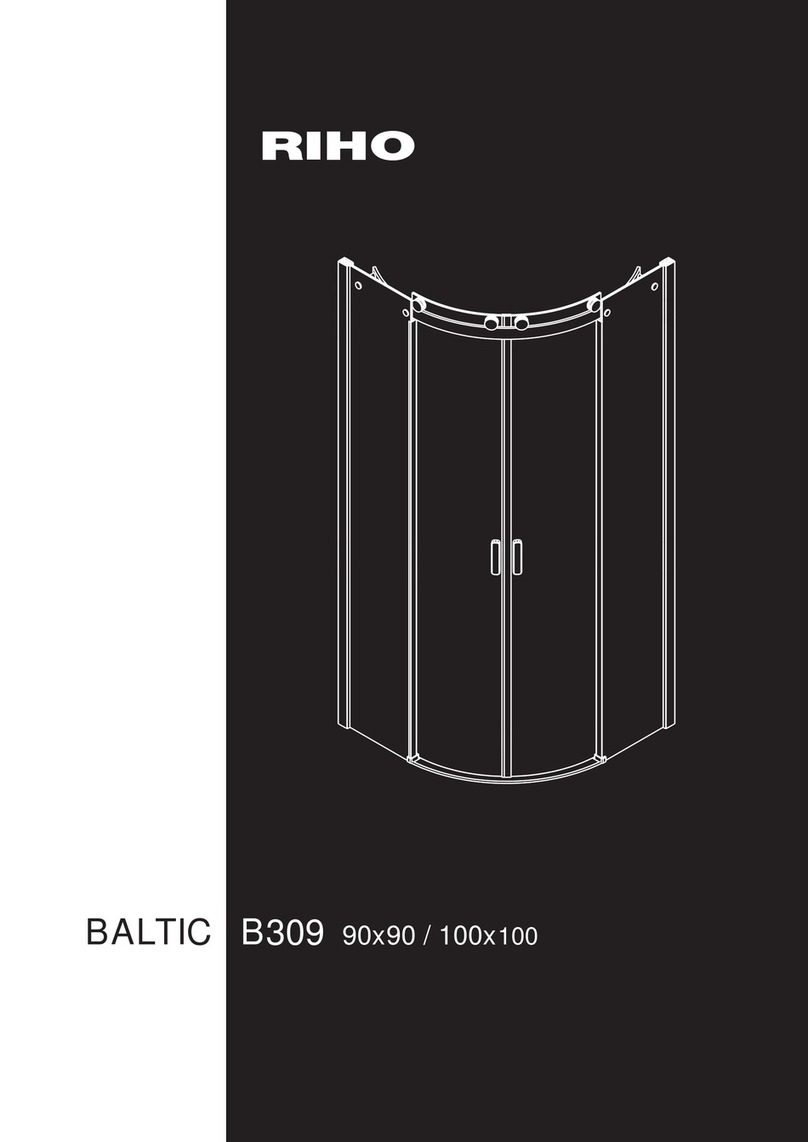
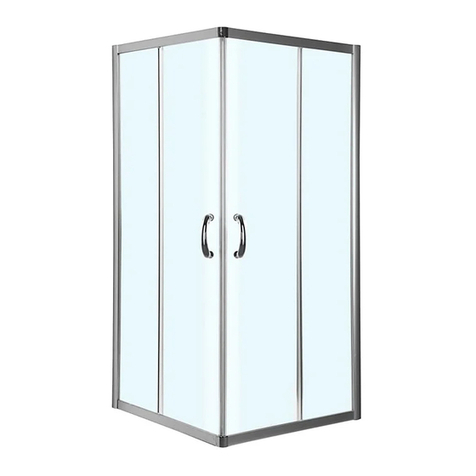
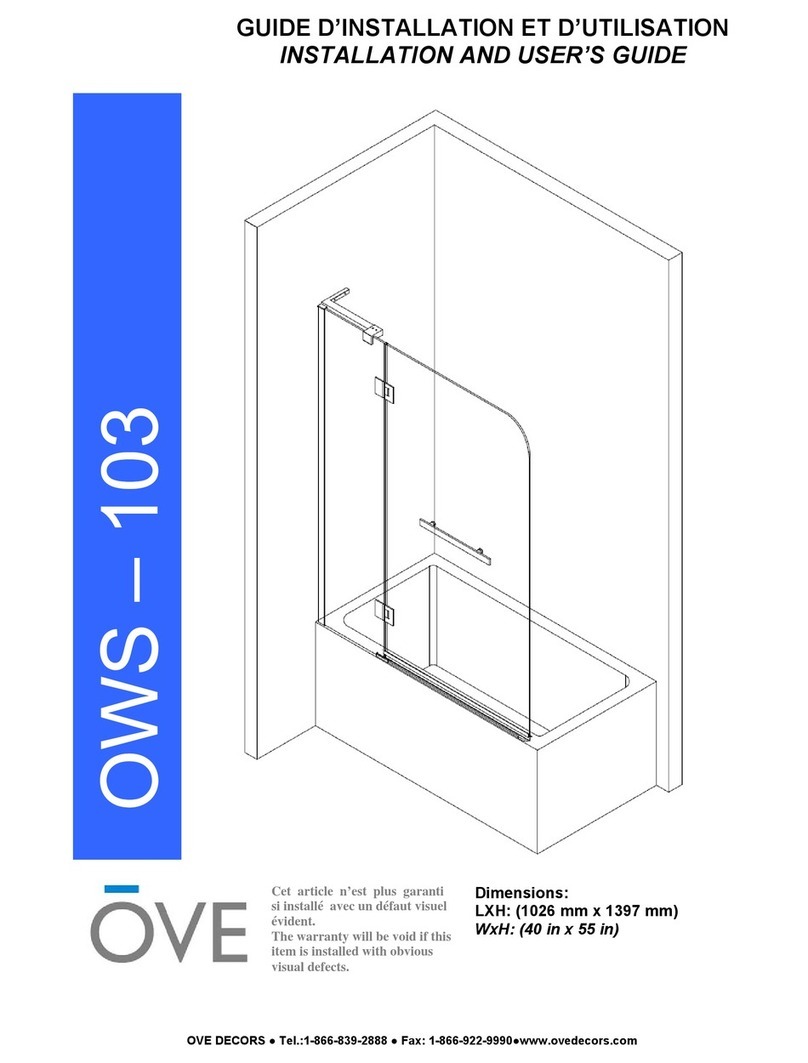
less care ULTRA C LBSDC4876 User manual

www.lesscare.com
INSTALLATION INSTRUCTIONS
SHOWER ENCLOSURES
SHOWER ENCLOSURES:
LBSDC4876 + LBSEC34576
LBSDC4876 + LBSEC3676
LBSDC6076 + LBSEC34576
LBSDC6076 + LBSEC3676
LBSDC7276 + LBSEC34576
LBSDC7276 + LBSEC3676
Version 5.0
C

www.lesscare.com
1
ULTRA-C
SHOWER ENCLOSURES
PREPARATION FOR INSTALLATION
Soft Cloth
or Blanket
Silicone Tape
Measure
Pencil/Marker Philips/Straight
Screwdriver
Drill Bit
ø = 5/16"
Drill Bit
ø = 1/8"Safety Glass
LevelKnife CaulkGun Drill Hammer
TOOLS REQUIRED
Soft Wood
Shim
OTHER TOOLS MAY BE REQUIRED
Miter saw or Hacksaw
PREPARATION FOR INSTALLATION
READ ALL INSTRUCTIONS BEFORE UNPACKING THE PRODUCT
IMPORTANT UNPACKING INSTRUCTIONS:
When you have open top carton box lid, do not take shower glass doors or panels out before you read this and have this items in place. Have a soft
cloth blanket min ¼" thick and make sure cloth blanket is bigger then your glass doors or panels in your working area place. Set this soft cloth
blanket on the floor of working area. Take out shower glass doors or panels out from the Carton box and set it on the soft cloth blanket. Do not
lean it on the wall or floor without the soft cloth blanket.
ATTENTION! Never set glass on floor or tile or solid floor or wall surface without a soft cloth blanket if you set it without soft cloth blanket it will
cause scratches to the tempered glass and this will cause it to shatter right away or when installed or when you start using it, improper handling
causes scratches on the glass doors or panels. When installing glass doors or panels be sure your have inspected glass doors or panels fully before
installing it. Do not install and Stop installation if you see or find scratches or chipped corners on your glass doors or panels. NEVER set glass doors
or panels on its corners make sure the your floor is level with the soft cloth blanket when preparing glass doors or panels for installation.
After opening all boxes and packages, read this introduction carefully. Check that all of the needed parts are included in the package by checking
all the components on the diagram of components. Examine boxes and packages for shipping damage. If the unit has been damaged or missing
parts, please contact our customer support department immediately. Please note that LessCare will not replace any damaged products or missing
parts after 2 business days of the order receipt.
VERY IMPORTANT! Double check all glass corners and four edges of all glass door and panels to make sure that all the glass are in perfect
condition and without any scratches or chipped corners. Do not try to install the shower door, if there is any scratches or chipped corners. Note,
that you should consult your local building codes with questions on installation compliance standards. Building and plumbing codes may vary from
state to state and location. LessCare is not responsible for code compliance standards for your project and will not accept any returns. Prior to
installation, ensure that the installation surface is leveled and solid, and will be able to support the total weight of the unit. Also, make sure the
walls are at the right angles. Irregular installation surface level or improper angle of side walls will result in serious problems during installation.
Note, that some adjustments and drilling will be necessary during the installation process.
VERY IMPORTANT! Installation of this extremely heavy product to the wall requires minimum of 2" x 4" wood stud framing behind the wall.
INSTRUCTIONS THAT, IF IGNORED COULD RESULT IN SERIOUS INJURY OR DEATH
CAUSED BY INCORRECT HANDLING OR INSTALLATION OF THE PRODUCT.
THESE INSTRUCTIONS MUST BE OBSERVED FOR SAFE INSTALLATION!
LICENSED AND INSURED PROFESSIONAL CONTRACTOR IS REQUIRED TO INSTALL
THIS PRODUCT INCLUDING ASSISTANCE OF A SECOND PERSON DURING INSTALLATION
2 PEOPLE ARE REQUIRED TO LIFT AND DURING
ENTIRE INSTALLATION OF THIS PRODUCT
LessCare reserves the right to change, update, modify, alter, redesign this manual/product or its policies without prior notice!
It is your responsibility to visit website to download or contact customer service for the most updated version of the installation instructions.
No modifications to the product are allowed. Modifications of any types to the product will result in serious injuries or may cause death.
LessCare shall not be liable for any injuries or property damages in connection with this product during installation or use of this product!
IMPORTANT: Do not install the handle on to the glass door until the instruction tells you to do so. Never lift the glass using the handle. Failure to do so will result in
serious personal injury and could cause damages to the glass. Professional graded glass suction cups are highly recommended while handling extremely heavy glass. This
product must be installed on a finished threshold and against finished walls only. This product is intended for residential use only.
www.lesscare.com
ULTRA-C
SHOWER ENCLOSURES
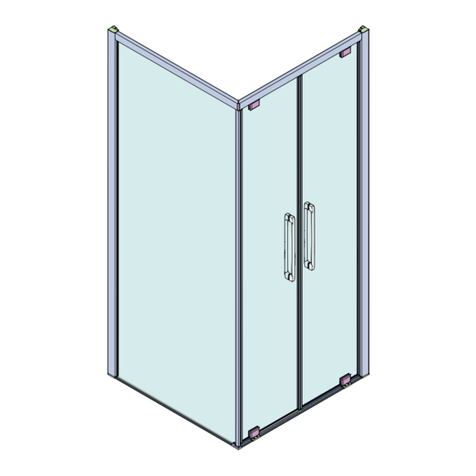
CONFIGURATION STYLES
MODELS:
LBSDC7276
2
Threshold Requirement (Size): 2 3/4"

www.lesscare.com
ULTRA-C
SHOWER ENCLOSURES
CONFIGURATION STYLES
3
Threshold Requirement (Size): 2 3/4"

1
2
3
4
5
6
7
8
9
10
11
1 pc
2 pcs
2 pcs
1 pc
2 pcs
1 pc
1 pc
1 pc
1 pc
2 pcs
1 pc
Bumper Strip
Guide Rail Bracket
Glass Door Stopper
Upper Guide Rail
Roller
Handle
Glass Door
Side Anti-Water Strip
Anti-splash Threshold
Screw M4X45
Threshold Cover
12
13
14
15
16
17
18
19
20
21
22
Screw M5X30
Guide Block
Wall Anchor
Bottom Mount Clamp
Stationary Glass
Screw M5X60
Glass Bracket
Safety Pin
Allen Key
Item# Item#Qty
2 pcs
1 pc
6 pcs
1 pc
1 pc
2 pcs
2 pcs
2 pcs
5 pcs
QtyDescription Description
www.lesscare.com
ULTRA-C
SHOWER ENCLOSURES
SHOWER DOOR COMPONENTS
4
This door has NO out-of-plumb adjustment
REMARK: For Style B, there will be no item #1 bumper strip.
1
2
3
4
5
6
7
8
9
10
11
12
13
14 15
16
17
18
19
20

21
22
23
24
25
26
1 pc
1 pc
1 pc
1 pc
1 pc
1 pc
Glass Bracket for Small Stationary Glass
Small Stationary Glass
Side Anti-Water Strip
Screw M4X45
Wall Mount Clamp
Wall Anchor
Item# QtyDescription
www.lesscare.com
ULTRA-C
SHOWER ENCLOSURES
SMALL STATIONARY GLASS COMPONENTS
5
21
22
23
24
25
26

27
28
29
30
31
32
1 pc
1 pc
3 pcs
3 pcs
2 pcs
1 pc
Glass connector
Return Panel Glass
Mount Clamp
Wall Anchor
Screw M4X60
Screw M4X45
Item# QtyDescription
www.lesscare.com
ULTRA-C
SHOWER ENCLOSURES
RETURN PANEL COMPONENTS
6
29
27 28
30
31
32

www.lesscare.com
ULTRA-C
SHOWER ENCLOSURES
INSTALLATION STEPS
7
Assembly and Installation
a.
www.lesscare.com
ULTRA-C
SHOWER ENCLOSURES
INSTALLATION STEPS
1. Measure the distance between two finished walls.
This distance is marked as W.
Please see Fig 1 for details
Figure 1

www.lesscare.com
ULTRA-C
SHOWER ENCLOSURES
INSTALLATION STEPS
8
Figure 2
2. Your Upper Guide Rail (4) has been precut for your
Shower model opening width: 48" or 60" for shower width.
If W-width of your wall-to-wall opening is equal to the size
of your Shower model, it is unnecessary to cut the Upper
Guide Rail and you can continue to Step 3. If W-width of
your wall-to-wall opening is less than the size of your
Shower model, you will need to cut the Upper Guide Rail
from the end which is farther from the Glass brackets (18).
The length to cut off will be L:
L=Subtract W from the size of your Shower
model.
Remark: With the Return Panel Installed, you need to cut
the roller bar 1/2” at least.
See Fig. 2 for details.
FOR EXAMPLE
If your wall opening W=47”. Your shower
model is 48”.
L=48”-47”=1”,
You have to cut 1” off from the rail.
d.
c.
a.
b.
3
3
Note: The Glass Bracket (18) has been pre-installed to the Upper Guide Rail (4).
Attention: Please cut the guide rail from this side, which is farther
side from the hole of the guide rail bracket.
27
27
4
4
18
18
2
2

www.lesscare.com
ULTRA-C
SHOWER ENCLOSURES
INSTALLATION STEPS
9
Figure 3
a.
b.
c.
d.
3. Install Return Panel
3.1 Loosen the screw on the Clamp (29) with Allen Key. Disassemble the Clamp and install the clamp on the notch of the
Return Panel Glass (28).
IMPORTANT: Make sure that clear rubber gaskets and washer are in between the glass and clamp's plates. Make sure that
the clamp with screw is facing inside the shower.
Please see Fig 3 for details
29
29
29
29
28

www.lesscare.com
ULTRA-C
SHOWER ENCLOSURES
INSTALLATION STEPS
10
Figure 4
Figure 5
a. b.
c. d.
a. b.
c. d.
3.2 Put the Return Panel Assembly against the wall, level it. Outline the
position of the Clamp (29) on the wall and the shower base or threshold
separately.
Please see Fig 4 for details
3.3 Put aside the Return Panel Assembly and remove the clamps from the
glass and place the clamps back to the outlined position, now mark the
drilling holes on the wall and the shower base or threshold.
Please see Fig 5 for details
28 29
29 29
29
29A
29A
Inside
Inside
Inside
Inside
Outside
Outside
Outside
29

www.lesscare.com
ULTRA-C
SHOWER ENCLOSURES
INSTALLATION STEPS
11
Figure 6
Figure 7
a.
a.
b.
b. c. d.
3.4 Drill the holes in the wall using Ø8mm(Ø5/16") drill bit and Apply silicone into the holes on the wall, insert the Wall
anchors (30) for the Clamps (29). Mount the Clamps to the wall using the Philip's screw M4*60(31).
Drill the hole in the shower base or threshold using Ø3mm (1/8”) drill bit and mount the Clamp (29) to the shower base or
threshold using the Philip's screw M4*30(32).
See Fig 6 for details
3.5 Place the Return Panel Glass (28) back to the designated position and assemble the Clamps (29) .
See Fig. 7 for details.
Outside Outside Outside Outside
Outside
Outside
31
31

www.lesscare.com
ULTRA-C
SHOWER ENCLOSURES
INSTALLATION STEPS
12
Figure 8
a.
b.
c.
4. Loosen the screw on the Bottom Mount Clamp (15) with Allen Key. Disassemble the Bottom Mount Clamp (15) and
install the clamp on the notch of the Stationary Glass (16).
IMPORTANT: Make sure that clear rubber gaskets and washer are in between the glass and clamp's plates. Make sure
that the clamp with screw is facing inside the shower.
Please see Fig 8 for details
Outside
Outside
15
15 15

5. Roller Bar Installation
5.1 Use the Allen Keys (20) to loosen the screws on the Guide Rail Brackets (2) and the Glass Door Stoppers (3). Slide the parts
onto the Upper Guide Rail (4).
Note: On the other side, the stopper must be installed in between the Glass Bracket (18). Loosen the screw on the Glass Bracket
and take out the Glass Bracket from the Guide Rail, and slide the stopper onto the Guide Rail and then secure the Glass Bracket
to the Guide Rail again.Make sure the two Stoppers distance to the end of the Guide Rail and then use the Allen Key(20) to
tighten the parts to the Guide Rail temporarily.
Please see Fig 9 for details
www.lesscare.com
ULTRA-C
SHOWER ENCLOSURES
INSTALLATION STEPS
13
Figure 9
a. b.
c. d.
e. f.
g. h.
28
2
27A
27A
27A 418
2
27A
3
3
4
18
18
32
4

www.lesscare.com
ULTRA-C
SHOWER ENCLOSURES
INSTALLATION STEPS
14
a. b.
c.
5.2 Loosen the screw on the Guide Rail Bracket (2) with
Allen Key (20), align the holes of the Brackets(18) to the
holes on the Stationary Glass (16), secure the Upper Guide
Rail (4) with the Stationary Glass together by tightening
the screws on the Guide Rail Bracket with Allen Key(20).
Please see Fig 10 for details.
ATTENTION:
Never set your glass down directly onto a tile or concrete
floor. Always use a piece of wood or cardboard and leave
the corner protection cover on the glass until it becomes
necessary to remove them to protect the bottom edge and
the corners of the glass from breakage.
18
18
18
18
Outside
Outside
Figure 10
Outside

www.lesscare.com
ULTRA-C
SHOWER ENCLOSURES
INSTALLATION STEPS
15
a. b.
Figure 11
6. Place the Stationary Glass Assembly on the preinstalled shower base or threshold and butt it up against the wall. Tempo-
rarily fasten the Upper Guide Rail (4) to the Return Panel Glass(28) with the Glass Connector (27). Slightly tighten the set
screws.
Make sure the Stationary Glass (16) and the Upper Guide Rail (4) are leveled. Slide the Guide Rail Bracket (2) against the wall,
outline the Guide Rail Brackets (2) position one the wall.
Outline the position of the Bottom Mount Clamp (15) on the shower base.
Disassemble the Upper Guide Rail from the Return Panel Glass, set the Stationary Glass Assembly aside.
Remove the Guide Rail Bracket from the Stationary Glass and place it back to the outlined position, now mark the dri dlling
hole on the wall.
Remove the Clamp on the Stationary Glass and place it backto the outlined position on the shower base or threshold, now
mark the drill hole on the shower base or threshold.
Please see Fig 11 ,12 for details.
Outside
Outside
Outside
28
28
16

www.lesscare.com
ULTRA-C
SHOWER ENCLOSURES
INSTALLATION STEPS
16
c. d.
e. f.
g. h.
i. j.
Figure 12
Outside
Inside
Inside
Inside
Outside
2
2216
15
15
2A
16

www.lesscare.com
ULTRA-C
SHOWER ENCLOSURES
INSTALLATION STEPS
17
Figure 13
a. b.
c. d.
7. Drill the hole on the wall using 8mm(5/16") drill bit and apply silicone into the holes, insert the Wall Anchor (14).
Drill the hole on the shower tray or threshold using 3.2mm(1/8") drill bit and apply silicone into the holes, insert the Wall
Anchors (14).
Mount the Wall Bracket of the Guide Rail Bracket (2) to the wall using the Screw M5×60 (17). Mount the male parts of the
Bottom Mount Clamp(15) onto the shower tray or threshold using the Screw M4X45(10).
Please see Fig 13 for details
13 16
9
Silicone
Silicone
Outside
Outside
Outside
Outside

www.lesscare.com
ULTRA-C
SHOWER ENCLOSURES
INSTALLATION STEPS
18
a. b.
c. d.
e. f.
Figure 14
8. Place the Stationary Glass Assembly back to the designated position.
Slide the Guide Rail Bracket (2) to the end side of the Guide Rail(4), fasten the Guide rail bracket (2) to the wall bracket on the
wall. Tighten the set screws on the Guide rail brackets.
Re-install the Glass Connector (27) to fasten the Return Panel Glass (28) and Upper Guide Rail (4) together.
Re-install the Bottom Mount Clamp (15) back to its position.
Please see Fig 14 for details
Inside Inside
Outside
Outside
Outside
Outside
22
28 28 27
16
15
27A
2A

9. Install small stationary glass
9.1 Loosen the screw on Mount Clamp (25). Disas-
semble the Clamp and install the clamp on the Small
Stationary Glass (22).
Please see Fig 15 for details
Attention: If you only order one glass door and one stationary glass, please you can skip this step #9
and go to step #10 directly.
a.
b.
c.
Figure 15
Outside
Outside
25
25 25
22
The flow Assembly and Installation
One glass door and two stationary glass
www.lesscare.com
ULTRA-C
SHOWER ENCLOSURES
INSTALLATION STEPS
19
This manual suits for next models
4
Table of contents
Popular Shower Cabin manuals by other brands

Zenna Home
Zenna Home 33941WW Assembly instructions

Insignia
Insignia H88-842 Assembly & fitting instructions

Radaway
Radaway Premium Plus C Assembly instruction

Burlington
Burlington Quadrant 800 manual

VINNOVA
VINNOVA Azpetia 315034-WR-MB Installation instruction

AM.PM
AM.PM ADMIRE STEAM CABIN A Assembly instructions

Insignia
Insignia INS8058R installation manual

OVE
OVE HARVARD 48 installation manual

SANPLAST
SANPLAST SPACE Series Installation instruction

Aston Global
Aston Global SEN980-36-8-L Installation and owner's manual

Welltime
Welltime 426984 installation instructions

Kinedo
Kinedo SMART DESIGN C+F installation instructions