Setup Einrichtung Instalación Настройка
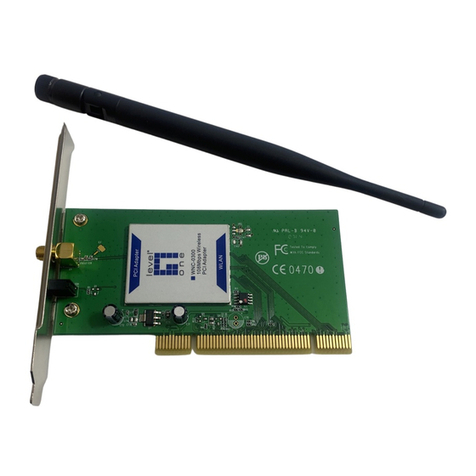
1.Hardware installation steps
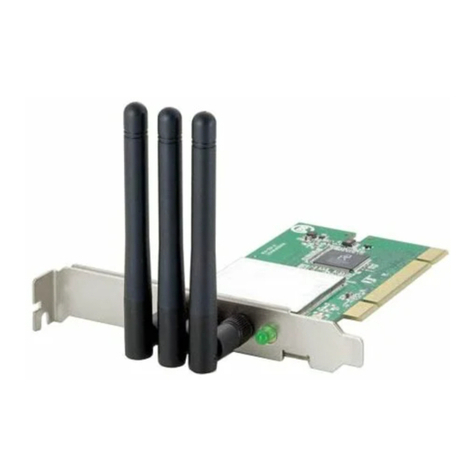
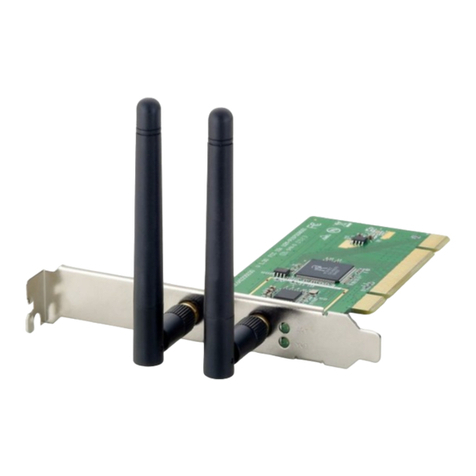
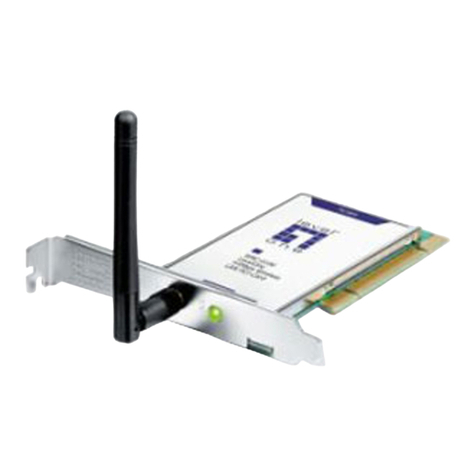
Find an empty PCI expansion slot
from your desktop computer.
Press the
slot and screw on the bracket.
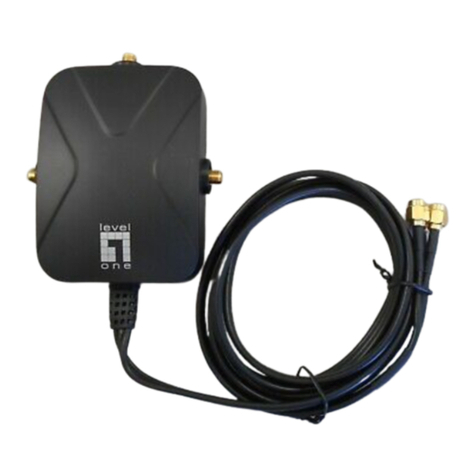
Connect the supplied antenna
connectors on the PCI Card.
Power on your desktop computer.
1. Installation der Hardware
PCI-
Erweiterungssteckplatz an Ihrem
Computer.
Setzen Sie die PCI-
die Schraube fest.
Verbinden Sie die mitgelieferten Antennen
mit der PCI-Karte.
Schalten Sie Ihren Computer ein.
1.Pasos de instalación del Hardware
Buscar una ranura PCI vacía en su PC
Presione la tarjeta PCI en la ranura y el
atornille el soporte.
Conecte el cable de antena suministrado
los conectores de la tarjeta PCI.
Encienda su PC.
1. Действия по установке оборудования
Найдите свободное гнездо для платы
расширения PCI на своем ПК.
Вставьте плату PCI плотно вразъ
закрепите винтом на держателе.
Подсоедините прилагаемый антенный
кабель кразъемам на плате PCI.
Вклю ите питание ПК.
2. Insert the CD into the CD-
drive on your PC.
The autorun program should start
automatically.
If it does not, please run
autorun.exe under your CD-
drive
In the autorun screen, click Utility
begin the software installation
2. Legen Sie die CD in das CD-
Laufwerk Ihres PC ein.
Das Autorun-
Program sollte automatisch
starten.
Sollte dies nicht erfolgen, starten Sie bitte
“autorun.exe“ über Ihr CD-
Laufwerk manuell.
Im “autorun” Fenster drücken Sie bitte auf
“Utility” um die Software zu installieren.
2. Inserte el CD en la unidad de CD-ROM
su PC.
El programa de ejecución automática
iniciará automáticamente.
Si no es así,
favor, ejecute autorun.exe en el CD-ROM.En
la pantalla de ejecución automática,
en Utilidad para comenzar
software
2. Вставьте компакт-
компакт-дисков на своем ПК.
Программа автозапуска должна
запуститься автомати ески.
Если этого не происходит, запустите файл
autorun.exe
дисковод.
На экране автозапуска выберите
(Утилита)
программы.
3. Click
“I accept the terms of the
license agreement” to continu
Click “Next” to continue.
3. Klicken Sie auf “I accept the terms of
the license agreement.” um fortzufahren.
Klicken Sie auf “Next”.
3. Haga clic en "Acepto los términos
contrato de licencia" para continuar.
en "Siguiente" para continuar.
3. Щелкните
“I accept the terms of the
license agreement”
Для продолжения нажмите кнопку “Next”.
4. Click “Next” to continue. 4. Klicken Sie auf “Next” um fortzufahren.
4. Haga clic en "Siguiente" para continuar. 4. Для продолжения нажми
“Next” (Далее).
5. Click “Install”. 5. Klicken Sie auf “Install”. 5. Haga clic en "Instalar" 5. Щелкните “Install” (Установить).
6.
The Driver and Utility is being
installed.
6. Der Treiber und das Dienstprogramm
werden installiert. 6. El controlador y la utilidad se están
instalando. 6.
На инается установка драйвера и
утилиты.
7.
In Windows Vista, the follow
mes
sage may appear. Please click
“Install this driver software
anyway.”
7. Unter Windows Vista wird die folgende
Nachricht eventuell ers
k
licken Sie auf “Install this driver software
anyway.”
7. En Windows Vista, el siguiente
mensaje puede aparecer. Por favor, haga clic en
"Instalar este software de todas formas."
7.
При работе вОС Windows Vista может
появиться следующее соо
Щелкните
“Install this driver software
anyway.” (Все равно установить этот
драйвер).
8. Please click “Finish”
your computer.
8. Bitte drücken Sie auf “Finish” und
führen einen Neustart des Computers
durch.
8. Por favor, haga clic en "Finalizar"
el equipo. 8. Щелкните “Finish” (Готово)
перезагрузите компьютер.
9.
After your computer has restarted,
the Utility icon will ap
taskbar.
Device installation is now
complete. You can now use the
Utility to connect to you
network.
9. Nach dem Neustart des Computers wird
das Utility-Icon in der Taskbar erscheinen.
Die Geräte-
Installation ist nun komplett.
Sie können nun das Utility verwenden, um
eine Verbindung zu Ihrem Wireless
Netzwerk herzustellen.
9. Después de que su
reiniciado, el icono de la Utilidad aparecerá en
la barra de tareas.
La Instalación de dispositivos
finalizado. Ahora puede usar el Utilitario
conectarse a su red inalámbrica.
9.
После перезагрузки компьютера в
панели зада появится зна ок Utility
(Утилита).
Установка устройства завершена. Теперь
можно использовать эту утилиту для
подклю ения кбеспроводной сети.
Network
Mit drahtlosen Netzwerken
verbinden
Conectar a red inalámbrica
Подключение кбеспроводной
сети
10. Double click the
WNC-0601 Wireless LAN Utility
your Windows desktop.
10. Doppelklick auf das LevelOne
WNC-
0601 Wireless LAN Utility auf
Ihrem Windows Desktop.
10. Haga doble clic en el
LAN Inalámbrica LevelOne WNC-0601 en
escritorio de Windows.
10. Дважды щелкните LevelOne WNC-
Wireless LAN Utility
Windows.
11. Click the “Site Survey”
scan for available wireless access
points.
11. Klick
en Sie auf den “Site Survey” Tab,
um nach verfügbaren Wireless Access
Points zu suchen.
11. Haga clic en
"Reconocimiento del Sitio"
para escanear los
inalámbricos.
11. Щелкните вкладку
(Опрос сайта)
доступных беспроводных то ек доступа.
Double click the wireless access
point you want to connect to. This
will create a new Profile.
Doppelklick auf den Wireless Access
Point, mit dem Sie eine Verbindung
herstellen wollen. Dadurch wird ein neues
Profil erstellt.
Haga doble clic en
de acceso inalámbrico
que desee conectarse. Esto creará
un nuevo perfil.
Дважды щелкните беспроводную то ку
доступа, скоторой необходимо
соединиться. При этом будет создан новый
профиль.
Enter the wireless encryption
metho
d and key if required. This
should be the same as the wireless
router or access point you are
connecting to.
Verschlüsselungsmethode und einen Key
an, sofern diese benötigt werden. Diese
müssen die gleichen sein, wie der von
Ihnen v
erwendete Wireless Router oder
Access Point.
Introduzca el método de cifrado inalámbrico
la clave si es necesario. Tiene que
mismo que
enrutador inalámbrico o punto de acceso
se esté conectando
Введите метод шифрования
беспроводного соединения иклю , если
это необходимо. Они должны быть
одинаковыми для беспроводного
маршрутизатора или то ки доступа, с
которой выполняется соединение.
12.Choose authentication &
encryption type,
c
lick “ ”
12. Wählen Sie einen Authentifizierungs-
und Verschlüsselungstyp, klicken Sie auf
“ ”
12.Escoja el tipo de autenticación y
cifrado, haga clic en “ ” 12.
Выберите тип аутентификации и
шифрования, щелкните " "
13. Type in the encryption key,
“ ”
13. Geben
Sie den Verschlüsselungstyp an,
klicken Sie auf “ „ 13.Teclee la clave de cifrado, haga clic en
“ ”
Введите клю шифрования, щелкните
" "
LevelOne recommends WPA2-
(AES) for maximum security.
LevelOne empfiehlt WPA2-PSK (AES) für
maximale Sicherheit. LevelOne recomienda WPA2-PSK (AES) para
máxima seguridad.
LevelOne рекомендует WPA2
-
для обеспе ения максимальной
безопасности.
