4
EXPLANATION OF FUNCTIONS
ALL
1 2 3
4 5 6
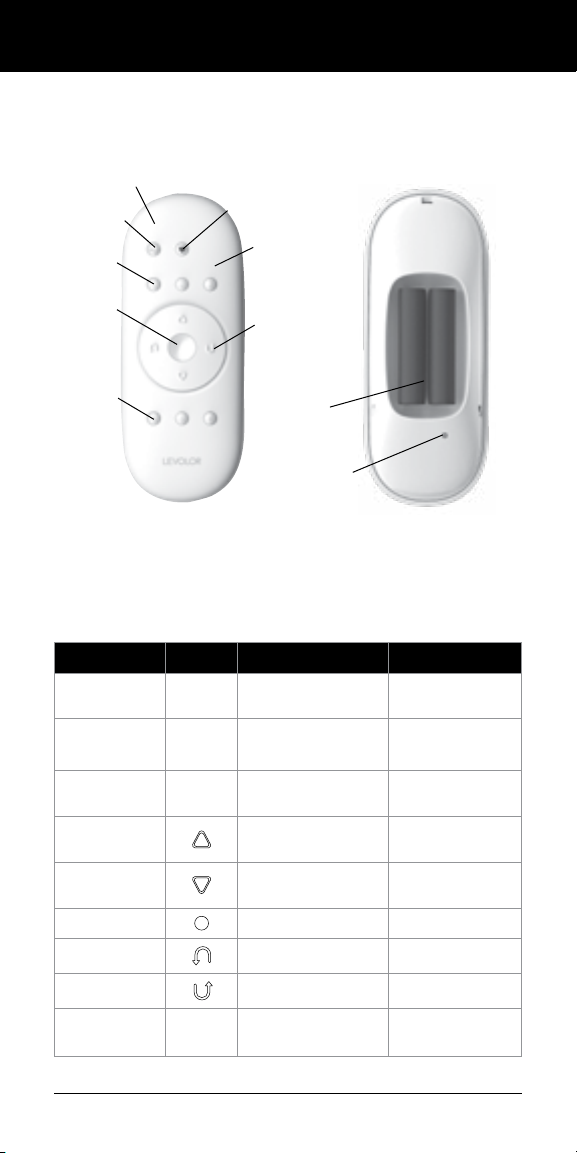
GROUP Buttons
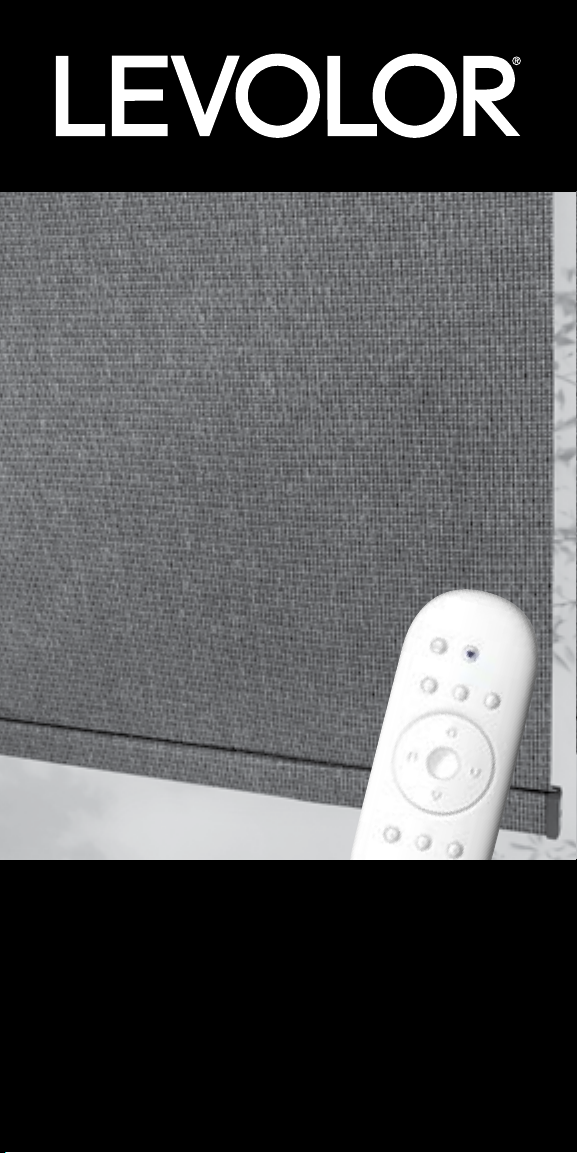
Remote Control Guide
Once your remote is programmed, you will be able to
operate and control the position and adjustment of
your new window coverings with a touch of a button.
By setting up GROUPS and FAVORITES you will be able to
perform all functions.
GROUPS
Joining a window covering to a GROUP is what
connects a window covering to an individual
remote and allows the remote to communi-
cate with the window covering, so the window
covering will follow the remote's commands.
A window covering will not operate with the
remote, unless it is assigned to a GROUP.
Each LEVOLOR® remote offers 6 GROUP
assignments, designated by buttons numbered
1, 2, 3, 4, 5, and 6 on the remote.
A GROUP can consist of a single window covering, or be
comprised of multiple window coverings, assigned to that
particular GROUP button. Window coverings assigned to the
same GROUP, will operate at the same time, when functions
are selected on the remote. There is no limit to the number
of window coverings you can assign to a given GROUP.
If you want a window covering to operate independently of other
window coverings, it must be added to a GROUP of its own.
A window covering can be added to more than one GROUP on
the same remote (or separate remotes).
Once the window coverings have been joined to a GROUP, the
remote will operate your window covering.
See page 8 "JOIN A WINDOW COVERING TO A GROUP".
FAVORITES
Setting FAVORITES stores a preferred position
for each individual window covering, and recalls
stored position when the FAVORITES button
is selected. (FAVORITES button is designated
by the heart ♥ symbol.) Each window covering
can have ONLY ONE FAVORITE position. Upon
arrival, each of your window coverings will be set
to the default FAVORITE position, which is half
way down. You can re-program each shade to
your FAVORITE position.
ALL
1 2 3
4 5 6
FAVORITES Button