Contents
Installation 3
Location and function of controls 4
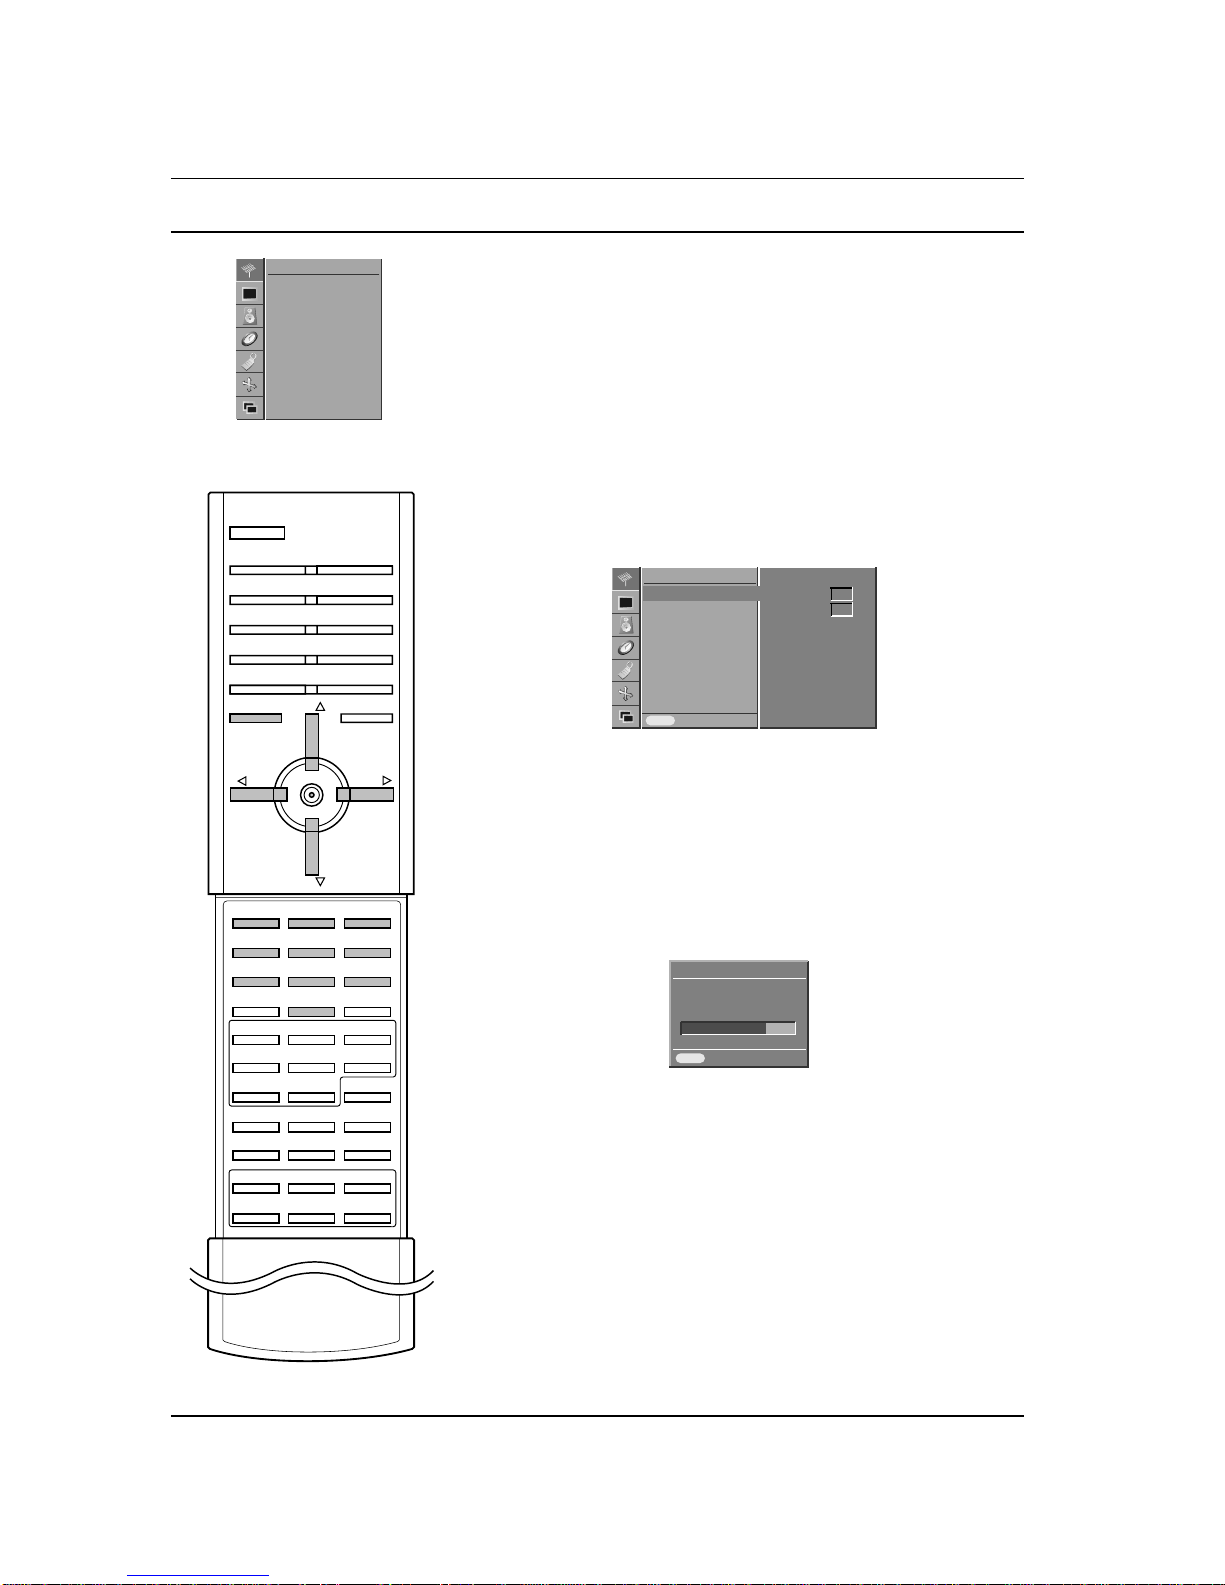
Remote control handset
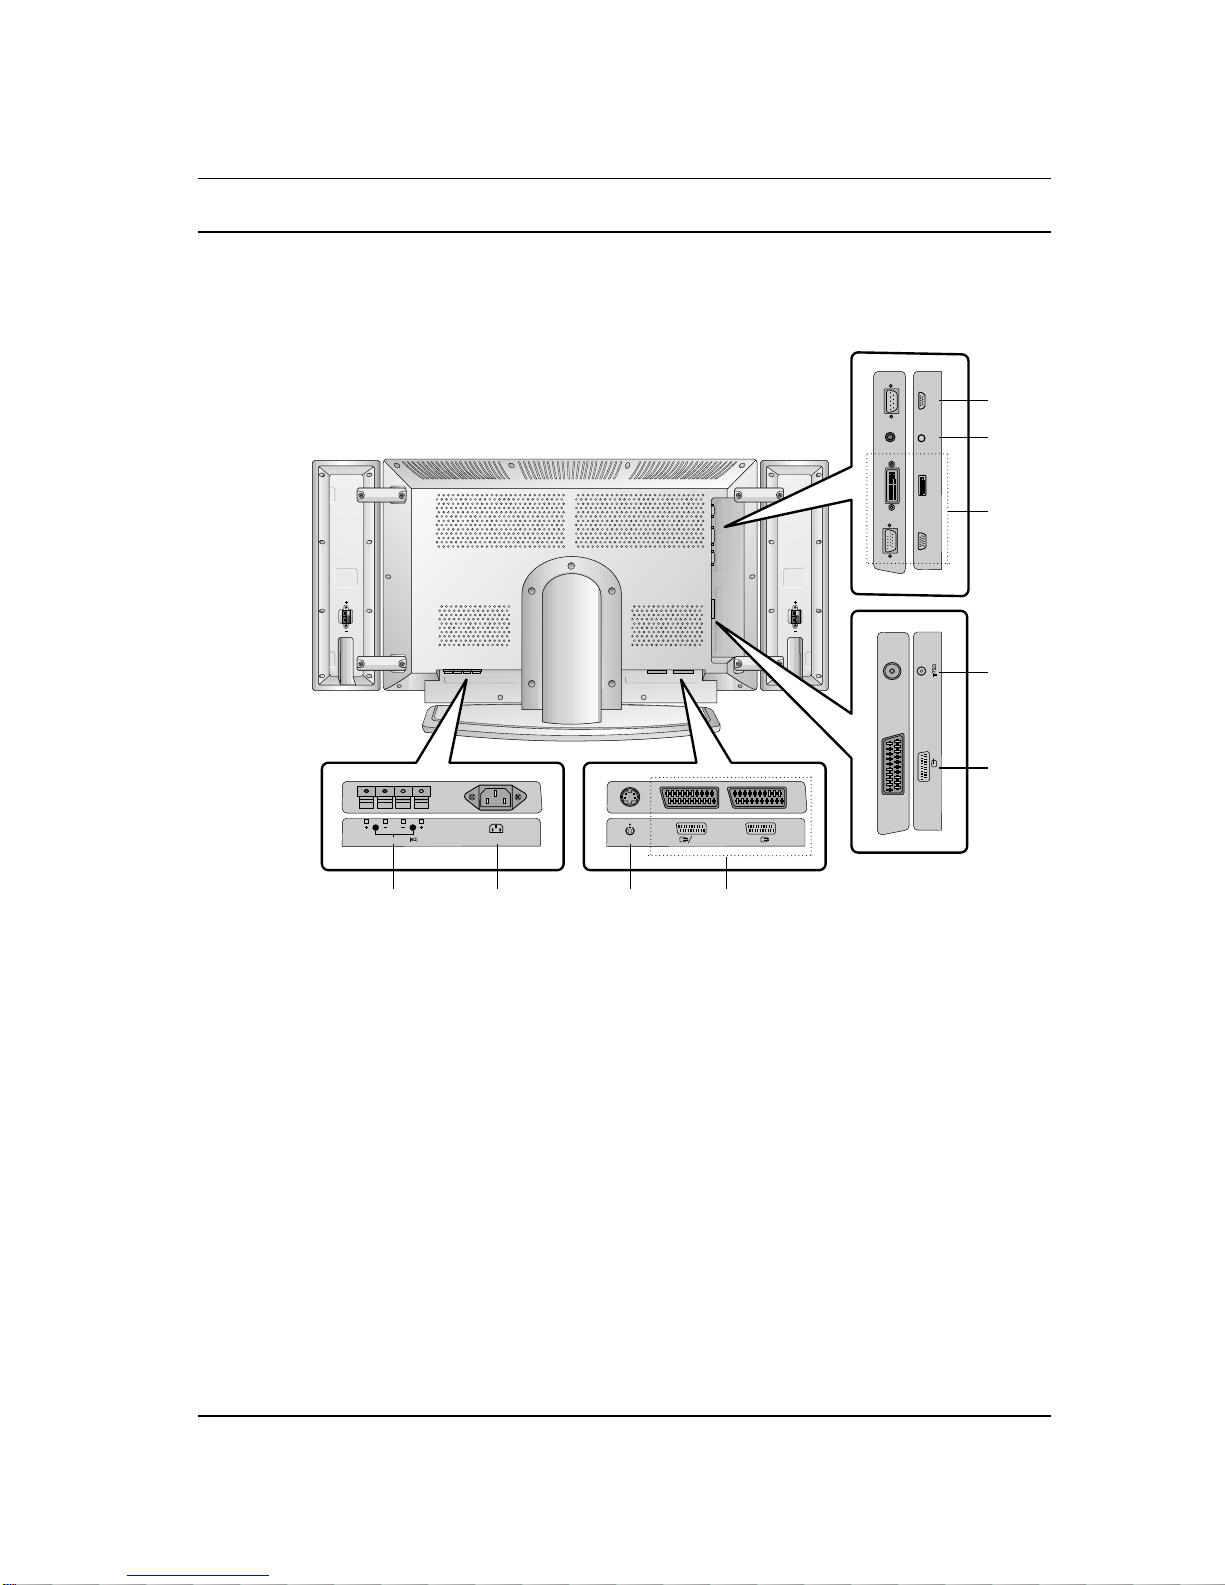
Battery installation / Front panel / Back panel
Basic operation 8
On and off / Programme selection
Volume adjustment
Quick view / Mute function
On screen language selection (option)
On Screen Menus 9
Menu selection
CHANNEL Menu 10
Auto programme tuning
Manual programme tuning
Fine tuning / Programme edit
Calling the programme table
PICTURE Menu 15
PSM (Picture Status Memory)
CSM (Colour Status Memory)
Manual Colour Temperature Control
Picture adjustment
SOUND Menu 17
SSM (Sound Status Memory)
AVL (Auto Volume Leveler) / Sound adjustment
Stereo/Dual reception / NICAM reception
Sound output selection
TIME menu 19
Clock / On/Off Time / Auto sleep / Sleep timer
SPECIAL Menu 21
Child lock / Orbiter
SCREEN Menu 22
Auto adjustment (RGB [PC] mode only) / Picture format
Picture Size Zoom / Screen Position (RGB [PC] mode only)
Manual Configure (RGB [PC] mode only)
Screen adjustments
Initializing (Reset to original factory value)
Selecting Wide XGA mode (RGB, [PC] mode only)
YNR (Y-signal Noise Reduction) / Split Zoom
PIP/DW operation 26
Main Picture Source Selection / Auto AV switching
Main Picture Size Adjustment / On and Off
Input mode selection for sub picture
Sub Picture Size / Moving the Sub Picture
PIP Aspect Ratio
Swapping between main and sub pictures
Program selection for sub picture
Teletext (option) 29
Switch on/off / SIMPLE text / TOP text (option)
FASTEXT / Special teletext functions
Connection of external equipment 32
Aerial socket / Euro scart sockets
S-Video/Audio in sockets (S-Video)
PC in socket
Mounting speakers on the Set
Displayable Monitor Specification 35
RGB Mode / DVI Mode
External Control Device Setup 37
RS-232C input socket / D-Sub 9-pin male
Set ID / Communication Parameters
Command Reference List
Transmission/Receiving Protocol
Troubleshooting check list 43
2