Read
all
instructions
before
using
this appliance.
Keep
them for future
reference.
Important
SafetyInstructions
•Thisapplianceisnotintendedforusebypersons(includingchildren)withreducedphysical,
sensoryormentalcapabilities, orlackofexperienceandknowledge,unlesstheyhavebeengiven
supervisionorinstructionconcerninguseoftheappliancebya personresponsiblefortheirsafety.
•Youngchildrenshouldbesupervisedtoensurethattheydonotplaywith the appliance;
•WARNING:Inordertoavoidoverheating,donotcoverthisheater;
•Theheatermustnotbelocatedimmediatelybelowa socket-outlet;
•Toavoidburns,donottouchthe hotsurfaceoftheheaterwhenitisinus. Usehandlewhenmo-
vingthisheater,keepcombustiblematerials, suchasdraperyandotherfurnishings atleast900mm
fromthefrontofthe heaterandawayfromthe sideandthe rear.
•Donotrunthecordundercarpetanddonotcoveritwith throwrugs,runnersorthelike.Placethe
cordawayfroma trafficareaandwhereitwill notbetrippedover.
•Connectthe heatertoproperlygroundedoutletsonly.
•Usetheheateronlyasdescribedinthismanual.Anyotherusenotrecommendedbythe manufac-
turedmaycausefire,electricshockorinjurytopersons.
•Donotusethisheaterintheimmediatesurroundingsofa bath,a shower,ora swimming
pool;
•Ifthesupplycordisdamageditmustbereplacedbythe manufacturer,authorisedserviceagent,or
similarlyqualifiedpersonsinordertoavoida hazard;
•CAUTION:Inordertoavoida hazardduetoinadvertentresettingofthethermal cut-out,thisappli-
ancemustnotbesuppliedthroughanexternalswitchingdevice suchasa timer,orconnectedtoa
circuitthatisregularlyswitchedonandoffbythe utility;
•Pleasedonotplaceyourclothesortowelonthe radiatorforfearofoverheating.
•Alwaysusethe heaterinanuprightposition;makesurethe heaterisona dryandeven surface.
•Donotinsertorallowforeignobjectstoenteranyventilation orexhaustopening,asthismaycause
anelectricshock,fire ordamagetothe appliance.
•Donotuseyourappliancewith anextensioncordunlessithasbeencheckedandtestedbya
qualifiedelectricianorelectricalsupplier.
•Thisproductisforhouseholduseonly.Donotusetheapplianceforanyotherpurposethanits
intendeduse.
•Donotpositiontheappliancesincloseproximatelytocurtainsorothercombustiblematerials,
explosiveobjects,orobjectswhich canbeeasilydeformedordeteriorated.Keepcombustible
materialsuchasfurniture,cushions,bedding,paper,clothes,curtainsetc.atleast1.0mawayfrom
the heater.
•Donotoperateinareaswheregasoline, paintorotherflammableliquidsareusedorstored.
•Theapplianceisnotsuitableforoutsideuse
WARNING- THIS
APPLAINCE
MUSTBE
EARTHED.
ThisheatermustbeusedonanAC supplyonlyandthe voltagemarkedonthe heatermustcor-
respondtothesupplyvoltage.Beforeswitchingon,pleasereadthe safetywarnings andoperating
instructions.
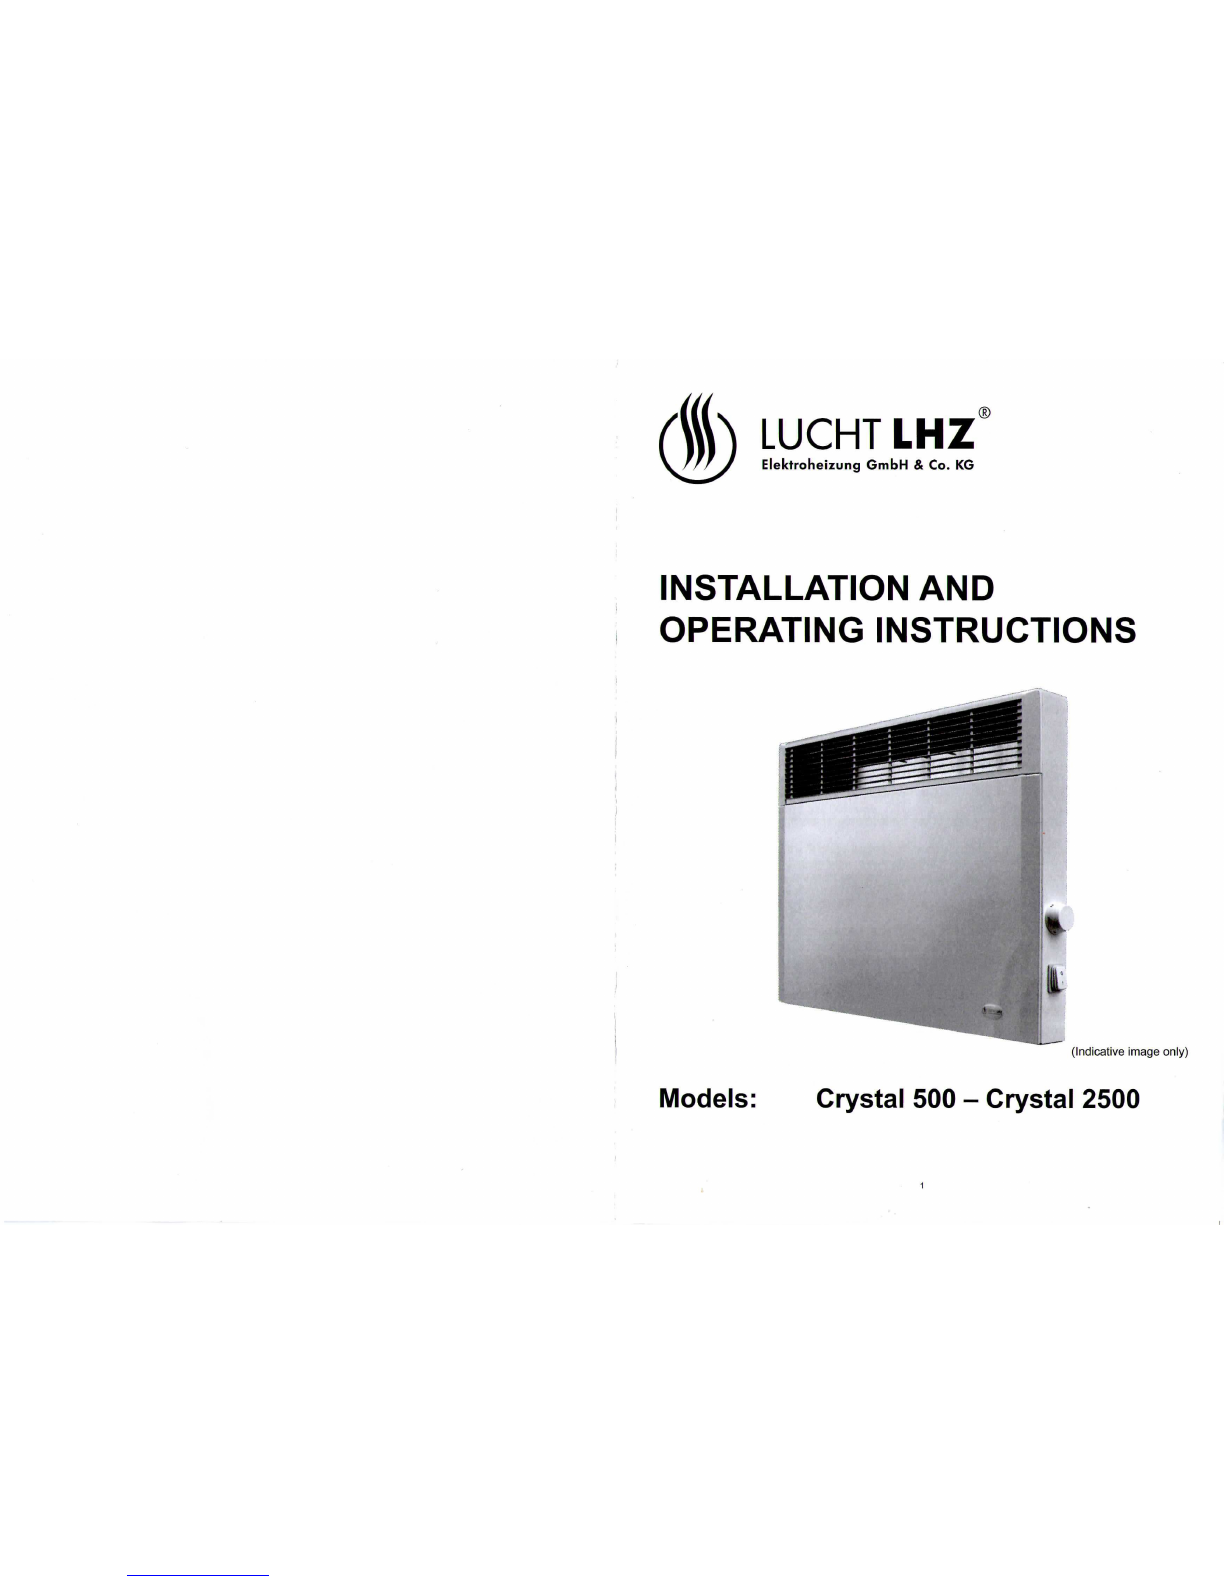
Model
Heatingcapacity(W)
Dimensions
a
(mm)b (mm)weight(kg)
Crystal500 500 345 150 3,1
Crystal1000 1000 415 220 3,6
Crystal1500 1500 566 370 4,4
Crystal2000 2000 695 500 5,2
Crystal2500 2500 915 720 6,0
•nominalstress:230V
AC,
50Hz
•protectionclass:I
•degreeofprotection:IP24
•roomthermostat:4°Ctill40°C
2
1.Instructionstouse
Manual
Thermostat
Operation
Connectthe heatingconvectortothe mains
supplytosetitintooperation.
Switching
theapplianceon
Switchonthe appliancebysettingthe tumbler
switchtoposition
"1".
Switching
theheatingon
Switchonthe heatingbyturningthe temperature
selectorswitchandchoosetherequiredtempe-
rature.Thetemperaturerangeextendsfrom4°C
to40°Cgraduatedinto10steps.Thethermostat
switchesoffthe heatingassoonasthe preset
ambienttemperatureisreached,which willthen
bekeptconstantbycyclicheating.Thehigh
con-
sistencyofthe thermostat (below2 K)provides
aconstantlycomfortabletemperatureandthus
ensurespower-savingheating.
Anti-freezingprotection
Whensettingthe temperatureselectorswitchto
position
"1"
the thermostat automaticallycutsinif
theambienttemperaturefallsbelow4°C.
Switching
theapplianceoff
Switchofftheappliancebysettingthe tumbler
switchtoposition"0".
Integrated
Digital
Programmable
Thermostat
Operation
WheninOffmode,pressandhold
downthe On/Offbuttonfor10se-
condstoaccessthe firstconfigura-
tionmenu.
Menu
1:
ECO
Set-PointAd-
justment
Bydefault, Economysetting= Com-
fortsetting- 3.5°C.
Thisreductioncanbesetbetween0
to-10°C,instepsof0.5°C.
Toadjustthereduction, presson
the + or- buttonsthenpressOKto
confirmandgotothe nextsetting.
Toallowtheusertomodifytheset-
point,pressonthe + buttoninEco-
nomymode
until"—"
isdisplayed
onthe screen.
mm m m
m'm
mmm
•>1032.
Menu
2:Correctionofthemeasured
temperature
Ifthereisa differencebetweenthe temperature
noted(thermometer)andthe
tem-
peraturemeasuredanddisplayed
bythe unit,menu2 actsonthe
measurementoftheprobesoasto
compensateforthisdifference(from
-5°Cto+5°Cinstepsof
0.1
°C).
Tomodify,pressonthe+ or- buttonsthenpress
OKtoconfirmandgotothe nextsetting.
Menu
3:Backlight
time
outsetting
Thetimeoutcanbeadjustedbetween0
and225seconds,instepsof15
seconds(seton90secondsby
default).
Tomodify,pressonthe + or- but-
tonsthenpressOKtoconfirmand
gotothe nextsetting.
Menu
4:AUTOmodetemperature
dis-
play
option
0= Continuousdisplayofroomtemperature.
1= Continuousdisplayofset-point
temperature.
Tomodify,pressonthe + or- but-
tonsthenpressOKtoconfirmand
gotothenextsetting.
0
Menu
5:Productnumber
Thismenuallowsyoutoviewthe
productnumber.
Toexitthe configurationmode,
pressOK.
3