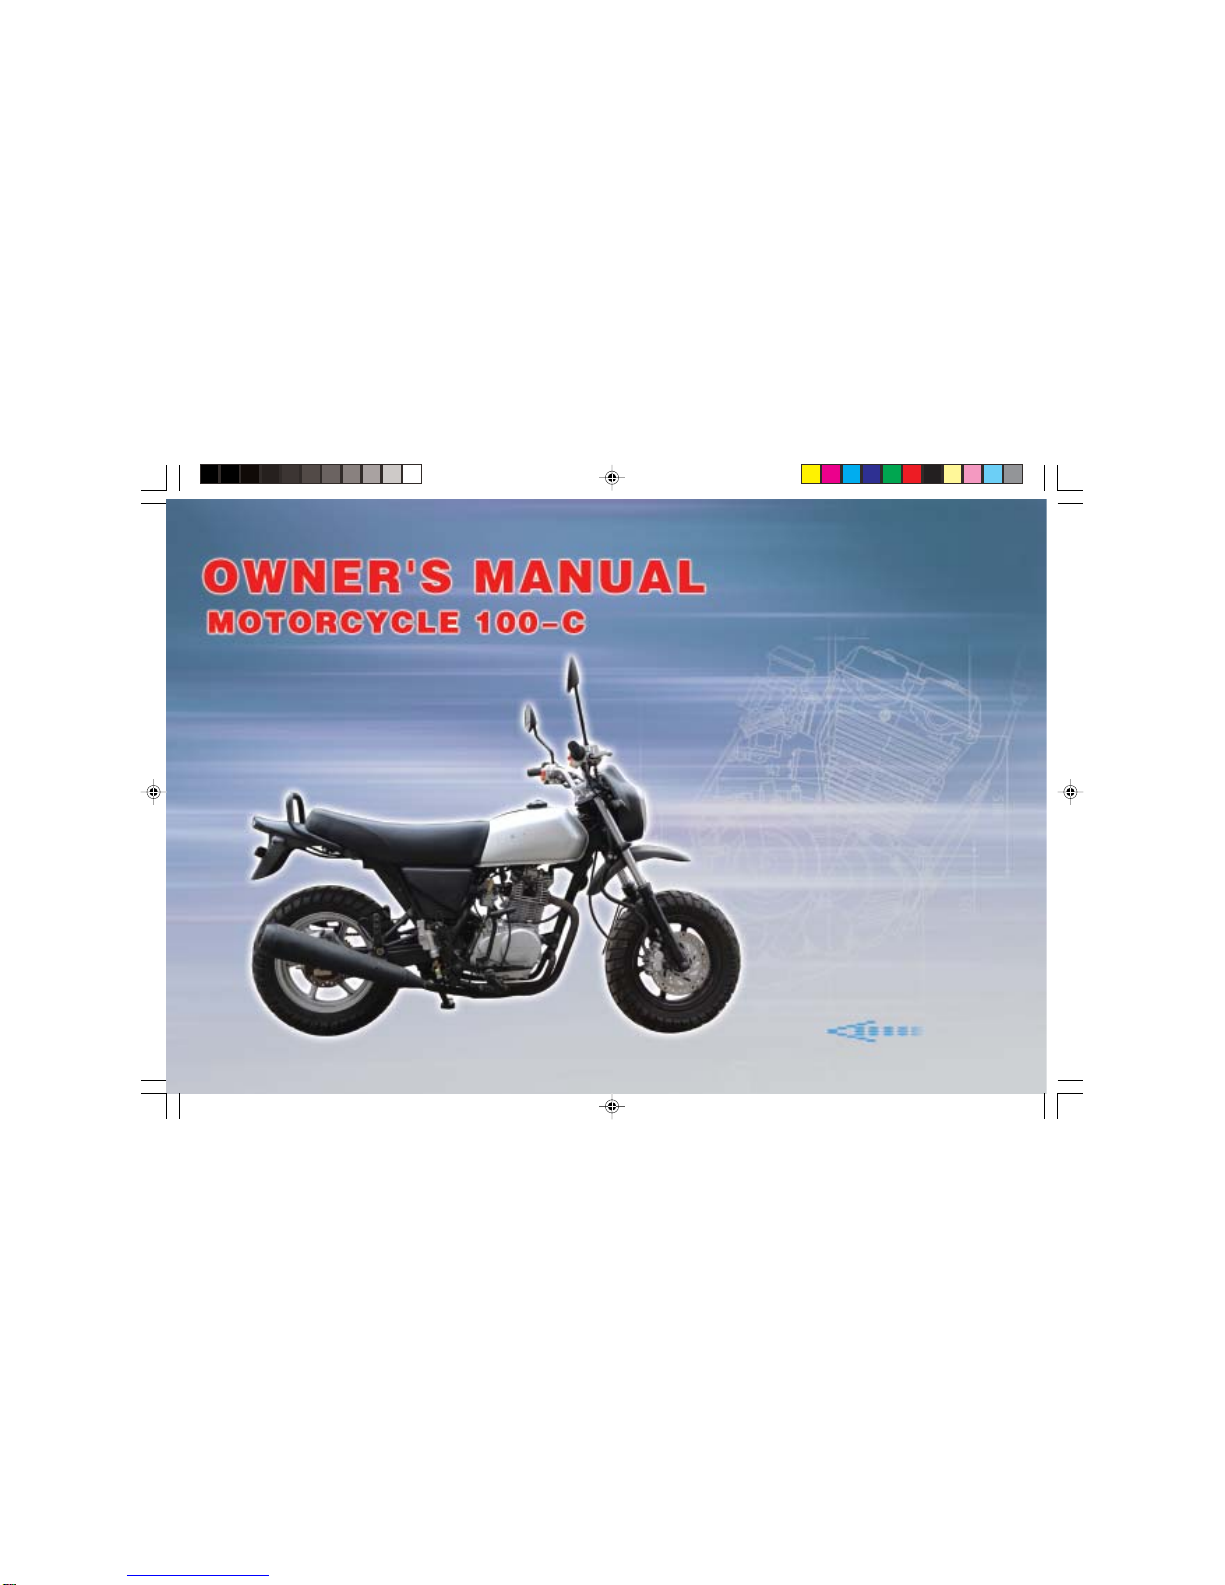
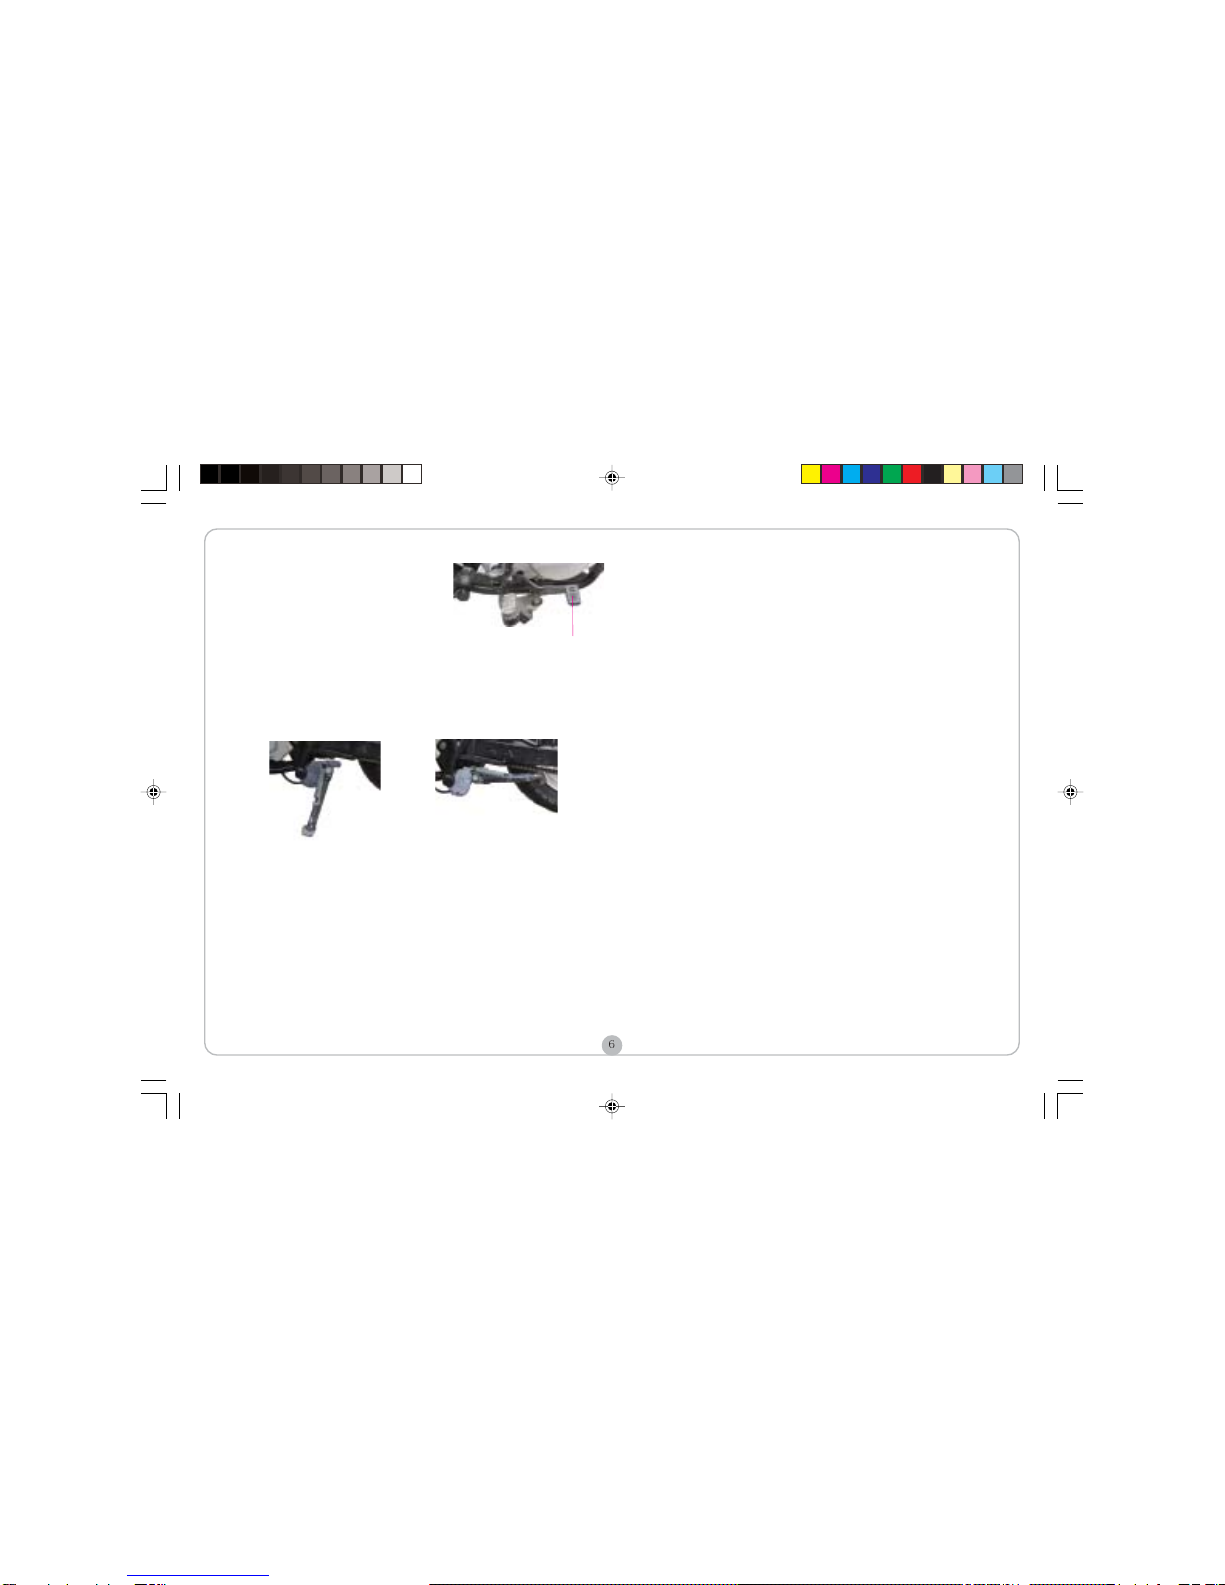
MOTORCYCLE SAFE RIDING
SAFE RIDING RULES
WARNING Motorcycle riding requires special efforts on your part
to ensure safety. Know these requirements before you ride.
Always make a pre-ride inspection before you start the engine. You may
prevent accident or equipment damage.
Most countries require a special motorcycle riding test or license. Make
sure you are qualified before you ride. NEVER lend your motorcycle to an
inexperienced rider.
Make yourself conspicuous to help avoid the accident that wasn’t your
fault:
Wear bright or reflective clothing.
Don’t ride in another motorist’s “blind spot”.
Don’t speedily cross another’s way.
Obey all national and local laws and regulations.
Obey the speed limits, and NEVER travel faster than conditions warrant.
Signal before you make a turn or lane change to draw other motorists’
attention.
Use extra caution at intersections, parking lot entrances and exits.
Always remember to ride with both hands and keep both feet on the
rider footrest while the passenger grasps the handrail with both feet on the
rear footrest.
PROTECTIVECLOTHS
For the safety sake, always wear a helmet, a face shield, dust glasses and
protective clothing. Your passenger needs the same protection.
The exhaust system becomes hot during operation, and it remains hot for
a while after stopping the engine. Take care not to touch the exhaust
system while it is hot. Wear clothing that fully covers your legs.
Do not wear loose clothing that could catch on the control levers, wheels,
etc.
REFITTING
WARNING Arbitrarily refitting the motorcycle or removing the
original partsmay make riding unsafe, and is illegal also. The user
must obey all national and local laws and regulations in relation to
vehicle and traffic. If you have a good proposal concerning refitting of
the motorcycle, please write us. The refitment can be done with per-
mission of the Co. Otherwise, the user will take the consequences.
LOADING
WARNING Addition of accessories and cargo may reduce the
motorcycle’s stability, performance and safe operating speed.
Keep cargo and accessory weight lower and close to the center of the
motorcycle. Load weight equally on both sides to minimize imbalance. As
weight is located further from the motorcycle’s center of gravity, handling
is proportionally affected.
Adjust tyre pressure and rear suspension to suit load weight and riding
conditions.
Make sure that cargo is fastened on the vehicle.
Do not attach items to the handlebars, fork or fender. Otherwise, unstable
handling or slow steering response may occur.
The maximum load weight of the motorcycle is 150kg. Please do not
overload.
ACCESSORIES
Genuine accessories of the Motors have been specifically designed and
tested on themotorcycle. Beacuse the factory cannot test all other
accessories, you are personally re-sponsible for selection, installation and
use of accessories not produced by the Co. Al-ways follow Safe Riding
Rules and these below:
Carefully inspect the accessory to make sure that it does not obscure any
lights, reduce ground clearance or banking angle, or limit suspension travel,
steering travel or control operation.
Do not install other cooling equipment for the engine.
Do not add electrical equipment that will exceed the motorcycle’s electri-
cal system capacity.
100-C(ENGLISH)OK.p65 2012-9-12, 16:274