Life Gear DS 166 User manual

6-Speed
Beauty Massager
OWNER’S
MANUAL
WITH PIVOTING FOOT PLATE
DS
166
Specifications........................1
Safety & Care...........................1
Components & Assembly........2
Directions & Positions............3
CONTENTS

1
SPECIFICATIONS
Dimensions
(W x L x H)
34.5 x 38 x 83-120 cm*
13.5” x 15” x 32.7–47.2”*
* Min/max adjustable height range
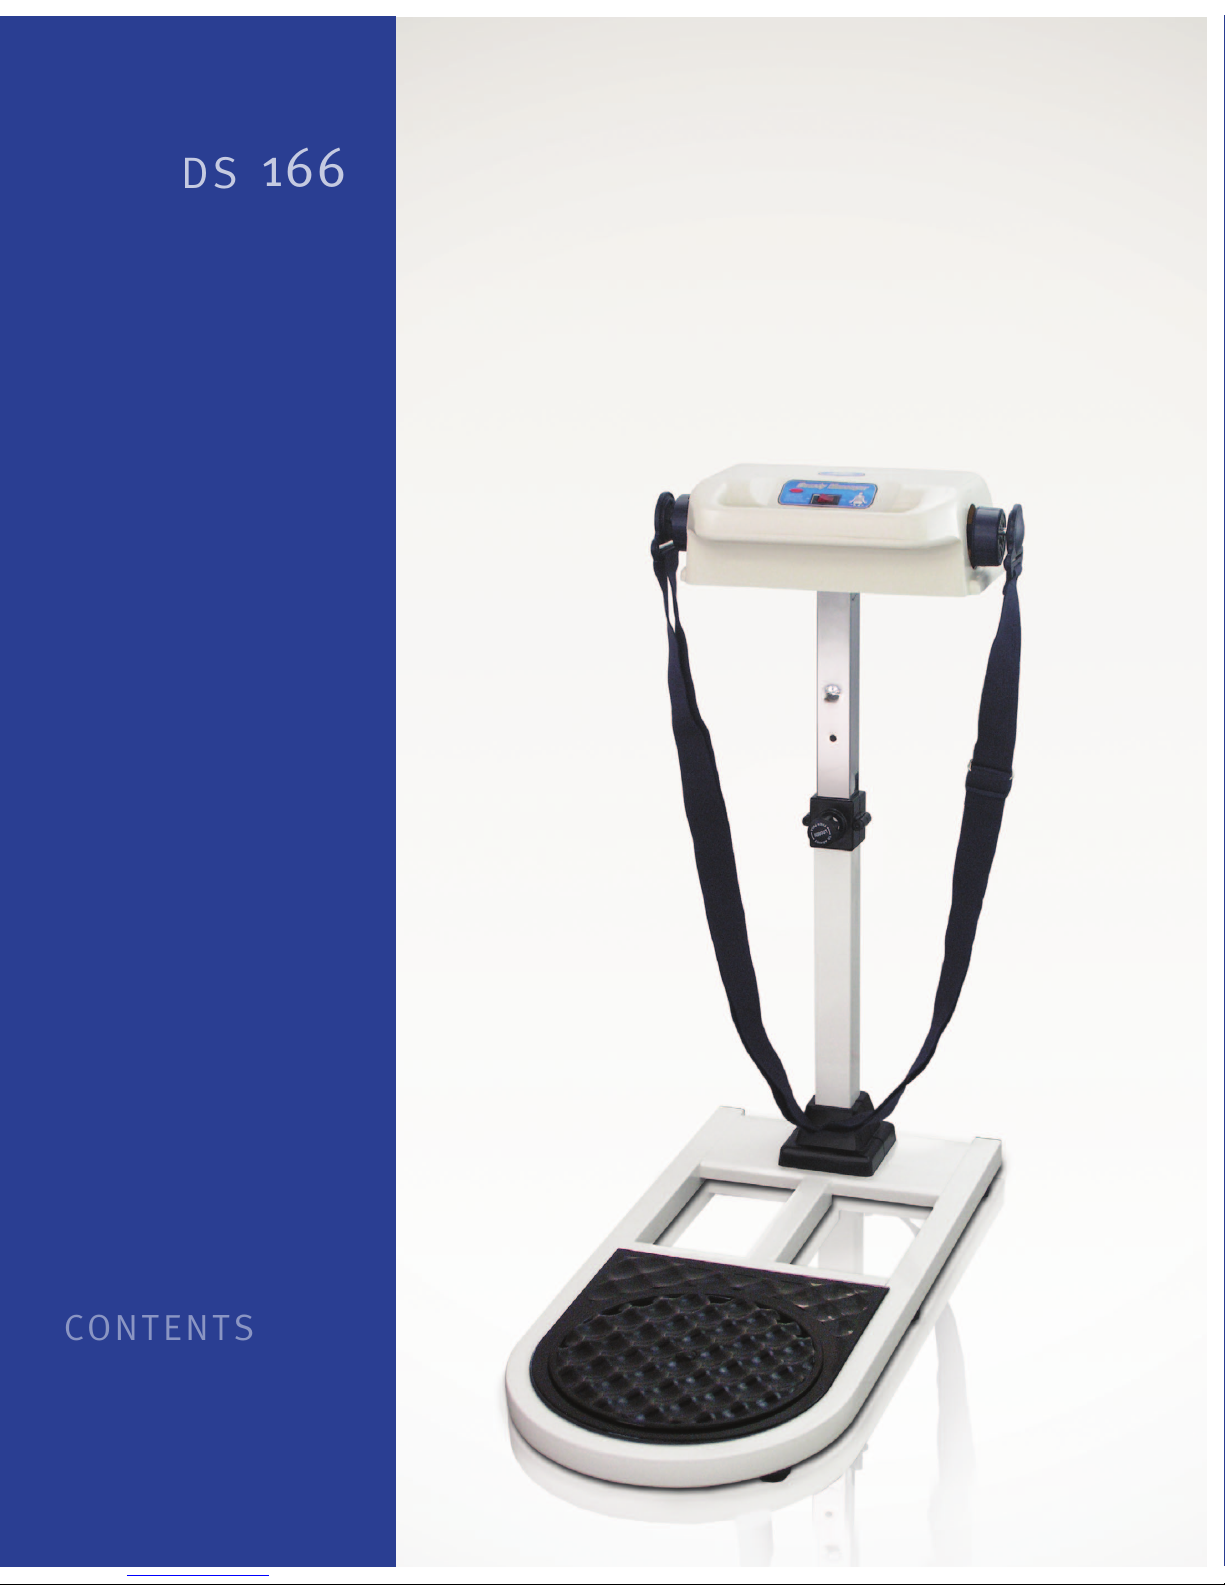
Net Weight
19 kg / 42 lbs
Power Supply 110V, 60 Hz
Max Motor Power 90W
Speeds 6 Speeds (Max 530 RPM)
Flat Massage Belt Adjustable from 65” to 124”
Roller Massage Belt Adjustable from 53” to 78”
Featuring 6 speed settings, dozens of possible belt po-
sitions, and a vibrating wave motion that goes straight
to your problem areas, the 6-Speed Beauty Massager
is a great adjunct to any weight loss program. Both
conventional and roller-style massage belts are includ-
ed, for a versatile and relaxing massage experience.
SAFETY & CARE
The Following Persons Should Not Use this
Device Without a Physician’s Consent:
• Pregnant women.
• People with pacemakers and other internal or externally
attached electronic medical devices, including electrocar-
diogram recorders.
• Those with any serious skin, heart, circulatory, or other type
of condition that may be exacerbated by the device.
• Persons with any swelling or injuries should consult a doc-
tor prior to using this device.
• Keep children and persons with limited reasoning or deci-
sion-making capacity out of reach of this device.
Safety and Care:
• Do not attempt to move or operate the device until it is
properly assembled.
• Use only with the indicated voltage and frequency.
• The massager should only be placed on a level floor with
plenty of room on all sides.
• Do not touch the controls or plug with wet hands.
• Do not use or store in excessively damp places, or in condi-
tions where water may get on the device.
• Never operate the device if it has a damaged cord or plug,
is not working properly, or if the head has come into con-
tact with water. Refer repairs to a qualified service person.
• Discontinue use if pain increases or swelling occurs.
• Drink water before using the massager to help metabolism
and maintain hydration during activity.
• Do not apply the massage to any single area for a pro-
longed period to avoid skin irritation.
• Do not use the massager for more than 30 minutes at a
time, in order to extend the life-span of the device.
• Never leave the massager unattended while running, and
always unplug it immediately after use.
• Do not pull the plug out by means of the cord.
• Only clean the massager with a damp cloth or mild soap.
Do not soak or douse the head with any fluids.
• Inspect and tighten all parts of the device regularly. Loose
parts can hurt the performance and safety of the massager.

2
COMPONENTS
& ASSEMBLY
1. Attach the Outer Support Column (T) to the Base (W) with the four 3
/
8
Carriage bolts (B). Secure the bolts to the underside of the base with the
4 Locking Washers (C) and Locking Nuts (D) as shown in diagram.
2. Place the front and rear Base Covers (U & V) over the base of the Outer
Support Column (T), and secure to the base with the four 4 x 16 Small
Screws (G), as shown in diagram.
3. Clasp the front & rear Knob Casing pieces (R & S) together over the
top end of the Outer Support Column (T) and join with the two
M8 x 30 Long Bolts (A) as shown.
4. Secure the Head (M) onto the Inner Support Column (P) with
the two Hex Bolts (E) and Flat Washers (F).
5. Insert the Inner Support Column (P) into the Outer Support
Column (T). Thread the Height Adjustment Knob (Q) into
the hole centered in the Knob Casing’s (R) opening, and
insert into any of the holes in the Inner Column to set height.
6. Insert the tip of the Belt Attachment Head (K) into the hole
marked with the speed you prefer, on the Speed Setting Knob ( J).
Assembly
R
U
T
W
X
B
D
M
E
F
O
G
P
H
Q
V
S
I
C
L
A)
M8 x 30 Long Bolts (2)
B)
3
/
8Carriage Bolts (4)
C)
3
/
8
Locking Washers (4)
D)
3
/
8
Locking Nuts
(4)
E)
5
/
16 x5
/
8 Hex Bolts (2)
F) 5
/
16 Flat Washers (2)
G)
4 x 16 Small Screws
(4)
H)
Allen Key / Screwdriver
I) 2-Sided Wrench
J) Speed Setting Knob
K) Belt Attachment Head
L) Roller Massage Belt
M) Head
N) Power Switch
O) Flat Massage Belt
P) Inner Support Column
Q) Height Adjustment Knob
R) Knob Casing (front)
S) Knob Casing (rear)
T) Outer Support Column
U) Base Cover (front)
V) Base Cover (Rear)
W) Base
X) Foot Plate
A
J
J
K
K
N

3
Generic Name: Electric Massager
Trade Name: Beauty Massager
DS166
Country of Manufacture: Taiwan
FDA Classication: N/A
Manufactured for/and Distributed by:
YCY Better Health Centre
9253 Shaughnessy Street, Vancouver, BC, Canada V6P 6R4
Tel:(604) 685-1871 Fax:(604)327-6150
O:\Manuals\PowerBodyMassagers\Indesign&PDF\Whole Body Vibration\PDF\DS166\ DS166June15_10.indd
1. Connect the power cord to a wall outlet with the indicated voltage.
2. Choose either of the 2 included Massage Belts, and insert the Belt At-
tachment Heads into the hole marked Speed 1 on both Speed Setting
Knobs. To change speeds, ensure device is off, and push the silver
tab on the side of the Speed Setting Knob to release the Belt.
3. Stand on the Foot Plate, put on the Massage Belt, and start and stop
the massage motion with the Power Switch on the device’s head. Fol-
low the steps below for a general massage routine.
DIRECTIONS
& POSITIONS
Double Shoulder
Position
Place the belt
across both shoul-
ders at the same
time. This will also
provide variation
from the preceding
exercise.
Hip Position
Face the device
again, and wrap
belt around hips to
massage hips and
buttocks.
Twist Exercise
Stand on the Foot
Plate without using
belt. Turn your up-
per body clockwise,
while turning your
lower body counter-
clockwise, repeat
ing
in alternating direc-
tions after each turn.
Single Side
Shoulder Position
Stand on the Foot
Plate and wrap the
belt around one
shoulder. Repeat
the exercise on the
other shoulder.
Belly Position
Stand on the Foot
Plate, facing away
from the device.
Place belt around
belly to massage
and tone abdomin-
al area.
Double Side
Shoulder Position
Place the Flat Mas-
sage Belt across one
shoulder, and slide
the excess strap
length across the
other shoulder. Mas-
sages both shoul-
ders simultaneously.
Adaptation
Stand on the Foot
Plate facing the
device, plug the
belt heads into
Speed 1 or 2 and
massage for 2-3
minutes to adapt to
the motion.
Waist Position
Place belt around
waist to exercise
and tone waistline,
lower back, and
obliques (sides of
lower torso).
Double Vibrations
Using the Flat Mas-
sage Belt only, place
the belt across your
shoulders, and slide
the excess strap
length behind your
legs to massage
upper & lower body
simultaneously.
Warm Up
Before beginning
the massage, do
some warm-up
exercises. Stand
0n the Foot Plate,
inhale, and slowly
raise your arms up-
wards, then swing
them backward.
Underarm Position
Wrap belt around
upper body, just
under the arms, to
tone the underarm
areas, upper back,
and lats (sides of
upper torso).
Leg Position
Suspend belt
around legs as
shown in picture.
Massage and tone
both legs at once,
or individually. Vary
the exercise by lift-
ing a leg or facing
other direction.
1 5 9
2 6
3 7
4 8
10
11
12
Table of contents
Popular Massager manuals by other brands

Wellcare
Wellcare FE-0134 user manual

Lanaform
Lanaform Body Tapping manual

Omega
Omega S-300 user manual

HoMedics
HoMedics GENTLE TOUCH GEL DELUXE SHIATSU MCS-846HJ Instruction manual and warranty information

Clatronic
Clatronic FM 2937 Instruction manual & guarantee

HYPERICE
HYPERICE Hypervolt Plus operating instructions