3
Installation
Please choose the location of the sensor and receiver carefully, ensuring they
are within 120 metres of each other. Observer of the specific notes below:
Sensor:
1. The sensor can detect heat - avoid locations near heater vents, radiators
or spotlights.
2. Mount the sensor at least 1 metre o the ground - if installing more than
2 metres o the ground, point the sensor downward to the area that is to
be monitored.
3. Ensure the sensor is not blocked by any doors or windows.
4. The sensor should be mounted on a flat surface using either the sticky
pad or the wall plugs and screws.
Receiver:
1. Ensure the receiver is within 120 metres of the sensor and bell push.
Please note: Obstructions may reduce the range.
2. The receiver should be mounted on a flat surface using either the sticky
pad or the wall plugs and screws.
Bell Push:
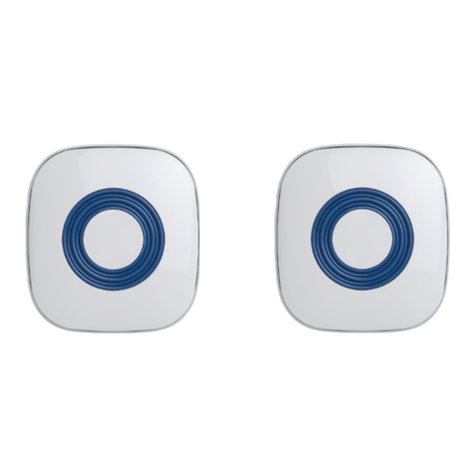
1. Install the Bell Push using the double sided adhesive tape included
The Bell Push is not waterproof - please install in a sheltered location.
Operation
Receiver Power Switch
The power switch has three settings:
OFF - Power o
SILENT - No alarm will be heard but the LED will flash.
LOW - A short beep will sound (approx. 80dB) and the LED will flash.
HI - A loud short beep will sound (approx. 92dB) and the LED will flash.
Testing
1. To test the PIR sensor, switch the receiver to low and walk into the area
the sensor is monitoring.
2. If the sensor does not activate, reposition the sensor or adjust where it is
aiming.
3. If the receiver does not activate, position it closer to the sensor or follow
the pairing instructions below.
Pairing the System
1. Slide the power switch on the receiver to the “HI” setting.
2. Using a small pointed instrument, press the pairing button.
3. Activate the PIR sensor and doorbell in sequence.
4. You will hear a beep on the receiver when the PIR sensor and doorbell
are successfully paired.
Low Battery
The sensor and receiver both have a low battery light. If the light illuminates
on either, change the batteries at your earliest convenience.
1603 - 1603IM281016.indd 3 01/11/2016 14:29:23


