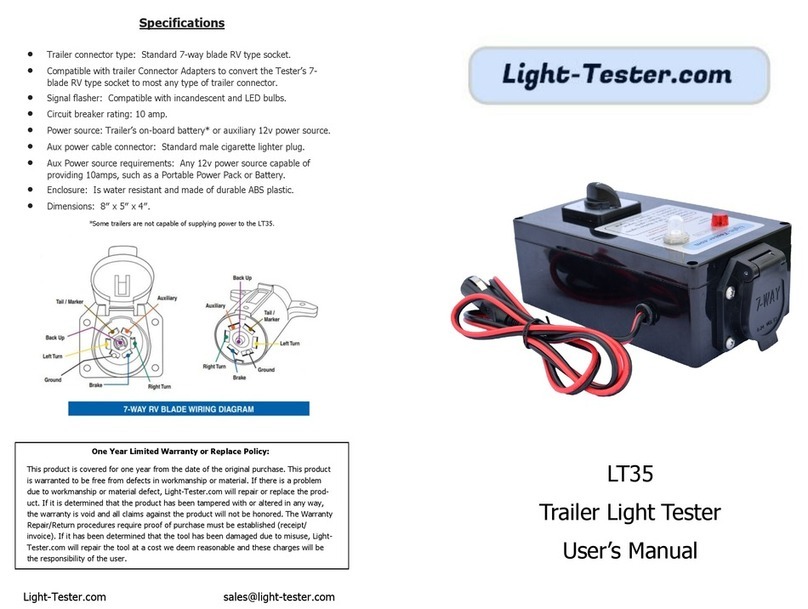
General Instructions
Install battery (not included). Be sure to match battery polarity with positive (+) and
negative (-) battery terminals.
Secure battery in place with provided bungee cord.
Charge battery, by plugging the battery charger into tester’s two pin SAE connector.
Do not operate device when battery is being charged.
The toggle switch is for turning ON the tester in either Light Test or Electric-Brake
test modes. The rotary switch is for selecting different Light Testing functions.
Electric-Brake Test Functions
1. Ensure the tester’s battery is completely charged and be sure to fully
plug-in the trailer’s 7-way connector into the LT45 tester.
2. Prepare Trailer: Using standard safety protocols, jack up one side of the
trailer and support with jack stands so that the tires are off the ground.
Turn the tires by hand to ensure they spin freely.
3. Power On - Electric-Brake mode: Move the toggle switch from the OFF
(center) position to the Brakes ON (right) position.
4. Ensure the LCD display turns On: The LCD will display battery voltage
and current draw for the trailer’s electric brakes. As a general rule, each
wheel that has an electric brake will draw approximately 1.5 - 3 amps. For
example: A trailer that has four wheels equipped with electric brakes should
draw a total of 6-12 amps on the electric brake circuit.
5. Checking brake function: Return to the same tires and attempt to turn
them by hand, you should not be able to rotate them. If you are able to
rotate the tires while the “Brakes ON” mode is selected, this indicates that
something is wrong with your trailer brakes or they are out of adjustment.
Inspect the braking system further to identify the source of failure.
6. To test the brakes on the other side of the trailer: Let the trailer
down from the jack stands and repeat procedures described in steps 2-5.
Note: When performing Electric-Brake test, current draw can be high. To preserve battery
charge, be sure to switch tester Off when testing is complete.
Light Test Functions
1. Ensure the tester’s battery is fully charged and be sure to fully plug-
in the trailer’s 7-way connector into the LT45 tester.
2. Power On - Light Test mode: Move the toggle switch from the OFF
(center) position to the Lights ON (left) position.
3. Ensure the LCD display turns On: The LCD will display battery voltage
and current draw for the trailer’s light circuit that is being tested.
4. Tail & Marker Light Test: Rotate the control knob to position 1, check
to ensure the trailer’s tail and marker lights are ON.
5. Brake Light Test: Rotate the control knob to position 2, check to ensure
the trailer’s brake lights are ON.
6. Turn Signal Light Test: Rotate the control knob to position 3 or 4,
check to ensure the trailer’s left or right turn signal lights are flashing ON.
Trouble-Shooting
LCD display does not turn On, when toggle switch is set to On position.
Circuit breaker may be tripped. Solution: Reset the circuit breaker by pushing the
button down until it stays in the lowered position. If the circuit breaker continues to
trip when performing tests, there is likely a short-circuit in your trailer’s wiring.
Battery charge is low. Solution: Fully charge battery, voltage should be 12 to 13.5
volts.
LCD display is On, but trailer lights or electric brakes do not turn On.
Ensure trailer’s 7-way plug is fully plugged into LT45 tester.
Check trailer for faulty lights, brake magnets, wiring, grounds, battery polarity, etc.
Circuit Breaker keeps tripping.
The circuit under test likely has a short circuit which is typically a 12v wire or brake
magnet that is shorting to ground. Solution: Check trailer’s wiring for damage, cuts,
or pinching - repair as needed.
Current draw exceeding 15 amps from electric brake magnets will cause circuit
breaker to trip. Brake testing is limited to a maximum of two axles (four brakes).


