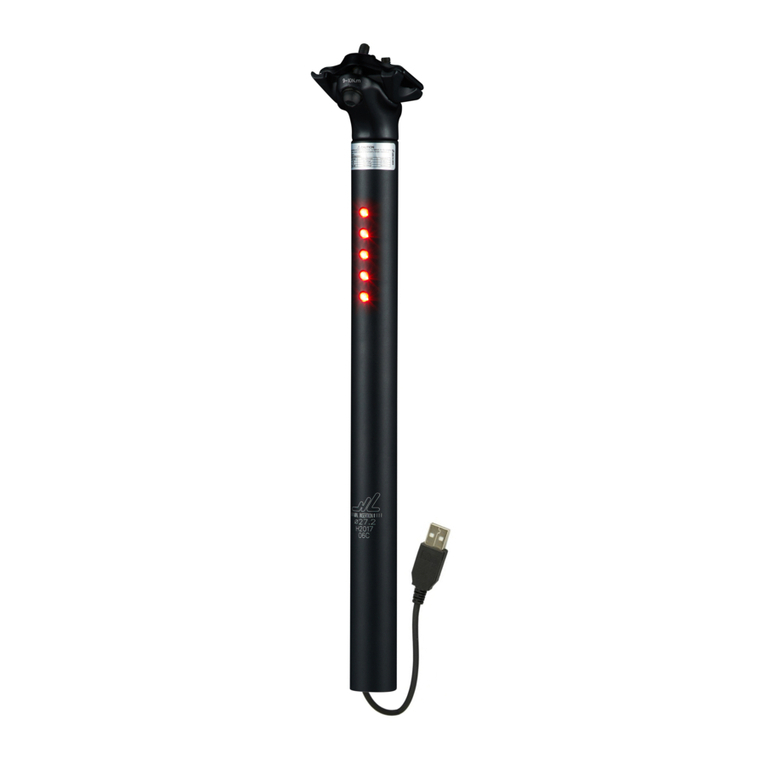
5mm or 6mm
Hex head wrench
Please read through these instructions
completely before you install your new seat
post. Follow them carefully.
If you are not an experienced bicycle
mechanic, or do not have correct tools for
this job, Please take the parts and the
instructions to your favorite bike shop. Let
them do the work. Do not modify these seat
posts, Modification may result in failure and
could cause severe personal injury.
Modification of the seat post will also void the
warranty.
(3) Notice :
▶Please refer to the recommended torque
settings in the above table.Incorrect torque
can damage the product and could lead to
personal injury.
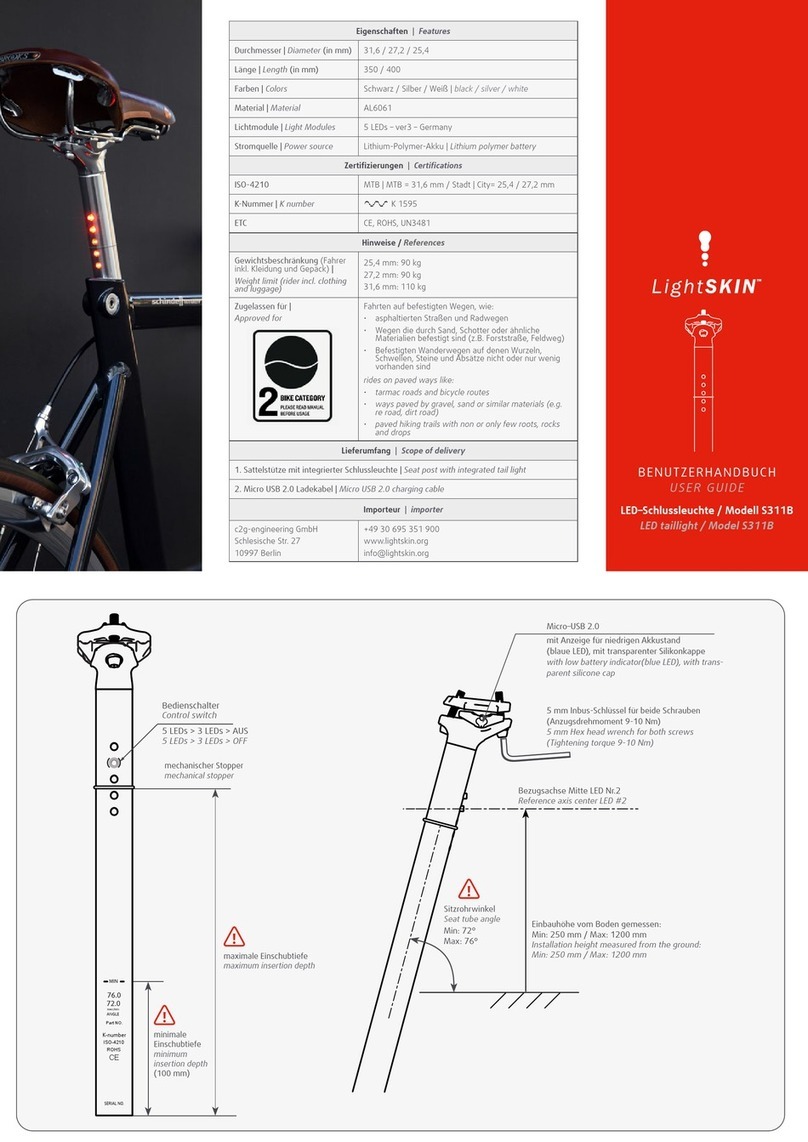
▶Please observe the minimum insertion mark
on the post and ensure that this is adhered to.
3. HOW TO INSTALL BATTERIES 5. HOW TO USE
6. PRECAUTIONS
4. INSTALL LightSKIN ON SADDLE
1ST LED :
PUSH BUTTON
▶ON / CHANGE MODE : Short press the 1st
LED.
▶OFF : Press and hold the button for 3sec.
▶CURRENT MODE SAVE :
If the push button is pressed and held, the
current mode is saved, and the operation
stops. This user-friendly function executes
the previous mode directly with a
one-button press while it is off
NO
1
2
3
Bolt spec
M6
M7
M8-M10
Locking torque
90-100kg
110-120kgf
80-200kgf
Indication
9-10N.m
11-12N.m
18-20N.m
(2) Torque Requirements :
(1) Set up :
Assemble the seat post and seat clamp as per
Fig A
If you ride with the seat post low, it may be
the case that the seat clamp covers one of
the lenses. Please ensure that the clamp area
is not directly tightened on to the lens as per
the illustration below.
▶Insert two 1.5volt AA batteries into the base
of the seatpost. Make sure the (+) direction
faces into the post as per the illustration over
leaf.
▶If water enters the inside of the lightskin,
remove the battery and let the inside of the
product dry thoroughly before using it again.


