• The Pen will not let you dial more than the number of units left in the Pen.
• If you need to inject more than the number of units left in the Pen, you may
either:
– inject the amount left in your Pen and then use a new Pen to give the rest of
your dose, or
– get a new Pen and inject the full dose.
• It is normal to see a small amount of insulin left in the Pen that you cannot
inject.
Giving your injection
• Inject your insulin as your healthcare professional has shown you.
• Change (rotate) your injection site for each injection.
• Do not try to change your dose while injecting.
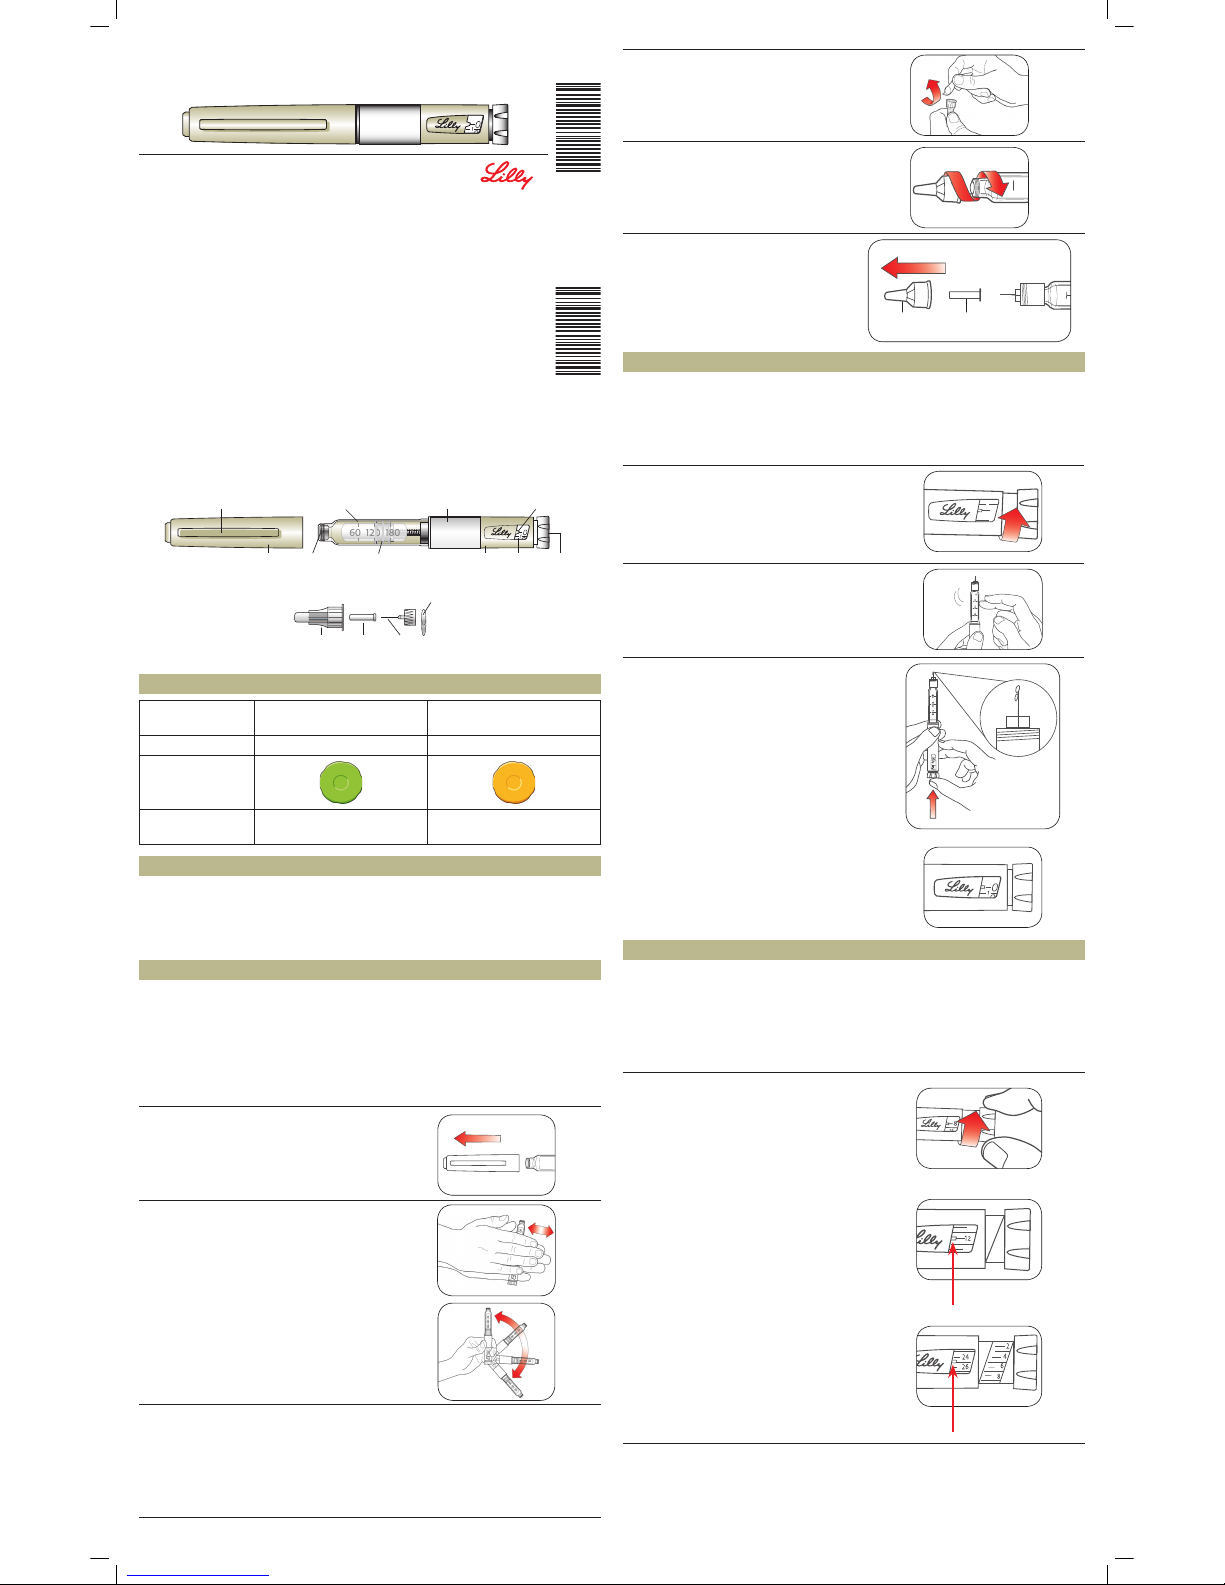
Step 11:
• Choose your injection site.
Your insulin is injected under the skin
(subcutaneously) of your stomach area,
buttocks, upper legs or upper arms.
• Prepare the injection site as directed by your
healthcare professional.
Step 12:
• Insert the Needle into your skin.
• Push the Dose Knob all the way in.
• Continue to hold the Dose Knob
in and slowly count to 5 before
removing the Needle.
Do not try to inject your insulin by turning the Dose Knob. You will NOT receive
your insulin by turning the Dose Knob.
Step 13:
• Pull the Needle out of your skin.
– A drop of insulin at the Needle tip is normal. It
will not affect your dose.
• Check the number in the Dose Window
– If you see “0” in the Dose window, you have received the full amount you
dialed.
– If you do not see “0” in the Dose window, do not redial. Insert the needle
into your skin and finish your injection.
– If you still do not think you received the full amount you dialed for your
injection, do not start over or repeat that injection. Monitor your blood
glucose as instructed by your healthcare professional.
– If you normally need to give 2 injections for your full dose, be sure to give
your second injection.
The plunger only moves a little with each injection, and you may not notice that
it moves.
If you see blood after you take the Needle out of your skin, press the injection
site lightly with a piece of gauze or an alcohol swab. Do not rub the area.
After your injection
Step 14:
• Carefully replace the Outer Needle Shield.
Step 15:
• Unscrew the capped Needle and dispose of it as
described below (see Disposing of Pens and
Needles section).
• Do not store the Pen with the Needle attached
to prevent leaking, blocking the Needle, and air
from entering the Pen.
Step 16:
• Replace the Pen Cap by lining up the Cap Clip
with the Dose Indicator and pushing straight on.
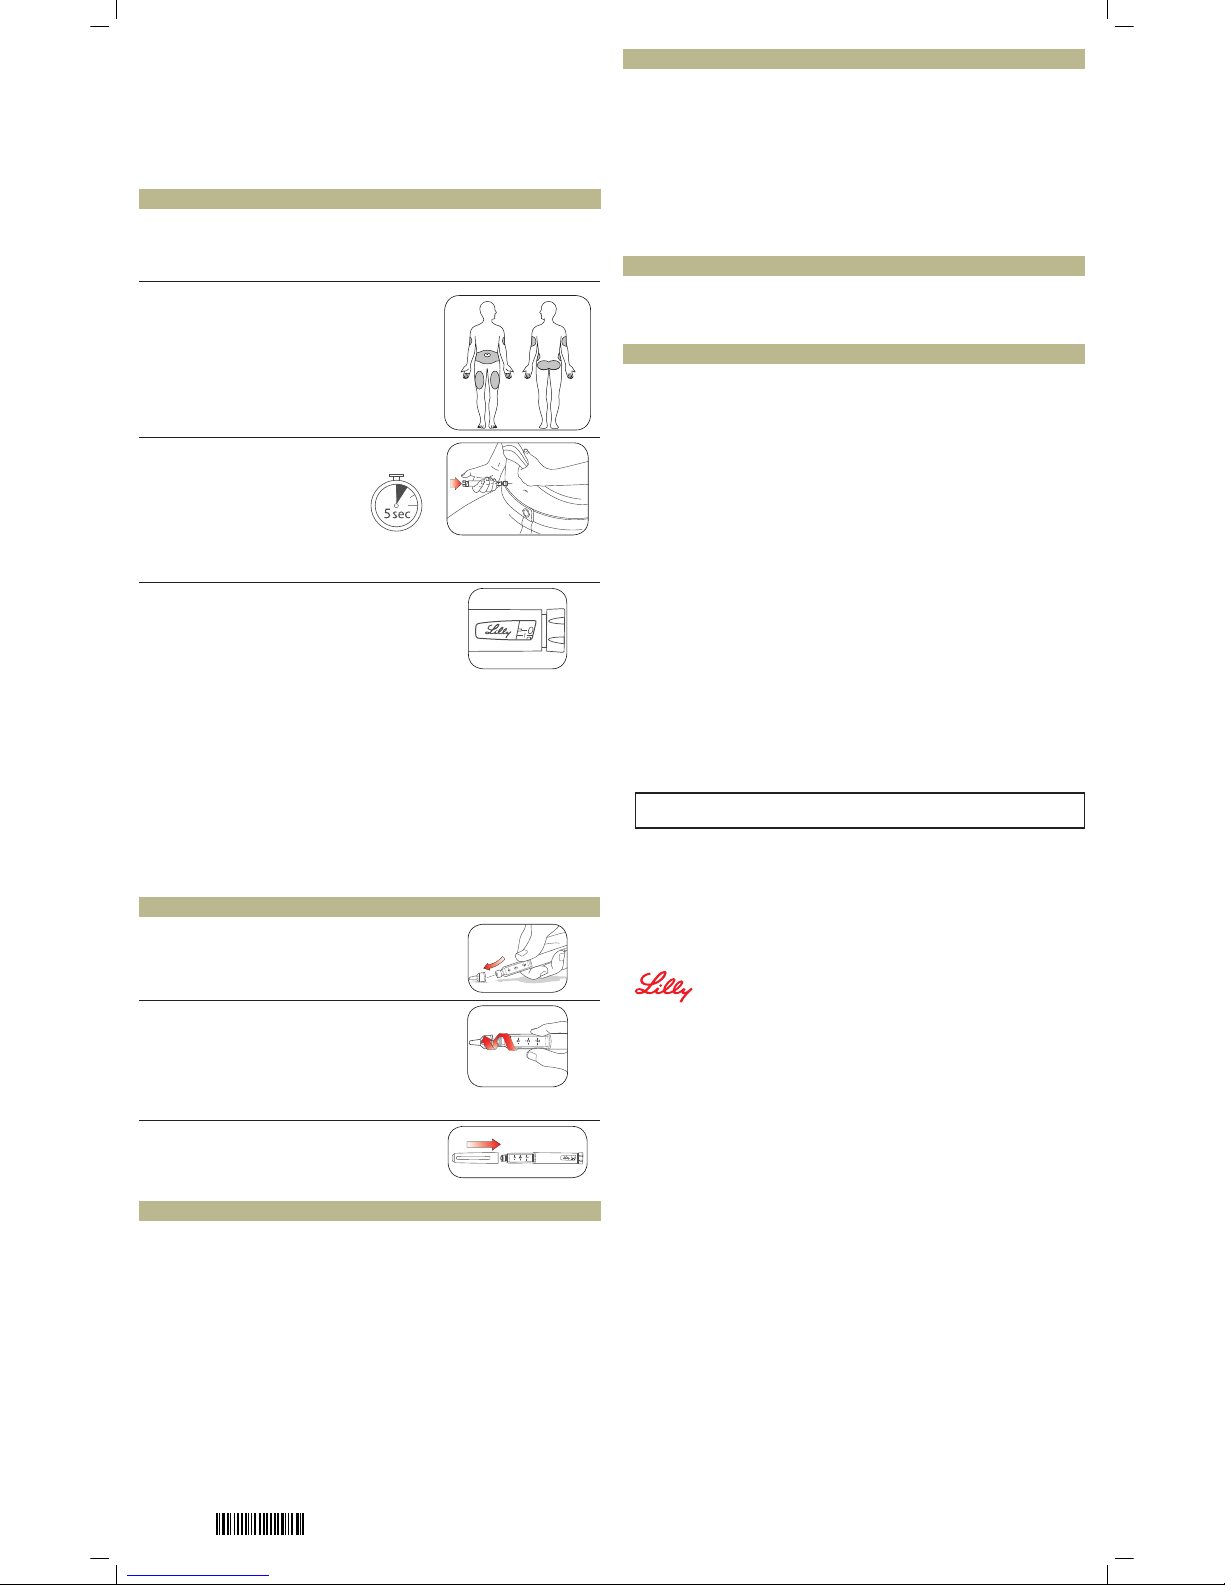
Disposing of Pens and Needles
• Dispose of used Needles in a sharps container or a hard plastic container with
a secure lid. Do not throw Needles directly into your household trash.
• Dispose of the used Pen as instructed by your healthcare professional after
you have removed the Needle.
• Do not recycle the filled sharps container.
• Ask your healthcare professional about options available to dispose of
the sharps container properly. You can also check the Canadian Diabetes
Association website at www.diabetes.ca for information on sharps disposal.
• The directions regarding needle handling are not intended to replace local,
healthcare professional or institutional policies.
Storing your Pen
Unused Pens
• Store unused Pens in the refrigerator at 2°C to 8°C.
•Do not freeze your insulin. Do not use if it has been frozen.
• Unused Pens may be used until the expiration date printed on the Label, if the
Pen has been kept in the refrigerator.
In-use Pen
• Store the Pen you are currently using at room temperature [up to 25°C] and
away from heat and light.
• Throw away the Pen you are using after 28 days, even if it still has insulin left
in it.
General information about the safe and effective use of your Pen
• Keep your Pen and Needles out of the sight and reach of children.
• Do not use your Pen if any part looks broken or damaged.
• Always carry an extra Pen in case yours is lost or damaged.
Troubleshooting
• If you cannot remove the Pen Cap, gently twist the cap back and forth, and
then pull the cap straight off.
• If the Dose Knob is hard to push:
– Pushing the Dose Knob more slowly will make it easier to inject.
– Your Needle may be blocked. Put on a new Needle and prime the Pen.
– You may have dust, food, or liquid inside the Pen. Throw the Pen away and
get a new Pen.
If you have any questions or problems with your KwikPen,contact your
healthcare professional or Lilly at 1-888-545-5972 for assistance.
For more information on your KwikPen and insulin, please visit our website at
www.lilly.ca
Distributed by:
Eli Lilly Canada Inc.
3650 Danforth Avenue
Toronto, Ontario
M1N 2E8
Manufactured by:
Eli Lilly and Company
Pharmaceutical Delivery Systems
Lilly Corporate Center, Indianapolis, IN 46285, USA
Humulin R KwikPen and Humulin N KwikPen are trademarks owned by or
licensed to Eli Lilly and Company, its subsidiaries or affiliates.
Humulin KwikPen meets the current dose accuracy and functional requirements
of ISO 11608-1:2014.
The information in this document is current as of the revision date shown below.
For the most current information please visit our website at www.lilly.ca or
contact us directly at 1-888-545-5972.
Document Revision Date: October 20, 2016
LINKP-0001-CA-IFU-20161020
PA000DACA01
PA000DACA01_P1V2.indd 2 12/2/16 9:20 AM