Lindy 38089 User manual

© LINDY ELECTRONICS LIMITED & LINDY-ELEKTRONIK GMBH - SECOND EDITION (March 2014)
8x8 DVI Matrix
User Manual
No. 38089
www.lindy.com
Tested to Comply with
FCC Standards
For Home and Office Use!

Introduction
Thank you for purchasing the LINDY 8x8 DVI-D Single Link Matrix with remote control. This high
performance matrix offers maximum convenience in DVI distribution when you have multiple DVI
sources and displays to connect together. Each of the eight DVI inputs can be directed to any of the
eight DVI outputs, so every display can show any one of the eight different sources at the same time.
Package Contents
8x8 DVI Matrix
IR eye extension cable 1.5m
Rack mount brackets
IR remote control
IEC mains cable
User manual
Driver CD
Features
DVI 1.0 Compatible (Single Link)
Supports resolutions up to 1920 x 1200 (WUXGA) & 1080p
Supports and learns EDID functions
Switch channels using push button, RS-232, Ethernet or IR remote control
Single link 165MHz (4.95Gbps)
Specification
Inputs:
8 x DVI Ports
1 x RS-232
1 x Ethernet
1 x IEC Power Socket
Outputs:
8 x DVI Ports
Dimensions: 440 x 200 x 44mm (WxDxH)
Operation
Front Panel
1. Power switch
2. Seven segment LED indicator
3. Input/output: Press the + or –switch on the input/output buttons to select the source and
display desired
1
3
5
2
4

4. IR receiver sensor
5. IR extension port
Rear Panel
1. AC power input: 100-240V
2. RS-232 communication port
3. Ethernet port
4. Main dip switches
5. DVI output ports
6. DVI input ports
Remote Control
1. Power: Turn the unit on/off
2. Source select: Only buttons 1 & 2 are used in this area,
which are used in conjunction with the “Fn” button
3. Input: Press 1-8 to select the desired input
4. Output: Press 1-8 to select the desired output
To use the remote control to switch channels, first
select the input you require and then select the
output/outputs you would like it to display on. Repeat
this for multiple pictures on multiple screens. The
channel switching takes approximately 2 seconds.
Fn + Source Sel 1 = Escape system lock
Fn + Source Sel 2 = System lock. The remote control
becomes inactive except for the above command.
EDID
The Matrix has built in EDID profiles to cover the most widely used resolutions. The native
resolution is 1680x1050p @ 60Hz (16:9)
Other supported resolutions:
1920x1080p@60Hz 1152x870p@75Hz
1600x1200p@60Hz 1152x864p@75Hz
1440x900p@60Hz 1024x768p@60Hz, 70Hz, 75Hz, 87Hz
1360x765p@60Hz 800x600p@56Hz, 60Hz, 70Hz, 72Hz, 75Hz
1280x1024p@60Hz, 75Hz 720x480p@70Hz
1280x960p@60Hz 640x480p@60Hz, 67Hz, 72Hz, 75Hz
1280x800p@60Hz
1
2
3
4
6
4
1
3
2
5
6
6
6

The EDID learning function is only necessary whenever you have a display on the DVI output
port that cannot play video correctly. Because DVI sources and displays are capable of
outputting various resolutions, the Matrix will always output the lowest resolution from all the
connected devices. To correct this problem you can force the Matrix to learn the EDID from the
lowest resolution display connected by performing the following procedure:
1. Using the front buttons, select both the Input and output ports of the source and display
with the lowest working resolution.
2. Press and hold the + button of the output port and the – button of the input port for 2
seconds.
3. When you release the buttons the EDID of the display connected will be written to the
connected input port.
4. If the procedure was successful the LED of the input ports will show a zero “ ” and if it
was unsuccessful then it will show an F “ ”.
To restore the default EDID to any specific port, perform the following procedure:
1. Select the input you want to restore the default EDID to and match the LED on the output
port (not input port)
2. Press the + buttons on both the input and output at the same time for 2 seconds.
3. When you release the buttons the default EDID will be restored to the input port.
4. If the procedure was successful the LED of the input ports will show a zero “ ” and if it
was unsuccessful then it will show an F “ ”.
Dip switches
Dip Switch Position
Pin #1
Pin#2
Pin#3
Pin#4
Operation mode via RS-232 Port1
OFF (↑)
OFF (↑)
On (↓)
OFF (↑)
Firmware update
mode2
Block A Main
On (↓)
OFF (↑)
On (↓)
OFF (↑)
Block B Remote
On (↓)
On (↓)
On (↓)
OFF (↑)
1. Factory default setting, pins 1, 2 & 4 set to “Off” & 3 set to “On. This is the default mode for
RS-232 control.
2. Firmware update mode can only be used via RS-232 with the PC set to COM1.
a. Power off your 8x8 DVI Matrix and connect your serial cable to the RS-232 port and
serial port of your PC.
b. Execute the firmware update program on your PC via the COM 1 port.
c. Set Pin 1 & 3 of Block A Main to the “on” position for firmware update mode.
d. Set Pins 2 & 3 to the respective positions to assign which block is to be updated.
e. Power on your Matrix and the firmware update program should begin the update
sequence automatically. (If the program does not start, check the cable connections).
f. Once the firmware update sequence has completed, the screen will display “OK”, at this
point turn off the Matrix.
g. When all updates are complete, set the dip switches to normal operation mode.
h. Power on the LINDY 8x8 DVI Matrix.
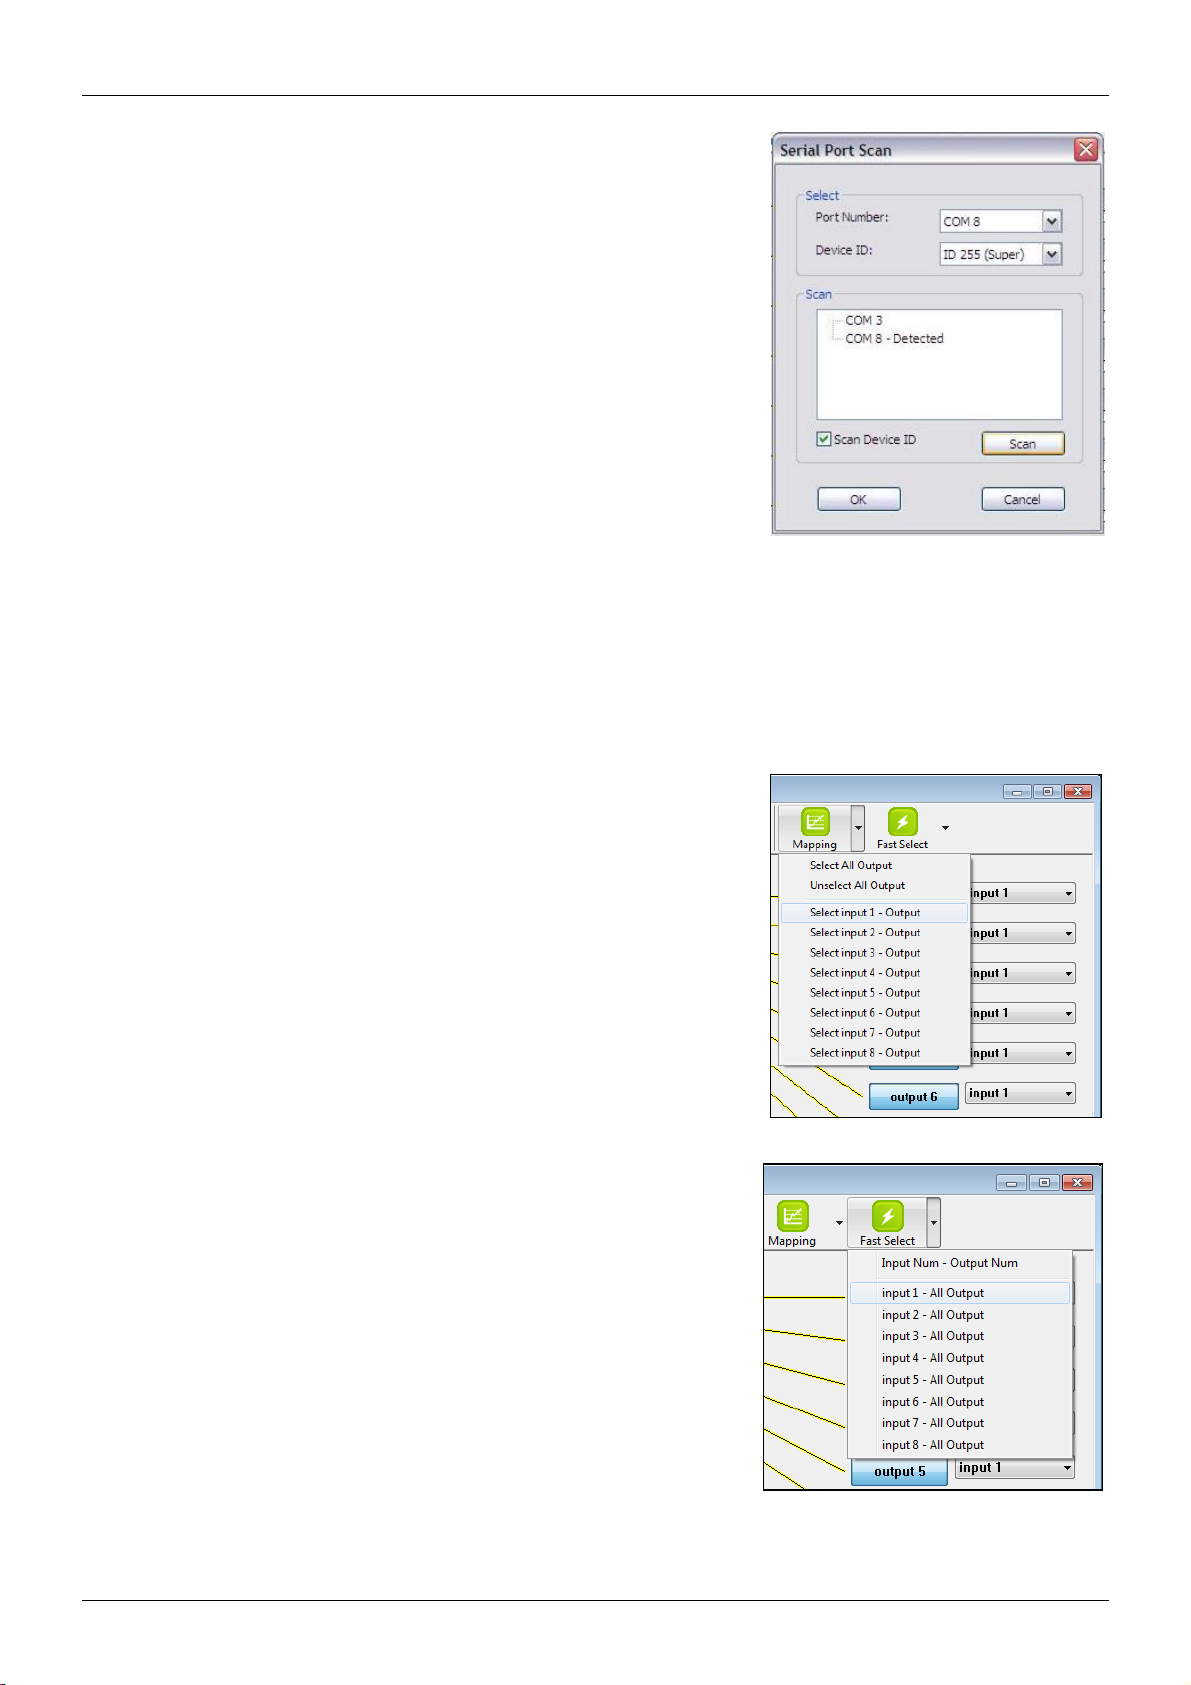
Software Control
Note: before inserting the serial cable, make sure that the main dip switches are set to the
correct position. Incorrect dip switch settings will result in the DVI Matrix not being picked up on
the PC com port.

There are three primary sections of the control software interface; the toolbar at the top, the
input selection area on the left and the output selection area on the right. The input and output
selections are intuitive.
Setting - selecting the setting option will bring up the following
screen:
Get – Reads the connected device’s ID number
Set – Assigns a new device ID number to the connected
device
Rename – Allows you to assign custom names to the
inputs and outputs within the software.
Ethernet – Allows you to read and write the Ethernet
settings to and from the unit. You must be under RS232
control to change the Ethernet settings. Select “Write to
the Device” to store any changes made.
Communication – You can choose between RS232 or
Ethernet.
Note: After making any changes to the Ethernet settings you
must power cycle the unit for these changes to take effect. If
the unit receives commands from both Ethernet and RS232 at
the same time the Ethernet commands will have priority.

Scan –selecting the scan option will bring up the Scan menu
allowing you to scan the computers COM ports for connected
devices:
Select – This area allows you to manually select the
COM port and device ID you wish to control.
Scan – When you select the scan option, all the ports are
scanned and displayed in the scan area.
Scan Button – Press this button to scan again.
Once you have selected the device you would like to control,
click OK.
Note: selecting Device ID 255 (Super) will cause the software
to send commands that will affect units with any device ID on
the selected COM port.
Linkage –Selecting the linkage button will cause the software to re-read the active input and
output routes on the matrix switch. You will have to use this if you have made changes to the
matrix switch by some method other than the control software.
Open & Close –Selecting either the open or close option will open or close the COM port or
Ethernet connection to the matrix switch.
Mapping –Selecting the mapping option will provide an
alternative method for selecting the outputs you would like to
begin connecting your input to:
Select All Output – Choose this option then select an
input from the input selection area to send the input to all
the outputs.
Unselect All Output – Choose this option to un-select all
the current selected outputs from the currently selected
input.
Select Input 1-8-Output – Choose one of the inputs to
make it the active input, then select all the outputs you
would like to send the active input to from the list of
outputs in the output selection area.
Fast Select –Selecting this option allows you to quickly route
single inputs to single outputs or a single input to all outputs.
Input Num-Output Num – Choose this option to route all
inputs to the equivalent output. (Input 1 to Output 1,
Input 2 to Output 2 etc.)
Input 1-8-All output – Choose to send a single input to
all outputs.
Command Set
RS-232 Transmission format:
Baud rate: 9600 bps
Data length: 8 bits
Parity check:None
Stop bit: 1 bit

Full details of the RS-232 protocols can be found on the CD provided
CE Certification
This equipment complies with the requirements relating to Electromagnetic Compatibility Standards
EN55022/EN55024 and the further standards cited therein. It must be used with shielded cables only.
It has been manufactured under the scope of RoHS compliance.
CE Konformitätserklärung
Dieses Produkt entspricht den einschlägigen EMV Richtlinien der EU für IT-Equipment und darf nur
zusammen mit abgeschirmten Kabeln verwendet werden.
Diese Geräte wurden unter Berücksichtigung der RoHS Vorgaben hergestellt.
Die formelle Konformitätserklärung können wir Ihnen auf Anforderung zur Verfügung stellen
FCC Certification
This equipment has been tested and found to comply with the limits for a Class B digital device, pursuant
to part 15 of the FCC Rules. These limits are designed to provide reasonable protection against harmful
interference in a residential installation.
You are cautioned that changes or modification not expressly approved by the party responsible for
compliance could void your authority to operate the equipment.
This device complies with part 15 of the FCC Rules.
Operation is subject to the following two conditions:
1. This device may not cause harmful interference, and
2. This device must accept any interference received, including interference that may cause undesired
operation.
COMMAND
ACTION
COMMAND
ACTION
ST
System Status
VR
Firmware Version
A1
Output A select Input 1
E1
Output E select Input 1
A2
Output A select Input 2
E2
Output E select Input 2
A3
Output A select Input 3
E3
Output E select Input 3
A4
Output A select Input 4
E4
Output E select Input 4
A5
Output A select Input 5
E5
Output E select Input 5
A6
Output A select Input 6
E6
Output E select Input 6
A7
Output A select Input 7
E7
Output E select Input 7
A8
Output A select Input 8
E8
Output E select Input 8
B1
Output B select Input 1
F1
Output F select Input 1
B2
Output B select Input 2
F2
Output F select Input 2
B3
Output B select Input 3
F3
Output F select Input 3
B4
Output B select Input 4
F4
Output F select Input 4
B5
Output B select Input 5
F5
Output F select Input 5
B6
Output B select Input 6
F6
Output F select Input 6
B7
Output B select Input 7
F7
Output F select Input 7
B8
Output B select Input 8
F8
Output F select Input 8
C1
Output C select Input 1
G1
Output G select Input 1
C2
Output C select Input 2
G2
Output G select Input 2
C3
Output C select Input 3
G3
Output G select Input 3
C4
Output C select Input 4
G4
Output G select Input 4
C5
Output C select Input 5
G5
Output G select Input 5
C6
Output C select Input 6
G6
Output G select Input 6
C7
Output C select Input 7
G7
Output G select Input 7
C8
Output C select Input 8
G8
Output G select Input 8
D1
Output D select Input 1
H1
Output H select Input 1
D2
Output D select Input 2
H2
Output H select Input 2
D3
Output D select Input 3
H3
Output H select Input 3
D4
Output D select Input 4
H4
Output H select Input 4
D5
Output D select Input 5
H5
Output H select Input 5
D6
Output D select Input 6
H6
Output H select Input 6
D7
Output D select Input 7
H7
Output H select Input 7
D8
Output D select Input 8
H8
Output H select Input 8

CE/FCC Statement
LINDY Herstellergarantie –Hinweis für Kunden in Deutschland
LINDY gewährt für dieses Produkt über die gesetzliche Regelung in Deutschland hinaus eine zweijährige
Herstellergarantie ab Kaufdatum. Die detaillierten Bedingungen dieser Garantie finden Sie auf der LINDY Website
aufgelistet bei den AGBs.
WEEE (Waste of Electrical and Electronic Equipment),
Recycling of Electronic Products
Europe, United Kingdom
In 2006 the European Union introduced regulations (WEEE) for the collection and recycling of all waste electrical
and electronic equipment. It is no longer allowable to simply throw away electrical and electronic equipment.
Instead, these products must enter the recycling process.
Each individual EU member state has implemented the WEEE regulations into national law in slightly different
ways. Please follow your national law when you want to dispose of any electrical or electronic products. More
details can be obtained from your national WEEE recycling agency.
Germany / Deutschland
Die Europäische Union hat mit der WEEE Direktive Regelungen für die Verschrottung und das Recycling von
Elektro- und Elektronikprodukten geschaffen. Diese wurden im Elektro- und Elektronikgerätegesetz –ElektroG in
deutsches Recht umgesetzt. Dieses Gesetz verbietet das Entsorgen von entsprechenden, auch alten, Elektro- und
Elektronikgeräten über die Hausmülltonne! Diese Geräte müssen den lokalen Sammelsystemen bzw. örtlichen
Sammelstellen zugeführt werden! Dort werden sie kostenlos entgegen genommen. Die Kosten für den weiteren
Recyclingprozess übernimmt die Gesamtheit der Gerätehersteller.
France
En 2006, l'union Européenne a introduit la nouvelle réglementation (DEEE) pour le recyclage de tout équipement
électrique et électronique.
Chaque Etat membre de l’ Union Européenne a mis en application la nouvelle réglementation DEEE de manières
légèrement différentes. Veuillez suivre le décret d’application correspondant à l’élimination des déchets électriques
ou électroniques de votre pays.
Italy
Nel 2006 l’unione europea ha introdotto regolamentazioni (WEEE) per la raccolta e il riciclo di apparecchi elettrici
ed elettronici. Non è più consentito semplicemente gettare queste apparecchiature, devono essere riciclate. Ogni
stato membro dell’ EU ha tramutato le direttive WEEE in leggi statali in varie misure. Fare riferimento alle leggi del
proprio Stato quando si dispone di un apparecchio elettrico o elettronico.
Per ulteriori dettagli fare riferimento alla direttiva WEEE sul riciclaggio del proprio Stato.
LINDY No 38089
2nd Edition, March 2014
www.lindy.com
Tested to Comply with
FCC Standards
For Home and Office Use!
Other Lindy Matrix Switcher manuals

Lindy
Lindy 38313 User manual

Lindy
Lindy 38302 User manual

Lindy
Lindy 38238 User manual

Lindy
Lindy 38084 User manual

Lindy
Lindy 38162 User manual

Lindy
Lindy 38245 User manual

Lindy
Lindy 38350 User manual

Lindy
Lindy 38051 User manual

Lindy
Lindy 38245 User manual

Lindy
Lindy HDMI 8x8 Matrix Switch 1.3c User manual
Popular Matrix Switcher manuals by other brands

Globalmediapro
Globalmediapro SMR-650 Operation manuals

Audio Authority
Audio Authority ADX-0808 Installation and operation guide

Altimium
Altimium MATF16 user manual

Broadcast Tools
Broadcast Tools ACS 4.4 G2 Installation and operation manual

Gefen
Gefen EXT-HDMI1.3-444 user manual

Vanco
Vanco Evolution EVMX4008 manual