User Manual English
Specification
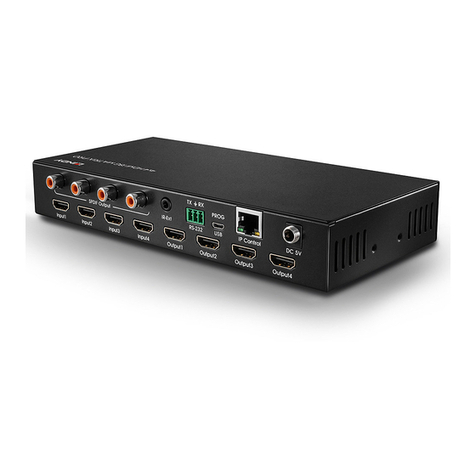
▪Input: 8 x HDMI (Female), Output: 8 x HDMI (Female), 8 x SPDIF (Female),
Control: RS-232 (Female), RJ45 (Female), 3.5mm (Female)
▪Supported Audio Formats: LPCM 2/5.1/7.1CH, Dolby Digital, DTS 5.1, Dolby Digital+, Dolby TrueHD,
DTS-HD Master Audio, Dolby Atmos, DTS:X
▪IR Support: 20~60kHz
▪Black, metal housing
▪Operating Temperature: 0°C - 40°C (32°F - 104°F)
▪Storage Temperature: -20°C - 60°C (-4°F - 140°F)
▪Humidity: 20 -90% RH (non-condensing)
▪Power Consumption: 26.5W
▪ESD Protection: Human Body Model: ±8kV (Air-gap discharge) , ±4kV (Contact discharge)
Installation & Operation
Front Panel
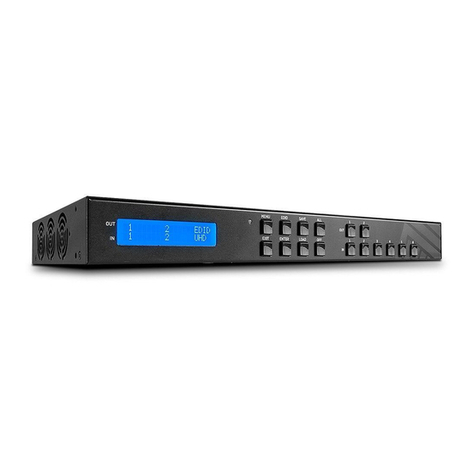
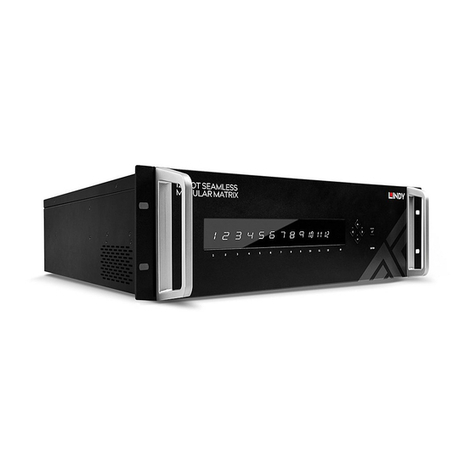
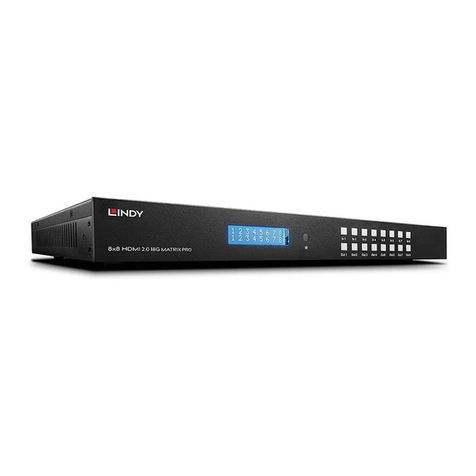
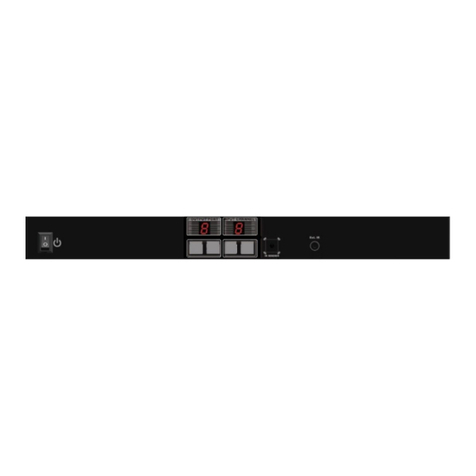
1. OLED Display: Displays the Input and Output status of the matrix. Also displays the EDID
management and the matrix’s IP address when required.
2. IR Receiver: Receives the IR signal from the included IR remote for control over the entire
installation.
3. Push Button Controls: On power up, the OLED display will show the input/output status of the
previous setup. These buttons can then be used for a variety of instructions:
▪After power up, press the Left or Right buttons first to select the required output. Press the Up or
Down buttons to select the required input. Press the Menu button to confirm the selection.
▪After power up, press the Up or Down buttons first to check the EDID setting of the input. Press
Menu to return to the initial display.
▪After power up, press the Menu button first. This will allow for a range of options. Press Up or Down
to cycle through the Menu options and press Right to select an option. Press Left to return from
the options to the original menu
Select EDID: Press Up or Down to select the required EDID. The full EDID table can be found
under EDID Management. Once the required EDID has been selected, press the Right button and
follow with Up or Down to cycle through which Input port to copy the EDID to. It is also possible to
copy to all Inputs. Press the Right button to confirm selection.
PTP Set: This will allow a Point to Point setup i.e. Input 1 to Output A, Input 2 to Output B.
Save Pre-set: Once this option has been selected, this will automatically save the current layout
as a pre-set. Press the Up or Down buttons to select a storage location then press the Right button
to confirm the selection.
Recall Pre-set: Once this option has been selected, the previously used pre-set will be re-called.
Press the Up or Down button to select the required pre-set and press the Right button to confirm
the selection.
View IP: View the IP address and status of the DHCP.
Select Baud: Press the Up or Down button to cycle through the baud rate. Press the Right button
to confirm the selection
Factory Reset: Once this option has been selected the unit can be reset to its factory settings and
then press the Right button to confirm this selection.
