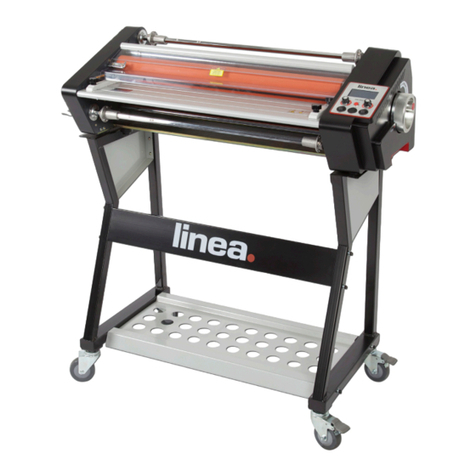
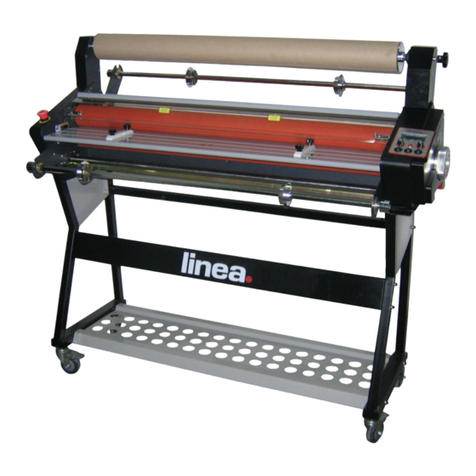
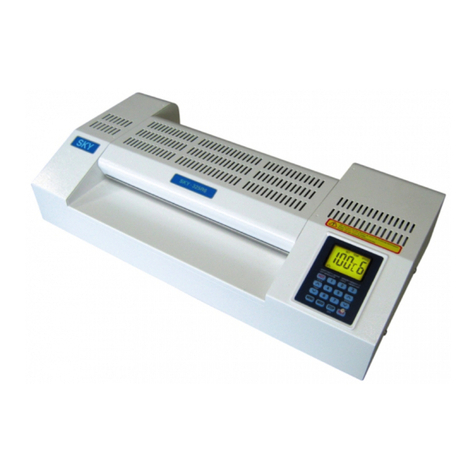
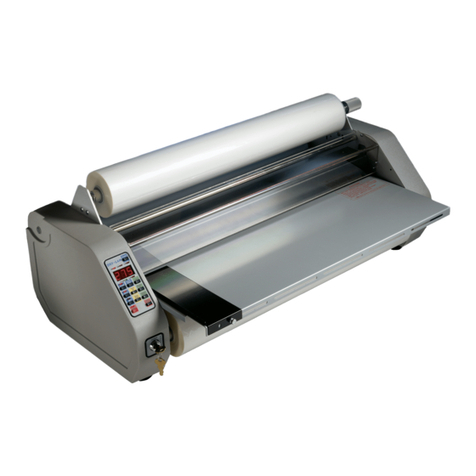
Linea DH-360 Specification sheet

Product instruction manual
Linea DH-360, DH-460 and DH-650
The Linea has been designed to be user friendly,
however we strongly recommend you take a few minutes
to read through this manual to ensure correct operation.
Keep this manual safe for future reference.

Thank you for purchasing the Linea. Please read through this instruction booklet carefully and keep it safe in case
needed for future reference.
Contents
Safety Precautions
Do not use the machine if the power cord is damaged in anyway. Do not use a power supply
that is not in accordance with the rated voltage.
Do not try to disassemble, modify or repair the machine yourself. If you encounter a problem you
must call a qualied engineer.
Keep long hair, loose clothing and items such as ties and jewellery away from the rollers of the
machine at all times to avoid danger of entanglement. If entanglement occurs, press the REVERSE
button or cut o the power immediately.
Keep water and liquids away from the machine at all times. Do not operate the machine with wet
hands. Do not cut o the power to the machine whilst in operation (except if entanglement occurs).
Use the safety guard at all times.
The Linea works at a high temperature, therefore ensure you do not touch the rollers or any
part of the machine which states ‘HOT’ or ‘CAUTION’ whilst it is in operation. Do not cover the
machine if it is still cooling down. Do not laminate any material other than what is stated in this
manual and do not use any lamination lm other than what is recommended for this system.
Operate the machine in a well ventilated, clean, dry place with a large enough working space at the front and rear
of the machine.
Ensure the power cable is not dragging on the oor or causing a hazard to operators.
For producing the top quality results that this machine is designed to do, you must use high quality lamination
lm. Pro life lm is the suggested brand by the manufacturer.
Further advice
Page 2 - Safety precautions
Page 3 - Machine parts and stand (options extra) assembly
Page 4 - Control panel and functions of digital display
Page 5 - Operating instructions
Page 6-8 - Loading/threading the lm
Page 9 - Cleaning and maintenance
Page 9 - Troubleshooting
Page 9 - Specication chart
Page 10 - Warranty and incorrect use

Do not use the machine if the power cord is damaged in anyway. Do not use a power supply
that is not in accordance with the rated voltage.
Do not try to disassemble, modify or repair the machine yourself. If you encounter a problem you
must call a qualied engineer.
Keep long hair, loose clothing and items such as ties and jewellery away from the rollers of the
machine at all times to avoid danger of entanglement. If entanglement occurs, press the REVERSE
button or cut o the power immediately.
Keep water and liquids away from the machine at all times. Do not operate the machine with wet
hands. Do not cut o the power to the machine whilst in operation (except if entanglement occurs).
Use the safety guard at all times.
Machine parts and stand assembly
Stand assembly
(Optional with DH-650)
Core adapter Top roll shaft
Heating roller
Top stabilizer bar
Roller pressure
knob
Control panel
Right side cover
Feed table
Feed guide
Left side cover
Active bolt
Safety shield
Supply roll
tension knob

Control panel and functions of the digital display
Temperature control
The temperature setting you require for laminating can vary and can be eected by many dierent factors, these
include thickness of media, thickness and construction of laminating lm, speed of the machine and temperature
and humidity of the room you are working in. For this reason, we do not provide a precise chart detailing the exact
temperature required for operation. Please refer to the guide at the bottom of this page if you need help. Always
use a test print to send through the machine before starting to laminate your work.
The temperature control knob will increase or decrease the set temperature as it is turned and the set temperature
will show on the LCD display. The current temperature of the rollers will also be displayed on the LCD display. The
temperature ranges from 0oC-140oC. If the temperature reaches 140oC, the over heating protection function will
automatically activate to prevent the machine getting any hotter.
Approximate temperature guide
This chart is a rough guide only and should NOT be taken as an exact indication of the settings for your laminating
job. As previously stated, many dierent factors can eect the temperature and speed required. The supplier does
not accept responsibility for incorrect settings being applied.
Encapsulating
Example lm Approx temperature Approx speed
75 Micron 100°-110° 0.5 m per min
125 Micron 110°-120° 1.0 m per min (decrease speed for thicker documents
and increase the temperature slightly)
Error messages
Should the LCD display panel show the words
OPN fault or CLS fault, there maybe a problem
with your machine. This very rarely occurs but
if it does contact your supplier immediately and
turn o the power.
Familiarise yourself with the control panel
before commencing operation of the machine
Set Temperature
Current Temperature

Speed control
The speed control function allows adjustment of the speed of the machine. This can be manually
adjusted by turning the knob anti clockwise to increase the speed and clockwise to decrease the
speed. The speed can range from 0M per min to 1.4M per min
Hot and cold settings
To change the function of the machine to either hot or cold press the HOT/COLD switch. When it is
switched to hot the set temperature will show on the LCD display. When it is switched to cold, COLD
will show on the LCD display.
Forward and reverse switch
The FWD/REV switch changes the working direction of the motor. When it is switched to forward
the motor will run forward and will show on the LCD display. This function is used for
laminating and encapsulating.
When it is switched to reverse the motor will run backwards and REVERSE will show on the
LCD display. This function is used to remove items fed in incorrectly or by mistake - please note
removed items will not be reuasable
Operating instructions
Ensure the laminator is placed on a at, sturdy work surface or on the assembled stand (optional extra). Check the
power voltage for the machine to ensure this meets your own supply. Plug the power cord into the back of the
machine and into your power supply. Contact your supplier if you do not have a power cord with the machine.
Turn on the power switch, the control panel display will
light, this indicates the power is connected.
Motor overload circuit breaker
If the machine should jam in a way that the motor could be eected, the circuit breaker will cut o the power
to avoid damage. Once the overload has been cleared, press the circuit breaker button and the motor will start
again. The circuit breaker button is located at the rear of the machine next to the power switch. The button is red
in colour.
Run and stop switch
The RUN/STOP switch enables you to start and stop the motor. When it is switched to RUN the
machine will

Loading/threading the lm - Encapsulating
Please follow the step by step guide below to correctly load your lm;
Remove the feed tray by retracting the bolt
Remove the top mandrel
Remove the safety guard
Completely unscrew the mandrel
and cap
Load the lm onto the mandrel and
make sure it is loaded with the lm
coming o the bottom of the roll with
the adhesive side up. Tighten the screw
back up with screwdriver provided
Ret the mandrel complete with
the loaded lm
Thread lm from top mandrel down
under top idler bar and over top
laminating roller surface as shown
(ensure lm is loaded with
adhesive side up)
6
Load lm onto bottom mandrel in
the same fashion as with the top
mandrel, remove bottom mandrel as
shown
NOTE: Indents are drilled in the
mandrels to locate core holder so
top and bottom lms line up
Core holder located on mandrel
Move bottom stabilizer bar forward
to assist lm loading

Film threading diagram -
Lift top roller by turning roller
pressure handle anti-clockwise
Re-t the feed tray
Re-t the plastic safety guard - With the
guard and/or tray not in position you can
put the drive switch to run and then by
pressing the load button the machine
will run forward when the load button is
released the machine will stop
Please note: There is a trip safety
switch which means that the
machine will not work if the feed
tray and safety guard are not
correctly in place.
NOTE: SAFETY TRIP SWITCH
Ensure the roller pressure is in the
‘LOCK’ position when running the
machine
Auto memory function
The linea has an auto memory function, that
means if you work on the same roll of lm,
the temperature and speed will be set to the
smae settings as the last time the machine
was used.
Load bottom lm around roller bar
as shown
Bring top lm down under idler bar
and web the lms together as shown
overlapping the top & bottom lm by
several inches
Take a piece of cardboard insert it in
between the rollers (in the nip)
Re-t the feed tray
NOTE: Ensure stabilizer bar is
relocated in the back position when
loaded

Cleaning and maintenance of your machine
The most expensive part of a laminator is usually the rollers, if these become
damaged they are costly to repair. Always ensure you look after the rollers and
clean them regularly to avoid a build up of glue (see advice below). Never hold
a sharp object such as a knife close to the rollers in case of catching the rubber
as this could cause permanent damage that will effect the result of your work.
When your laminator is cooling down, always seperate the rollers using the roller
pressure knob, this will ensure that your rollers do not touch when still hot as
this could leave a ‘at spot’.
Cleaning the rollers
It is easier to remove adhesive from the rollers when they are warm, do not
attempt this if the machine is hot (above 40oC). For easy access, remove the
safety shield and feed tray. Always use a clean cloth and a mild anti-static foam
cleaner such as Amberclens by Ambersil or similar, do not use a heavy duty
solvent or anything abrasive.
If the lm becomes jammed in the machine in any way and there is a large build
up of adhesive, do not try and remove this yourself, contact your supplier for
advice.
Troubleshooting
My laminator has no power
Make sure that the electrical outlet being used is not damaged and that it is supplying power. Ensure the power cord
is rmly tted in the back of the machine and not straining in any way. If all of this seems correct, there are three
fuses to check, one is located next to the power switch, the other two are located underneath the laminator.
Contact your supplier if none of these solutions resolve the problem.
My lamination is coming out cloudy
This means that the temperature is not hot enough, try and increase by 5oC and wait until the laminator has reached
the new temperature before putting through another print.
My lamination has come out wrinkled/creased
This means that the temperature is too hot. You should also put a test document through rst to avoid ruining your
work. Reduce the temperature by 5oC and wait until the laminator has cooled before trying again.
The lm is wrapping around the rollers when I try to laminate
The lm may be threaded incorrectly, refer to the threading diagram on page 6 or 8 (depending on if you are doing
single sided or encapsulating. The adhesive side of the lm may be facing the roller. Stop the operation, wait until
the laminator has cooled down and thread the lm again in the correct manner.
Specication chart
MODEL DH-360 DH-460 DH-650
MAX LAMINATING WIDTH 340mm 460mm 650mm
MAX LAMINATING THICKNESS 5mm 5mm 5mm
MAX LAMINATING TEMPERATURE 140C 140C 140C
MAX LAMINATING SPEED 1.4m/min 1.4m metres/minute 1.4 metres/minute
RECOMMENDED FILM Prolife lm, up to 250 micron Prolife lm, up to 250 micron Prolife lm, up to 250 micron
DIAMETER OF HEATING ROLLER 44mm 55mm 55mm
DIAMETER OF PULL ROLLER 30mm 45mm 45mm
POWER SUPPLY 100, 110, 220-240V, 50, 60Hz
POWER 700W 950W 1600W
DIMENSIONS 620 x 420 x 310mm 720 x 520 x 400mm 910 x 520 x 400mm
WEIGHT 30kg 45kg 58kg
STAND N/A N/A Optional Extra

Warranty & Incorrect Use
IMPORTANT INFORMATION
Your laminator should reach you in perfect condition, however please retain all original packaging once you have unpacked your
laminator in case you need to return it to us. If your laminator arrives damaged or faulty in anyway, this must be reported to your
supplier immediately. If you send your laminator back for repair under warranty at any time, then the warranty may be void if the
laminator is not packaged correctly and as a result is damaged in transit. The laminator you have purchased comes with a 1 year
warranty on defective parts. THIS DOES NOT COVER any jams, misfeeds or wrap arounds caused by operator error and you will be
liable for the repair costs (including delivery charges) if the damage is caused by operator error.
E&O.E
10
Other manuals for DH-360
1
This manual suits for next models
2
Table of contents
Other Linea Laminator manuals
Popular Laminator manuals by other brands

Rebel
Rebel URZ0987 user manual

GBC
GBC Ultima 65 Installation & operation manual
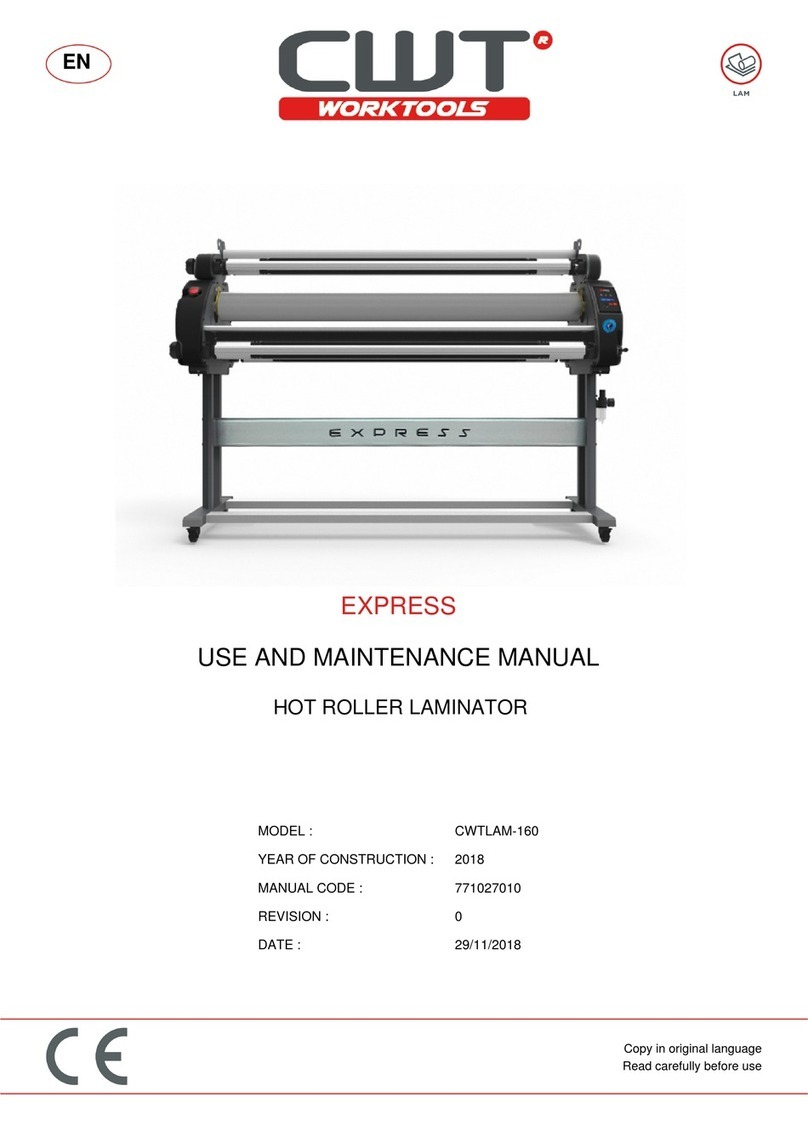
CWT
CWT EXPRESS Use and maintenance manual
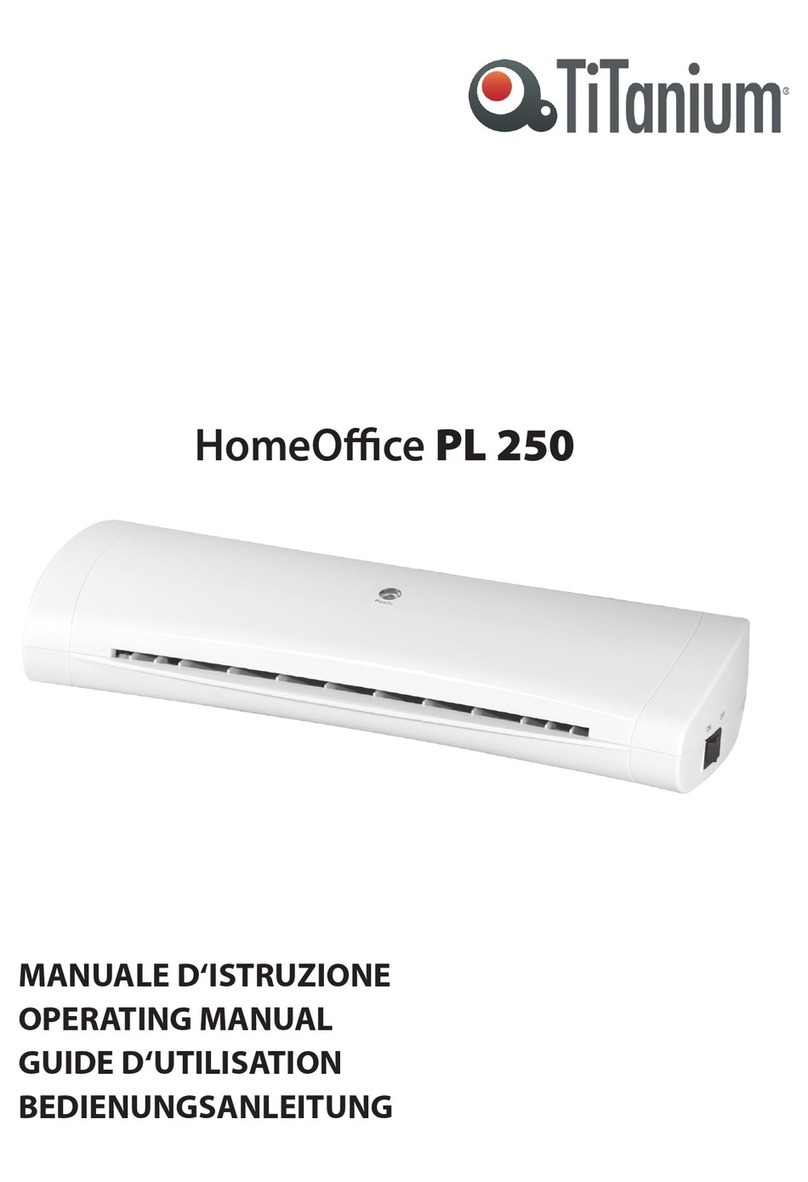
Titanium
Titanium HomeOffice PL 250 operating manual

BEIJING YC DIGITTECH
BEIJING YC DIGITTECH YCY-215D user manual
Professional Laminating Systems
Professional Laminating Systems II Series Operator's manual
