Link Data Power Work S2 User manual

- 1 -
All pictures shown are for illustration purpose only. Actual product may vary due to product enhancement.
Australian Agent - LinkData Australia, 622 Wickham Street, Fortitude Valley, QLD 4002
Contact - Shane Schmidt 0430 509 503 shane.schmidt@linkdataaustralia.com
www.linkdataaustralia.com
GROUP
Power Work S2
Installation Guide

- 2 -
Safety Instructions and Warnings
Danger! It refers to the circumstance that may cause personal injury or
death.
Caution! It indicates that there may be dangerous situations that will
result in equipment damage.
Attention!
It points out important suggestions that may bring the best results, but
which are not related to safety and damage.
The installation should be carried out strictly in accordance with the operating
procedures mentioned herein step by step.
All personnel participating in field installation, wiring and commissioning must wear
safety helmets, safety goggles, safety shoes, safety gloves and insulating gloves. The
detailed requirements are as follows:
To prevent from an electric shock, all equipment must be disconnected at least 5
minutes before any installation or maintenance.
Children must be kept away from Power Work S2.
Before installation and wiring, make sure that no equipment is energized, and ensure
that AC and DC circuit breakers are disconnected.
Do not install Power Work S2 near any heating device.
Do not insert any foreign matter in any part of Power Work S2.
Do not expose Power Work S2or its components by the flame.
Do not immerse Power Work S2or its components in water or other liquid.
When Power Work S2 is operated or stored at a temperature exceeding the specified
range of temperature, it may be damaged.
Do not touch Power Work S2 with wet hands.
Please avoid use of any damaged power cables or wires, etc.
Do not touch Power Work S2 or connect to any cable of Power Work S2 at the peak
period of electricity utilization.
Do not use any power supply exceeding the specified voltage.
Do not perform any work related to wiring when it is powered on.
Do not connect it to any equipment except for those specified.
Do not put Power Work S2 on an unstable surface or on a surface with the strength
insufficient to support Power Work S2.
Do not carry out installation when it rains.
In case of appearance of smoke or occurrence of abnormal heat, unusual odor or
sound, or the battery falls down or is damaged, turn off the switches of all circuit
breakers, and stop using Power Work S2.
Power cables and wires should be connected firmly.
Do not work separately. In case of emergency, the existence of the other person will
be crucial.

- 3 -
Install a necessary warning board of danger near exposed AC or DC voltage terminal.
Keep far away from exposed cables and equipment.
Do not block or go around the protective device.
Do not mechanically damage the battery pack.
Do not modify the battery pack.
Do not allow the battery pack to be in contact with water.
Do not heat the battery pack. Operate only within the permitted range of
temperature.
Do not “short out” the battery pack.
Do not continue to use the battery pack if it is shorted out.
Do not over discharge the battery pack.
Avoid contacting any escaped electrolyte.
Please operate carefully, so as to protect Power Work S2 and its components from
being damaged during transportation. Do not strike, pull, drag or tread on Power
Work S2. Do not make Power Work S2 affected by any brute force. To prevent from
damage, before preparation for installation, please put Power Work S2 in its
transport package.
In case of failure, please do neither use Power Work S2, nor try to dismount, repair,
falsify or modify Power Work S2. The battery cell in the power support cannot be
replaced.
The range of temperature for recharge of battery pack should be 10°C to 45°C. If the
battery pack is recharged under the temperature beyond this range, it may make the
battery pack hot or disconnected. If the battery pack is recharged under the
temperature beyond this range, it may make its performance worse or reduce its
expected service life.
Avoid installing it in a wet environment.
Do not clean Power Work S2 or expose Power Work S2 to flammable or irritant
chemicals or steam.
Do not use any part or accessory not designated in this Manual, or any part or
accessory not directly purchased from Beijing Linkdata Technology Co., Ltd. or it’s
nominated agents (hereinafter referred to as Linkdata) or certifier of Linkdata.
Make sure that there is no snow covering on the top of or around Power Work S2.
Do not paint any part of Power Work S2, including any internal or external
component, e.g. outer shell.
When installing Power Work S2 in the garage or near vehicles, install Power Work S2
to the side wall or the place higher than the vehicle bumper to ensure visibility.
Do not block the vent.
Do not lift or move it by yourself.
If Power Work S2 is no longer used, dispose of it via a registered battery recycling
site or company.
Do not touch or replace other components except for wiring terminals without
authorization. Please operate according to the method described herein. Otherwise,
Linkdata will not undertake any responsibility or warranty in case of any personal
injury or damage to the battery.

- 4 -
Selection of installation location
Before installation, please confirm whether the installation environment meets the
following requirements:
• Do not expose it in the environment with direct sunlight for a long time. Prevent
direct sunshine, rain and snow. Suggest installing it in a sheltered environment.
• Do not get close to television antenna or antenna cable to avoid any possible
interference to the television signals
• Install not higher than about 2000m of elevation
• Ensure good ventilation
• Keep the ambient temperature within 0℃ to +40℃.
• Ensure there is room to install the battery – dimensions are 460 x 131 x 695 (w x d x
h) and weight is 45kg. Consider if there will be future expansion required (up to 4
Power Work S2 can be connected in parallel to provide 20+kWh of energy storage)
• If mounting on wall, the wall slope should be keep with +-5% and be able to bear the
load.
• If floor mounted, the floor should be able to bear the load
• The installation should be far away from inflammable or explosive items and ensure
that there is no equipment with strong electromagnetic interference around
• The product should not be vibrated.
• Keep it away from dust (especially fine particles such as flour and sawdust)
• Ensure any corrosive and explosive gases are not present or are very well ventilated
• Ensure good accessibility - a human should be able to operate comfortably at the
installation location
Installation preparation and procedure
• Installer to ensure there is enough correctly rated DC cable and Ethernet cable to
connect battery, in desired position, to the Inverter
• A DC Circuit Breaker, with minimum rating of 63A to be installed to separate battery
from inverter at installation time and for subsequent activity (eg. addition or
removal of batteries)
• It is recommended to install the batteries as close to the Inverter as possible to
minimize any energy loss across the cable connection. Connections can be many
metres, if that is required, so the Installer must dimension cable rating to minimize
energy loss over the distance at the rated 50A (@48VDC) (Refer Page 6.)
• Refer and follow to all specific instructions by the Inverter manufacturer about
cable/terminal connection between the inverter and the DC circuit breaker.
Connection of Battery to Circuit Breaker
• Before connection to the inverter, ensure the battery is in a disconnected state (the
indicator of the starting switch on the right upper corner of the battery pack is in
“off” position.)

- 5 -
• Ensure the cable colours (Red for +ve, Black for -ve) are correctly installed at the
circuit breaker – incorrect connection of polarity between battery and inverter will
void any warranties
• Connect the cables – Red to Terminal D and Black to Terminal E of the battery
• Do not close Circuit Breaker at this time
• Connect the BMS cable from the Inverter to Socket C on the battery. If required to
extend the length of the cable, the Installer will need to provide an extension cable
with Male and Female RJ45 connectors using CAT5 ethernet cable – recommended
Shielded CAT5 if outdoors.
• Turn on the Battery using switch A on top right of battery – LED lights will indicate
operation.
• Close the DC breaker switch
• Observe overall system for at least 60 seconds to ensure Inverter is operating
correctly and review ALL settings on the Inverter for completeness.

- 6 -
Connection Diagram – Power Work S2 <> Goodwe EM Series
Table of contents
Popular Batteries Pack manuals by other brands
ANSMANN
ANSMANN 1400-0080 Original operating instructions
Nikon
Nikon MB-D200 instruction manual

Enerdrive
Enerdrive EPL-100AH-12v-BATT owner's manual

Worcraft
Worcraft CLB-20V-6.0HC instruction manual

LRP electronic
LRP electronic ULTIMATE DRIFT HARDCASE LIPO 5300 user manual
Belkin
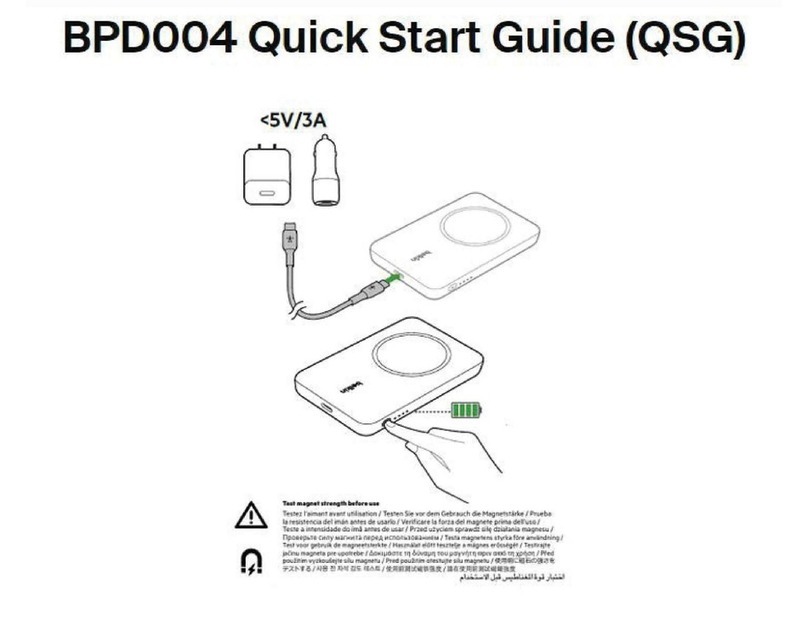
Belkin BPD004 quick start guide
