manuals.online logo
Brands
  1. Home
  2. •
  3. Brands
  4. •
  5. Linksys
  6. •
  7. IP Camera
  8. •
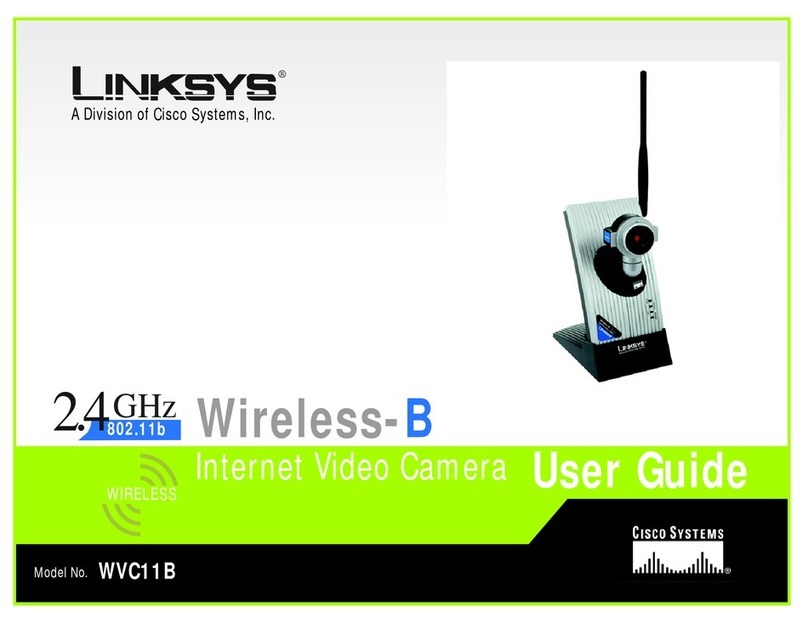
  9. Linksys WVC11B - Wireless-B Internet Video Camera... Original operating instructions

Linksys WVC11B - Wireless-B Internet Video Camera... Original operating instructions

Quick Installation
Quick Installation
A Division of Cisco Systems, Inc.
®
Model No.
Model No.
Quick Installation
Model No.
Wireless
WVC11B
Internet Video Camera
Wireless-B
Package Contents
• Wireless-B Internet Video Camera
• Camera Desktop Stand
• Power Adapter
• Ethernet Network Cable
• Setup CD-ROM with User Guide
•UserGuideonCD
• Quick Installation Guide
• Registration Card
1
2
AConnect the included Ethernet
network cable to your router or
switch.
If you want to connect the
Camera directly to your PC,
use a crossover Ethernet net-
work cable (not included).
B
Connect the other end of the
cable to the LAN port on the
Camera.
C
Connect the included power
adapter to the Power port on
the Camera.
D
Plug the power adapter into an
electrical outlet.
The Ready LED flashes while the
Camera is initializing. When the
Camera is ready for setup, the
Ready and LAN LEDs are solidly
lit.
Connect the Video Camera to a
G
If the Camera requires a static
IP address, keep the default
setting,
Static IP address
. If
your network has a router or
other DHCP server, select
Auto-
matic Configuration-DHCP
.
Click
Next
.
H
If you selected Automatic Con-
figuration-DHCP in step G, then
proceed to step I. If you
selected Static IP address, the
IP Settings
screen will appear.
Enter an IP Address, Subnet
Mask, and Default Gateway
appropriate for your network.
You must specify an IP Address
and Subnet Mask. If you are
unsure about the Default Gate-
way, then leave this field blank.
Complete the
Primary DNS
and/or
Secondary DNS
fields.
Enter at least one DNS address,
which you can obtain from
your ISP. Click
Next
.
I
Click the
Infrastructure
radio
button if you want the Camera
to communicate using an
access point or wireless router.
Click the
Ad-Hoc
radio button if
you want the Camera to com-
municate without using an
access point or wireless router.
Click
Next
.
A
H
Set up the Wireless-B Internet
B
G
A
Insert the Setup CD-ROM into
your CD-ROM drive. The Setup
Wizard should run automati-
cally, and the
Welcome
screen
should appear. If it does not,
click
Start
and then
Run
. In the
field provided, enter
D:\wvc11b.exe
(if “D” is the let-
ter of your CD-ROM drive).
B
Click
Setup
to begin the setup
process.
C
Make sure the Camera is cor-
rectly connected to your net-
work. Click
Next
.
D
The screen will display a list of
Wireless-B Internet Video Cam-
eras on your network and status
information. In the
Selection
box, click the name of the
Camera you are currently
installing.Click
Next
.
E
A
verify password
screen will
appear. In lowercase letters,
enter
admin
in the
Administra-
tor Name
and
Password
fields.
Click
OK
.
F
On the
Basic Settings
screen,
enter a unique name for the
Camera in the
Camera Name
field, and complete the
Description
field. Select the
correct entries for the
Time
Zone
,
Date
, and
Time
settings.
Then click
Next
.
I
GHz
2.4
802.11b
NOTE: The default IP address of the
Camera is 192.168.1.115.
Wired Network for Setup
NOTE: If you want to connect the
Camera to a wireless network for
setup, refer to the User Guide on the
Setup CD-ROM for instructions.
IMPORTANT: You MUST connect the
Camera to a router, switch, or PC using
an Ethernet network cable BEFORE
powering on the Camera. Otherwise, the
Camera will not function.
Video Camera
C
C
D
F
J
N
After the files have been suc-
cessfully copied, the
Congrat-
ulations
screen will appear.
Click the
Install Viewer &
Recorder Utility
button to install
the Camera’s Utility on your PC.
This Utility provides a conve-
nient way to view and record
the Camera’s video.
N
J
Enter your wireless network’s
SSID or network name. If you
chose Ad-Hoc mode, select
the channel at which the net-
work broadcasts its wireless sig-
nal. Then click
Next
.
K
The
Security Settings
screen will
appear. If your network has
WEP encryption enabled, then
select the level of WEP encryp-
tion and enter a Passphrase. If
you do not have a Passphrase
and want to manually enter a
WEP key, leave the
Passphrase
field blank. If your network has
WEP encryption disabled, keep
the default,
Disabled
.
Then click
Next
.
L
If you entered a Passphrase,
you will see the automatically
generated WEP key. Otherwise,
manually enter the WEP key in
the
Key 1
field. Click
Next
.
M
Review your settings before the
Setup Wizard starts to copy your
files. Click
Save
.
A
4Connect the Camera for
A
Unplug the power adapter
from the electrical outlet.
B
Unplug the Ethernet network
cable from the Camera as well
as the PC, router, or switch.
C
Place the Camera in the loca-
tion you want.
D
Plug the power adapter into a
local electrical outlet.
The Ready LED flashes while the
Camera is initializing. When the
Ready and Wireless LEDs are
solidly lit, the Camera is ready
for use.
E
Aim and focus the Camera
accordingly.
Congratulations! The installation of
the Wireless-B Internet Video
Camera is complete.
A
After you clicked the Install
Viewer & Recorder Utility button,
the
Welcome
screen will
appear. Click
Next
.
B
The
Choose Destination Loca-
tion
screen will appear. To
install the Viewer & Recorder
Utility files in the default folder,
click
Next
. To select a different
folder, click
Browse
and follow
the on-screen directions.
C
To add program icons to the
default folder, click
Next
. To
add program icons to an exist-
ing folder, select one from the
Existing Folders listed, and then
click
Next
.
D
When you see the screen
shown in Figure D, click
OK
.
E
When the setup is complete,
click
OK
.
F
To open the Viewer & Recorder
Utility, double-click its shortcut
on your desktop.
WVC11B-QI-30903C JL
M
For additional information or troubleshooting
help, refer to the User Guide on the Setup CD-
ROM. You can also call or e-mail for further
support.
24-hour Technical Support
800-326-7114
(toll-free from US or Canada)
E-mail Support
[email protected]
Website
http://www.linksys.com or
http://support.linksys.com
RMA (Return Merchandise Authorization)
http://www.linksys.com/support
FTP Site
ftp://ftp.linksys.com
Sales Information
800-546-5797 (800-LINKSYS)
Linksys is a registered trademark or trademark of
Cisco Systems, Inc. and/or its affiliates in the U.S.
and certain other countries. Copyright © 2003
Cisco Systems, Inc. All rights reserved.
Model No.
Wireless Network Use
3Install the Viewer & Recorder
Utility
K
L
NOTE: OntheCongratulationsscreen of
the Setup Wizard, you can click the
Setup SoloLink DDNS Service button
to take advantage of the Camera’s
Dynamic Domain Name System (DDNS)
feature.Thisisuseful for remoteaccess
of the Camera via the Internet. Refer to
the SoloLink Quick Installation for more
information.
B
D
C
E
F
NOTE: To view video using a web
browser, youmust useInternet Explorer
version 5.5 or higher. The View Video
feature will not work with Netscape.
Netscape users should use the Viewer
& Recorder Utility instead.
Other manuals for WVC11B - Wireless-B Internet Video Camera...

2

Other Linksys IP Camera manuals

Linksys PVC2300 User manual

Linksys

Linksys PVC2300 User manual

Linksys WVC54GC - Wireless-G Compact Internet Video Camera... User manual

Linksys

Linksys WVC54GC - Wireless-G Compact Internet Video Camera... User manual

Linksys WVC54G - Wireless-G Internet Video Camera... Operation manual

Linksys

Linksys WVC54G - Wireless-G Internet Video Camera... Operation manual

Linksys WVC54GC - Wireless-G Compact Internet Video Camera... Operation manual

Linksys

Linksys WVC54GC - Wireless-G Compact Internet Video Camera... Operation manual

Linksys WVC11B - Wireless-B Internet Video Camera... Operation manual

Linksys

Linksys WVC11B - Wireless-B Internet Video Camera... Operation manual

Linksys WVC54G-UK User manual

Linksys

Linksys WVC54G-UK User manual

Linksys WVC2300 Operation manual

Linksys

Linksys WVC2300 Operation manual

Linksys BUSINESS SERIES User manual

Linksys

Linksys BUSINESS SERIES User manual

Linksys WVC54G - Wireless-G Internet Video Camera... Original operating instructions

Linksys

Linksys WVC54G - Wireless-G Internet Video Camera... Original operating instructions

Linksys WVC54GCA-RM - Wireless-G Internet Home Monitoring Camera... User manual

Linksys

Linksys WVC54GCA-RM - Wireless-G Internet Home Monitoring Camera... User manual

Linksys WVC54GCA User manual

Linksys

Linksys WVC54GCA User manual

Linksys WVC11B - Wireless-B Internet Video Camera... User manual

Linksys

Linksys WVC11B - Wireless-B Internet Video Camera... User manual

Linksys WVC54G - Wireless-G Internet Video Camera... User manual

Linksys

Linksys WVC54G - Wireless-G Internet Video Camera... User manual

Popular IP Camera manuals by other brands

Hubble Nursery Pal Premium quick start guide

Hubble

Hubble Nursery Pal Premium quick start guide

Interlogix TruVision TVF-5201 Configuration manual

Interlogix

Interlogix TruVision TVF-5201 Configuration manual

NDI Birddog P4K user guide

NDI

NDI Birddog P4K user guide

Concept Pro AIR701/IRH user manual

Concept Pro

Concept Pro AIR701/IRH user manual

Foscam FI9804WM user manual

Foscam

Foscam FI9804WM user manual

Avaya IX HC050 user manual

Avaya

Avaya IX HC050 user manual

Sineoji PT308IP user manual

Sineoji

Sineoji PT308IP user manual

Honeywell 2450Cm Series Quick installation guide

Honeywell

Honeywell 2450Cm Series Quick installation guide

LAMAX DRIVE C3 user manual

LAMAX

LAMAX DRIVE C3 user manual

Loftek CXS 2200 user manual

Loftek

Loftek CXS 2200 user manual

Grandstream Networks GXV350X Tutorial

Grandstream Networks

Grandstream Networks GXV350X Tutorial

Aztech wipc403 user manual

Aztech

Aztech wipc403 user manual

Parker IQAN-SV Instruction book

Parker

Parker IQAN-SV Instruction book

Bosch MIC IP fusion 9000i installation manual

Bosch

Bosch MIC IP fusion 9000i installation manual

Thinkware F550 DASH CAM user manual

Thinkware

Thinkware F550 DASH CAM user manual

OpenEye OE-C8213 quick start guide

OpenEye

OpenEye OE-C8213 quick start guide

Ebode IPV38 quick start guide

Ebode

Ebode IPV38 quick start guide

Trotec ICX640 user guide

Trotec

Trotec ICX640 user guide

manuals.online logo
manuals.online logoBrands
  • About & Mission
  • Contact us
  • Privacy Policy
  • Terms and Conditions

Copyright 2025 Manuals.Online. All Rights Reserved.