manuals.online logo
Brands
  1. Home
  2. •
  3. Brands
  4. •
  5. Linksys
  6. •
  7. Wireless Router
  8. •
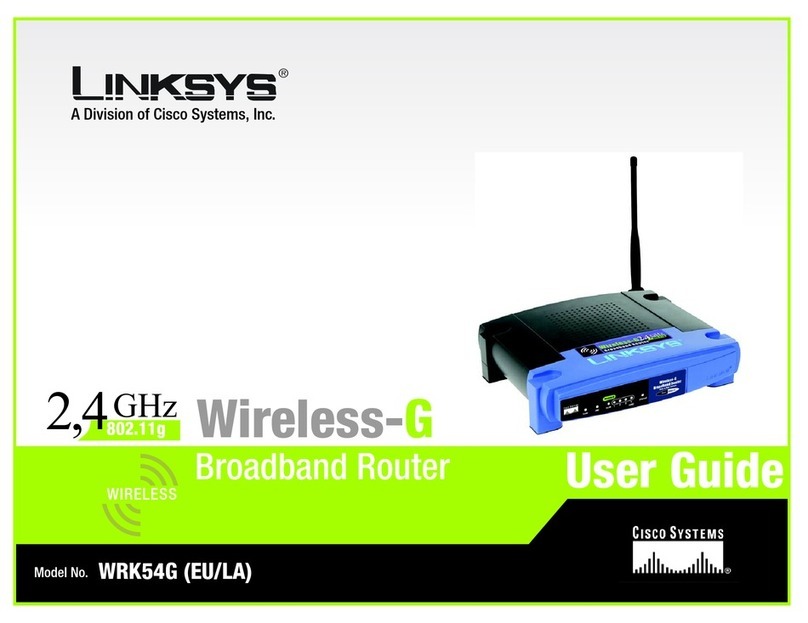
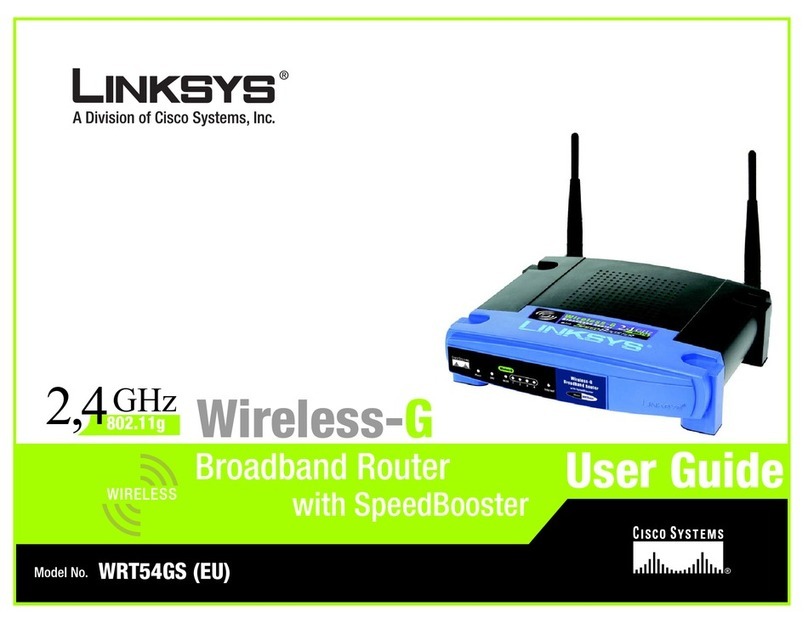
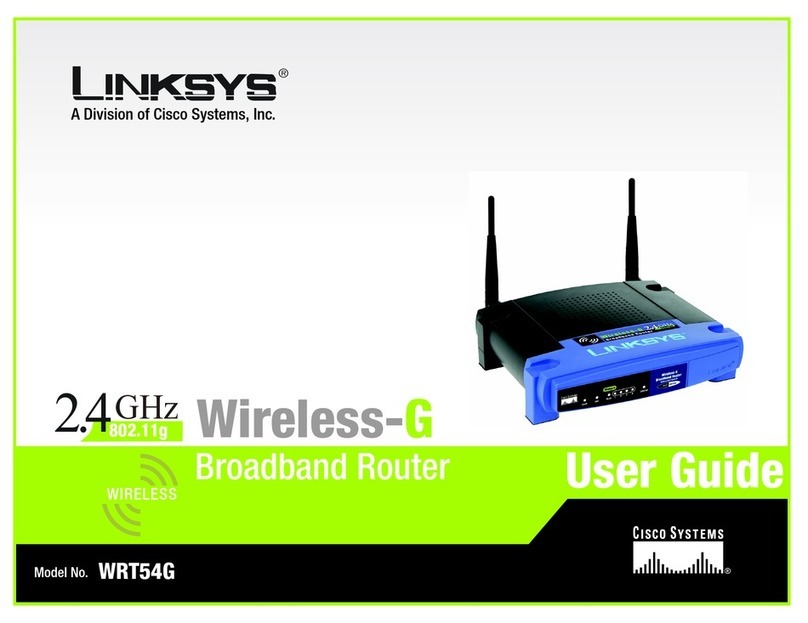
  9. Linksys WRT54GL - Wireless-G Broadband Router... User manual

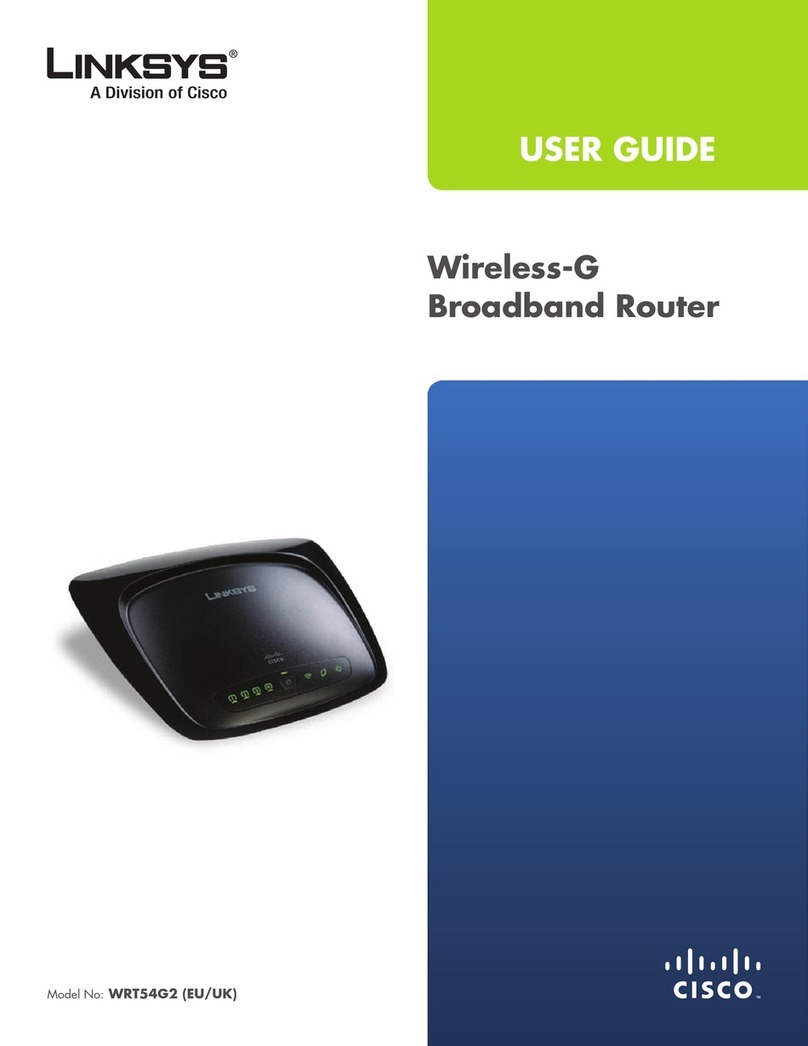
Linksys WRT54GL - Wireless-G Broadband Router... User manual

Sherpa 1
Instruction Manual
Image Source : Linksys, Cisco Systems
Sherpa 2
Introduction
This manual guides you through the process of setting up the Linksys WRT54GL
Wireless-G Broadband Router with a basic level of security or password
protection. The router enables any electronic device to access the Internet via
wired or wireless connection. The router is capable of broadcasting wireless up
to the speed of 54Mbps on a wide range of frequency spectrum. This router
comes with security features such as Stateful Packet Inspection(SPI) firewall, Wi-fi
Protected Access II(WPA II), and Network Address Translation(NAT). This Router is
easy to manage and has a user-friendly web-based setup page.
Description of the equipment
Front Panel
There are several light indicators on the front panel of the router that provide its
current status. Following figure can help you identify each of the light indicator.
Image source : Linksys, Cisco Systems
Sherpa 3
1. Power: The Power LED lights up green and will stay on while the Router is
powered on. The LED will flash when the Router goes through its self-diagnostic
mode during every boot-up. After the diagnostic is complete, the LED will be
solidly lit.
2. Demilitarized Zone(DMZ): This LED will light up and stay green as long as the
DMZ feature is being used.
3. Wireless Local Area Network(WLAN): The WLAN LED lights up green when the
wireless feature is enabled. If the LED is flashing, the Router is actively sending or
receiving data over the network.
4. Ethernet LEDS(1-4): These numbered LEDs correspond with the numbered ports
on the Router’s back panel and serve two purposes. If the LED is continuously lit,
the Router is successfully connected to a device through that port. A flashing
LED basically indicates that the port is engaged in a network activity.
5. Internet LED: The Internet LED lights up green when there is a connection
made through the Internet port. A flashing LED indicates network activity over
the Internet port.
6. Cisco Logo LED: This indicator lights up soon as the device is powered on. This
logo lights up in two colors: orange and white. The white color states that the
router is using Cisco’s SecureEasySetup(SES) feature. SES feature makes it easy to
setup a wireless network and it can be used by running the setup program from
the router’s Setup Wizard CD-ROM that comes with the package. On the other
hand, the logo will light up and stay orange when it is not using SES.
Back Panel
Sherpa 4
The router has several ports at the back panel which can be seen below.
Image Source : Linksys, Cisco Systems
1. Reset Button: The Reset button will restore Router’s factory defaults. Press and
hold the Reset button for five seconds to restore the factory defaults for this
router. You can also restore factory defaults via the Router’s web-based utility.
2. Internet/WAN Port: The Internet/Wan port is where you will connect your cable
or DSL Internet connection.
3. Ethernet Ports(1-4): These ports are used to connect PCs/laptops/notebooks
on a wired network.
4. Power: The Power port is where you will connect the power adapter.
Materials and equipment needed
Linksys WRT54GL Wireless-G Router and its power adapter
A cable modem and its power adapter
Two pieces of Ethernet cables, also known as LAN cables
A laptop/personal computer with a web browser
Sherpa 5
Before you start…
WARNING: Risk of electric shock. Do not touch wires and electrical
equipment with wet hands. Use caution when plugging in adapter.
Directions for setting up the router
1. Begin setup of your Linksys Wireless Router by first plugging in the power
adapter. It’ll take about 10 seconds to initialize.
2. Plug in one end of an Ethernet cable into your cable modem’s Ethernet port
and the other end into the port on the back panel of the Router marked
Internet.
INFO: Make sure the cable modem is able to connect to the internet.
Please refer to the modem’s manual.
3. Next, plug in one end of the remaining Ethernet cable into the Ethernet port
of your laptop/pc and into any one of the ports marked 1-4 on the back panel
of your Router.
As of now, your laptop should be able to access the Internet through
this wired connection with your Router.
4. Now that your laptop is properly connected to your Router, lets begin setting
up the wireless network.
5. Open any web browser, such as Internet Explorer or Mozilla Firefox, on the
laptop and then type in http://192.168.1.1 on the address bar and press Enter.
6. A window will pop up prompting you for a username and a password. Type
“admin” for both the username and password.
Sherpa 6
7. Now you should be able to see the basic setup page like this.
Image Source : Linksys, Cisco Systems
*Changing the Router Name is optional.
8. Click on Wireless tab and you should be able to see the following options.
Sherpa 7
Image Source : Linksys, Cisco Systems
9. You can type in any name for your wireless network in the box next to Wireless
Network Name(SSID). You can also choose to either Enable or Disable Wireless
SSID Broadcast. If it is disabled, your wireless network cannot be seen/discovered
publicly by other electronic devices that are cable of connecting to wireless
networks. By default, it is enabled.
10. Now click on the Wireless Security sub-tab under Wireless. You should be able
to see the following options.
Sherpa 8
Image Source : Linksys, Cisco Systems
11. Click on the drop-down button to select a security mode you prefer.
INFO: You can choose from Disable, WEP, WPA Pre-Shared Key, WPA
RADIUS, or RADIUS, WPA2 Personal, WPA Enterprise, and WPA2 Enterprise. It is
required for all devices on your wireless network to use the same security mode.
12. Now you can type in a password of your choice into the Shared Key field.
Passwords are case-sensitive.
13. Finally, hit the Save Settings button and then Continue in order to save all the
changes you’ve made to your router’s configuration system.
14. Your router is now all set and ready to provide wireless internet access
connection to any computer or electronic device you have. Make sure that you
use the exact same password to log in into your wireless network.
Basic Troubleshooting:
Your computer cannot connect to the Internet.
Sherpa 9
Make sure that the Router is powered on. The Power LED should
be green and not flashing. If the Power LED is flashing, then
power off all of your network devices, including the modem,
Router, and computers. Then power on each device in the
following order:
O Cable or DSL modem
O Router
O Computer
Check the cable connections. The computer should be
connected to one of the ports numbered 1-4 on the Router, and
the modem must be connected to the Internet port on the
Router.
The Router does not have a coaxial port for the cable connection.
The Router does not replace your modem. You still need your cable
modem in order to use the Router. Connect your cable connection
to the cable modem, insert the setup CD into your computer, and
then follow the on‑screen instructions.
The computer cannot connect wirelessly to the network.
Make sure the wireless network name or SSID is the same on both
the computer and the Router. If you have enabled wireless security,
then make WRT54GL User Guide sure the same security method and
key are used by both the computer and the Router.
You need to modify the settings on the Router.
Open the web browser (for example, Internet Explorer or Firefox),
and enter the Router’s IP address in the address field (the default IP
address is 192.168.1.1). When prompted, leave the User name field
blank and enter the password to the Router (the default is admin).
Click the appropriate tab to change the settings.
Sherpa 10
Works Cited:
"Linksys Wireless-G Broadband Router." Linksys, Cisco Systems, Web. 28 Mar 2013.
<www.linksys.com>.

Other manuals for WRT54GL - Wireless-G Broadband Router...

9

Other Linksys Wireless Router manuals

Linksys WRT54GR - Wireless-G Broadband Router Original operating instructions

Linksys

Linksys WRT54GR - Wireless-G Broadband Router Original operating instructions

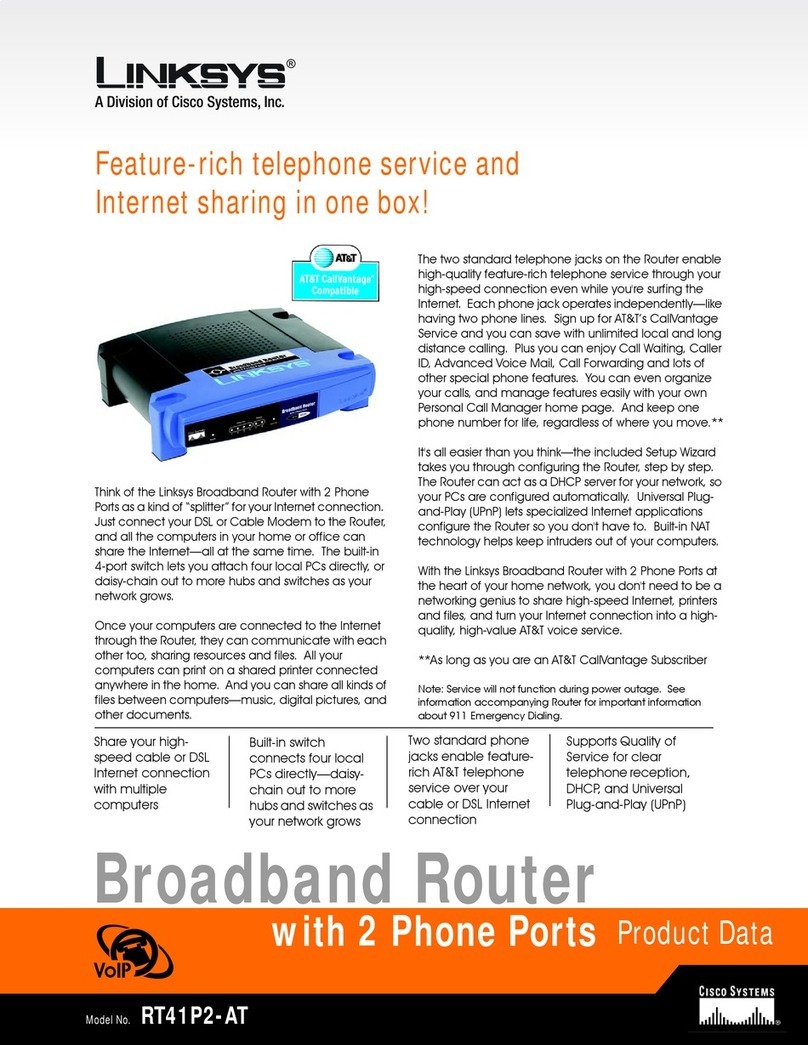
Linksys RTP300 - Broadband Router With 2 Phone Ports Operation manual

Linksys

Linksys RTP300 - Broadband Router With 2 Phone Ports Operation manual

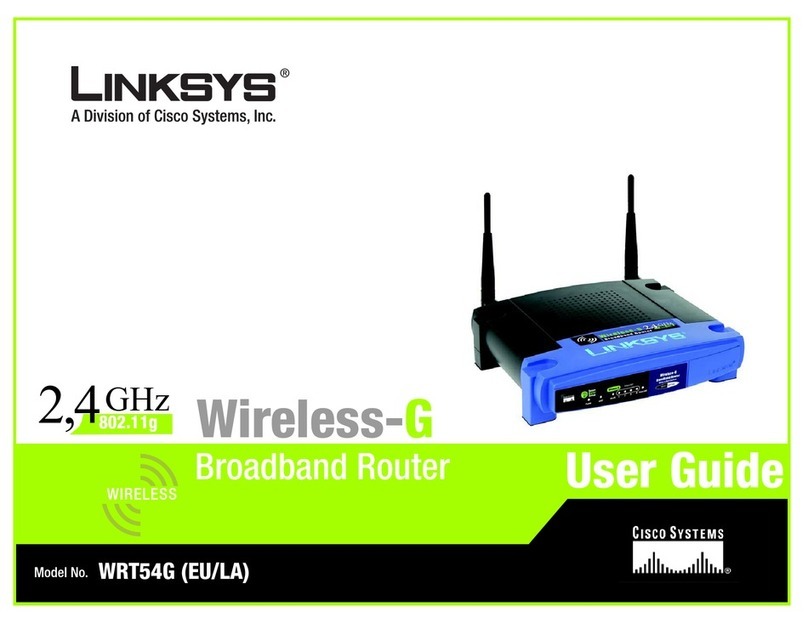
Linksys WRT54G - Wireless-G Broadband Router... User manual

Linksys

Linksys WRT54G - Wireless-G Broadband Router... User manual

Linksys AC900 User manual

Linksys

Linksys AC900 User manual

Linksys EtherFast Instant Broadband BEFW11S4 User manual

Linksys

Linksys EtherFast Instant Broadband BEFW11S4 User manual

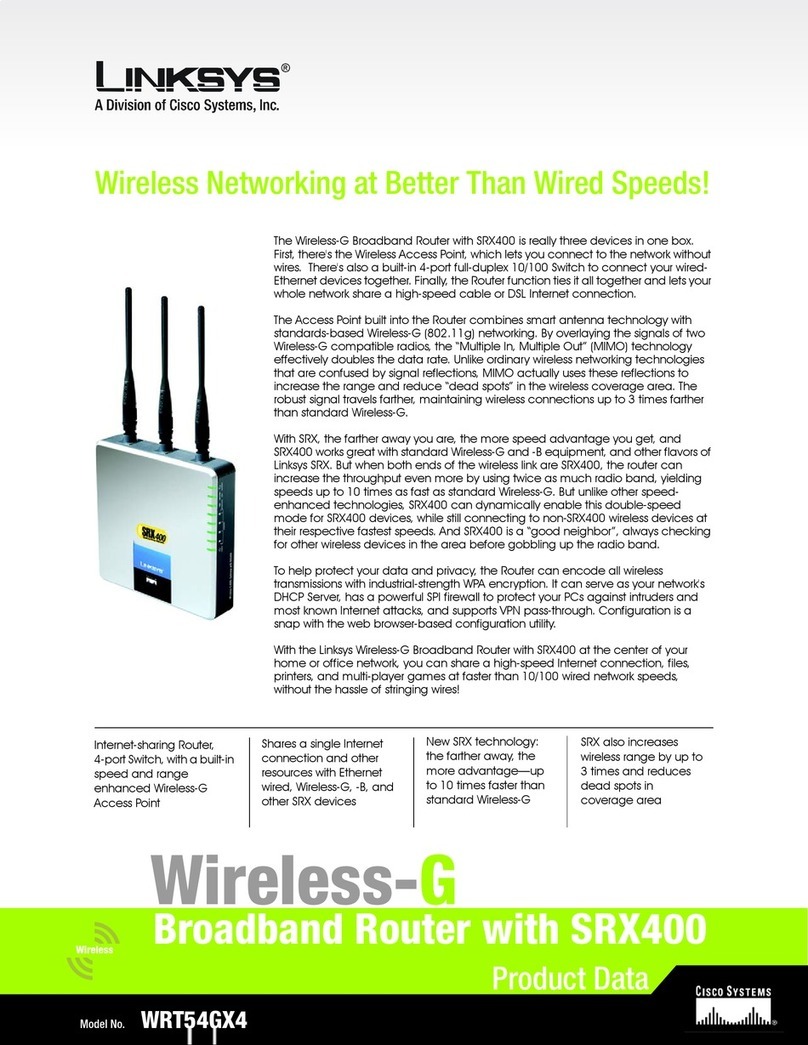
Linksys WRT54GX - Wireless-G Broadband Router User manual

Linksys

Linksys WRT54GX - Wireless-G Broadband Router User manual

Linksys RTP300 - Broadband Router With 2 Phone Ports Original operating instructions

Linksys

Linksys RTP300 - Broadband Router With 2 Phone Ports Original operating instructions

Linksys WTR54GS Operation manual

Linksys

Linksys WTR54GS Operation manual

Linksys Wireless Router User manual

Linksys

Linksys Wireless Router User manual

Linksys WRT54G - Wireless-G Broadband Router... User manual

Linksys

Linksys WRT54G - Wireless-G Broadband Router... User manual

Linksys WRT3200AC User manual

Linksys

Linksys WRT3200AC User manual

Linksys WRV54G - Wireless-G VPN Broadband Router... Operation manual

Linksys

Linksys WRV54G - Wireless-G VPN Broadband Router... Operation manual

Linksys WRT3200ACM User manual

Linksys

Linksys WRT3200ACM User manual

Linksys WHW0301 User manual

Linksys

Linksys WHW0301 User manual

Linksys MR9600 v2 Owner's manual

Linksys

Linksys MR9600 v2 Owner's manual

Linksys Vonage WRTP54G Operation manual

Linksys

Linksys Vonage WRTP54G Operation manual

Linksys E1000 User manual

Linksys

Linksys E1000 User manual

Linksys WRT32X User manual

Linksys

Linksys WRT32X User manual

Linksys WRT300N - Wireless-N Broadband Router... User manual

Linksys

Linksys WRT300N - Wireless-N Broadband Router... User manual

Linksys WRT54GS User manual

Linksys

Linksys WRT54GS User manual

Linksys Small Business WRP400 User manual

Linksys

Linksys Small Business WRP400 User manual

Linksys WRT150N - Wireless-N Home Router Wireless Original operating instructions

Linksys

Linksys WRT150N - Wireless-N Home Router Wireless Original operating instructions

Linksys RangePlus WRT110 User manual

Linksys

Linksys RangePlus WRT110 User manual

Linksys MR8300 User manual

Linksys

Linksys MR8300 User manual

Popular Wireless Router manuals by other brands

NetComm N300 NP804n Setup guide

NetComm

NetComm N300 NP804n Setup guide

InfiNet R5000 series quick start guide

InfiNet

InfiNet R5000 series quick start guide

MicroNet SP3367A user manual

MicroNet

MicroNet SP3367A user manual

NETGEAR Orbi RBW30 quick reference

NETGEAR

NETGEAR Orbi RBW30 quick reference

NETGEAR RangeMax DGN3500 user manual

NETGEAR

NETGEAR RangeMax DGN3500 user manual

PUSR R320M user manual

PUSR

PUSR R320M user manual

Zeus Appollo WIFIKIT user manual

Zeus Appollo

Zeus Appollo WIFIKIT user manual

Alink WL54AP user guide

Alink

Alink WL54AP user guide

Modecom MC-WR11 user manual

Modecom

Modecom MC-WR11 user manual

Tenda 4G301 user guide

Tenda

Tenda 4G301 user guide

NEC A201NE user guide

NEC

NEC A201NE user guide

NETGEAR Orbi Let's get started

NETGEAR

NETGEAR Orbi Let's get started

D-Link DWM-321D Quick installation guide

D-Link

D-Link DWM-321D Quick installation guide

D-Link 2Voice + 4SW VoIP Router DVG-1402S Quick installation guide

D-Link

D-Link 2Voice + 4SW VoIP Router DVG-1402S Quick installation guide

Amped Wireless RTA1200 Setup guide

Amped Wireless

Amped Wireless RTA1200 Setup guide

SWEEX LW310 manual

SWEEX

SWEEX LW310 manual

ZyXEL Communications LTE3301-M209 user guide

ZyXEL Communications

ZyXEL Communications LTE3301-M209 user guide

ZyXEL Communications AMG1302-11C manual

ZyXEL Communications

ZyXEL Communications AMG1302-11C manual

manuals.online logo
manuals.online logoBrands
  • About & Mission
  • Contact us
  • Privacy Policy
  • Terms and Conditions

Copyright 2025 Manuals.Online. All Rights Reserved.