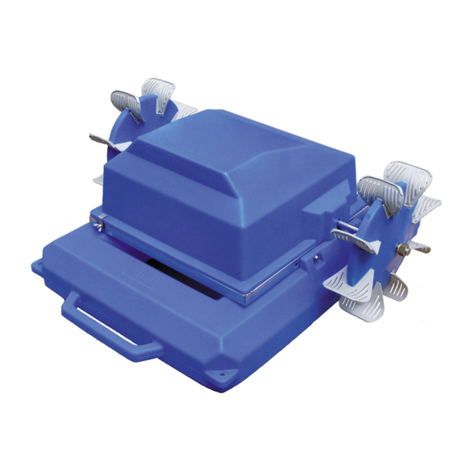
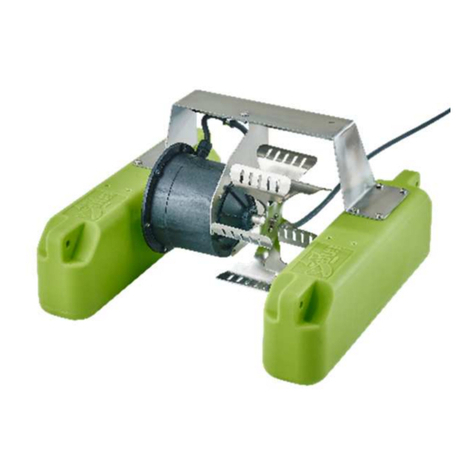
Linn Aqua-Mini User manual

Water Aerator
Operating Instructions
(Translation of the operating instructions)
“Aqua-Mini”/ “Aqua-Maxi ”
This user information should be read and observed before installation and use of the
apparatus supplied.
Should your chosen aerator require assembly before operation, please read carefully the
separate assembly information enclosed. These guidelines should be read and followed
first.
The aeration apparatus has been manufactured to circulate and ventilate water. Any other
use is absolutely prohibited.
Before operation, examination by a qualified technician should take place to ensure that
necessary electrical precautions are available. An electrical fault switch (FI) with a
nominal current of up to 30mA is stipulated. The voltage displayed on the label of the
apparatus must agree with that of the mains voltage. Standard models are delivered
completely sealed and ready for use. All apparatus are equipped with a motor
(overheating) protector (either by a motor protection device attached to the cable end or
by a heat sensor inside the motor itself). If you have received apparatus without motor
protection or with a free cable end, then a qualified technician should install the motor
protector and/or attachment before operation.
Installation on water
For installation purposes, you will require two tension proof ropes. These ropes must be
secured to the apparatus. Some apparatus have loops fitted for this purpose. Otherwise,
they can be attached to carrying handles on the floats or to the screen basket. The ropes
should be secured so that they cannot under any circumstances come into contact with
the propeller.
After ropes have been fitted to both sides of the apparatus, it can be positioned in the
water. The connection cable should be positioned in such a way on the sides of the
apparatus that it will not be pulled into the water. Under no circumstances must the
apparatus be connected to the mains at this point!
With the help of the two ropes, the apparatus can be fixed into the desired position and
the ropes secured on the sides of the pond. Warning – Be sure to attach securely so that
the apparatus cannot swivel round and damage the connection cable. Under no
circumstances should the connection cable be used to anchor the apparatus!
Before connecting the aerator to the mains, please ensure that no one remains in the
water. Working on the aerator while in the water (in particular, swimming to the apparatus
or clambering onto the aerator) is strictly prohibited on the grounds of safety. Warning!
Injury risk. For small pools/ponds, touching of the apparatus while in operation is
prohibited
The water/waste aerator can now be connected to the mains. Warning – Please ensure
that the plug connection is dry.
It may happen that in the case of 400V models, the direction of rotation of the motor is
incorrect. This is immediately recognisable (no water is thrown out from the upper surface
of the aerator). In such cases, a qualified electrician can transpose two of the poles in the
plug. The plug must of course be removed from the plug socket beforehand.
Maintenance
All water aerators supplied require little or no maintenance. From time to time simply
clean all parts of the apparatus. To do this you must remove the apparatus from the
water. Warning – first disconnect from the mains!
If the apparatus is supplied with a screen, this, in particular, should be kept clean, for
perfect functioning of the apparatus can only be assured if the surface of the screen is
clean.
At least once a year, the apparatus should be examined for perfect running of the
propeller and, in the case of submersible motors, for the condition of the motor’s
watertight flanges. If you experience any problems, please contact us.
Guarantee
This apparatus carries a 12-month guarantee of proper use. A change to the apparatus or
opening of the motor parts is prohibited and renders the guarantee invalid. We can
accept no liability for damage and losses incurred as a result of breakdown of the aerator.
The operator is advised to obtain protection (an alarm system), which would alert them to
any eventual breakdown of the apparatus.
Further Information
We would advise you that, in accordance with product liability law, we do not accept
liability for damage caused by our apparatus, if the information and advice given within
these operating instructions has not been followed.
The aerator should never be pulled, carried or fixed into place, by the connection cable.
Only suitably qualified persons should carry out replacement of the connection cable.
The connection lead should be no lighter than a rubber hose HO7 RN-F (EN 60335-2-41).
Avoid wear and tear on the connection cable!
The electric lead should be kept in an area where there is no risk of flooding and should
be protected from damp. Connection cable and plug should be examined for damage
before use.
The aerator should not be operated out of water! In the event of aerator defects, repairs
should be carried out only by the manufacturer or by an authorised dealer. In addition,
only original spare parts should be used.
The aerator is fitted with a rubber over-current device, designed to protect the motor from
overload. It is fitted next to the round site plug, and has a reset button. It is not
weatherproof, and should be protected from rain and direct sunlight. If the overcurrent
device trips out the power to the aerator, investigate the cause promptly. Repeated
pushing of the reset button, may damage the motor. Consult your supplier about servicing
the motor. Removal of the overcurrent device will invalidate the warranty.

“Aqua-Mini” / “Aqua-Maxi”
(Translation of the operating constructions)
Starting operations
1. The submersible motor is a wet-running-moor. The shaft-bearings must fill with
water. This happens automatically when you put the unit into water, connect
It to the electricity outlet and operate it for 5 minutes.
2. At bottom of the float an eye is located to fasten the rope. With this rope and
The cable at the opposite side you can place the aerator in the desired position.
Secure, loose fastening guarantees perfect application of Water-ventilation also in
different water-levels.
3. Now plug in the plug-top (make sure the connection are is dry) and adjust
the water output.
4. To disinfect the fish-pool turn the unit upside down so that remaining water can
Escape. After that please use an ordinary disinfectant (no formaldehyde) and
continue as in your first application (look at point 1)
Hibernation
Store the “Aqua-Mini”/”Aqua-Maxi” in winter in absolutely frost-free conditions
To avoid depositing lime it would be practical to keep it in a water filled container.
Maintenance
To clean the sieve place the unit upside down on the float and loosen the three
black screws. After that the shackles can easily be moved to the right left
and the sieve removed for cleaning.
For this device we give one year´s guarantee, correct application provided
This manual suits for next models
1
Other Linn Lawn And Garden Equipment manuals
